Orchids have a reputation for being dramatic… but most of the time, they’re just being
extremely honest. If something’s offlight, roots, or temperaturethey’ll politely refuse to flower
and instead grow leaves like they’re collecting them for a scrapbook.
The good news: getting orchids to bloom (or rebloom) usually comes down to three controllable “levers.”
Pull the right ones, and you’ll often see a flower spike show up like, “Oh, now we’re doing this.”
This guide focuses on the most common indoor orchids in the U.S. (especially Phalaenopsis,
aka moth orchids), but the same principles help many other types too.
Quick 30-Second Orchid Reality Check
- Bloom cycles take time. Many orchids bloom about once a year under normal home conditionsmore if they’re very happy.
- Leaves first, flowers second. If your plant is growing new roots and leaves, it’s not “failing”it’s charging its battery.
- Most “won’t bloom” problems are fixable. The usual culprit is low light, soggy roots, or no day/night temperature change.
Way #1: Dial In the Light (Because Blooming Is Expensive)
Orchids don’t bloom out of good mannersthey bloom when they have enough energy. Light is the
#1 energy source, and it’s also the most common reason an orchid won’t bloom again.
Use the “Leaf Color + Shadow” Tests
A simple clue is your leaf color. Many moth orchids kept in proper light look light green.
If leaves are very dark green and stiff, the plant may be in too little light. If leaves look
yellowish or develop reddish/pink tones along the edges, it may be getting too much light.
Another quick test: look at the shadow your hand makes near the plant in bright daytime light.
A fuzzy, soft-edged shadow often suggests light levels that suit lower-light orchids like Phalaenopsis.
A razor-sharp shadow can mean very bright conditionsgreat for some orchids, but risky for moth orchids if it’s direct sun.
Where to Put an Orchid in a Typical Home
- Best “easy” spot: an east-facing window with bright, indirect light.
- Also works: shaded south, or filtered west light (watch for leaf burn).
- Winter adjustment: in darker months, a brighter window or supplemental light may be needed.
If Your Home Is Dim, Use a Grow Light (No Greenhouse Required)
If you don’t have bright windows, a grow light can be the difference between “nice leaves” and “wow, flowers.”
Keep the light close enough to be useful, but not so close that the leaves overheat. A practical approach is:
give the plant a steady, predictable day (think: a consistent daily light schedule), and keep nighttime truly dark.
Example Fix
If your orchid lives 8 feet away from a window on a bookshelf, it’s basically trying to bloom by candlelight.
Move it to a bright window with filtered light, and give it a few weeks. You’re not looking for instant flowers
you’re looking for stronger new root growth and a healthier leaf color. Blooms often follow.
Way #2: Make the Roots Happy (Water + Air + “Weakly, Weekly” Feeding)
Orchid blooms are powered by roots. If roots are stressedrotting from soggy media or shriveled from chronic drought
flowering becomes unlikely. Your goal is a root zone that gets thorough watering, then lots of air.
Water Thoroughly, Then Drain Like You Mean It
Most common houseplant orchids are epiphytes in nature (they grow on trees), so they prefer a soak-and-dry rhythm rather than
constant wet soil. When you water:
- Use tepid (lukewarm) water, not ice-cold.
- Drench the pot until water runs freely out of the drainage holes.
- Let it drain completelynever let the pot sit in water.
- Water earlier in the day so foliage dries by nightfall.
How Often? It Depends on the Potting Mix
- Bark mix: dries faster; many growers water about weekly in average home conditions (more in summer, less in winter).
- Moss-heavy pots: hold water longer; water only when the top feels dry and the pot is noticeably lighter.
A surprisingly reliable trick is the “pot weight” test: lift the pot after watering (heavy), then lift again as days pass.
When it feels much lighter, it’s usually closer to watering time.
Feed LightlyOverfeeding Can Delay Blooms
Orchids aren’t heavy feeders, but a little nutrition helps support roots, leaves, and future spikes. A common home-friendly approach:
fertilize lightly during active growth, then ease off when light and growth slow down.
- Option A (simple): fertilize every 2–4 weeks at a diluted strength during the growing season.
- Option B (popular with hobbyists): “weakly, weekly”use a very diluted fertilizer more often.
- Winter note: many orchids benefit from reduced fertilizer in winter when light is low and growth slows.
Flush the “Fertilizer Salts” Monthly
Fertilizers can leave salts behind in bark-based media. About once a month, run plain water through the pot thoroughly
to rinse out buildup. This is a small step that can prevent root stressand root stress is the enemy of blooming.
Repot When the Mix Breaks Down (This Is a Bloom Cheat Code)
Old, decomposed orchid bark starts acting like a wet sponge. Roots suffocate, rot sets in, and blooming becomes a long shot.
Repotting isn’t just housekeepingit’s often the “my orchid finally rebloomed” moment.
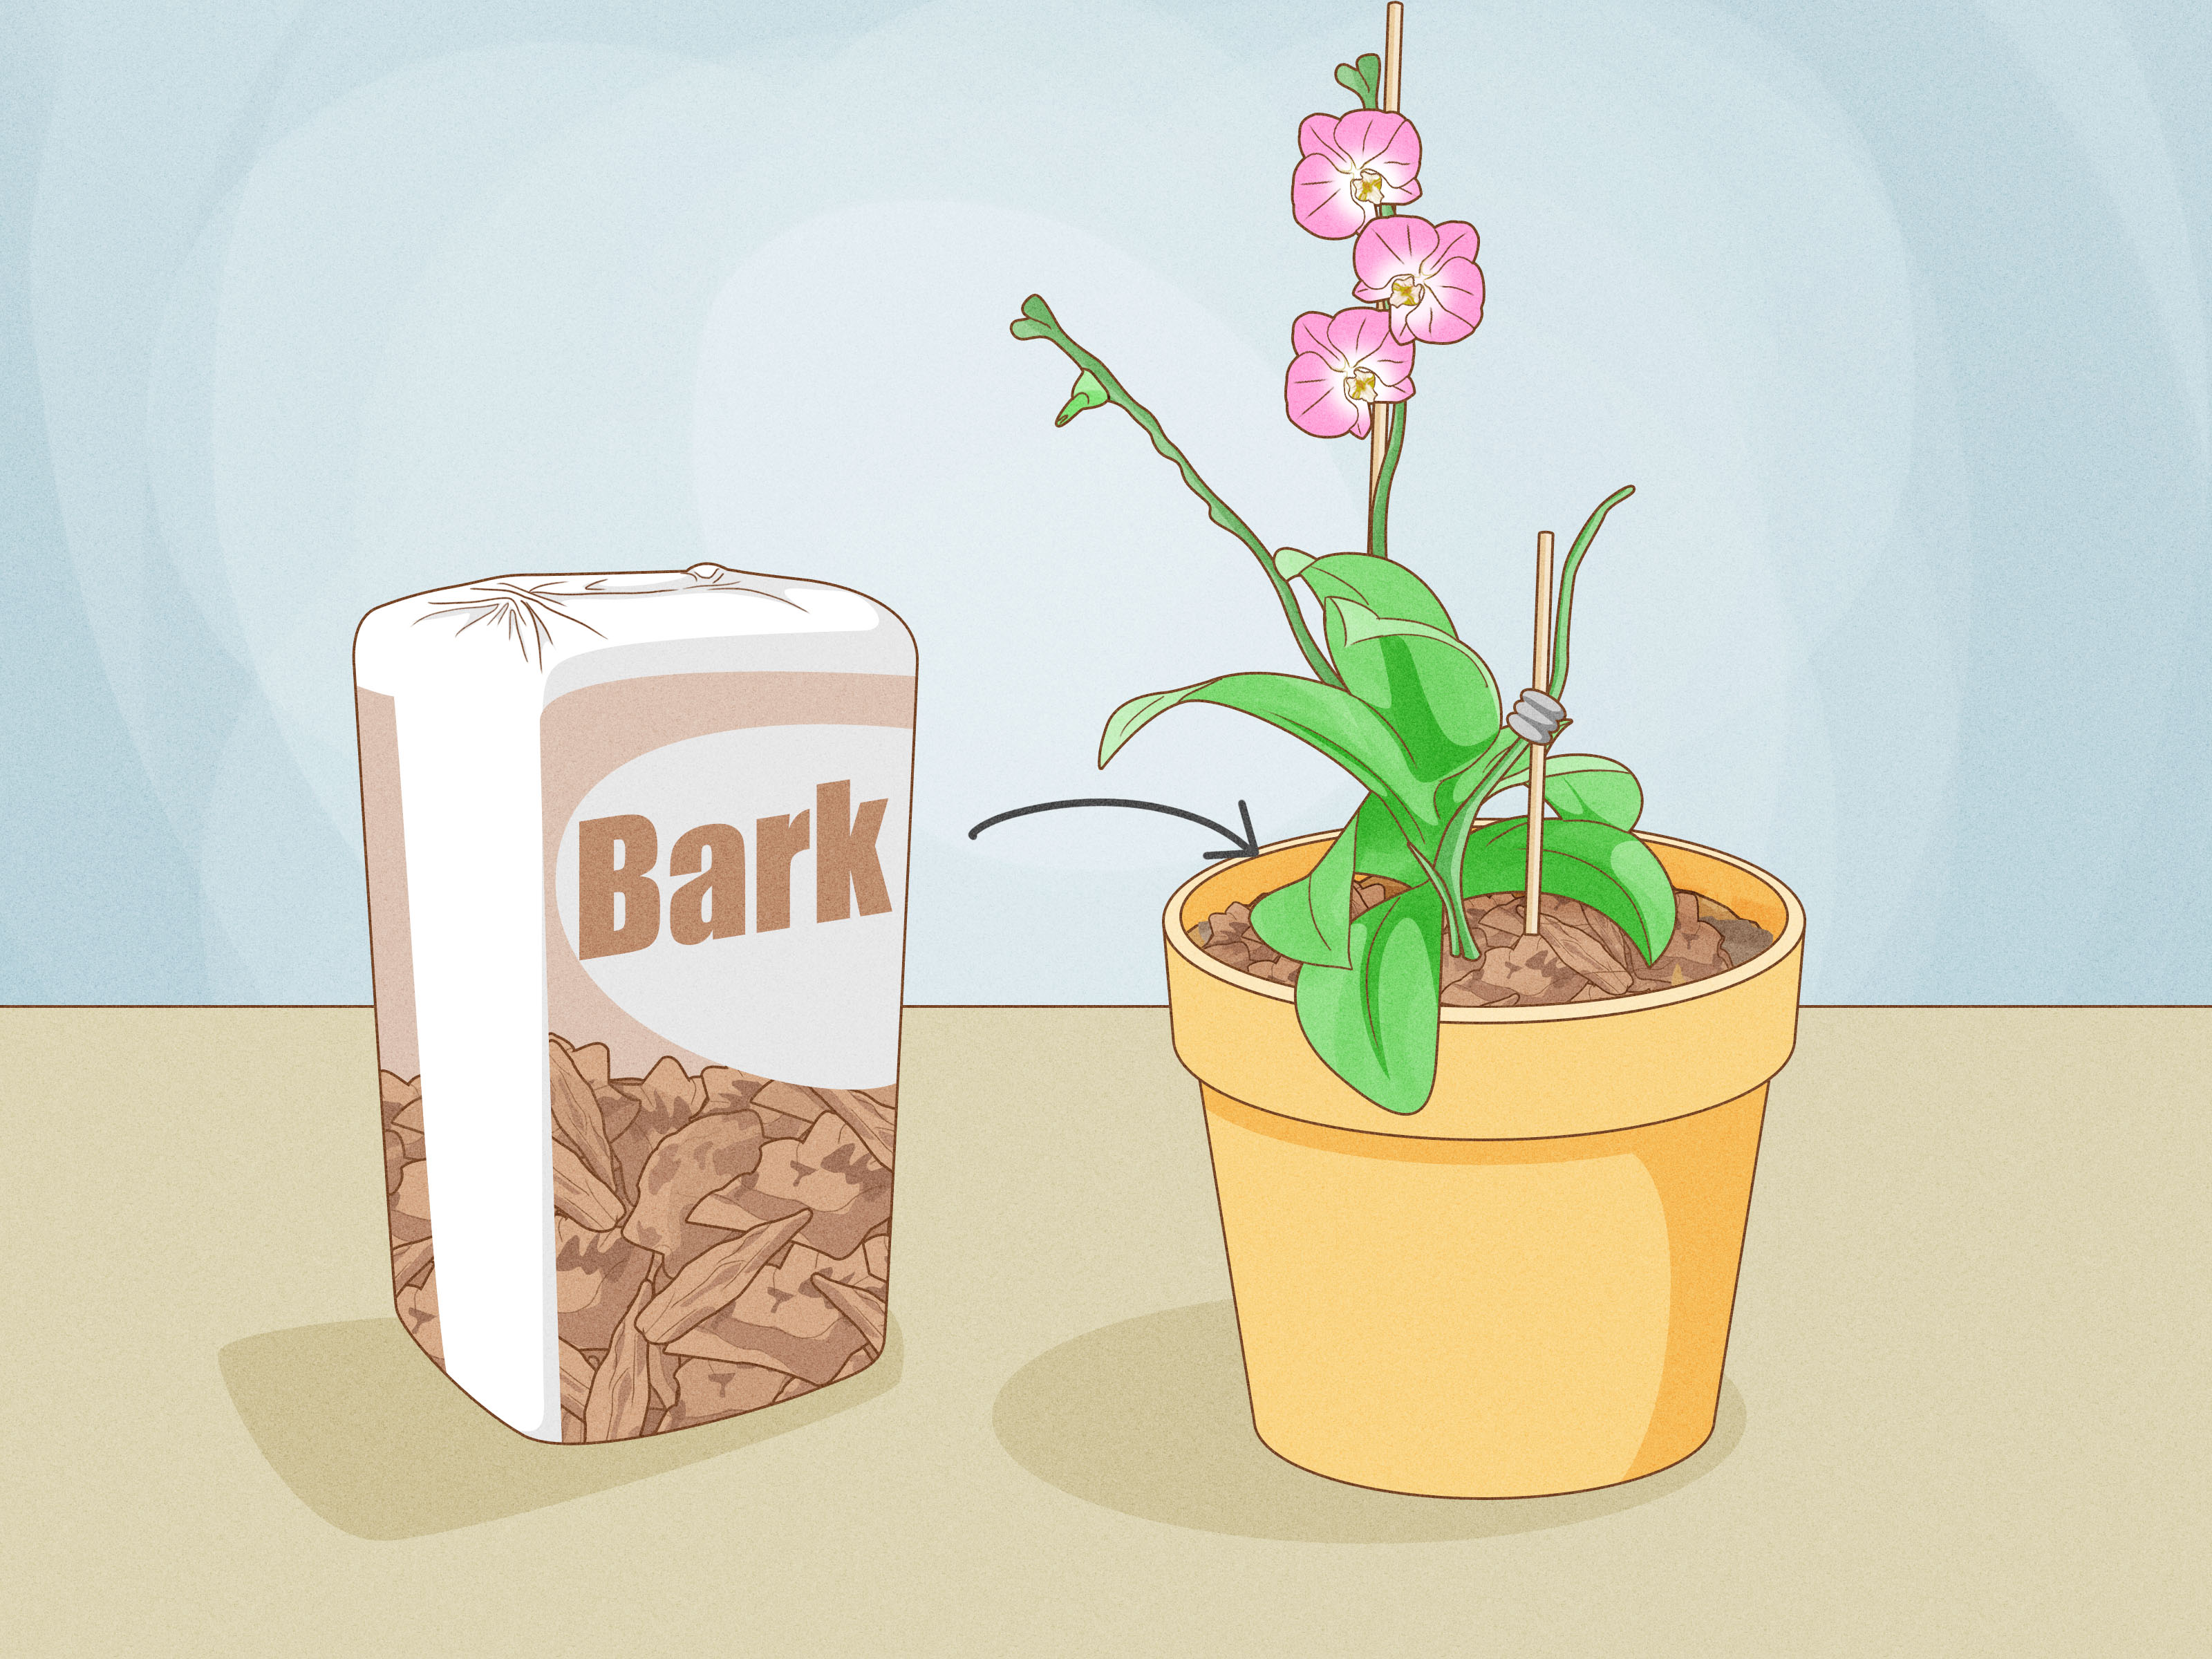
- Typical timing: replace potting media every 1–2 years (or when it looks like mulch and drains poorly).
- Use the right medium: a bark-based orchid mix (not standard potting soil).
- Pot choice: excellent drainage is non-negotiable.
- After repotting: water normally, but avoid heavy fertilizing for a short period while roots adjust.
Example Fix
A very common scenario: store-bought orchids packed in dense moss inside a decorative cachepot (no drainage).
It looks cute, but it’s basically a root sauna. Repot into a draining orchid pot with fresh bark, water thoroughly,
and let it breathe. Many “non-bloomers” turn into reliable yearly bloomers after this one change.
Way #3: Give a Seasonal Cue (Cooler Nights + a Short “Rest” Rhythm)
In nature, many orchids use environmental cuesespecially temperature shiftsto decide when to set a flower spike.
Indoors, where temperature can be the same every day, the plant may never get the memo that it’s “spike season.”
The Magic Ingredient: A Day/Night Temperature Difference
Many orchids respond well when nights are cooler than days. For moth orchids, a gentle cooling period in fall can help trigger spikes.
Some guidance suggests aiming for roughly a 10°F nighttime drop for a few weeks, and many growers target cooler nights in the
mid-50s to mid-60s °F range (as long as the plant isn’t exposed to damaging cold drafts).
How to Do This Safely at Home
- Fall window trick: crack a window slightly at night in early fall (if your climate allows) to create a gentle temperature drop.
- Cooler room strategy: move the orchid to a slightly cooler room at night, then return it to brighter warmth during the day.
- Avoid extremes: don’t chill the plant below its comfort zone, and keep it away from blasting HVAC vents.
Pair the Temperature Cue With a “Rest” Routine
After blooming, orchids often benefit from a short period where growth slows. This doesn’t mean neglect.
It means slightly easing off the “go-go-go” inputsespecially fertilizerwhile keeping light and careful watering steady.
Think of it as letting the plant recharge before it spends energy on another flowering cycle.
Don’t Panic About the Old Flower Spike
With Phalaenopsis, spikes sometimes rebloom. If the spike is still green and shows signs of potential buds, you can leave it.
If it turns brown or withers, removing it can help the plant focus energy on roots, leaves, and future spikes.
Either approach can workthe key is that the plant’s overall conditions support blooming.
Example Fix
If your home stays 72°F day and night year-round, your orchid may never get a seasonal signal.
Give it 2–4 weeks of cooler nights (while keeping bright, indirect light), and watch for a new spike within the next month or two.
If nothing happens, increase light firsttemperature cues work best when the plant has enough energy to respond.
Fast Troubleshooting Checklist (When Your Orchid Still Won’t Bloom)
- No spike, lots of dark leaves: increase light (most common fix).
- Wrinkled leaves, shriveled roots: underwatering or low humiditywater more thoroughly, then drain; consider a humidity tray.
- Soft/mushy roots, sour smell: overwatering or broken-down mixrepot and improve drainage.
- Healthy plant, zero spikes for years: add a fall temperature drop and confirm it’s getting enough light.
- Newer/younger orchid: some orchids won’t bloom until they’re more maturefocus on healthy growth first.
Grower Experiences and Takeaways (500-word bonus)
Because orchids are so common as gifts, many people share the same “first-time orchid” storyline: gorgeous blooms,
then… silence. What follows are real-world patterns growers commonly report when they finally figure out how to get orchids to bloom again.
Think of these as mini case studies you can borrowwithout having to make the same mistakes in your own living room.
Experience #1: “It Was Alive… But It Lived in a Cave”
One of the most frequent breakthroughs happens when someone realizes their orchid has been surviving in low light.
The plant looks finegreen leaves, maybe even a new leaf now and thenbut it never produces a flower spike.
The fix is usually simple: move it closer to a bright window (often east-facing), or add a small grow light.
Growers often notice leaf color shift from deep green to a healthier light green over time, and new roots begin to push.
The spike doesn’t appear overnight, but once the plant’s “energy budget” improves, blooming becomes much more likely.
Experience #2: “The Roots Were Basically in a Wet Sock”
Another classic: the orchid sits inside a decorative pot with no drainage, or it’s packed in dense moss that stays wet for days.
People water carefully, maybe even sparinglybut without airflow, roots still suffocate.
When growers finally unpot the orchid, they discover roots that are brown and mushy (rotting) mixed with a few firm survivors.
Repotting into fresh bark with a pot that drains well is often the turning point. After repotting, growers commonly say the orchid
“suddenly started acting like a plant again”new roots, firmer leaves, and eventually a spike the next season.
A monthly plain-water flush to clear fertilizer salts can also help keep roots from getting cranky.
Experience #3: “Perfect Care… Except It Never Felt Fall”
Some orchids get good light and decent watering, yet still won’t spike. In many of these cases, the missing piece is a temperature cue.
Many growers report success after giving the orchid cooler nights for a few weeks in early falloften by cracking a window at night
(weather permitting) or moving the plant to a cooler room after sunset. The key is “cooler,” not “cold.”
Once the orchid experiences that day/night shift, a spike can appear within weeks to a couple of monthsespecially when light is already adequate.
The Big Takeaway
Most rebloom success stories are not about fancy tricksthey’re about repeating the basics consistently:
bright, indirect light; a soak-and-drain watering style with airy media; and a seasonal temperature signal.
If you do those three things and stay patient, orchids are surprisingly reliable bloomers. They’re not trying to hurt your feelings.
They’re just negotiating for better working conditions.