Granite countertops are the superheroes of the kitchen: strong, elegant, heat-resistant, and generally unfazed by the daily chaos of coffee mugs, cookie sheets, and one suspiciously heavy air fryer. But even granite can pick up a scratch, scuff, or dull mark over time. Before you panic, price out a full countertop replacement, or begin emotionally apologizing to your island, take a breath. Many light marks can be improved at home with gentle cleaning, careful polishing, or a small repair kit.
The key is knowing what kind of “scratch” you are dealing with. Some marks are not true scratches at all. A gray line may be metal transfer from a pot, knife, or baking tray. A dull streak may be damaged sealer. A shallow surface scratch may respond to buffing. A deep scratch that catches your fingernail, however, usually needs a more advanced repair or a professional stone restoration technician.
This guide explains three practical ways to remove a scratch from a granite countertop, from the gentlest fix to the more serious repair options. You will also learn what not to use, how to prevent future damage, and when it is time to stop DIY-ing before your countertop starts writing a complaint letter.
Before You Start: Is It Really a Scratch?
Granite is a hard natural stone, but the polished finish and protective sealer can still show wear. Before choosing a repair method, inspect the mark carefully in bright, angled light. Run a clean fingertip over the area, then gently drag a fingernail across it. If your nail does not catch, the mark is likely superficial. If your nail catches or you can feel a groove, the scratch is deeper.
Common Granite Countertop Marks
- Surface scuff: A light dull mark caused by cookware, grit, or a rough object sliding across the counter.
- Metal transfer: A gray or silver streak left behind by a pan, knife, or appliance foot.
- Sealer damage: A cloudy or dull patch caused by harsh cleaners, acidic spills, or abrasive scrubbing.
- True scratch: A visible line or groove in the stone or finish.
- Chip or gouge: A deeper damaged area that may need filler, resin, or professional restoration.
Once you know what you are dealing with, you can choose the safest method. Always start with the least aggressive approach. Granite is tough, but that does not mean it wants to be attacked with steel wool like an old grill grate.
Tools and Supplies You May Need
You will not need every item for every method, but having the right supplies helps you avoid turning a small scratch into a countertop soap opera.
- Warm water
- Mild dish soap or pH-neutral stone cleaner
- Soft microfiber cloths
- Non-scratch sponge
- Baking soda, used carefully for very light scuffs
- Granite polishing powder or granite polishing cream
- Soft buffing pad or white felt pad
- Granite-safe sealer
- Painter’s tape
- Color-matched epoxy or stone repair resin for deeper damage
- Plastic scraper or razor blade held flat, if recommended by the repair kit
- Disposable gloves
Avoid vinegar, lemon juice, bleach, ammonia, harsh degreasers, abrasive powders, scouring pads, and steel wool. These products can dull the finish, weaken the sealer, or scratch the surface. In other words, if the cleaner smells like it could strip paint off a battleship, it probably does not belong on your granite.
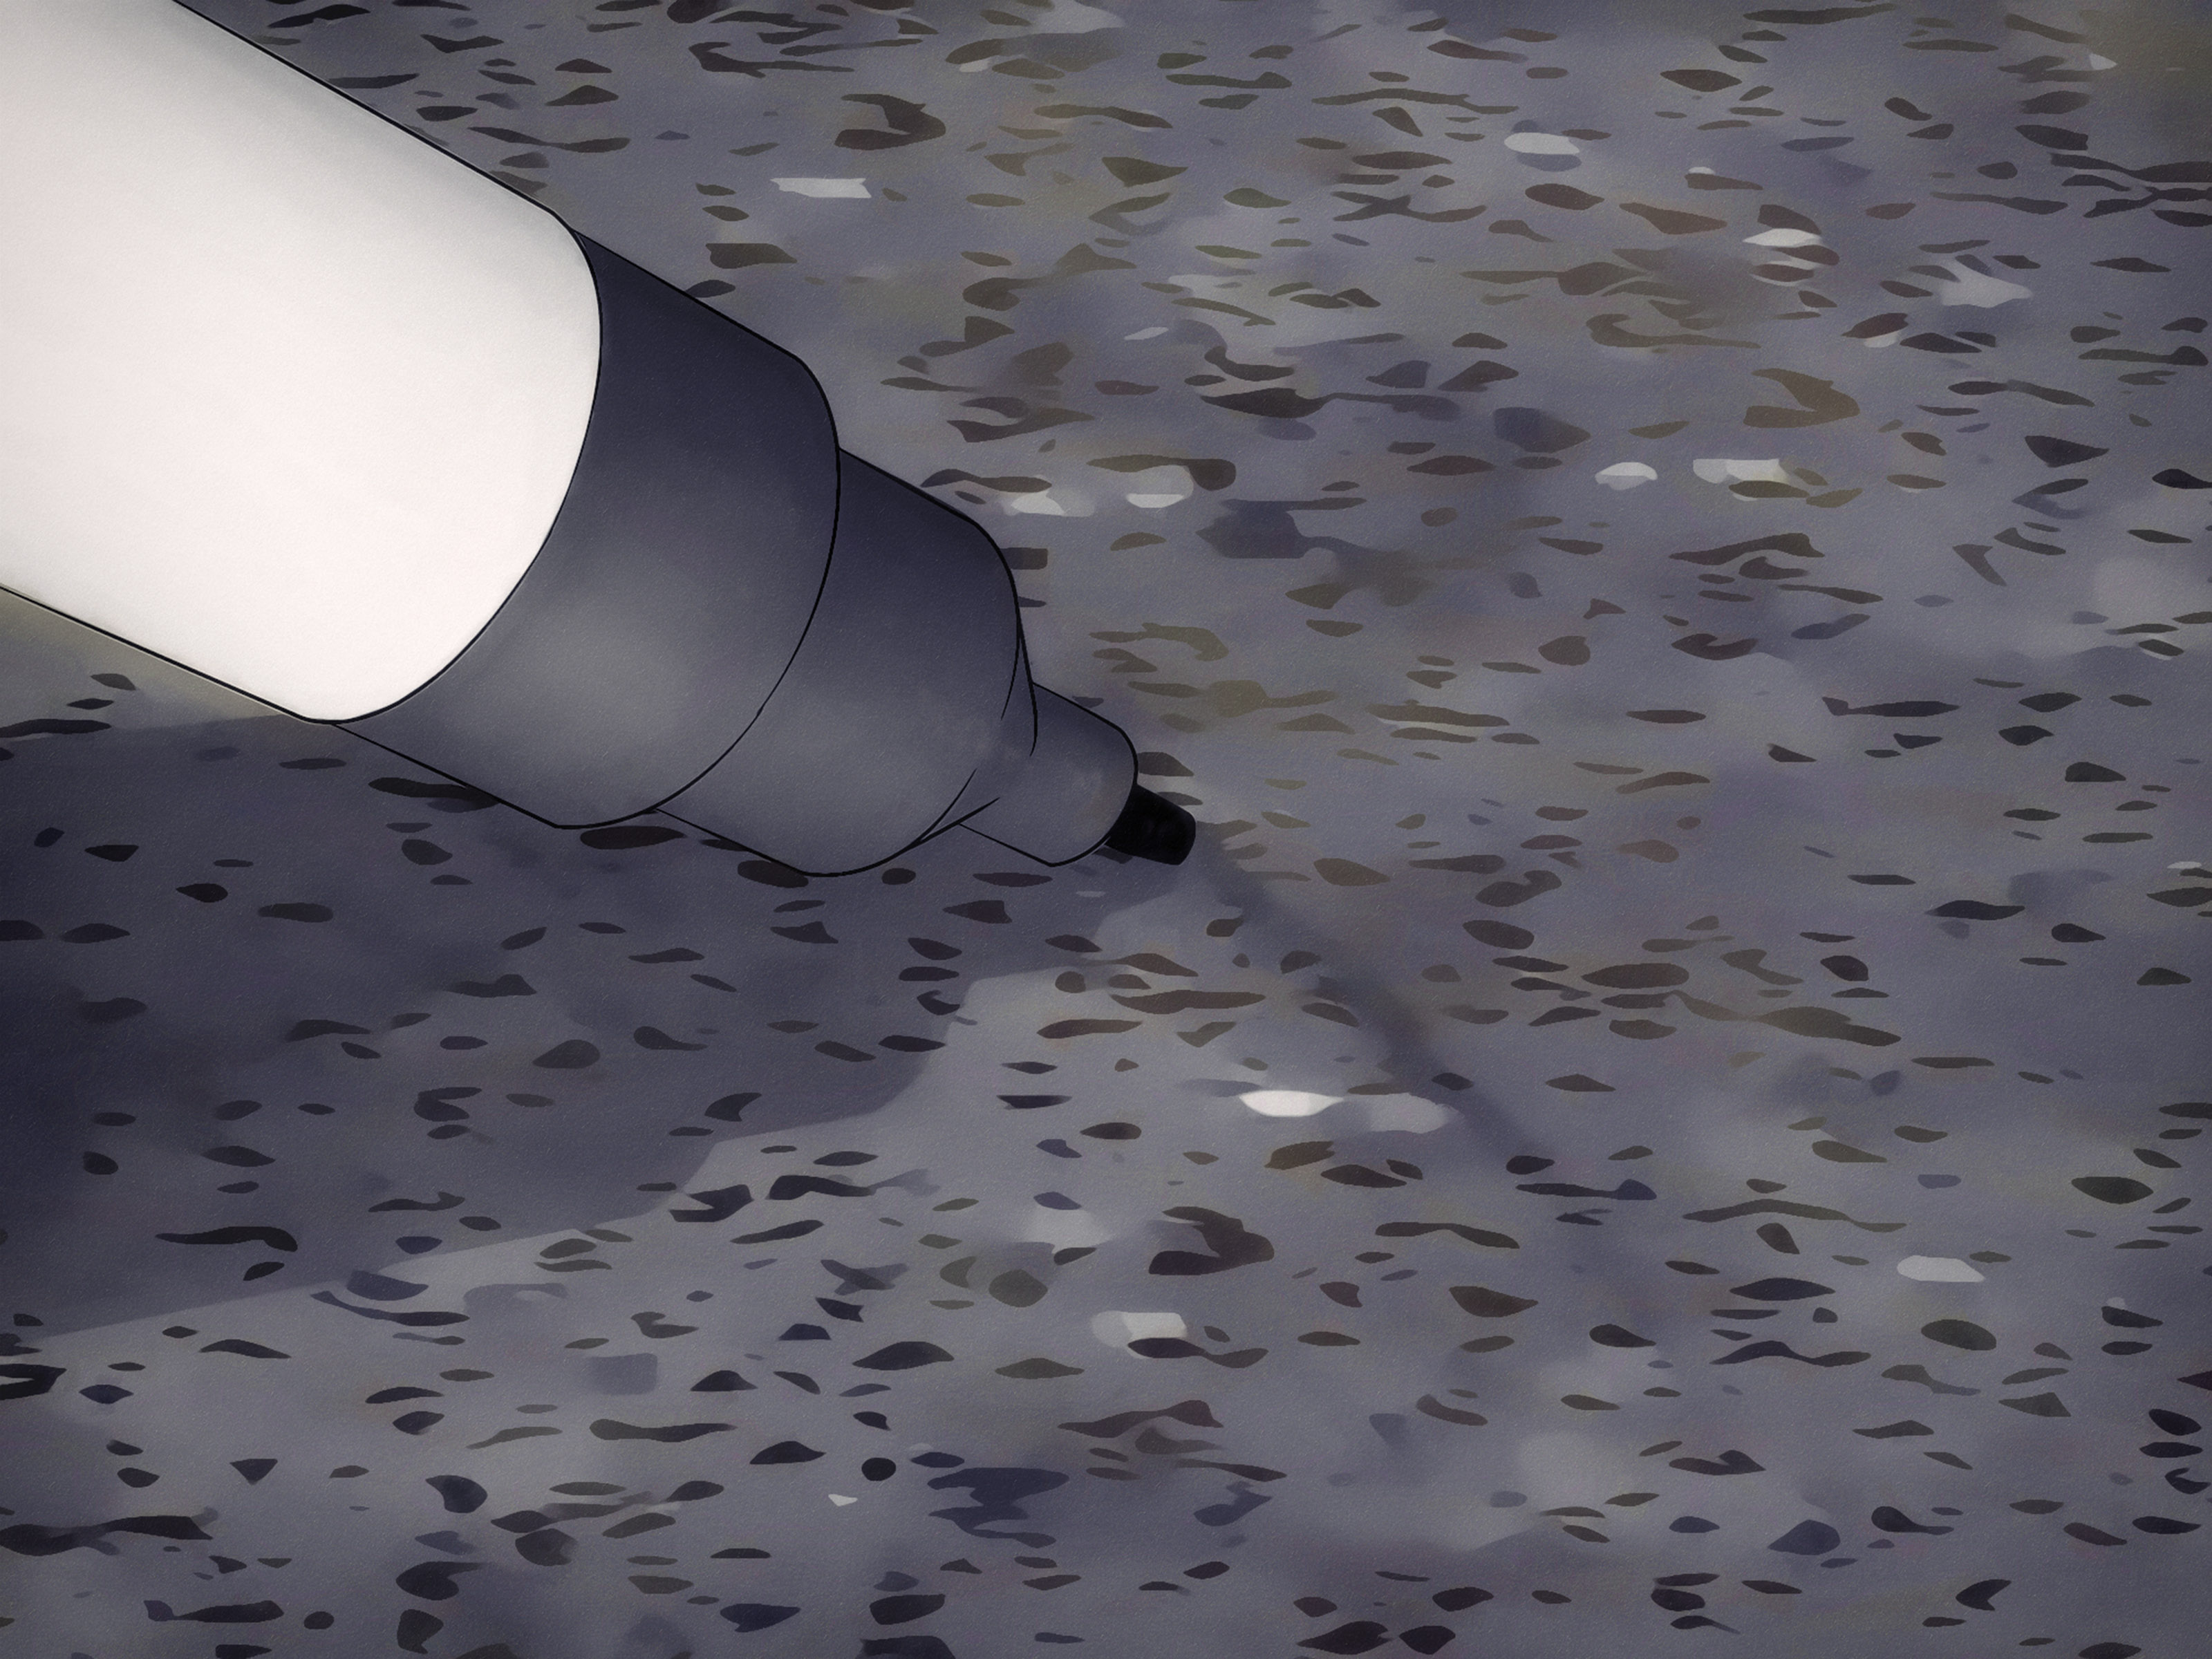
Way 1: Clean and Buff Out a Light Surface Scratch
The first and safest method is simple cleaning and hand buffing. This works best for faint surface scratches, cloudy rub marks, and metal transfer that looks worse than it really is. It is also the method you should try before using polishing compounds or fillers.
Step 1: Clean the Area Gently
Mix a few drops of mild dish soap with warm water. Dip a microfiber cloth into the solution, wring it out, and wipe the scratched area. Do not flood the countertop. Granite is often sealed, but natural stone can still absorb moisture if the sealer is weak or worn.
Use a clean, damp cloth to remove soap residue. Then dry the surface thoroughly with another microfiber cloth. Soap film can make the countertop look dull, which is not exactly helpful when you are trying to judge whether the scratch is improving.
Step 2: Buff in Small Circles
With a dry microfiber cloth, buff the mark using small circular motions. Apply light pressure only. The goal is to lift residue and even out the appearance, not to grind your countertop into submission.
If the mark fades, continue gently for another minute or two, then wipe clean. If the mark disappears completely, congratulations. You have just performed countertop magic, the least dramatic branch of home improvement.
Step 3: Try a Mild Baking Soda Paste for a Stubborn Scuff
For a very light scuff, you may try a soft paste made from baking soda and water. Mix the paste until it has the texture of toothpaste. Apply a small amount to the mark, then rub gently with a damp microfiber cloth. Use minimal pressure and test first in an inconspicuous spot.
After buffing, rinse thoroughly with a damp cloth and dry the area completely. Baking soda is mild, but it can still act as a fine abrasive. Do not use it like sandpaper, and do not let paste dry into the stone.
Best For
- Faint surface scuffs
- Light gray metal marks
- Dull spots caused by residue
- Scratches that do not catch your fingernail
When to Stop
If the scratch remains visible after gentle cleaning and buffing, do not keep rubbing harder. More pressure can create a larger dull area. Move to a granite polishing product or consider professional help if the mark is deep.
Way 2: Use a Granite Polishing Compound
If cleaning and buffing improve the scratch but do not fully remove it, a granite polishing cream or powder may help restore shine and reduce the visibility of shallow marks. This method is more advanced than simple cleaning, so read the product instructions carefully.
Step 1: Choose a Stone-Safe Polishing Product
Use a product labeled specifically for granite or natural stone. Do not use automotive rubbing compound, bathroom cleaner, glass cooktop polish, or mystery paste from the back of the garage. Granite polishing products are designed to work with stone surfaces and are less likely to damage the finish when used correctly.
Step 2: Tape Off the Area
Place painter’s tape around the scratched area to create a small work zone. This helps you focus on the damaged spot and prevents unnecessary polishing on a wide section of the countertop.
Step 3: Apply the Polish
Apply a small amount of polishing compound to the scratch according to the manufacturer’s directions. Some products are used dry, while others require a small amount of water. Using the wrong method can cause haze, so this is one of those rare moments when reading the label is not optional.
Step 4: Buff Slowly and Evenly
Using a soft cloth, felt pad, or recommended buffing pad, rub the polish over the scratch in small circles. Keep the pressure even. Work slowly. If the surface becomes dry and the product instructions allow it, mist lightly with water.
For a small scratch, hand buffing is often enough. For larger dull areas, a low-speed polisher may be used by experienced DIYers, but this comes with risk. Too much speed, pressure, or heat can create swirl marks or uneven shine. If you are not comfortable using a polisher, do not practice on the most visible part of your kitchen island. That is how “quick fix” becomes “family legend.”
Step 5: Wipe, Dry, and Inspect
Remove the polishing residue with a damp microfiber cloth, then dry the area thoroughly. Look at the counter from different angles. If the scratch is less visible and the shine looks even, stop. Repeating the process too many times can create a polished patch that looks different from the surrounding stone.
Best For
- Shallow scratches in polished granite
- Small dull marks
- Light wear from everyday use
- Areas where cleaning helped but did not fully restore shine
Important Warning About Honed Granite
Honed granite has a matte or satin finish, not a glossy polished finish. A standard granite polish can make a honed area look shiny and uneven. If your countertop is honed, leathered, brushed, or otherwise textured, use products made for that finish or contact a stone professional.
Way 3: Fill or Professionally Repair a Deeper Scratch
If your fingernail catches in the scratch, polishing alone probably will not remove it. A deeper scratch may need filling with color-matched epoxy, acrylic resin, or a professional stone repair system. This method is best for scratches that are narrow but visible, small chips near the edge, or gouges that collect dirt.
Step 1: Clean and Dry the Scratch
Clean the area with mild soap and water or a pH-neutral stone cleaner. Remove every bit of grease, dust, and residue. Dry the area completely. Filler will not bond well to a damp or dirty surface.
Step 2: Match the Color
Granite is patterned, speckled, and full of natural color variation, which is lovely until you try to match a repair. Many stone repair kits include pigments that can be blended to match black, brown, white, gray, beige, or multicolored granite. For busy granite patterns, a slightly translucent filler often blends better than a flat solid color.
Step 3: Apply the Filler Carefully
Follow the repair kit instructions exactly. Apply a small amount of filler into the scratch, slightly overfilling the damaged line. Use a plastic scraper to level the repair. Some kits cure with time, while others use a special light. Do not rush the curing process. Countertop repairs, much like bread dough and toddlers putting on shoes, operate on their own schedule.
Step 4: Level and Polish the Repair
Once the filler cures, remove excess material as directed. Some kits call for a razor blade held nearly flat; others include polishing pads. Use extreme caution. A blade held at the wrong angle can create new scratches, and nobody wants a sequel.
After leveling, buff gently with a microfiber cloth. If the area looks slightly dull, use a granite-safe polish only if it matches your countertop finish.
Step 5: Call a Professional for Large or Obvious Damage
Professional stone restoration technicians have diamond abrasives, polishing equipment, resins, and experience matching stone finishes. If the scratch is long, deep, located in a highly visible area, or surrounded by uneven shine, professional repair is usually the smartest choice.
A professional may grind, hone, polish, fill, and reseal the affected area so it blends with the rest of the countertop. This is especially important for black granite, high-gloss finishes, and countertops with strong lighting overhead, where every swirl mark likes to make a dramatic entrance.
Best For
- Scratches that catch a fingernail
- Small chips or gouges
- Damage near edges or sink cutouts
- High-value countertops where appearance matters
- Repairs that need color matching
Should You Reseal Granite After Removing a Scratch?
In many cases, yes. Cleaning, polishing, and scratch repair can disturb the protective sealer, especially if you worked the area with a polishing compound. Sealer does not make granite scratchproof, but it helps the stone resist stains and moisture. After the repair area is clean and completely dry, apply a granite-safe sealer according to the product directions.
You can also do a simple water test. Place a few drops of water on the counter and wait several minutes. If the water beads on the surface, the sealer is likely still doing its job. If the water darkens the stone or absorbs quickly, it may be time to reseal.
Mistakes to Avoid When Removing Scratches from Granite
Granite repair is as much about restraint as action. The wrong product can turn a small scratch into a dull patch, stain, or uneven finish. Avoid these common mistakes:
- Using vinegar or lemon juice: Acidic cleaners can damage the surface and weaken the sealer.
- Scrubbing with steel wool: It can leave scratches and metal particles behind.
- Using abrasive powders: Harsh powders can dull polished granite.
- Applying too much pressure: Aggressive rubbing can widen the dull area.
- Using random household polish: Furniture polish, car polish, and glass polish are not granite repair products.
- Skipping a test spot: Always test cleaners and polishes in a hidden area first.
- Ignoring the finish: Polished, honed, and leathered granite require different care.
How to Prevent Future Scratches
The easiest scratch to remove is the one you never create. Granite is durable, but daily habits make a big difference.
- Use cutting boards instead of cutting directly on the countertop.
- Lift appliances instead of dragging them.
- Put felt pads under countertop appliances, trays, and decorative items.
- Wipe away crumbs, sand, and grit before cleaning.
- Use trivets under hot pans, especially for long heat exposure.
- Clean with mild dish soap, warm water, or pH-neutral stone cleaner.
- Reseal when the countertop no longer repels water well.
Pay special attention near coffee stations, cooking zones, and the sink. These areas see the most sliding, scraping, spilling, and general kitchen gymnastics.
When to Call a Granite Repair Professional
DIY methods are useful for light scratches, but some damage is better left to a professional. Call a stone restoration expert if the scratch is deep, long, white-looking, rough to the touch, or located in a very visible area. You should also call a professional if the counter has a large dull patch, a chip along the edge, or a finish that no longer matches after polishing.
Professional repair costs vary depending on the size of the damage, the stone type, the finish, and the local market. Still, a targeted repair is often far less expensive than replacing a slab. More importantly, a professional can restore the finish without leaving a shiny island in the middle of a matte countertop, which is the stone-care equivalent of wearing one tap shoe to a business meeting.
Real-Life Experience Notes: What Granite Scratches Teach Homeowners
After seeing how homeowners usually deal with granite scratches, one lesson becomes clear: the first reaction is almost always panic, and the second reaction is usually over-cleaning. Someone spots a line near the stove, grabs the strongest cleaner under the sink, scrubs like they are trying to erase a crime scene, and then wonders why the area looks duller. The truth is that granite rewards patience. A soft cloth and mild cleaner often reveal that the “scratch” is just a scuff, residue, or metal mark sitting on top of the sealer.
One common experience involves small appliances. A stand mixer, toaster oven, espresso machine, or air fryer gets dragged forward every morning and pushed back every afternoon. After months of this tiny countertop commute, faint scratches appear underneath the appliance feet. The fix may be simple polishing, but the better lesson is prevention. Felt pads, silicone mats, or simply lifting instead of dragging can save the surface from repeated wear.
Another frequent situation happens around the sink. Rings, pans, baking sheets, and cast-iron skillets all pass through this zone. A homeowner may notice gray lines and assume the granite is scratched forever. Sometimes those marks are just metal transfer. Gentle cleaning and buffing can reduce them dramatically. The important part is not to attack the line with a green scouring pad. That pad may remove the metal mark, but it can also leave behind a larger dull spot that is far more noticeable.
People with dark granite often have the most dramatic experience because scratches and haze show more clearly under bright kitchen lights. Black and deep green stones can reveal every swirl, fingerprint, and polishing mistake. With dark granite, less is more. Test products carefully, use very light pressure, and stop as soon as the mark improves. A professional repair may be worth it for deep scratches because matching the shine on dark polished granite is not always easy.
Honed granite brings a different lesson. Many homeowners assume all granite should be shiny, so they use a polish on a matte surface. The result can be a glossy patch that looks like the countertop has developed a spotlight. Honed and leathered finishes need finish-specific care. If the counter was never glossy, do not try to make one small section sparkle like a showroom floor.
The best overall experience-based advice is to build a small granite care kit before trouble appears. Keep a pH-neutral stone cleaner, microfiber cloths, a non-scratch sponge, a granite-safe sealer, and felt pads in one place. That way, when a scratch appears, you are not tempted to improvise with bathroom cleaner and a scouring pad. Granite may be tough, but smart maintenance keeps it beautiful for decades.
Conclusion
Removing a scratch from a granite countertop starts with identifying the damage. For light marks, gentle cleaning and microfiber buffing may be all you need. For shallow scratches, a granite polishing compound can help restore shine and reduce visibility. For deeper scratches, chips, or grooves that catch your fingernail, a color-matched repair kit or professional stone restoration is the safer route.
The golden rule is simple: start gentle, test first, and avoid harsh cleaners. Granite is durable, but it is not invincible. With the right method, a little patience, and fewer “let’s just scrub harder” moments, your countertop can return to looking smooth, polished, and ready for its next starring role in your kitchen.
Note: If the scratch is deep, widespread, or located on a high-gloss or specialty-finish countertop, consult a professional stone restoration technician before attempting aggressive polishing or sanding.