Shirt collars are like tiny, judgmental billboards wrapped around your neck. They sit in the splash zone for sweat,
skin oils, sunscreen, beard balm, makeup, and whatever “mystery residue” your commute adds for free. The result?
That grayish ring, yellowing, or crunchy collar edge that makes an otherwise-clean shirt look like it just crawled
out of a gym bag.
The good news: collar stains are usually a combo of oils (grease), proteins (sweat), and everyday dirt. That means
you can beat them with the right chemistry and a little strategy. Below are four reliable, fabric-safe approaches
that work for most washable shirtsplus tips for preventing the dreaded “ring around the collar” from becoming a
permanent personality trait.
Before You Start: 60 Seconds That Save Shirts
1) Check the label (yes, really)
If the shirt says “dry clean only” or is delicate silk/wool, don’t go full mad scientist. For washable cotton,
polyester blends, and most dress shirts, you’re good to proceed.
2) Identify what you’re fighting
- Gray/black soil: everyday dirt + oils (common on dress shirt collars).
- Yellowing: sweat + body oils, sometimes deodorant or product buildup.
- Waxy makeup/sunscreen: oily stains with pigmentsneeds degreasing first.
3) Don’t “cook” the stain
Heat can set certain stains (especially protein-based ones like sweat). When in doubt, start with cool/cold water,
then increase temperature after pre-treating. Think of it like negotiating: begin politely before you escalate.
4) Spot-test new products
Test your cleaner on an inside seam or hem. If color shifts or fabric looks unhappy, switch to a gentler method.
Way 1: Degrease With Dish Soap + Gentle Scrubbing
Collar stains are often oil-based, and dish soap is designed to break down grease. This is the best “first-line”
method because it’s simple, cheap, and surprisingly effective.
What you’ll need
- Grease-cutting dish soap (a few drops)
- Soft toothbrush or small laundry brush
- Cool water
- Your regular laundry detergent
Steps
- Wet the collar with cool water. This helps the soap spread and reduces friction on fabric fibers.
-
Add dish soap directly to the stained area. Use a small amountabout the size of a dime for one
collar. -
Work it in gently. Scrub in small circles for 30–60 seconds. You’re persuading the stain to
leave, not sanding a deck. - Let it sit 5–10 minutes. This soak time lets the surfactants do their job.
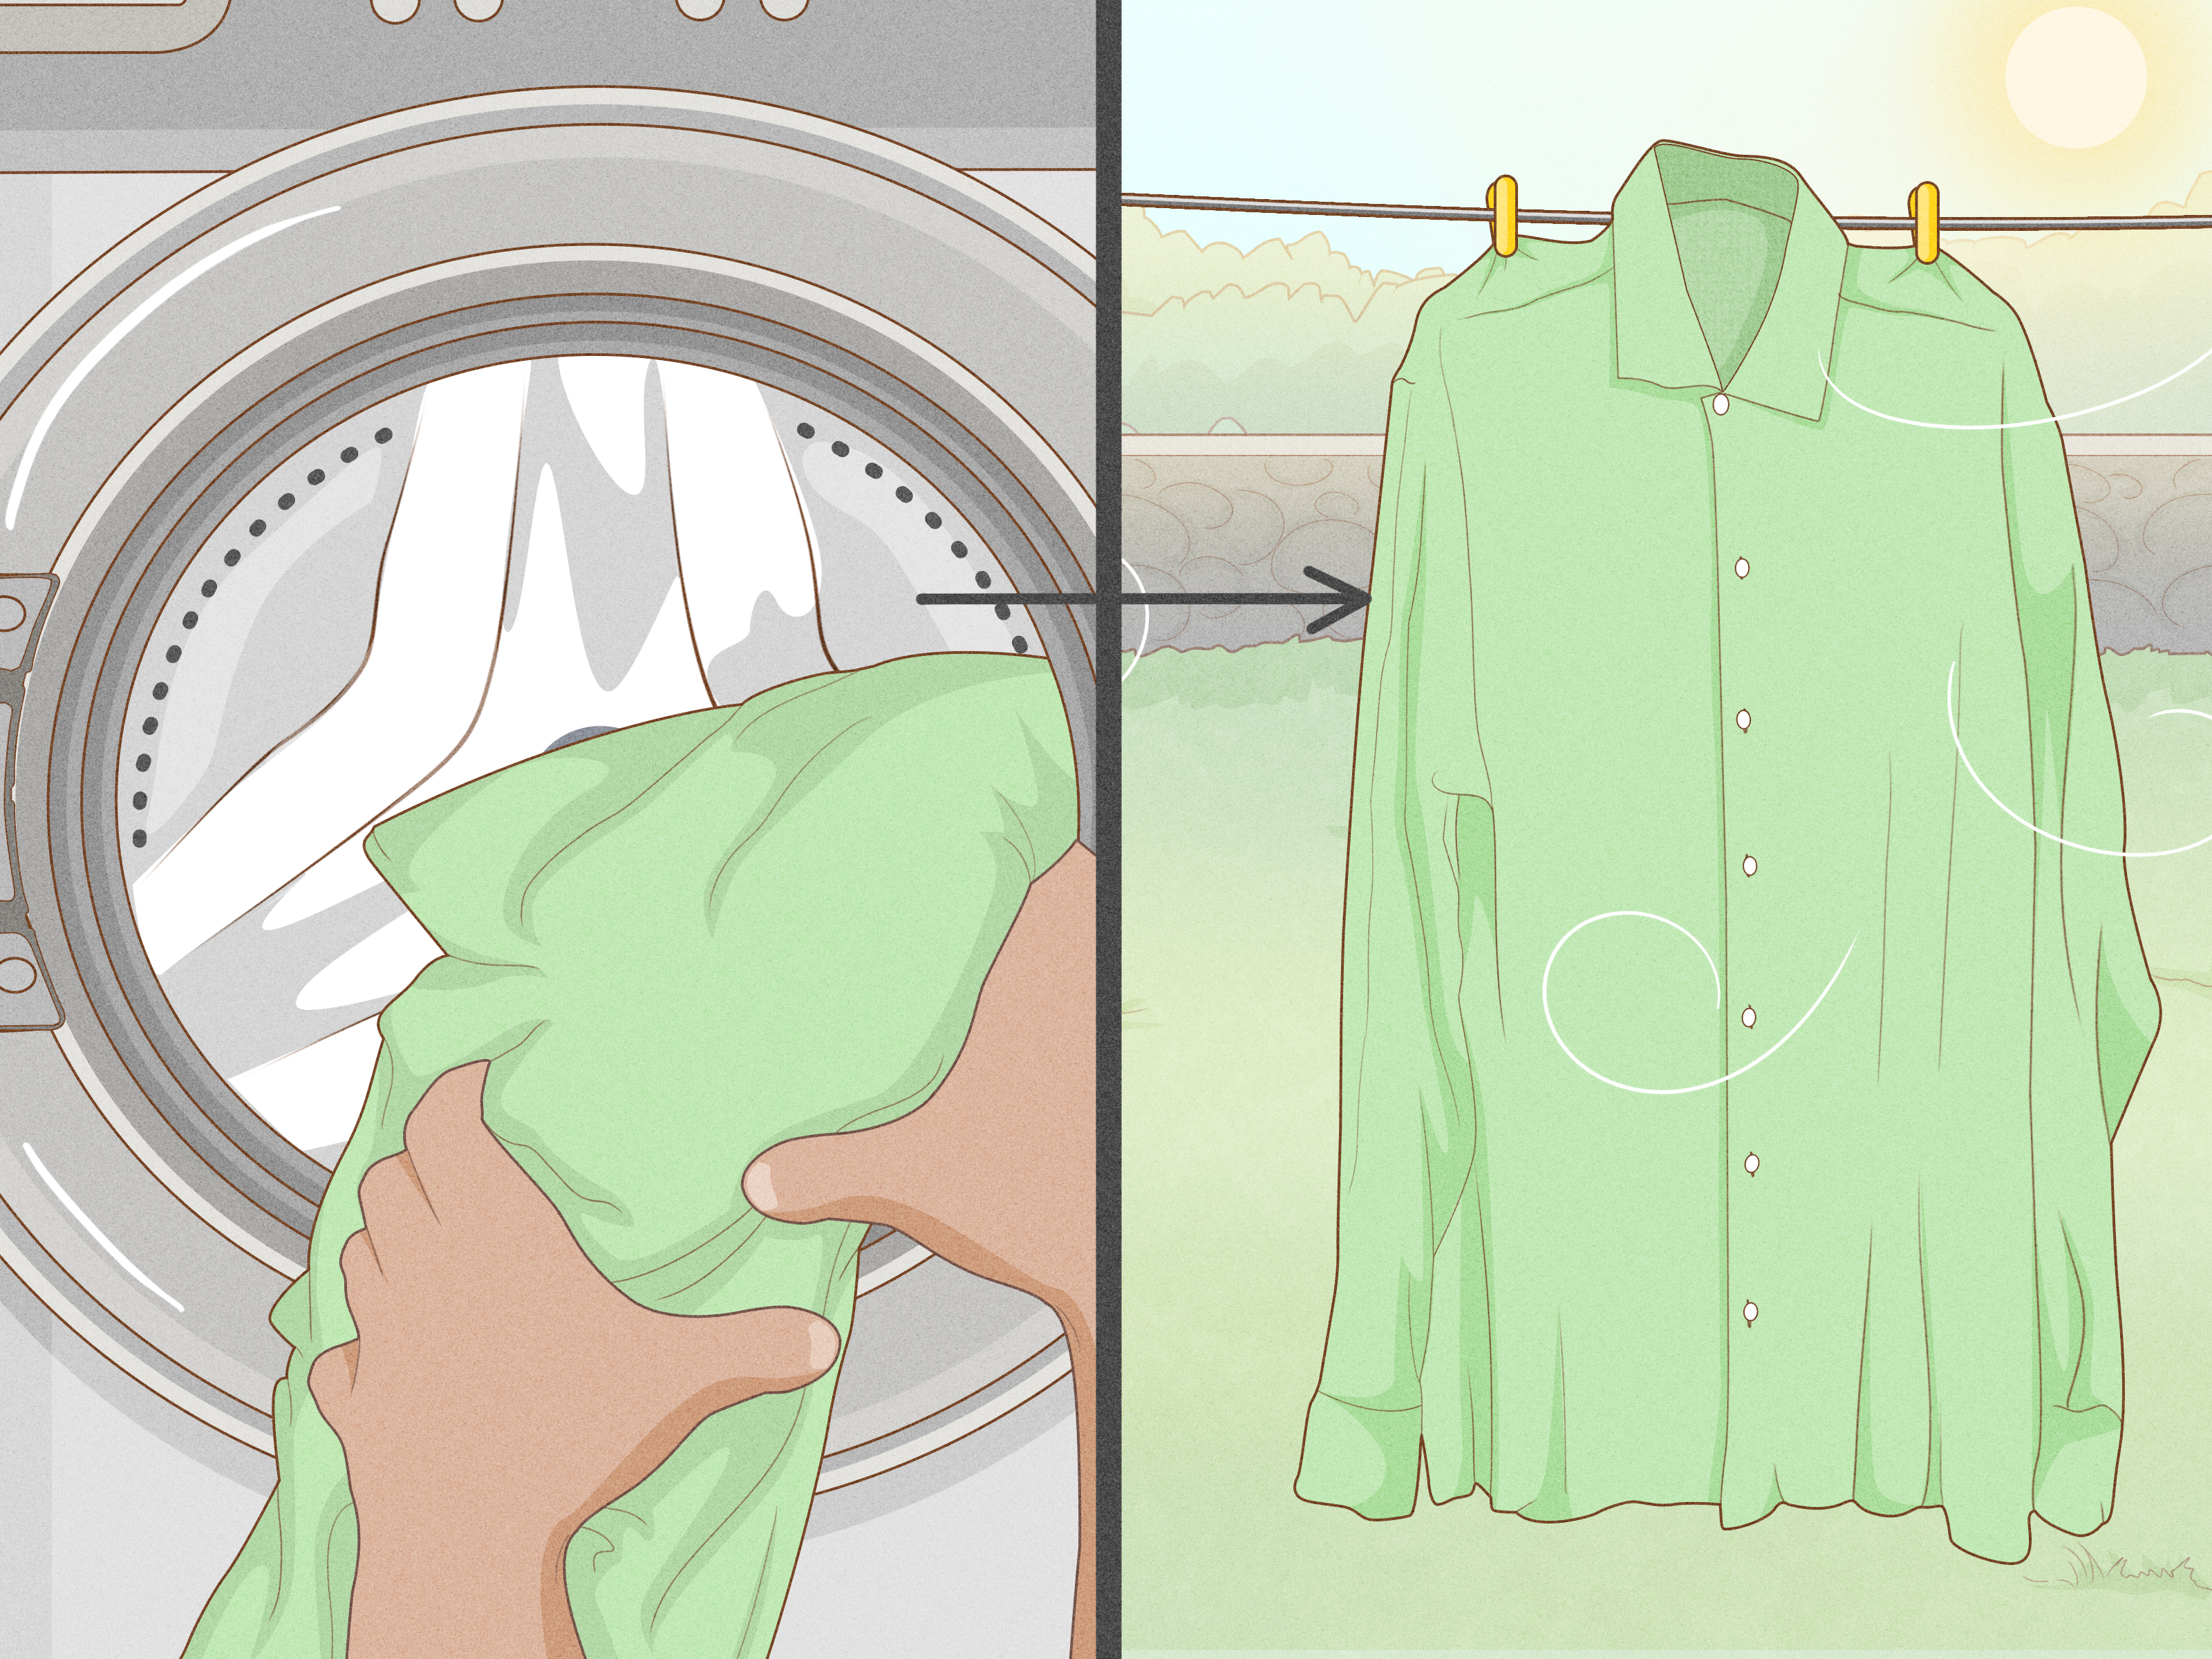
- Rinse and wash as usual. Use your normal detergent and the warmest water safe for the fabric.
-
Air-check before drying. If you put a stained collar in the dryer, you may turn “almost gone”
into “forever.”
When this works best
- Fresh collar rings
- Oily, gray grime on dress shirts
- Makeup or sunscreen transfer near the neckline
Pro tip
If you’re laundering a white oxford that looks clean everywhere except the collar, do this method first. It often
removes enough oil that the rest of your wash cycle can finish the job.
Way 2: Lift Grime With a Baking Soda Paste (Gentle “Micro-Scrub”)
Baking soda paste is great for collars that feel “filmy” or have dull buildup. It adds mild abrasion plus
deodorizing and soil-lifting powerwithout being harsh like scouring powder.
What you’ll need
- Baking soda
- Warm water
- Soft toothbrush
- Laundry detergent
Steps
- Mix a paste. Combine baking soda with a little warm water until it’s spreadable (like toothpaste).
- Apply to the collar. Focus on the inner collar band where skin oils collect.
- Gently scrub. 30–60 seconds is usually enough. Don’t grind; glide.
- Let it dry or sit 10–20 minutes. This gives the paste time to bind and lift soils.
- Wash normally. Add detergent and launder using fabric-safe settings.
When this works best
- Stubborn “shadow collar” that survives normal washing
- Light yellowing on white shirts (especially when combined with Way 3)
- Collars that feel stiff from product buildup
Common mistake
Over-scrubbing. Most collar fabrics are tightly woven but not invincible. If you scrub like you’re erasing your
browsing history, you may fray the collar edge.
Way 3: Soak in Oxygen Bleach for Deep Cleaning and Yellowing
Oxygen bleach (often sold as “color-safe bleach”) works more slowly than chlorine bleach, but it’s a powerhouse
for dingy collars, set-in sweat stains, and overall brightening. It’s especially useful for white shirts that have
turned slightly gray or yellow around the neck.
What you’ll need
- Oxygen bleach powder (follow package directions)
- A basin, bucket, or sink
- Warm-to-hot water (as allowed by fabric)
- Time (this method loves patience)
Steps
-
Dissolve the oxygen bleach fully. Add it to water first, stir, then add the shirt. Undissolved
powder can leave specks or uneven light spots. -
Soak the shirt. Aim for at least 1 hour. For stubborn collar stains, longer soaks can help
(even overnight for tough cases), as long as the fabric is colorfast and washable. - Agitate the collar area. Swish the shirt or gently rub collar fabric against itself.
- Wash after soaking. Use your detergent. Consider an extra rinse if the shirt feels “soapy.”
- Inspect before drying. If the stain remains, repeat the soak or combine with Way 1 first.
When this works best
- Yellow collars caused by sweat/body oils
- Set-in grime that laughs at quick pre-treatments
- Brightening whites and refreshing “dull” shirts
Safety note
Oxygen bleach is generally gentler than chlorine bleach, but you still want to follow directions, avoid mixing with
incompatible cleaners, and spot-test on colored shirts.
Way 4: Enzyme Pre-Treat + Proper Wash Technique (The “Science + Routine” Method)
If your collar stains are sweat-heavy (protein + oils) or you’ve got a recurring ring that keeps coming back,
enzymes and good wash habits are the long-term fix. Enzyme detergents break down proteins so the wash can rinse them
away instead of “redistributing” them.
What you’ll need
- Liquid laundry detergent with enzymes or an enzyme-based pre-treater
- A toothbrush or soft brush
- Cool water (for the first rinse)
- Optional: white vinegar (as a rinse aid)
Steps
- Rinse the collar with cool water. This helps with sweat/protein residue before you introduce heat.
- Apply enzyme detergent directly to the collar. Cover the stained band completely.
- Gently brush it in. 20–30 seconds is enough. Let it sit about 5 minutes (or per product directions).
- Wash with a quality detergent. Use the warmest water safe for the fabric after pre-treating.
-
Consider a “rinse helper.” If collars feel stiff or gray, a splash of white vinegar in the rinse
compartment can help reduce leftover detergent and mineral buildup (skip this if your machine/manual warns against it). - Skip overdosing detergent. Too much soap can trap soils and leave fabric looking dull.
When this works best
- Repeat offenders: collars that stain again quickly
- Heavy perspiration, sports shirts, summer workwear
- Any “I washed it twice and it’s still there” situation
Quick Troubleshooting: Collar Stain Problems (and Fixes)
The stain lightened but didn’t disappear
- Do Way 1 (degrease) first, then Way 3 (oxygen soak). Oil can block bleach and detergents from reaching the stain.
- Repeat the process before drying. Dryers love turning “almost” into “never.”
The collar looks “bleached” or lighter
- This can happen if the product wasn’t diluted or fully dissolved. Rinse thoroughly and avoid concentrated chemicals on fabric.
- For colored shirts, stick to oxygen bleach and always dissolve it first.
The collar is stiff after washing
- Rinse again. Stiffness is often detergent residue or mineral deposits.
- Use less detergent next time and avoid overloads that don’t rinse well.
Preventing Collar Stains (So You Don’t Have to Read This Article Again)
- Wash sooner. Fresh stains are easier than “last month’s sweat history.”
- Pre-treat before the hamper. A quick dab of detergent on the collar takes 10 seconds.
- Go easy on neck-area products. Sunscreen, cologne oils, and styling products migrate into collars.
- Don’t overuse detergent. Residue can attract dirt and make collars look gray faster.
- Rotate shirts. Wearing the same two dress shirts on repeat is a fast track to collar burnout.
of Real-Life Collar-Cleaning Experience (So You Don’t Have to Learn the Hard Way)
The first time I tried to “fix” a grimy collar, I made a classic mistake: I treated the collar like a frying pan.
I grabbed hot water immediately, scrubbed aggressively, and tossed the shirt straight into the dryer because I was
feeling productive. The collar came out… improved, but still visibly dingyand now the stain had the confidence of
a tattoo. That’s when I learned the unglamorous truth: collar stains are often a layered mix, and layering requires
patience.
What actually worked consistently was treating collars like a two-part problem: oil first, then everything else.
Once I started using a grease-cutting dish soap pre-treat (Way 1) before anything fancy, the difference was
immediate. The soap step alone often removed that gray “collar shadow” that made a white shirt look older than it
was. And the brush mattered more than I expectednot a stiff scrub that roughs up fabric, but a soft toothbrush
that nudges cleaner into the weave.
Baking soda paste (Way 2) became my “maintenance” move. It’s oddly satisfyinglike giving your collar a tiny spa
facial. I’d do it on shirts that weren’t catastrophes, just slightly dull. The key was letting the paste sit long
enough to do its job. The times it failed were the times I rushed: paste on, scrub, rinse, done. When I gave it
10–20 minutes and then washed normally, the collar looked fresher and the fabric didn’t feel abused.
Oxygen bleach soaks (Way 3) were the big guns for shirts I almost gave up onespecially white dress shirts that
looked clean in normal light but turned suspiciously yellow under bathroom LEDs. The soak taught me patience: this
isn’t a “five-minute hack,” it’s a slow, steady fix. And it’s not magic if you skip the basics. If the collar was
still oily, soaking alone didn’t always work. But after degreasing first, the soak could turn “permanently dingy”
into “I can wear this to a meeting without shame.”
The most surprising long-term improvement came from enzymes and better laundry habits (Way 4). Once I started
rinsing collars with cool water first and using an enzyme detergent pre-treat, the stains stopped coming back as
fast. It felt less like “laundry heroics” and more like prevention. Also, I stopped overdosing detergent. I used to
think more soap meant more clean. In reality, too much detergent sometimes left collars stiff and gray-ishlike the
shirt was wearing a thin, invisible film. Using the right amount and not overpacking the washer gave collars room
to rinse properly, which sounds boring… but boring is exactly what you want from a shirt collar.
Conclusion
A clean collar isn’t about one miracle ingredientit’s about matching the method to the stain. Start by breaking up
oils with dish soap, lift buildup with baking soda, soak deep yellowing with oxygen bleach, and use enzyme
pre-treatment plus good wash technique to keep stains from returning. Do that, and your collar will stop
announcing your stress level to the world.