Your iPad is basically a portable photo studio: it shoots great pictures, edits like a champ, and thenright when you’re ready to shareasks you to pick a method like you’re choosing a launch vehicle for a tiny digital rocket. Messages? Mail? AirDrop? An iCloud Link? The good news: all four work, and each one shines in a different “real life” moment, like sending your kid’s recital photo to Grandma, dropping a screenshot to a coworker, or transferring a whole album to your laptop without turning your inbox into a fire.
This guide breaks down four reliable ways to send a picture from your iPad, with step-by-step instructions, small-but-mighty settings that affect quality, and practical tips so your photos arrive the way you intendedsharp, complete, and not mysteriously “tiny” because an app decided to be helpful.
Before You Send: The Share Button Is Your Best Friend
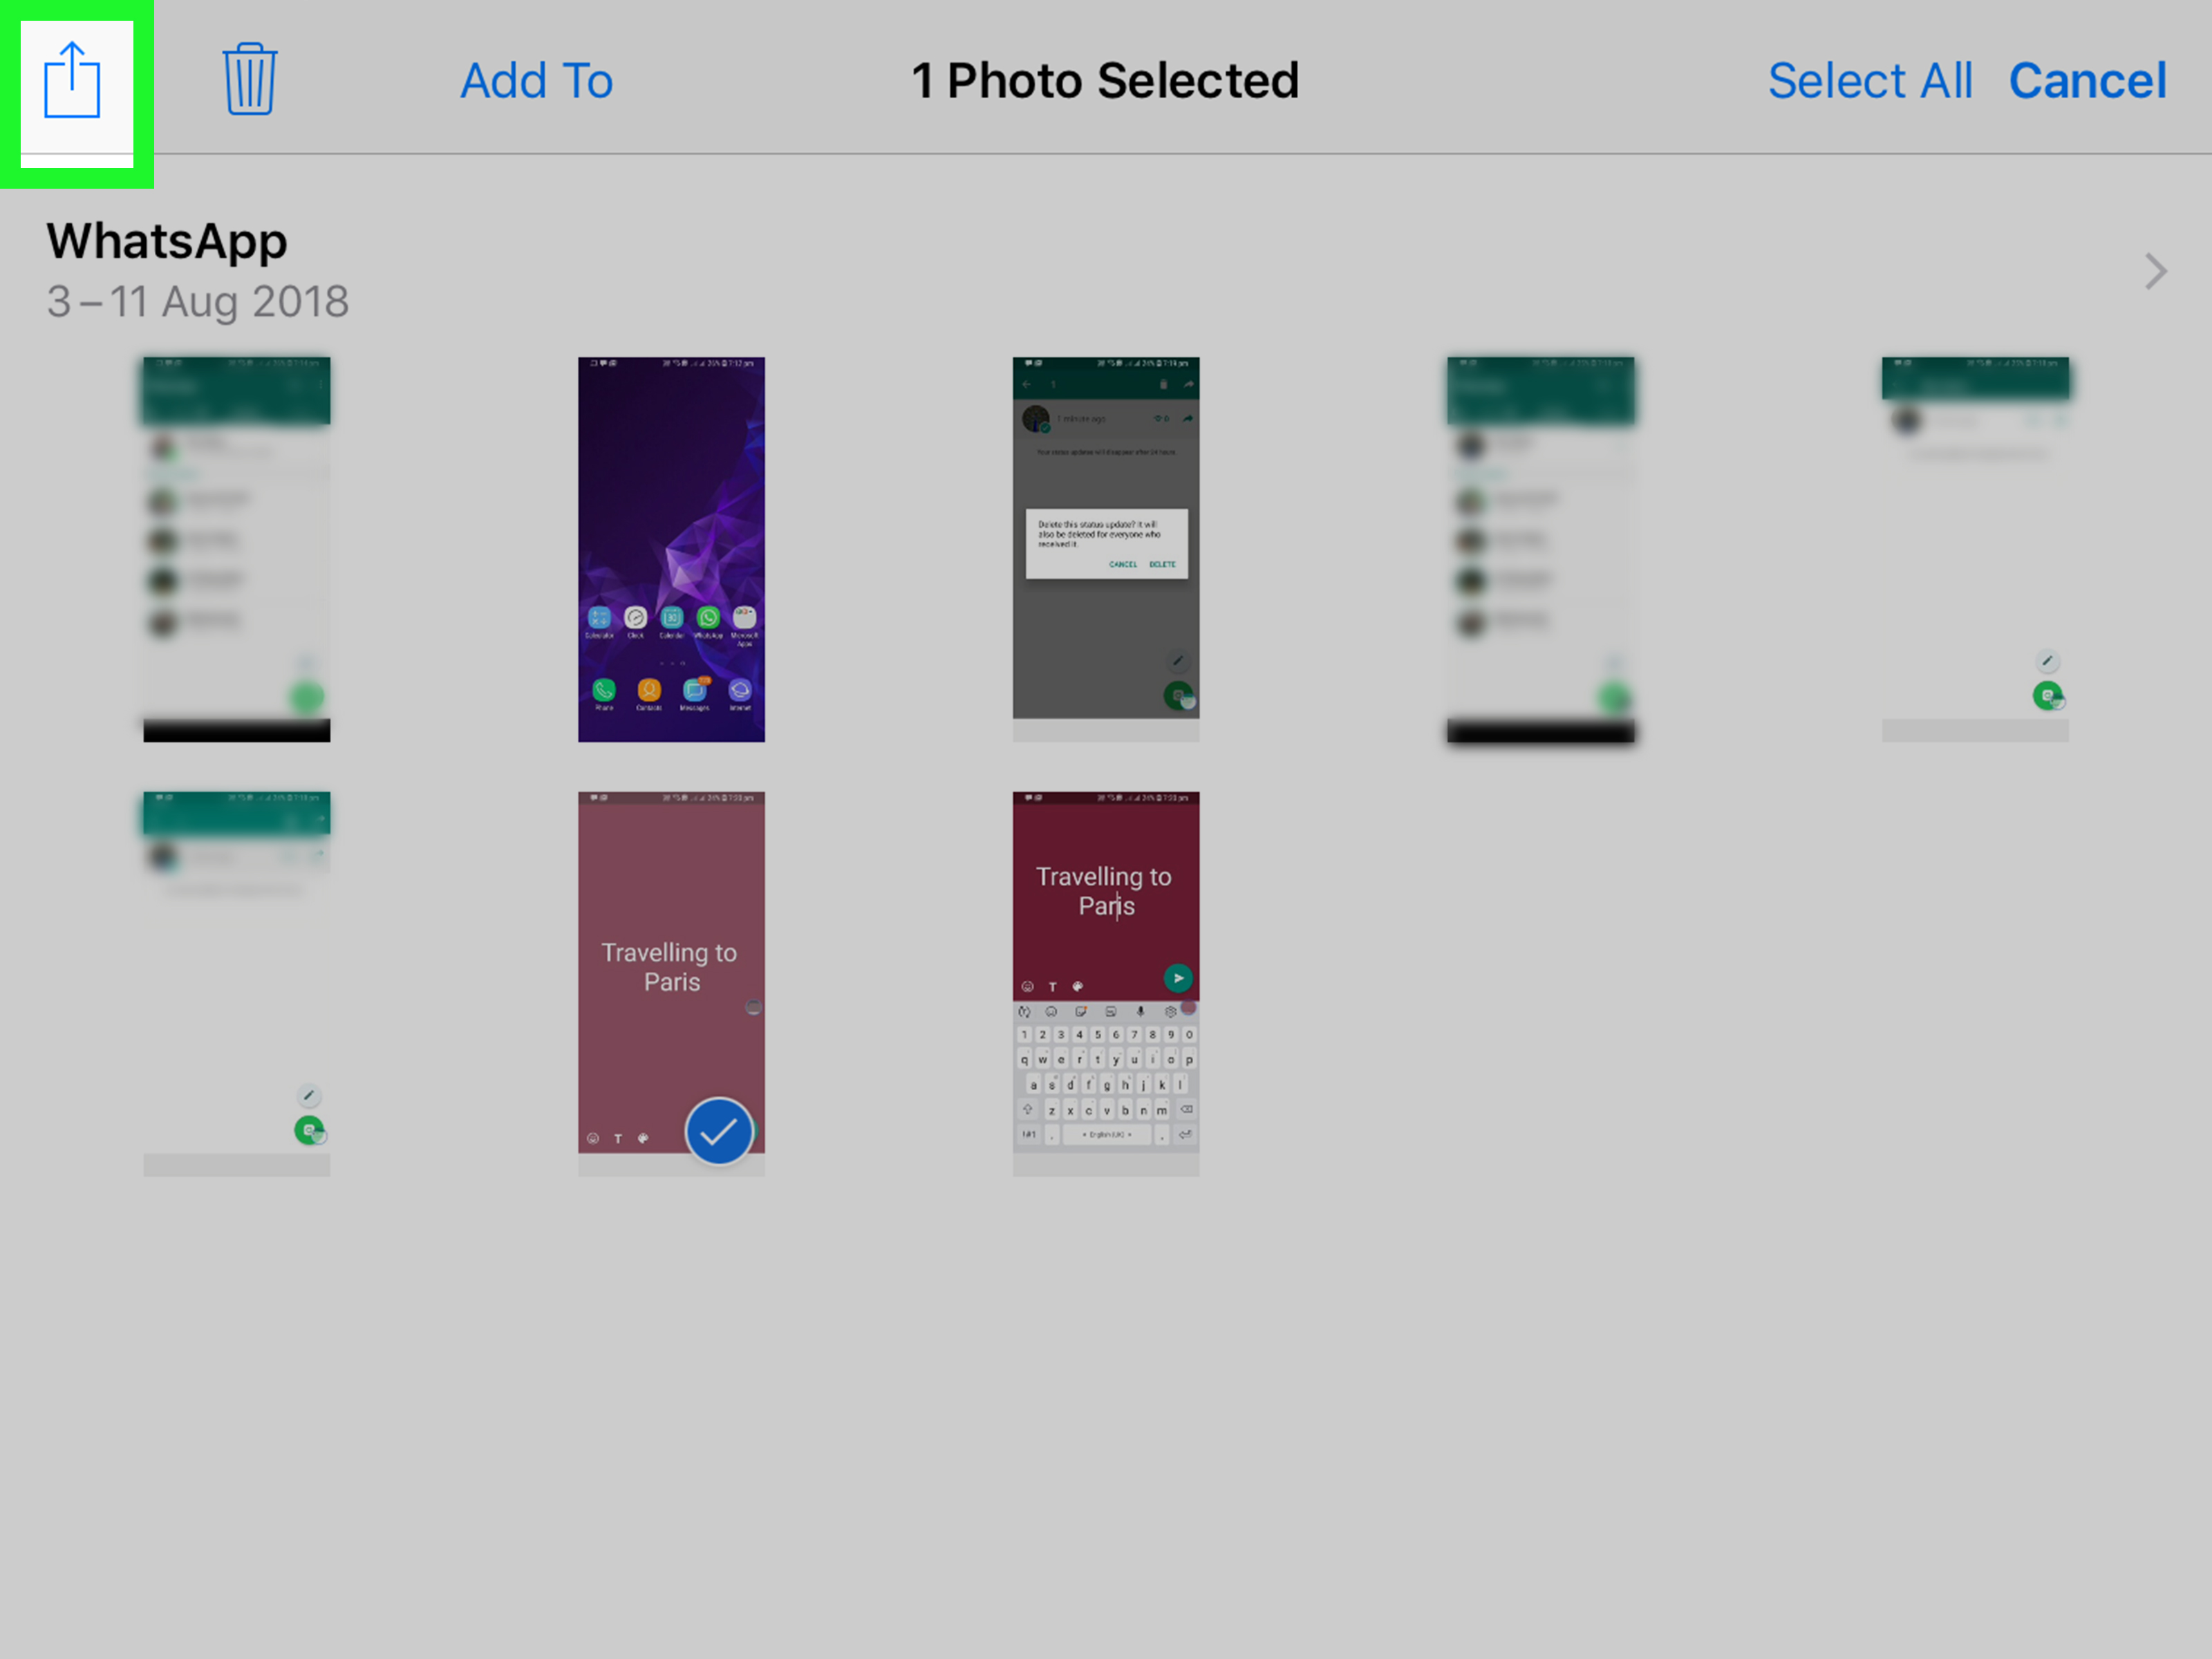
Most photo-sending on iPad starts the same way: open Photos, pick the image (or select multiple), then tap the Share button (the square with an arrow). That Share sheet is the iPad’s universal “send this somewhere” menu. From there, you can choose Messages, Mail, AirDrop, or an iCloud Linkand you can often tweak the format or link behavior before you hit Send.
Quick tip: if you’re sending more than one picture, tap Select in Photos, choose your shots, then share them together. It saves time, keeps everything in one message or email, and reduces the chance you accidentally send the worst photo first. (We all have that one photo. You know the one.)
Method 1: Send a Picture with Messages (iMessage)
Best for
- Fast sharing with friends and family who use Apple devices
- Sending a photo to someone you’re already texting
- Sharing a quick screenshot or “look at this!” moment
Step-by-step
- Open Photos on your iPad and select the picture you want to send.
- Tap the Share button.
- Tap Messages.
- In the “To:” field, enter a contact name, phone number, or Apple Account email.
- Add a short message if you want (“Proof I did go outside today.”).
- Tap Send.
Important note about phone numbers (so you don’t get ambushed by “Not Delivered”)
Your iPad can always send iMessage to Apple users when iMessage is turned on and you’re signed in. Sending standard carrier SMS/MMS texts from an iPad is different: many people rely on an iPhone with Text Message Forwarding enabled so the iPad can send and receive regular texts through the iPhone. If you tap a phone number and things don’t behave, check that your devices are signed into the same Apple Account and that Text Message Forwarding is enabled on the iPhone.
Quality and speed tips
- Want faster delivery on slow connections? iPadOS has an option to send low-quality previews first so recipients see something immediately, while the full-resolution image finishes sending in the background.
- Sending a lot of pictures? Messages is great for a handful. For dozens of photos (or long videos), a link-based method (like iCloud Link) often feels smoother and keeps the chat from becoming a scrolling endurance sport.
Method 2: Email a Picture with Mail (and Control the Size)
Best for
- Sending photos to people who don’t use Apple devices
- Sharing pictures for work, school, or records
- Sending to an email address you can access on another device (classic “email it to myself” move)
Step-by-step
- Open Photos and select your picture(s).
- Tap Share, then choose Mail.
- Enter the recipient, subject, and any message.
- Before you send, look for an image size option if prompted (or review the attachment details).
- Tap Send.
Why email sometimes “fails” even when you did everything right
Email has attachment limits, and they vary by provider. If your photos are high resolution (or you attach several), you can hit the ceiling quickly. When that happens, you may see a warning, a failure to send, or a bounce-back message. The fix is usually one of these:
- Send fewer photos per email (batch them: 5–10 at a time depending on file size).
- Choose a smaller image size when the Mail app offers options.
- Use Mail Drop (if available) to send large attachments via iCloud, while recipients download them from a link.
Mail Drop: the “I refuse to resize this” option
If you’re using iCloud Mail (or your setup supports it), Mail Drop can send very large attachments by uploading them and placing a download link in the email. It’s perfect for big photo batches or large videos when you want email convenience without email limits.
Method 3: AirDrop a Picture to a Nearby Apple Device
Best for
- Sending full-quality photos instantly to a nearby iPhone, iPad, or Mac
- Moving pictures to your computer without cables or cloud uploads
- Sharing a photo with someone sitting right next to you (the most satisfying kind)
Step-by-step
- Make sure Wi-Fi and Bluetooth are turned on for both devices.
- On the receiving device, set AirDrop to receive from Contacts Only or Everyone (many newer versions use Everyone for 10 Minutes).
- On your iPad, open Photos, select the picture(s), then tap Share.
- Tap AirDrop.
- Tap the recipient’s device name.
- The recipient taps Accept. The photo lands in Photos (or the relevant app) automatically.
Pro tips that prevent AirDrop drama
- Keep it temporary in public: “Everyone” is handy, but it’s also how strangers can see your device pop up. Use “Everyone for 10 Minutes” when available, then switch back.
- If AirDrop doesn’t work, check the usual suspects: both devices close by, Wi-Fi/Bluetooth on, Personal Hotspot off, and restart if things get stubborn.
- Newer trick: on supported versions, bringing devices close together can kick off AirDrop sharing more quicklyhandy when the device list is acting shy.
Method 4: Share an iCloud Link (Perfect for Lots of Photos)
Best for
- Sending many photos at once without clogging Messages or email
- Sharing full-resolution images more reliably than some chat apps
- Sending photos to non-Apple users via a simple link
What an iCloud Link actually does
Instead of attaching every photo to a message, your iPad creates a shareable link. The recipient opens the link in a browser and views (or downloads) the photos. This is especially helpful for sending a batch of vacation photos, a set of product shots, or anything where “twenty attachments” would make your email provider cry.
Step-by-step (from the Photos app)
- Open Photos and select one or multiple images.
- Tap Share.
- Turn on iCloud Link (if you see the option), or choose an option like Copy Link when available.
- Paste the link into Messages, Mail, or any app you prefer.
- Send it. Done.
Link rules (read these before you send confidential stuff)
- Anyone with the link can access it unless your sharing method specifically restricts accessso treat it like a key.
- Links can expire (commonly after about 30 days), which is great for privacy but not great if someone waits until next month to download.
- It’s ideal for “download when ready” sharing, especially for relatives who take their time (and then text you “link not working” like it’s your fault).
Quick Fixes for Common “Why Isn’t This Working?” Moments
If Messages won’t send (or sends from the wrong address)
- Make sure iMessage is turned on in Settings and your Send & Receive options are correct.
- If you’re trying to text a non-Apple phone number, confirm Text Message Forwarding is enabled on your iPhone (if you use one).
If AirDrop doesn’t find the other device
- Turn on Wi-Fi and Bluetooth on both devices, and keep them close.
- On the receiving device, set AirDrop to Contacts Only or Everyone for 10 Minutes.
- Restart both devices if it’s still acting possessed.
If email says the attachment is too big
- Send fewer photos per email, or choose a smaller size option.
- Use Mail Drop when available, especially for large batches.
Real-World Experiences: What People Usually Discover After the First Few Tries (500+ Words)
In everyday use, most people don’t pick a sharing method because it’s “the best” in a technical sensethey pick what feels easiest in that moment. And that’s where iPad photo sharing gets interesting: the “right” method changes depending on who’s receiving, what device they’re on, and how many photos you’re sending.
One common experience: sending a single picture through Messages feels effortlessuntil you try to send a whole set. A quick screenshot or a cute pet photo? Messages is unbeatable. But the moment you try sharing a dozen high-resolution images, the conversation can turn into a wall of attachments that takes forever to scroll past. People often end up wishing they’d used an iCloud Link instead, because it keeps the chat clean: one message, one link, and recipients can browse or download at their own pace.
Email has its own “first time surprise.” It feels universaleveryone has an email addressso it’s often the go-to for sharing with coworkers, schools, or relatives who don’t use iMessage. Then comes the attachment limit. Many users discover (the hard way) that “just attach everything” works right up until it doesn’t, especially with modern iPad camera quality. The practical workaround people settle into is batching: send a few photos per email, or use Mail Drop when the files are heavy. Once someone learns that trick, email becomes dependable againjust with slightly more strategy than “dump everything into one message and hope.”
AirDrop is the one that feels like magic when it worksand mildly annoying when it doesn’t. In real life, it’s the fastest way to move a photo from an iPad to a Mac for editing, printing, or uploading somewhere specific. People love it for “I need this on my computer right now” situations. But many also learn two important habits: first, they set AirDrop to receive for a short time instead of leaving it open to everyone; second, when AirDrop won’t connect, they stop overthinking and check the basics (Wi-Fi/Bluetooth on, devices close, correct receive setting) before declaring the iPad cursed.
iCloud Link sharing becomes the “grown-up solution” once users start sending lots of photosvacation albums, event photos, product listings, home renovation progress pics, you name it. The biggest practical win is that links play nicely across platforms: friends on Android or Windows can still open a browser and download. The trade-off people learn to respect is that links are shareable by design. If the photos are sensitive (kids, documents in the background, location clues), users tend to switch from “blast a link” to “share carefully,” and they prefer sending to a smaller group or reminding recipients not to forward it.
Another everyday pattern: people often want “full quality” but don’t actually need it every time. For casual sharing, a smaller image is fineand sometimes better, because it sends faster and takes up less storage in message threads. But for anything that might be printed, edited, or used professionally, users quickly learn to choose methods that preserve quality more reliably (AirDrop or link-based sharing), and they check settings that might downsize or convert formats. Over time, most people end up with a simple rule of thumb: Messages for quick, AirDrop for nearby Apple devices, Mail for formal sharing, and iCloud Link for large batches.
Wrap-Up
If you only remember one thing: your iPad can send pictures in multiple smart ways, and you don’t have to force every situation into the same method. Use Messages for fast iMessage sharing, Mail when email makes the most sense (especially for non-Apple recipients), AirDrop when the other Apple device is nearby, and iCloud Link when you’re sending a lot of photosor when you want the recipient to download on their own time.
Once you get comfortable switching methods, you’ll spend less time fighting attachment limits and more time doing what you actually wanted: sharing the photo and moving on with your day.