If your holiday baking plans involve dirtying every mixing bowl you own and hand-rolling 120 cookie balls, this is your sign to step away from the cookie scoop. Christmas bar recipes are the laid-back cousins of traditional cookies: you press everything into one pan, bake (or chill), slice, and you’re done. No scooping, no rolling, no “how did I only get 23 cookies from a recipe that promised 36?” math.
These five Christmas bar recipes are designed for busy home bakers who still want that festive dessert table without spending an entire weekend covered in flour. From no-bake chocolate–peanut butter layers to peppermint-flecked brownie bars and nut-free rocky road, every recipe brings big holiday flavor with minimal effort. Most of them can be made ahead, travel beautifully, and feed a crowdperfect for cookie exchanges, potlucks, and last-minute parties.
Below you’ll find a mix of classic Christmas flavors (peppermint, sugar cookie, cranberry) and modern twists (nut-free rocky road, cereal and cookie crusts), all baked or chilled in a single pan. Grab your trusty 9×13, line it with parchment, and let’s give your cookie scoop a well-deserved vacation.
Why Christmas Bar Recipes Beat Scooped Cookies
Holiday baking is supposed to be joyful, not a stress test. Bar cookies solve a lot of the headaches that come with traditional drop cookies:
- Less hands-on time: Mix once, press into the pan, then let the oven (or fridge) do the rest.
- No chilling, rolling, or cutting shapes: Many Christmas sugar cookie bar recipes skip chilling and scooping altogetheryou press the dough directly into the pan and slice later.
- Perfect for crowds: One 9×13 pan can easily give you 24 to 36 small squares, ideal for cookie trays and office parties.
- Consistent texture: Because the dough bakes or sets in one even layer, you’re less likely to end up with a batch of overbaked edges and underbaked centers.
- Easy to decorate: Instead of frosting each individual cookie, you frost or drizzle once and cut into bars.
Many popular Christmas bar recipes you see on American baking sites follow this formula: simple base, festive mix-ins (think red and green candies, sprinkles, or peppermint), and a quick topping. The five recipes below are inspired by those trends but written in a way that keeps them approachable and flexible for your own kitchen.
The 5 Best No-Scoop Christmas Bars
1. No-Bake Chocolate Peanut Butter Crunch Bars
These bars taste like a mash-up between a peanut butter cup and a crispy cereal treat, with almost no effort. They’re perfect when your oven is already committed to a ham, rolls, and a pan of scalloped potatoes.
Flavor profile: Rich, fudgy chocolate on top; sweet-salty peanut butter and crunchy cereal on the bottom; just enough holiday flair from a sprinkle of crushed candy or festive sprinkles.
How to make them:
- Make the base: Melt butter and peanut butter together in a saucepan or microwave-safe bowl, then stir in powdered sugar and crushed crisped rice cereal or cornflake cereal until everything is well coated and thick.
- Press into the pan: Pat the mixture evenly into a parchment-lined 9×13 pan. Press firmly so the base holds together once chilled.
- Add the chocolate layer: Melt chocolate chips with a bit of butter or coconut oil until smooth. Pour over the peanut butter base and smooth the top with an offset spatula.
- Decorate: While the chocolate is still soft, sprinkle the top with crushed mini candy canes, chopped peanut butter cups, or red and green sprinkles.
- Chill and slice: Refrigerate until set, at least 2 hours. Lift out by the parchment and cut into small squares.
Make-ahead tip: These bars keep well in the fridge for several days and freeze nicely. Stack them in airtight containers with parchment between layers.
2. Peppermint Fudge Brownie Bars
Think of these as a dressed-up, party-ready version of brownies with a built-in peppermint bark topping. They’re decadent, pretty, and still involve exactly zero scooping of cookie dough.
Flavor profile: Dense, chocolatey brownie base; creamy, melt-in-your-mouth fudge layer; crunchy peppermint candy on top. It’s basically the North Pole in bar form.
How to make them:
- Brownie base: Use your favorite fudgy brownie recipe or a high-quality boxed mix. Bake in a parchment-lined 9×13 pan just until set in the center. Let it cool completely.
- Fudge layer: In a saucepan, gently heat sweetened condensed milk with semisweet chocolate chips and a little butter until smooth and glossy. Stir in vanilla and a small pinch of salt.
- Pour and smooth: Spread the fudge mixture evenly over the cooled brownie layer.
- Peppermint topping: Immediately sprinkle with crushed candy canes or peppermint candies. Gently press them into the fudge so they adhere.
- Chill and slice: Refrigerate until firm, then cut into narrow rectanglesthe bars are rich, so smaller pieces are ideal.
Variations: Use white chocolate chips in the fudge layer for a “peppermint bark brownie” look, or swirl dark and white fudge together for a marbled effect.
3. Cranberry Orange Cheesecake Bars
These cheesecake bars bring a little sophistication to the dessert table while still being surprisingly low-effort. A buttery cookie or graham cracker crust supports a citrusy cheesecake layer and a jewel-bright cranberry swirl.
Flavor profile: Buttery, slightly crunchy crust; creamy vanilla-orange cheesecake; tart cranberry ribbons on top. They look fancy but slice easily into squares for a cookie tray.
How to make them:
- Crust: Mix crushed graham crackers or vanilla wafer crumbs with melted butter, sugar, and a pinch of salt. Press into a lined 9×13 pan and bake briefly until fragrant.
- Cheesecake layer: Beat cream cheese with sugar, eggs, sour cream, vanilla, and orange zest until smooth. Pour the mixture over the warm crust.
- Cranberry swirl: Spoon small dollops of prepared cranberry sauce or homemade cranberry compote over the cheesecake batter. Use a knife or skewer to gently swirl it through.
- Bake and cool: Bake until the center is just set with a slight jiggle. Cool completely, then chill for several hours to firm up.
- Slice: Lift the whole slab out with the parchment and cut into bars, wiping the knife between cuts for clean edges.
Time-saving tip: Use leftover cranberry sauce from holiday dinner or a good-quality jarred version. It’s an easy way to give the bars a festive color and tartness without extra work.
4. One-Pan Christmas Sugar Cookie Sprinkle Bars
If you love frosted sugar cookies but hate chilling, rolling, and decorating individual shapes, these sugar cookie bars are your new best friend. They bake in one pan, stay soft for days, and practically scream “holiday” thanks to a thick layer of frosting and sprinkles.
Flavor profile: Soft, buttery vanilla sugar cookie; creamy vanilla or almond frosting; a generous blanket of red, green, and white sprinkles.
How to make them:
- Mix the dough: Cream butter and sugar until fluffy, then beat in eggs, vanilla, and a touch of almond extract if you like. Add flour, baking powder, and salt just until combined.
- Press, don’t scoop: Transfer the dough to a lined 9×13 pan. Use clean hands or a spatula to press it into an even layer. No chilling, no scooping, no cookie cutters.
- Bake: Bake until the edges are lightly golden and the center looks set. Don’t overbakeyou want a soft, almost cake-like texture.
- Cool and frost: Let the bars cool completely. Spread with a thick layer of buttercream frosting tinted pale pink, green, or left snowy white.
- Decorate and slice: Shower the top with Christmas sprinkles, then slice into squares or rectangles.
Party trick: Make a “cookie bar board” by baking one pan each of sugar cookie bars, peppermint fudge brownie bars, and a no-bake bar. Cut everything into small squares and arrange them on a large tray.
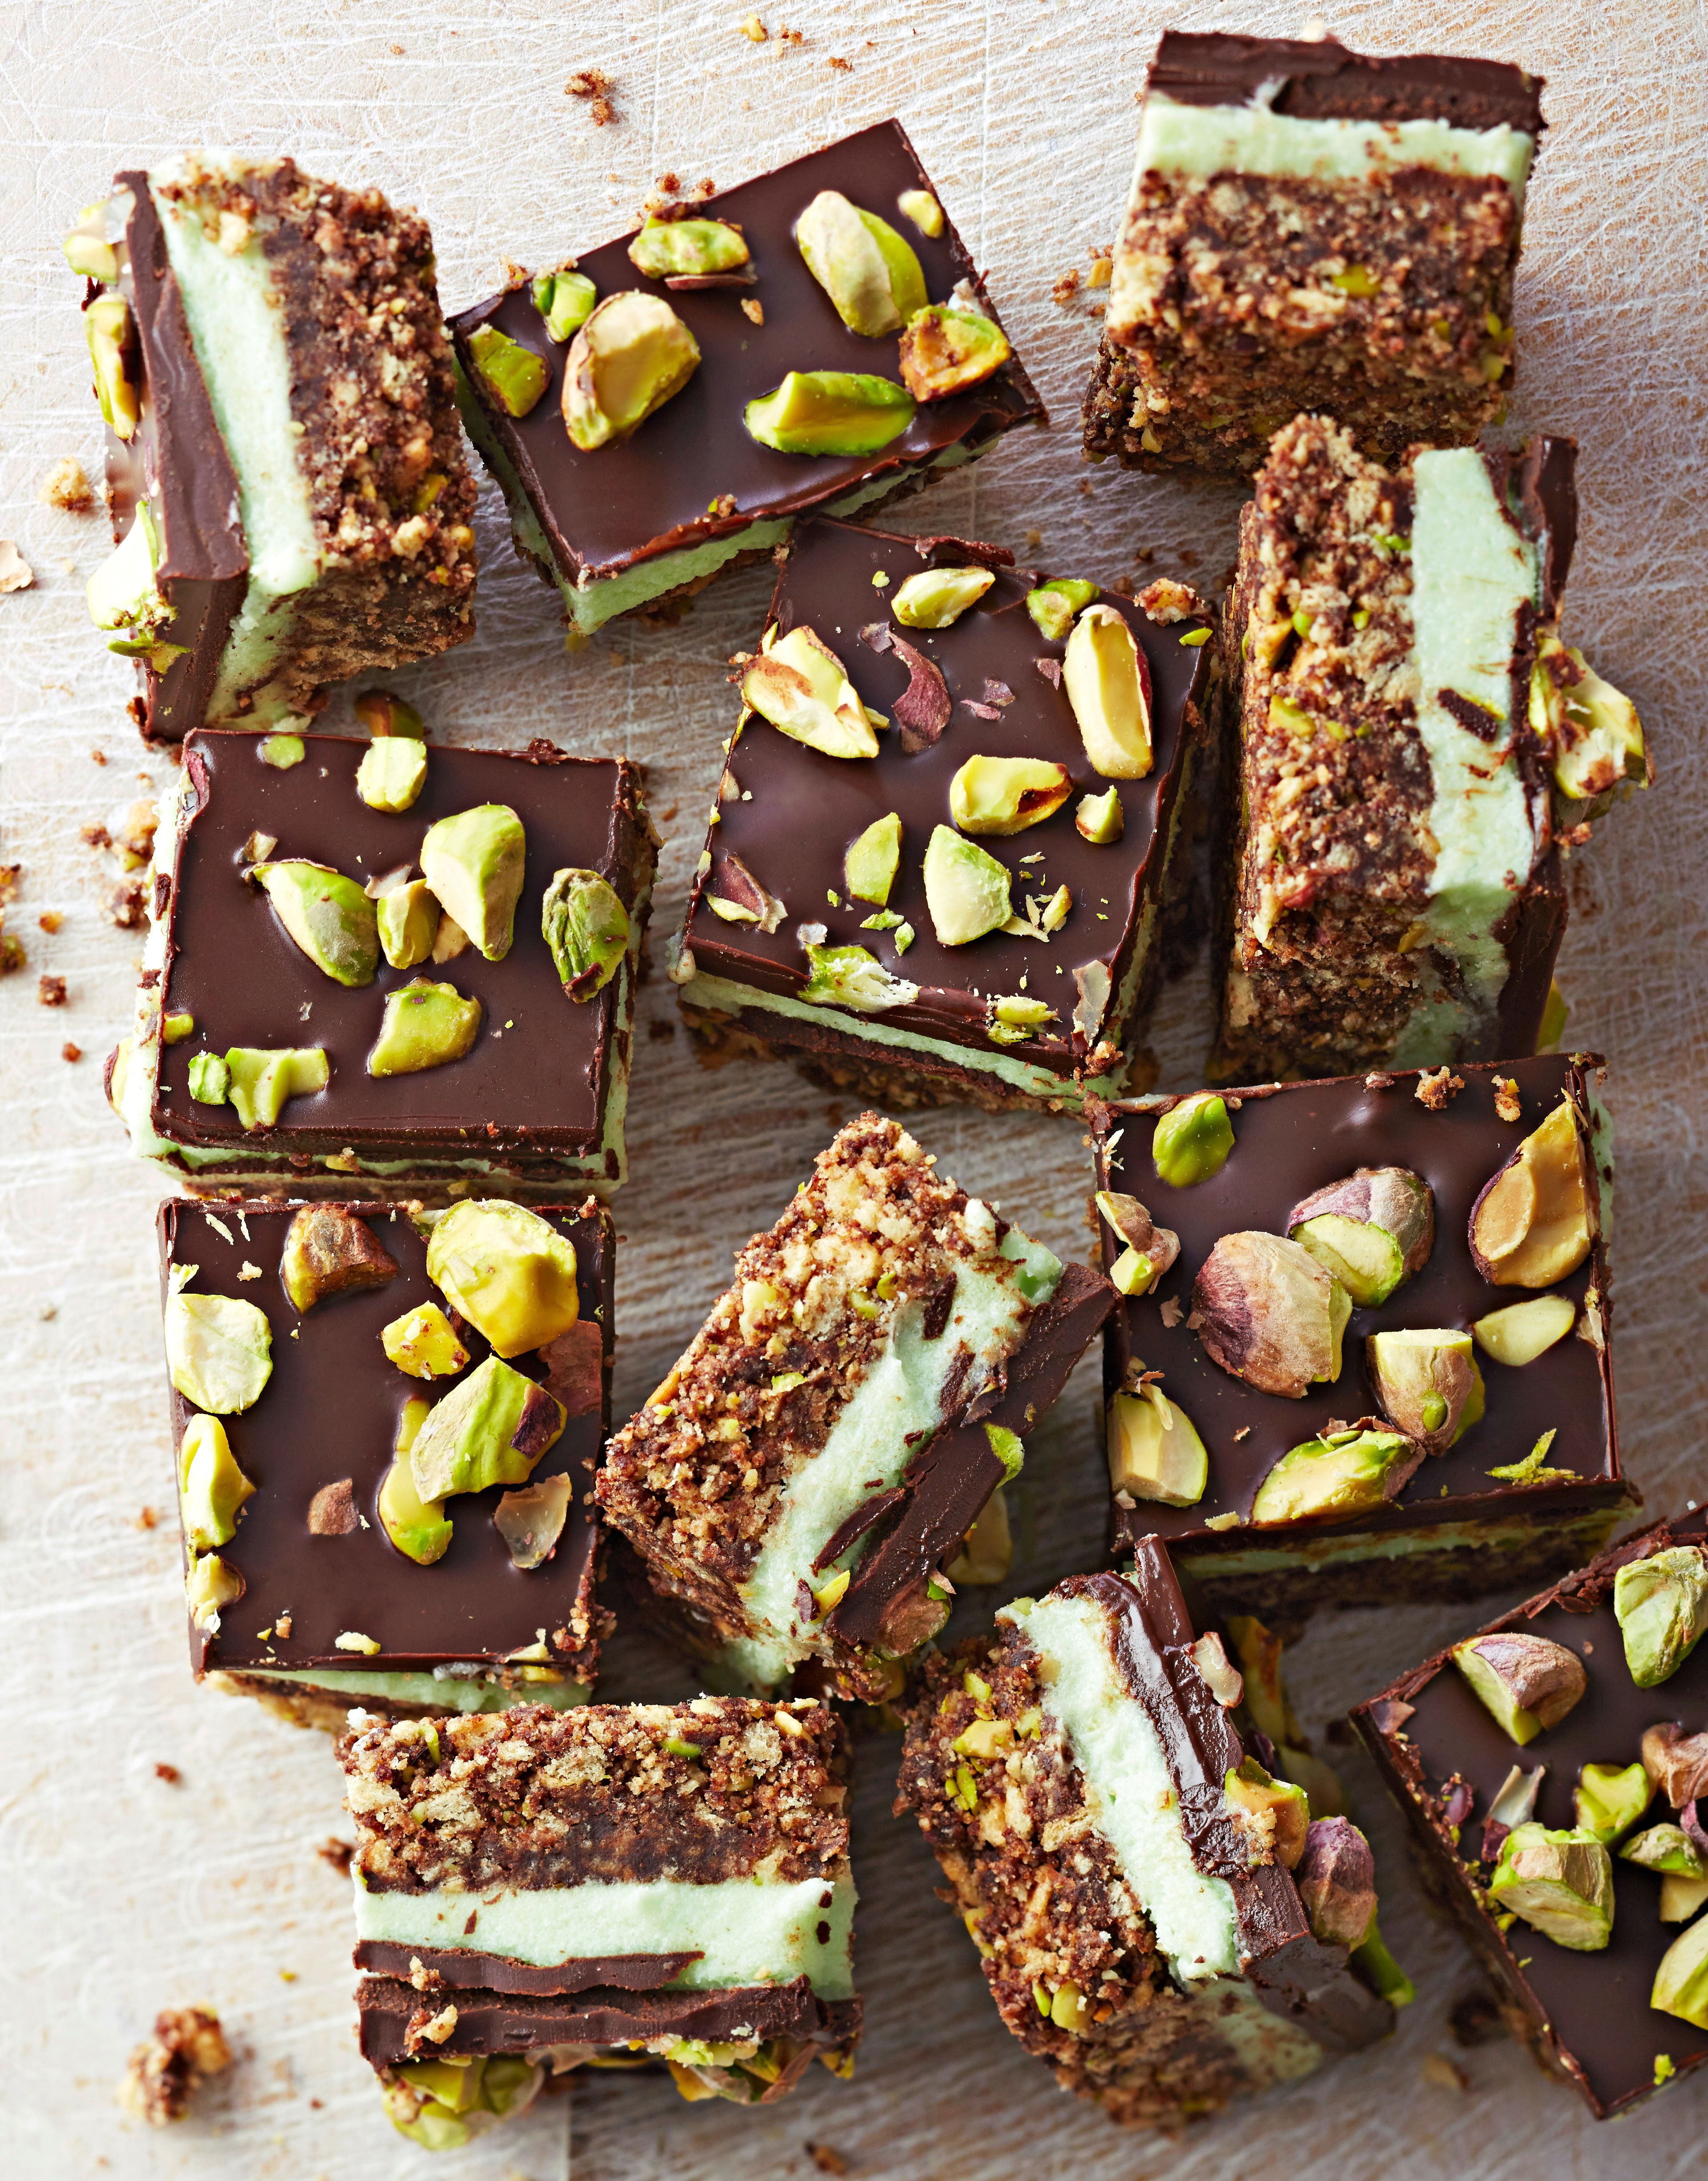
5. Nut-Free Rocky Road Christmas Bars
Traditional rocky road often leans on nuts for crunch, which can be tricky if you’re baking for a group with allergies. These nut-free bars swap in pretzels and cereal for texture but keep all the chocolatey, marshmallow goodness you love.
Flavor profile: Chewy marshmallows, crunchy pretzels, crisp cereal, and rich chocolate, all in one festive square. A sprinkle of flaky salt on top keeps them from being too sweet.
How to make them:
- Prep the mix-ins: Roughly break mini pretzels and measure out mini marshmallows and crisped rice cereal (or another neutral cereal).
- Make the chocolate base: Gently melt chocolate chips with a bit of butter or dairy-free spread (plus a spoonful of sunflower seed butter if you want extra richness) until smooth.
- Combine: Stir the pretzels, cereal, and marshmallows into the melted chocolate until everything is well coated.
- Press into the pan: Pour the mixture into a parchment-lined pan and press into an even layer. Sprinkle with flaky salt and a few extra marshmallows on top.
- Chill and slice: Refrigerate until firm, then cut into small squares. Store chilled, as the bars soften at warm room temperatures.
Allergy note: Double-check packaging on chocolate and cereal to ensure they’re truly nut-free if you’re baking for someone with severe allergies.
Tips for Stress-Free No-Scoop Holiday Baking
Once you fall in love with no-scoop Christmas bars, you’ll realize how easily they fit into a busy December schedule. A few strategic habits can make them even more convenient:
- Line your pan: Always use parchment with overhang so you can lift the whole slab out and slice it neatly on a cutting board.
- Cool completely before cutting: Warm bars crumble; cooled (or chilled) bars hold their shape and look bakery-level in photos.
- Use a hot knife: For clean slices, dip your knife in hot water, wipe dry, and cut. Wipe and repeat between cuts.
- Plan a “bar-only” cookie swap: Ask each guest to bring one pan of bars. It’s simpler than juggling dozens of different shaped cookies.
- Think in layers: Many of the most-loved bar recipes use layers (crust, filling, topping). Once you understand the formula, you can mix and match flavors.
If you’re new to bar cookies, start with one or two of the recipes above and notice how much time you save. Chances are good you’ll still have energy left to wrap gifts, hang stockings, and maybe even sit down with a cup of cocoa and enjoy your own baking.
Real-Life Experiences With No-Scoop Christmas Bars
For many home bakers, the switch from scooped cookies to bar cookies doesn’t happen because of a grand baking epiphanyit happens on a chaotic December afternoon when the to-do list is longer than the wrapping paper roll. Maybe the school emails about a cookie exchange you forgot, or your neighbor texts to say they’re dropping by in an hour “to exchange treats.” That’s the moment when bar recipes become a secret weapon.
Imagine this common scenario: It’s a weeknight, you’ve just finished dinner, and the kids remember they need cookies for the class party tomorrow. Instead of negotiating over who gets to scoop dough and who’s “doing it wrong,” you mix a simple sugar cookie dough, press it into a pan, and hand over the sprinkles once it’s frosted. Kids get the fun decorating part; you skip the part where someone flings a ball of dough onto the floor.
People who host yearly cookie swaps often find that bar recipes are the first to disappear from the table. They’re easy to pick up with one hand, they don’t crumble the way some delicate cutout cookies do, and they layer nicely into tins with wax paper. Guests also love that bars tend to have more going onlayers of cheesecake, fudge, or crunchy cerealcompared with a basic sugar cookie.
Another perk is how well bar cookies travel. If you’re driving across townor across the statefor a holiday gathering, it’s much easier to transport a tightly wrapped pan or a container of sliced bars than a tray of delicate, individually frosted cookies. Cheesecake bars, no-bake bars, and sugar cookie bars all hold up well on the road as long as you keep them cool and packed snugly.
For hosts juggling multiple holiday events, bar recipes become part of the planning strategy. You can bake sugar cookie bars and peppermint brownie bars early in the week, keep them in the fridge or freezer, and pull them out as needed. No last-minute dough chilling, no wrestling with cookie cutters, and no worries about uneven batches. One pan can serve as dessert for a casual dinner party, then the leftovers can be cut into smaller pieces for cookie platters the next day.
Even experienced bakers who love the tradition of decorating cutout cookies sometimes reserve those projects for a cozy weekend and rely on bar cookies for everything else. It’s a helpful balance: enjoy the long, creative baking sessions when you have the time, and lean on efficient, one-pan recipes when the calendar is full. In the end, your guests and family are usually more interested in how the treats taste and how much love went into making them than in whether you rolled each cookie by hand.
If you’re unsure where to start, pick one recipe from this list that matches your favorite Christmas flavorsmaybe the no-bake chocolate peanut butter bars for a peanut butter fan or the cranberry orange cheesecake bars for someone who loves fruit desserts. Make a single pan, notice how streamlined the process feels, and see how quickly the bars vanish from the plate. That experience alone is often enough to make “no scooping, no rolling” a permanent part of your holiday baking style.
Conclusion
Christmas bar recipes prove that you don’t have to spend all day rolling dough to create impressive, festive treats. With one pan, a few simple layers, and a willingness to skip the tedious steps, you can turn out crowd-pleasing desserts that look special, travel well, and taste like pure holiday joy. Whether you go for no-bake crunch bars, peppermint brownie layers, cheesecake swirls, sugar cookie slabs, or nut-free rocky road, these bars let you say “yes” to holiday bakingand “no, thank you” to scooping and rolling.