Want your home to feel “new” without the kind of renovation that requires a hard hat, a therapist, and a second mortgage?
Good news: the highest-impact DIY home projects are often the simplest onesthe upgrades that change what you see (and
how you live) every single day.
Below are seven easy home improvement projects you can tackle in a weekend (sometimes in an afternoon) that deliver the
kind of before-and-after glow-up that makes guests say, “Wait… did you remodel?” And you can smile mysteriously and say,
“Nope. I just outsmarted my house.”
What “High-Impact” Really Means (So You Don’t Waste Your Weekend)
A high-impact DIY project checks at least one of these boxes:
- It changes what your eyes land on first (entryways, backsplashes, lighting, curb appeal).
- It improves daily function (better lighting, smoother drawers, fewer drafts).
- It makes the house feel cleaner and more “finished” (tight lines, sealed gaps, consistent hardware).
- It’s a relatively small investment with a big visual payoff (aka: the holy grail).
Keep that definition in your back pocket as you DIY. It’s how you avoid spending six hours building a “rustic pallet
coat rack” that your family uses exactly once and then ignores forever.
1) Paint the Front Door (or Interior Doors) + Upgrade the Hardware
Why it’s high-impact
Doors are visual punctuation marks. If yours are scuffed, faded, or “builder beige,” your whole home reads a little
tired. A fresh coat of paint and updated hardware instantly signals “this home is cared for,” whether it’s your front
door (curb appeal) or interior doors (clean, modern vibe).
Skill level, time, and budget
- Skill: Beginner-friendly
- Time: 2–6 hours active work (plus dry time)
- Typical cost: $30–$90 (paint + supplies; more if you replace hardware)
Tools & materials
- Cleaner/degreaser, microfiber cloth
- Painter’s tape, drop cloth
- Sandpaper (fine grit), tack cloth (optional but nice)
- Primer (as needed), exterior/interior trim & door paint
- Angled brush + small foam roller
- New knob/lever set (optional but recommended)
How to do it (without making it a whole thing)
- Clean first. Oils and grime can make paint peel. Wash and fully dry.
- Prep the surface. Lightly sand glossy paint; wipe dust away.
- Tape and protect. Tape hinges/edges you don’t want painted. Drop cloth below.
- Prime when needed. Bare wood, patches, or dramatic color changes usually benefit from primer.
- Paint in thin, even coats. Brush details first, then roll large flat areas for a smooth finish.
- Upgrade the knob/handle. If the door looks new but the knob looks like it survived three decades
of questionable decisions, your eye will notice.
Pro tips (small moves, big results)
- Pick a finish you can live with. Satin or semi-gloss tends to clean easier than flat.
- Let it cure. Dry-to-touch isn’t fully cured. Avoid heavy use or sticking weatherstrips right away.
- Don’t skip the hardware moment. A modern lever set and a crisp door color is basically curb-appeal magic.
2) Swap Cabinet Hardware (the “Jewelry” Trick)
Why it’s high-impact
Cabinet knobs and pulls are small, but they’re everywherekitchen, bath, laundry, built-ins. That makes them one of the
fastest ways to update the “era” your home feels like it’s living in. It’s the easiest budget-friendly home upgrade
that can make cabinets look more custom with almost no mess.
Skill level, time, and budget
- Skill: Beginner
- Time: 1–3 hours for an average kitchen
- Typical cost: $25–$200 (depends on finish and quantity)
Tools & materials
- Screwdriver or drill/driver
- Measuring tape
- Painter’s tape + pencil (for marking)
- Hardware template/jig (optional, but it’s like training wheelsin a good way)
- Wood filler/putty (if you’re changing hole spacing)
How to do it
- Decide: reuse holes or change spacing? Reusing holes is fastest; changing spacing is still doable.
- Buy a few extra pieces. Because one will roll into another dimension behind your dishwasher.
- Remove old hardware. Save screws until you’re sure new ones fit.
- Install new pulls/knobs. Work slowly; keep everything aligned. Consistency is what reads “high-end.”
- Add bumpers. Soft-close feel for pennies. Your cabinets will stop sounding like they’re mad at you.
Design guidance that actually helps
- Keep it simple for longevity: Classic shapes are less trend-fragile.
- Mixing knobs and pulls is allowed. Common approach: pulls on drawers, knobs on doorsfunction first.
- Repeat finishes. If you mix metals, repeat each finish at least twice so it looks intentional.
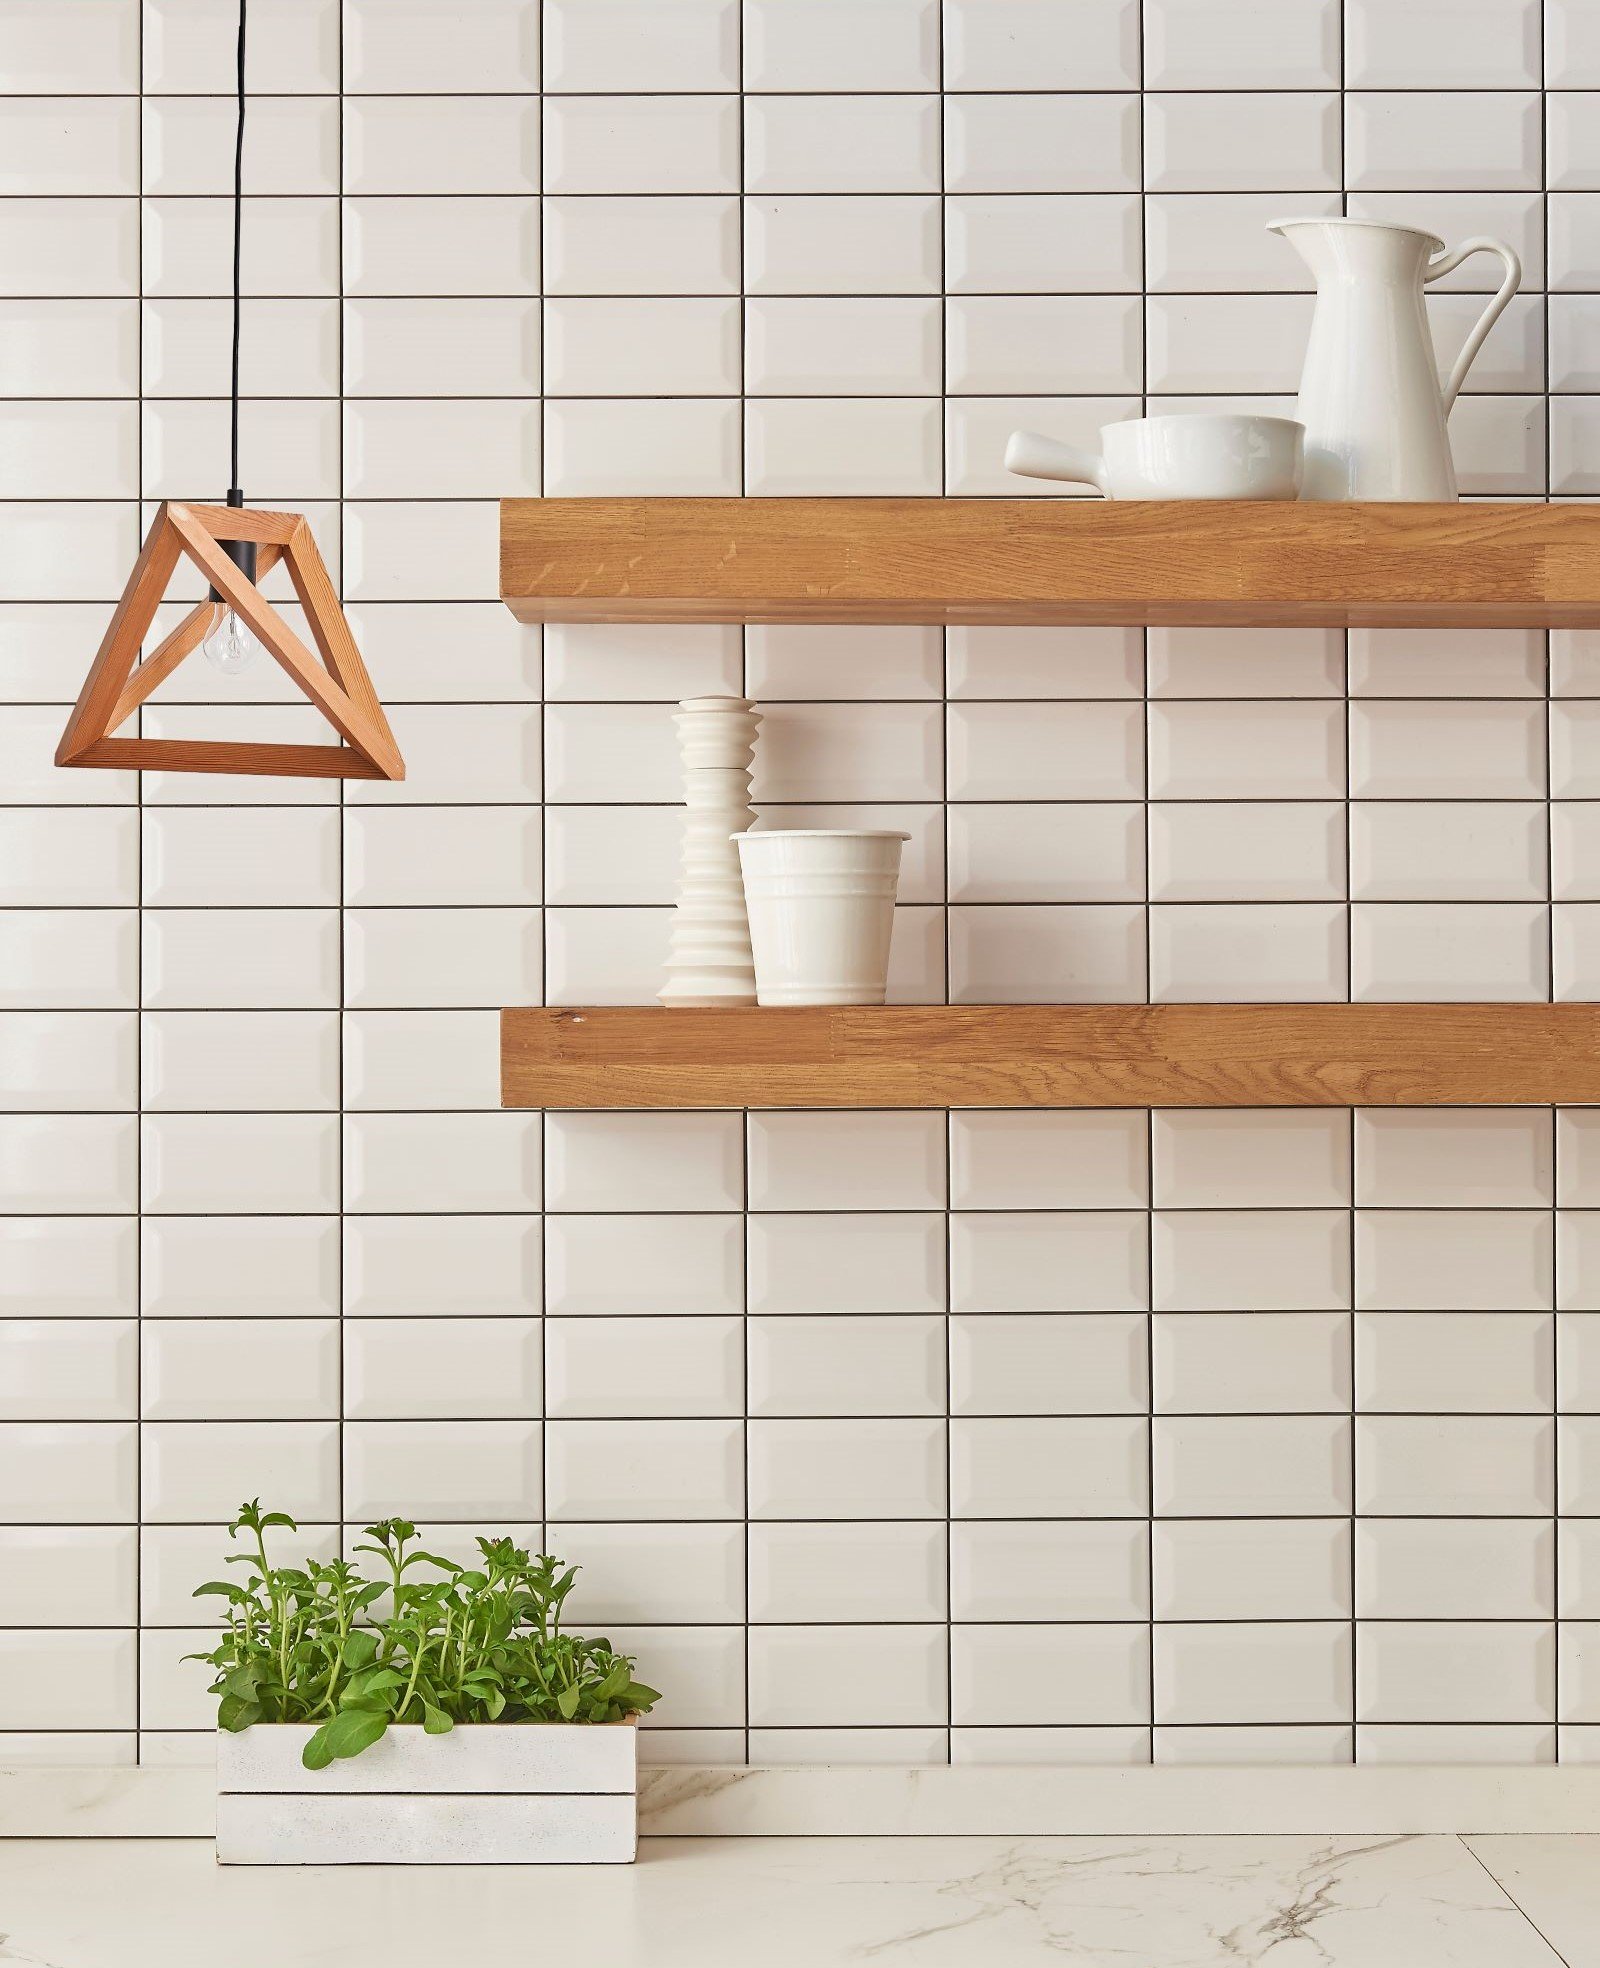
3) Install a Peel-and-Stick Backsplash (Big Style, Low Drama)
Why it’s high-impact
The backsplash sits right in your line of sight, especially in kitchens. Changing it creates an instant focal point
between countertop and cabinetsone of the highest-visibility zones in the entire home. Peel-and-stick options are a
popular “weekend DIY project” because they look surprisingly polished when installed carefully.
Skill level, time, and budget
- Skill: Beginner-to-intermediate (mostly patience)
- Time: 2–6 hours
- Typical cost: $50–$300 (depending on coverage and product)
Tools & materials
- Measuring tape
- Level
- Utility knife + metal straightedge
- Scissors (sometimes helpful)
- Degreaser/cleaner
- Optional: caulk (thin bead at edges for a finished look)
How to do it (the “don’t regret this later” version)
- Clean like you mean it. Grease and dust are adhesion enemies.
- Dry-fit your layout. Decide where seams land. Aim for symmetry around focal spots (like a stove).
- Start with a level line. Your first row sets the tone for everything.
- Peel slowly and press firmly. Work in sections. Smooth from the center outward to avoid bubbles.
- Cut carefully around outlets. Turn power off at the breaker before removing cover plates.
- Finish edges. A tiny bead of caulk at countertop/ends can look extra “built-in.”
Common mistakes
- Skipping prep: If it peels, it’s usually because the wall wasn’t clean and dry.
- Rushing cuts: Around outlets and corners, measure twice. Your future self will thank you.
- Ignoring heat zones: Use products rated for kitchens and keep proper distance from cooktops.
4) Add Under-Cabinet Lighting (Instantly More Expensive-Looking)
Why it’s high-impact
Lighting is the fastest way to make a room feel intentional. Under-cabinet lighting upgrades your kitchen from “it’s
fine” to “wait, is this a showroom?” while also improving function for cooking and cleanup. If you want high-impact DIY
without demolition, this is a top contender.
Skill level, time, and budget
- Skill: Beginner (plug-in) to intermediate (hardwired)
- Time: 1–4 hours
- Typical cost: $30–$200
Pick your type
- Plug-in light bars: easiest install, great for renters
- Battery/puck lights: quickest, best for small areas; keep spare batteries
- Hardwired: cleanest look, but consider an electrician if wiring isn’t your comfort zone
How to do it (plug-in or low-voltage)
- Plan placement. Usually toward the front underside of the cabinet for best countertop coverage.
- Test the light temperature. Warm vs. cool changes the entire vibe. Match existing bulbs if possible.
- Mount and manage cords. Use clips or raceways so it looks clean (not like spaghetti had a bad day).
- Add an easy switch. Many kits include a rocker switch; smart plugs can add voice/app control.
Safety note (quick but important)
If you’re removing outlet covers, working near wiring, or doing anything hardwired, shut off power at the breaker and
verify it’s off. If your wiring situation looks like a mystery novel, call a pro.
5) Seal Drafts with Caulk + Weatherstripping (Comfort Upgrade)
Why it’s high-impact
This is the least “Instagrammable” project on the listand one of the most satisfying in real life. Sealing air leaks
can make your home feel warmer in winter, cooler in summer, quieter year-round, and less expensive to heat and cool.
It’s the DIY equivalent of finally finding the source of a mysterious rattle in your car.
Skill level, time, and budget
- Skill: Beginner
- Time: 1–4 hours (or a room at a time)
- Typical cost: $15–$60
Tools & materials
- Caulk (paintable acrylic latex for many interior/exterior trim areas; silicone where water exposure is common)
- Caulk gun
- Utility knife or scraper (for old caulk)
- Weatherstripping (foam tape, V-strip, door sweep, etc.)
- Rubbing alcohol or cleaner
Where to seal first (biggest payoff)
- Exterior doors: add/replace weatherstripping and a door sweep
- Window trim gaps: apply fresh caulk where cracks appear
- Gaps where plumbing or wiring enters walls
- Attic hatch access areas (often a sneaky draft source)
How to do it
- Find the leaks. On a windy day, feel around edges. You can also use a small piece of tissue to spot airflow.
- Remove failing caulk. Cut/scrape away what’s cracked or peeling.
- Apply new caulk smoothly. Small, consistent bead; tool it with a damp finger or caulk tool.
- Install weatherstripping. Choose the right type for the gap size. Make sure doors/windows still operate properly.
Pro tips
- Seal big holes first. Larger gaps waste more energy than tiny cracks.
- Use the right product. The best caulk is the one that matches the location (paintable vs. waterproof).
- Work in zones. Do one door and two windows at a timeless burnout, same results.
6) Create an Accent Wall with Paint or Peel-and-Stick Wallpaper
Why it’s high-impact
If you want the biggest visual transformation per hour, an accent wall is hard to beat. It’s a statement move that can
make a room feel styled and intentionalwithout changing furniture, flooring, or your entire personality.
Skill level, time, and budget
- Skill: Beginner
- Time: 2–6 hours
- Typical cost: $40–$150
Choose your weapon
- Paint: Most forgiving, easiest to touch up, generally cheapest.
- Peel-and-stick wallpaper: Bold patterns, renter-friendly options, fast impact.
How to do it (paint version)
- Pick the wall with the “moment.” Behind a bed, sofa, fireplace, or the first wall you see entering the room.
- Patch and sand. Accent walls highlight texturegood and bad.
- Cut in, then roll. Clean edges first, then roll in a consistent direction for even coverage.
- Upgrade one detail. Consider swapping one light fixture, mirror, or artwork to match the new vibe.
How to do it (peel-and-stick wallpaper version)
- Start with a clean, dry wall. Adhesion depends on it.
- Use a level line. If the first strip is off, everything is off.
- Smooth as you go. Work from the center outward to avoid bubbles.
- Trim neatly. Sharp blade + straight edge = professional look.
Easy “designer” move
Paint the trim on that wall (or the ceiling) a complementary tone for a more custom finish. Not requiredbut it’s the
difference between “cute accent wall” and “wow, this looks expensive.”
7) Boost Curb Appeal with Mulch, Edging, and Better House Numbers
Why it’s high-impact
Curb appeal is your home’s first impression. Fresh mulch, clean edges, tidy beds, and modern house numbers can make a
home look more updatedeven if nothing else changes. This is one of those surprisingly easy DIY home projects where a
few hours of outdoor work reads like a full exterior refresh.
Skill level, time, and budget
- Skill: Beginner
- Time: 2–5 hours
- Typical cost: $30–$200 (depends on bed size and materials)
What to do (the “wow, this looks maintained” checklist)
- Refresh mulch in flower beds and around shrubs
- Edge the lawn so lines look crisp and intentional
- Trim overgrowth that hides windows/walkways
- Replace house numbers with larger, modern ones (visibility + style)
- Upgrade the mailbox or porch light if yours looks tired
How to do it (fast and clean)
- Weed and trim first. Mulch over weeds is a temporary illusion. (It will not hold.)
- Define your edges. A crisp edge is what makes landscaping look “done.”
- Lay mulch evenly. Aim for a tidy, consistent layer rather than mulch mountains.
- Install new numbers at eye level. Contrast matters (dark numbers on light siding, or vice versa).
Pro tips
- Less variety, more polish. Fewer plant types can look more intentional than “everything I saw at the garden center.”
- Repeat shapes and materials. If your numbers are modern black metal, echo that in a porch light or mailbox.
Putting It All Together: Your “One Weekend, Maximum Impact” Plan
If you want the biggest transformation in the shortest time, use this combo:
- Saturday morning: Seal drafts (Project #5). It’s quick, practical, and you’ll feel it immediately.
- Saturday afternoon: Cabinet hardware swap (Project #2). Instant “new kitchen” energy.
- Sunday morning: Under-cabinet lighting (Project #4). The room looks upgraded even with the same cabinets.
- Sunday afternoon: Paint the front door (Project #1) or refresh mulch/house numbers (Project #7).
That’s not a renovation. That’s a glow-up with a to-do list.
Real-World Experience: What These Projects Feel Like (and Why They’re Addicting)
DIY has a funny way of changing your relationship with your home. At first, you’re just trying to fix “one little thing.”
Then you finish, step back, and suddenly the room looks like it got promoted. That’s the moment people get hookednot
because they want endless projects, but because they realize effort can actually show in a way that feels
immediate.
The first surprise is how much light changes everything. Add under-cabinet lighting and you don’t just
see the counter betteryou notice the backsplash, the color of the cabinets, the way the room feels at night. Many
homeowners describe it like switching from “overhead interrogation mode” to “cozy, functional, grown-up kitchen.” It’s
also one of those upgrades that makes everyday routines smoother: chopping, reading recipes, wiping crumbseverything
feels easier and a little more pleasant.
The second surprise is how satisfying it is to make a space feel finished. Swapping cabinet hardware
isn’t glamorous work. It’s a lot of screws. But when the last pull goes on and every drawer suddenly matches, the whole
room looks more intentional. You’ll start noticing how “old” hardware can drag a kitchen down, even if the cabinets are
perfectly fine. It’s like wearing a sharp outfit with worn-out shoesyour eye goes straight to the one thing that
doesn’t keep up.
Then there’s the comfort factor. Sealing drafts and adding weatherstripping isn’t the kind of before-and-after that
gets a thousand likes, but it’s the kind that gets a thousand tiny wins: fewer cold spots, fewer annoying whistles
when the wind picks up, less dust sneaking in, and a home that feels steadier and calmer. People often realize their
house wasn’t “naturally chilly”it was just full of invisible gaps. Fixing those gaps can make the entire place feel
more solid, like it’s finally working with you instead of against you.
Painting projectsespecially doorsbring a different kind of satisfaction: identity. A bold front door
color makes the house feel more like yours. Even repainting interior doors can make a hallway look cleaner and more
modern, because doors are basically large, vertical billboards. Once they’re crisp, suddenly the trim looks sharper,
the walls look cleaner, and you start noticing less of the “small scuffs” that used to blend into the background.
Finally, curb appeal projects do something sneaky: they improve how you feel arriving home. Fresh mulch, tidy
edges, and new house numbers don’t just help visitors find youthey make the whole exterior look maintained. And when
a home looks maintained, it feels more valuable, even to the people living inside it. That’s why these upgrades are
“high-impact”: they don’t just change the space; they change how the space treats you day to day.
The best part? None of these projects require you to become a full-time DIY influencer with a ring light and a catchphrase.
They’re approachable, practical, and forgiving. You can do one, enjoy the upgrade, and stop there. Or… you can do one,
enjoy the upgrade, and suddenly find yourself Googling “best modern house numbers” at 1 a.m. Welcome to the club.
Conclusion
High-impact DIY home projects aren’t about doing the biggest jobthey’re about doing the smartest job.
Paint a door, upgrade hardware, add lighting, seal drafts, refresh a backsplash, create a statement wall, or tidy up
curb appeal. These are the projects that make your home look more current, feel more comfortable, and function better
without turning your life into a construction zone.
Pick one project, finish it, enjoy the winthen decide if you want another. Your home doesn’t need a full remodel.
It just needs a few well-placed “wow” moments.