Few things make a room look “finished” like crisp, clean trim. When the casing around doors and windows lines up just right, and the baseboards flow smoothly around the room, the whole space suddenly looks intentional instead of “builder basic.” On the flip side, gappy corners, lumpy caulk, and crooked base moldings will advertise every mistake from across the room.
The good news: with the right techniques, you don’t need cabinetmaker skills to get pro-level interior trim. What you do need is a little planning, a few tricks from the pros, and the patience to measure twice (and okay, occasionally a third time) before you cut.
Below are six practical tips for getting perfect trim on doors, windows, and base moldings. We’ll cover everything from dealing with wavy walls and out-of-square corners to filling nail holes and caulking like a pro so your paint job looks flawless.
1. Start With a Plan: Profiles, Reveals, and Consistent Lines
Perfect trim starts long before you fire up the miter saw. One of the biggest differences between “DIY-ish” and “did you hire a finish carpenter?” is consistency. The trim should be sized appropriately for the room and installed with recurring, predictable lines.
Choose the right trim profile for your space
For standard 8-foot ceilings, many pros recommend baseboards in the 3 1/4- to 4 1/4-inch range and door/window casings around 2 1/4 to 3 1/2 inches, depending on the style of the home. Taller ceilings look better with taller base and wider casing so the trim doesn’t feel undersized compared to the wall height. Classic profiles like colonial, Craftsman, and simple square edge moldings are popular because they’re easy to cut and forgiving when painted.
Mark consistent reveals around doors and windows
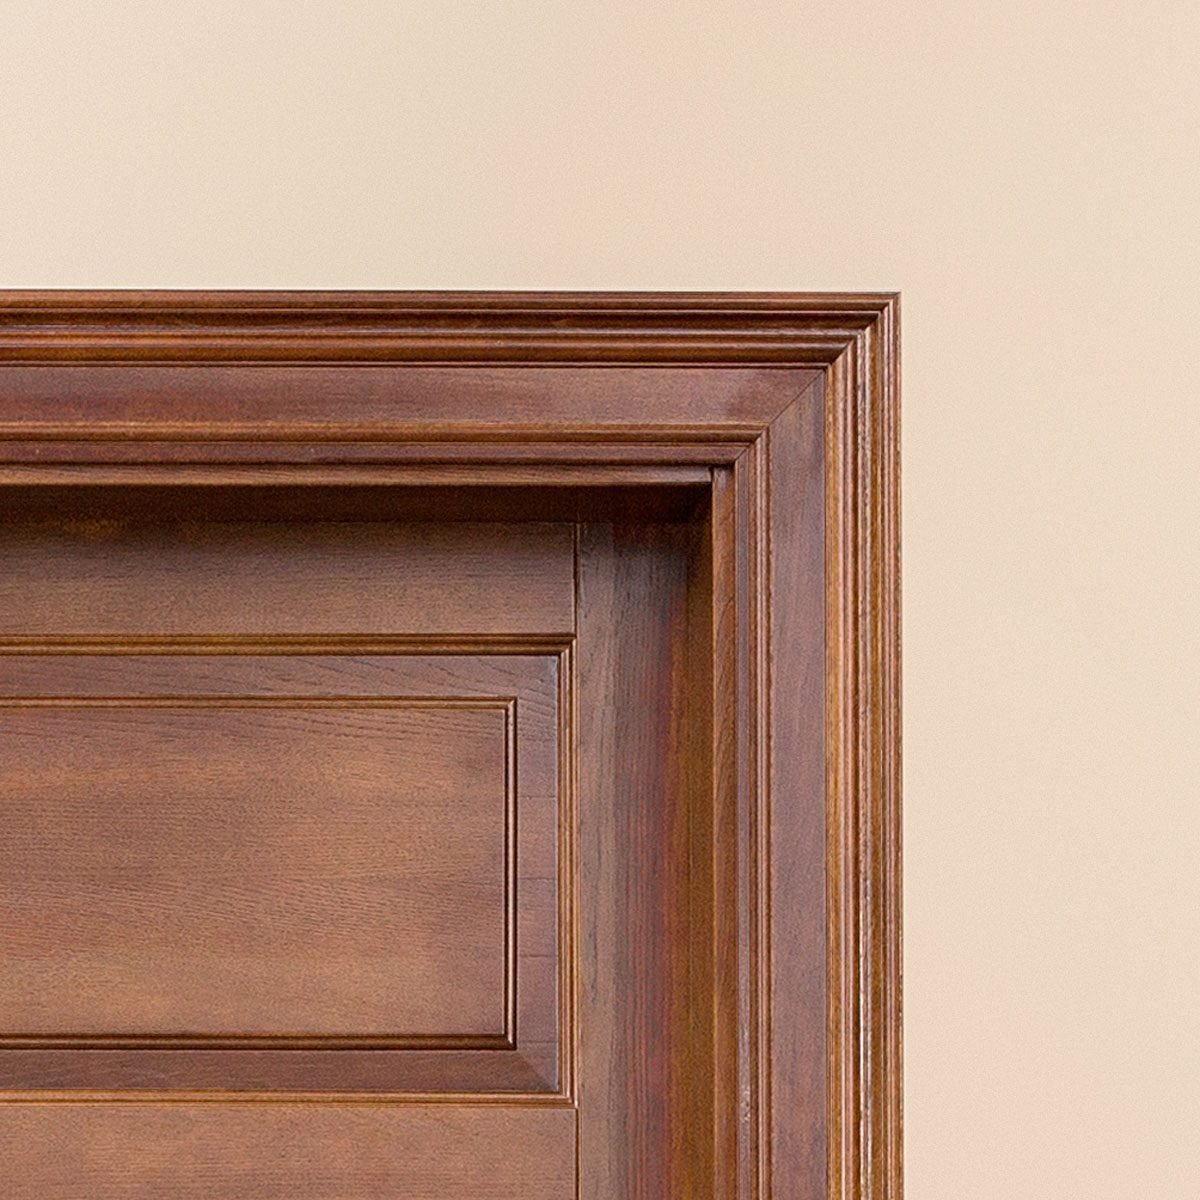
On doors and windows, the “reveal” is the little step between the edge of the jamb and the casing, usually about 1/8 inch. Pros often mark this reveal all the way around the jamb with a combination square and pencil before installing any trim. That thin pencil line becomes your layout guide: as you nail each piece of casing, you align it to the reveal line so the margins stay consistent from top to bottom and side to side.
This tiny detail has a huge visual payoff. Even if your walls are a bit wonky, consistent reveals make the trim look intentional and tidy, rather than “I just slapped this up and hoped for the best.”
2. Out-of-Square Walls and Openings: Work With Reality, Not the Tape Measure
In older houses, “90 degrees” is more of a suggestion than a guarantee. Corners can be 87 degrees on one side of a door and 94 degrees on the other. Floors might rise or fall in the middle of a wall, leaving gaps under baseboards. If you try to force everything to fit “perfect math,” you’ll end up with gappy joints.
Test-fit and scribe instead of fighting the wall
Before you commit to a cut, dry-fit your trim in place. Hold a piece of casing or baseboard where it will live and look for spots where the wall bows or the floor dips. If there’s a gap, lightly scribe (trace) the wall profile on the back of the trim with a pencil, then shave or sand to match. For baseboard over wavy floors, you can undercut the back of the base (so the visible front stays straight) and let the hidden part float to match the floor.
Cope inside corners instead of mitering them
For baseboards and some casings, many pros prefer “coping” inside corners rather than mitering both pieces at 45 degrees. With a coped joint, one piece runs straight into the corner, and the other is cut to follow the profile of the first. Because the front edge of the trim “hooks” over the face of the other piece, minor wall movement and seasonal expansion are much less noticeable.
Coping takes a little practice with a coping saw or jigsaw, but it’s far more forgiving than trying to force two perfect 45-degree miters together on an imperfect wall. Once you learn it, you’ll wonder why you spent years fighting miters in inside corners.
3. Cut Clean, Accurate Joints (and Label Everything)
You can buy beautiful trim and still end up disappointed if your cuts are sloppy. The secret is careful measuring, smart labeling, and using test pieces before committing to that final cut on your expensive, pre-primed stock.
Use story sticks and reference marks
Instead of measuring every single piece with a tape measure (and stacking measurement errors), pros often use “story sticks” scrap pieces of trim cut to the size of each opening. You mark the inside dimensions directly from the door or window, transfer those marks to your trim, and cut. This reduces math errors and keeps each opening matched to its real-world size.
As you work around a room, lightly mark the back of each piece with its location (e.g., “Hall window, left side” or “LR door top”). When you’re juggling ten pieces of white trim that all look alike, these scribbles save a lot of head-scratching.
Dial in miters with test cuts
Even if you set your miter saw to exactly 45 degrees, your corner might not be 90. Use short offcuts of the actual trim profile as test pieces. Adjust the saw angle slightly until the two test pieces close up perfectly in the corner, then cut your full-length pieces using that dialed-in angle. This approach is especially useful for outside corners on base moldings, where even tiny gaps can catch the eye and collect dust.
4. Nail, Fill, and Sand for a Glass-Smooth Surface
Trim looks “cheap” when you can see and feel every nail hole, ridge, and ding under the paint. The installation and prep phase is where you earn that magazine-worthy finish.
Choose the right fasteners and drive them correctly
For most interior door and window casing, 15- or 16-gauge finish nails work well; for baseboards and smaller trim, many DIYers prefer 16- or 18-gauge brad nails. Drive nails into the studs or framing where possible and angle pairs of nails slightly toward each other in wide boards for a stronger hold. Use a nail set (or the depth adjustment on your nailer) to sink the heads just below the surface without crushing the surrounding wood fibers.
Use wood filler, not caulk, for nail holes
Nail holes and small dents should be filled with wood filler or spackling compound, not caulk. Wood fillers are designed to be sanded smooth and hold paint consistently, while caulk remains flexible and can leave shiny, uneven spots under your finish. Many pros favor a lightweight, water-based filler for interior painted trim because it’s easy to apply, dries quickly, and sands without clogging the paper.
The trick is to slightly overfill each hole with a putty knife, let it dry, and then sand flush. If the filler shrinks, apply a second light pass. A quick once-over with a bright work light held at a low angle will reveal any remaining imperfections before you paint.
5. Caulk Like a Pro for Seamless Joints and Shadow-Free Edges
Caulk is where a lot of DIY trim jobs go off the rails. Used correctly, it hides tiny gaps between trim and walls, softens shadows, and makes everything look crisp. Used badly, it leaves lumpy edges and smeared paint. The goal is a thin, consistent bead that fills the gap without spreading all over your trim.
Pick the right caulk and prep the joint
For interior trim, a high-quality paintable acrylic latex caulk (often with a bit of silicone for flexibility) is the go-to. Avoid pure silicone indoors around trim; it doesn’t paint well and can leave residue that rejects future paint. Before caulking, vacuum or brush out dust, scrape away loose paint, and make sure the surfaces are dry. For larger gaps (over about 1/4 inch), insert a foam backer rod so the caulk doesn’t sink or crack as it cures.
Cut the nozzle small and keep a steady pace
Cut the caulk tube tip at about a 45-degree angle with a small opening, roughly enough for a 1/8- to 1/4-inch bead. The smaller the gap, the smaller the opening should be. Hold the gun at a consistent angle and pull it along the joint instead of pushing. Pulling lets the nozzle “lead” the caulk into the gap instead of piling it up on the surface.
Tool the bead once and resist the urge to fuss
Immediately after laying a short bead (two to three feet at a time), smooth it with a damp finger or a dedicated caulking tool. The key is one continuous, gentle pass. Multiple passes just smear the caulk onto the face of the trim and wall. Keep a damp rag or baby wipe handy to clean your finger or tool as you go. If you use painter’s tape to define the edge, remove it while the caulk is still wet so the edge stays crisp instead of tearing.
6. Prime, Paint, and Maintain for Long-Lasting Good Looks
Even perfect carpentry can be ruined by rushed painting. Trim gets handled, kicked, vacuumed, and bumped more than almost any surface in the house, so the finish needs to be durable and well-bonded.
Prime for adhesion and stain blocking
If your trim is bare wood, stained, or has knots, use a quality primer before painting. Primers designed for trim help seal tannins, improve adhesion, and give your topcoat a uniform base. Even pre-primed trim often benefits from a quick scuff sand and a light primer coat, especially at joints and filled nail holes, to prevent “flashing” where patched areas show through.
Use the right paint and application tools
Semi-gloss or satin paints are common for interior trim because they resist scuffs and are easier to wipe clean. Use a high-quality angled sash brush for cutting along edges and a small foam roller for larger flat sections if needed. Work in manageable sections, brush with the grain of the wood, and always “tip off” your final strokes in one direction to reduce visible brush marks.
Two thin coats are better than one thick one. Thick paint is more likely to sag, pool in profiles, and highlight imperfections. Lightly sand between coats with a fine-grit sanding sponge to keep everything buttery smooth.
Touch up regularly
Life happens: chairs bang into baseboards, kids ding door casings with backpacks, pets think trim is a chew toy. Keep a small labeled jar of your trim paint and a good touch-up brush on hand. A quick, occasional touch-up keeps your trim looking freshly installed for years, instead of slowly sliding toward “builder-grade plus battle scars.”
Real-World Lessons: Experiences From Miles of Trim
Spend enough time around doors, windows, and base moldings, and you start collecting stories. Here are some “experience-based” lessons that come up again and again among homeowners, DIYers, and pros who’ve installed more trim than they care to admit.
The first room is a classroom, not a masterpiece
Many people start with the most visible room in the house because they want to enjoy the results right away. A more forgiving strategy is to start in a secondary bedroom, hallway, or laundry room. Your first few coped corners, caulk beads, and miter joints are where you figure out how your tools behave, how your house is out of square, and what pace you can realistically work at.
By the time you reach the foyer or living room, your cuts are sharper, your caulk lines are smoother, and you’re no longer surprised when a “90-degree” corner turns out to be 92 degrees. The practice room earns you the right to go bold in the showpiece room.
Lighting exposes everything (usually at the worst time)
A common experience: the trim looks pretty good while you’re working under normal room lighting. Then the sun hits the wall just right the next morning, or you flip on new recessed lighting, and suddenly every nail hole, ridge, and sanding swirl stands out. That’s why pros often use a bright work light held at a low angle to rake light across trim before painting. It reveals imperfections early, when they’re easy to fix with one more quick sand or a dab of filler.
Caulk can save you or sabotage you
People either underuse or overuse caulk at first. Underuse, and you’re stuck with dark hairline gaps that show up after painting. Overuse, and you end up smearing caulk across everything, creating a lumpy edge that looks worse than the gap did. The “experience upgrade” happens when you realize that caulk is a surgical tool, not a broom: tiny bead, short runs, one smooth pass, and stop. Most seasoned DIYers can recount a “caulk disaster” room where they learned this the hard way and then corrected their technique on the next project.
Old houses are quirky, not broken
In older homes, trim work is as much about storytelling as straight lines. You might discover that every door jamb leans slightly, or that the baseboards can’t sit flush because the plaster bulges. Many DIYers initially get frustrated trying to make everything mathematically perfect, only to discover that the more realistic goal is “visually perfect.” If the joints are tight, the reveals are consistent, and the gaps are caulked cleanly, nobody else will notice that your baseboard floats 1/8 inch off the floor in one corner.
A few “pro habits” change everything
People who’ve installed trim in multiple homes often mention the same habits as game-changers:
- Keeping a sharp pencil and a dedicated tape measure just for finish work.
- Labeling every piece of trim on the back before moving to the next opening.
- Making test cuts on scrap before committing to long pieces.
- Doing a dry run of every wall setting the pieces in place without nails to check the overall look.
These habits don’t take much time, but they drastically reduce mistakes. Instead of pulling trim back off the wall after you notice a misaligned reveal or a mismatched profile, you catch it early and fix it while everything is still loose.
Perfect trim is a collection of small, good decisions
When you look at a beautifully trimmed room, it’s easy to imagine some kind of magic, like the carpenter just has a gift you don’t. In reality, what you’re seeing is the sum of dozens of small, good decisions: choosing the right profiles, laying out consistent reveals, coping inside corners, filling and sanding nail holes carefully, and taking an extra hour to caulk and paint with intention instead of rushing.
The more you practice, the more those decisions become automatic. Before long, you’ll walk into a room, spot an out-of-square corner or a wavy wall instantly, and know exactly how you’ll trim around it. That’s when you’ve officially graduated from “I’m nervous about cutting this casing” to “I’ve got this where’s my nail gun?”