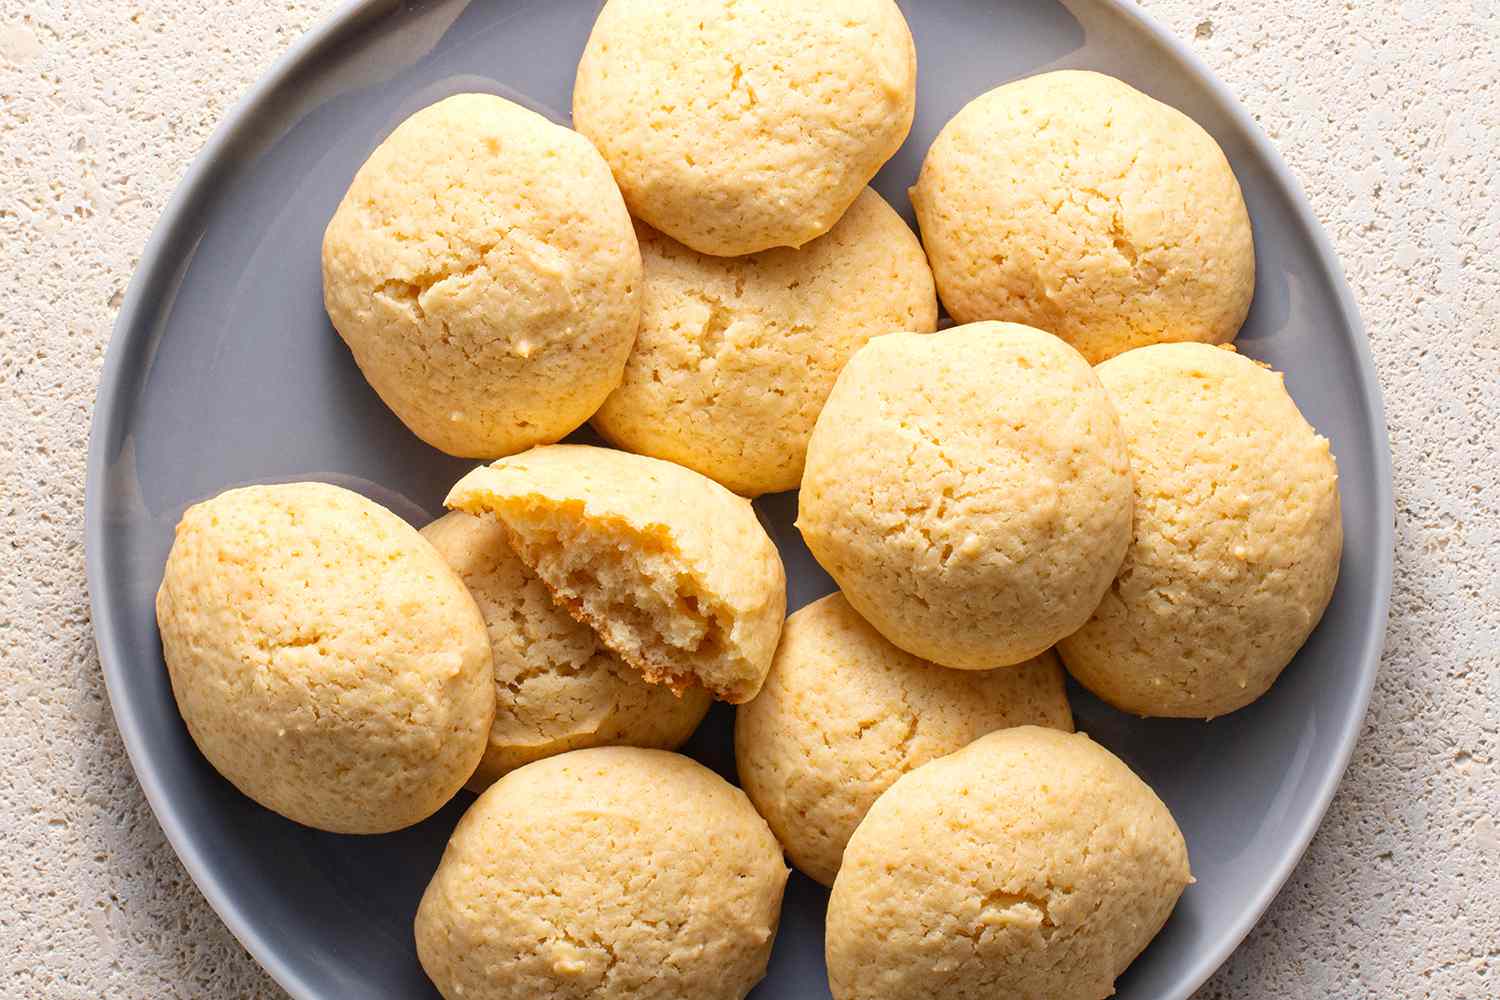
What happens when cheesecake and cookies collide? You get a dessert that’s part soft-baked cookie, part tangy-sweet cheesecake
and 100% “Wait, who ate the last one?” These cheesecake cookies are thick, tender, and just a little dramatic: buttery edges,
a creamy center, and a subtle tang that makes them taste like you tried harder than you did.
This recipe is built from the best real-world techniques bakers use for cream-cheese cookie dough and cheesecake-style fillings:
we sweeten and stabilize the filling so it stays creamy (not runny), and we chill/freeze strategically so the cookies bake up tall
instead of spreading into sad, flat pancakes.
Quick Snapshot
- Style: Cheesecake-stuffed cookies (soft centers, chewy edges)
- Flavor: Vanilla cheesecake + buttery cookie with optional graham/white chocolate vibes
- Difficulty: Easy-medium (the “stuffing” step is the only fancy part)
- Time: ~25 minutes prep + chill/freeze time + 10–12 minutes bake
- Yield: About 18 large cookies (or ~24 medium)
Why This Recipe Works
1) Cream cheese in the dough = softer, more “cheesecake-like” cookies
Cream cheese adds richness and a gentle tang, and it helps the cookie stay tender. It’s the same reason cream-cheese sugar cookies
feel plush instead of crisp: you’re adding fat and moisture that soften the crumb.
2) A stabilized filling prevents the dreaded “cheesecake lava leak”
Sweetened cream cheese is delicious, but it can ooze out if it’s too loose. A little powdered sugar helps thicken it, and a small
amount of flour (optional but recommended) encourages the filling to hold its shape while baking.
3) Chilling is not a suggestionit’s the secret handshake
Cold dough spreads less, bakes thicker, and holds its structure better. Freezing the filling also makes stuffing easier and cleaner.
If you’ve ever tried to wrap warm dough around squishy filling, you already know why we’re choosing peace today.
Ingredients
For the cheesecake filling
- 8 oz (226 g) full-fat cream cheese, softened
- 1/3 cup (40 g) powdered sugar
- 1 tsp vanilla extract
- Pinch of salt
- Optional but helpful: 1 tbsp (8 g) all-purpose flour (stabilizes the filling)
- Optional flavor twist: 1–2 tsp lemon zest (bright, classic “cheesecake” vibe)
For the cookie dough
- 1/2 cup (113 g) unsalted butter, softened
- 4 oz (113 g) full-fat cream cheese, softened
- 3/4 cup (165 g) packed light brown sugar
- 1/4 cup (50 g) granulated sugar
- 1 large egg (room temperature)
- 1 large egg yolk (optional but recommended for chew)
- 2 tsp vanilla extract
- 2 1/4 cups (270 g) all-purpose flour
- 1 tbsp (8 g) cornstarch (for softness)
- 1 tsp baking powder
- 1/2 tsp baking soda
- 3/4 tsp fine salt
- Optional “cheesecake crust” vibe: 3/4 cup (75–85 g) graham cracker crumbs
- Optional mix-ins: 1/2 cup white chocolate chips OR 1 cup chocolate chips
- Optional fruit: 1/3 cup freeze-dried strawberries, lightly crushed (not freshfresh adds too much moisture)
Equipment You’ll Want
- 2 baking sheets + parchment paper
- Electric mixer (hand or stand) helps, but not mandatory
- Cookie scoop (2 tbsp size is ideal)
- Measuring cups/spoons (a kitchen scale is even better)
Step-by-Step: Cheesecake-Stuffed Cookies
Step 1: Make the cheesecake filling
- Line a plate or small baking sheet with parchment.
-
Beat the cream cheese, powdered sugar, vanilla, and salt until smooth. If using flour and/or lemon zest, mix in now.
The texture should be thick, creamy, and scoopable. -
Scoop the filling into 18 small mounds (about 2 tsp each) onto the parchment.
Freeze until firm, at least 45–60 minutes. (Overnight is fine.)
Step 2: Mix the cookie dough
- In a large bowl, beat butter, cream cheese, brown sugar, and granulated sugar until fluffy (about 2–3 minutes).
- Add egg, egg yolk (if using), and vanilla. Beat until combined.
- In a separate bowl, whisk flour, cornstarch, baking powder, baking soda, and salt. If using graham crumbs, whisk them in here too.
-
Add dry ingredients to the wet ingredients and mix just until no dry streaks remain.
Fold in chips or freeze-dried fruit if using. - Chill the dough for 30–60 minutes (or longer) so it’s easier to shape.
Step 3: Stuff and shape
- Preheat oven to 350°F. Line baking sheets with parchment.
-
Scoop about 2 tbsp dough and flatten it into a thick disk in your palm.
Place one frozen filling mound in the center. -
Add a small cap of dough on top if needed, then pinch and roll to seal completely.
The filling should be fully enclosed (no cracks), or it may peek out during baking. - Place cookies 2–3 inches apart. For extra “bakery” looks, press a few chips on top before baking.
Step 4: Bake
- Bake for 10–12 minutes (large cookies) until edges look set and lightly golden.
-
The centers should look slightly underdonethis is good. They’ll continue to set as they cool,
which keeps them soft instead of dry. - Cool on the baking sheet 10 minutes, then transfer to a rack.
How to Tell They’re Done (Without Overbaking)
- Edges: set and barely golden
- Tops: matte, not wet-looking
- Centers: still a little puffy and soft
If you wait for the center to look fully “done” in the oven, you’ll likely end up with cookies that are more firm than lush.
Soft-baked is the goal here.
Flavor Variations (Pick Your Adventure)
Strawberry Cheesecake Cookies
Add freeze-dried strawberries to the dough and a little lemon zest to the filling. White chocolate chips make it taste like a bakery
treat that costs $6 and somehow still comes with a “suggested tip” screen.
Oreo Cheesecake Cookies
Fold crushed chocolate sandwich cookies into the dough, or press cookie chunks onto the tops before baking. The tangy filling + cocoa
cookie pieces is a guaranteed crowd-pleaser.
Brownie Cheesecake Cookies
Use a fudgy chocolate cookie dough and keep the filling classic vanilla. Underbake slightly so the outside stays brownie-like while the
center remains creamy.
Cherry Cheesecake Cookies
Add chopped, well-drained maraschino cherries to the dough (pat them dry first). It’s sweet, nostalgic, and slightly “holiday party in a cookie.”
Cheesecake Cookie Cups (Party-Friendly)
Press dough into mini muffin cups, bake until set, then fill cooled cookie cups with cheesecake filling. Great for gatherings because
they travel well and look fancy with minimal effort.
Make-Ahead, Storage, and Food Safety
Do cheesecake cookies need to be refrigerated?
Yesbecause this recipe contains cream cheese (and especially because the center is a moist dairy-based filling). Store cookies in an
airtight container in the refrigerator for the safest, best-quality result.
How long do they last?
- Refrigerator: 4–5 days (best texture in the first 3 days)
- Freezer: up to 2–3 months (freeze baked cookies or shaped dough balls)
Best serving tip
For the dreamiest texture, let refrigerated cookies sit at room temperature for about 15–25 minutes before eating.
The centers soften slightly, and the cookie tastes more “fresh-baked.”
Freezing dough (future-you will be grateful)
Assemble stuffed dough balls, freeze on a tray until solid, then store in a freezer bag. Bake from frozenjust add 1–2 minutes to the bake time.
Troubleshooting (Because Cookies Have Opinions)
My cookies spread too much
- Dough may have been too warm. Chill longer.
- Butter/cream cheese may have been overly soft. Cool the dough before baking.
- Make sure your baking sheet is cool before placing new dough on it.
My filling leaked out
- Seal the dough completelyno cracks.
- Freeze the filling until firm (not just “cold”).
- Use the optional flour in the filling for extra stability.
My cookies taste bland
- Don’t skip the saltdesserts need it.
- Add lemon zest to the filling for a brighter “cheesecake” note.
- Use real vanilla extract (it’s doing a lot of heavy lifting here).
FAQ
Can I skip the stuffing step and still get “cheesecake cookies”?
Absolutely. You can make a cream-cheese cookie dough (no filling) and optionally roll the dough balls in graham crumbs or sugar.
The flavor is cheesecake-adjacent and still very goodjust less dramatic.
Can I use low-fat cream cheese?
You can, but full-fat cream cheese gives the best texture and flavor. Lower-fat options tend to be softer and can make the filling
less stable and the cookie less rich.
What’s the best mix-in?
White chocolate + strawberry (freeze-dried) is a top-tier combo, but chocolate chips, crushed cookies, or lemon zest all work beautifully.
Choose your cookie personality: cozy, bright, chocolatey, or “holiday snack table.”
Experiences, Notes, and “Stuff I Wish Someone Told Me” (Extra Baking Wisdom)
Here’s what tends to happen in real kitchens when people make cheesecake cookiesaka the little lessons you only learn after you’ve
washed the mixing bowl and already committed to being a dessert person today:
1) The dough will feel softer than you expectand that’s normal
If you’re used to standard chocolate chip cookie dough, cream cheese dough can feel a bit plush and sticky, especially right after mixing.
The first instinct is to add flour. Resist that urge unless the dough is truly unworkable, because extra flour can turn your cookies from
soft and tender into bready and dull. In most cases, a short chill fixes everything. This is one of those “time does the work” moments.
2) Freezing the filling feels extra… until you try not freezing it
The frozen filling step can seem like an unnecessary hoopuntil you skip it and the filling smears everywhere like it’s trying to escape.
When the filling is frozen, you can shape, seal, and roll the cookies quickly, and the stuffed balls stay neat and round. When it’s not,
you’re basically trying to gift-wrap pudding with a blanket. Sure, you can do it, but do you want to?
3) Sealing the dough is the whole game
The most common “experience” people report is a little filling leakand it almost always comes down to tiny cracks in the dough seam.
When you think you’ve sealed it, give it one more gentle roll and look closely for thin spots. If you see any, patch with a pea-sized
bit of dough. It’s a 10-second fix that saves you from the “why is my baking sheet wearing cheesecake?” surprise.
4) Underbaking feels wrong… but tastes right
There’s a moment around minute 10 where you’ll look through the oven window and think, “These can’t possibly be done.”
That’s the moment to remember: the carryover heat finishes the center. If you wait for the centers to look firm in the oven, the cookies
will cool down into a more cakey, less creamy texture. Soft-baked cheesecake cookies are all about stopping just a bit early, then letting
the tray do the last part of the job while you pretend you’re incredibly patient.
5) The fridge changes the texturein a good way (mostly)
Freshly baked, the centers are extra creamy and the cookie is super soft. After chilling, the filling becomes more “cheesecake slice”
textured and the cookie firms up slightly. Both are delicious, just different. A lot of bakers end up liking them best after a short rest
in the fridge, then a few minutes at room temperature before serving. It’s like the cookie gets its life together overnight.
6) Flavor “pops” come from small upgrades, not more sugar
If you want the cookies to taste more like classic cheesecake, the easiest wins are:
a pinch more salt, a little lemon zest, and real vanilla. Those three ingredients give you that bakery-style depth without turning the
cookies into sugar bombs. And if you want an even bigger cheesecake illusion, graham cracker crumbs in the dough add that familiar
crust flavor that people instantly recognize.
7) These cookies make people weirdly emotional
Not always, but often enough to mention: cheesecake cookies have a nostalgic effect. They taste like celebrationsholiday trays,
bake sales, birthdays, “just because” weekends. Because they’re a mashup, they feel special even when the steps are simple.
Don’t be surprised if someone asks for the recipe while holding a cookie like it’s a tiny edible trophy.
Conclusion
If you’ve been craving a cookie that feels like dessert-dessert (not “I ate two and now I’m still searching for a snack”), cheesecake
cookies are your answer. With a thick, tender dough and a creamy center, they’re the kind of treat that disappears fast at parties and
mysteriously vanishes from your own kitchen counter too. Freeze extra dough balls, keep a stash for emergencies, and remember:
sealing the dough is basically cookie insurance.