If you’ve ever looked at a humble cinder block and thought, “You could be more than a parking lot accessory,” congratulations: you’re already halfway to a seriously practical garden upgrade. Cinder block gardening is exactly what it sounds likeusing concrete (often called “cinder”) blocks to build raised beds, planters, borders, and even vertical garden features. It’s sturdy, affordable, and forgiving for beginners… which is nice, because plants can be a little judgmental.
This guide covers what cinder block gardening is best for, how to build a block raised bed that won’t wobble like a shopping cart with one cursed wheel, what to plant in those convenient holes, how to manage soil and watering, and the big question people quietly Google at 2 a.m.: “Is this stuff safe around vegetables?”
Why Cinder Blocks Work So Well in the Garden
They’re basically garden LEGOonly heavier and less fun to step on
Concrete blocks are easy to stack into straight lines, L-shapes, U-shapes, and tidy rectangles. No carpentry degree required. You can create a long raised bed for vegetables, a short bed for herbs, or a border that makes your yard look like it has its life together.
They last a long time
Unlike some wood frames that eventually rot, concrete blocks hold up through sun, rain, and the emotional rollercoaster of “I’m totally going to garden every weekend” optimism. If you want a “build it once, plant forever” vibe, blocks fit the bill.
They add a microclimate advantage
Masonry materials can help buffer temperature swings. In many climates, block beds can warm a bit earlier and hold warmth a bit longer, which can be helpful for extending shoulder-season growing. That doesn’t mean your garden becomes a tropical resort, but it can be the difference between “tomatoes thriving” and “tomatoes pouting.”
Those holes are free planters
The hollow cores can be filled with soil and used for herbs, flowers, pollinator plants, succulents, or even strawberries (depending on your climate and watering habits). It’s a built-in bonus that wood beds simply can’t pull offno matter how much they brag about their “rustic charm.”
Safety and Soil Chemistry: What to Know Before You Plant
Let’s talk about the part of cinder block gardening that makes people squint thoughtfully at a gray block like it just confessed something.
“Cinder block” vs. “concrete block” (and why people still say cinder)
Most modern “cinder blocks” sold today are concrete blocks made from cement plus aggregates like sand and small stones. The term “cinder” stuck around like a nickname you can’t shake. Some blocks may include fly ash as part of the aggregate, and that’s where concerns sometimes come in.
Lime can raise soil pH near the edges
Cement contains lime (from limestone), and over time it can influence soil pH, especially where soil is in direct contact with the block. If pH creeps too high (too alkaline), some plants struggle to access nutrients even if the nutrients are present. This is less “toxic apocalypse” and more “why are my leaves yellow when I’m doing everything right?” frustration.
What about fly ash and heavy metals?
Some guidance notes that blocks may contain fly ash and that conclusive research on garden-bed leaching is limited. Translation: it’s not a simple yes/no for every block ever made, and comfort level matters. Many gardeners still use concrete blocks successfully, but if you’re cautiousespecially for food cropsthere are sensible precautions that don’t require turning your backyard into a hazmat scene.
Practical risk-reduction steps (without going full doomsday prepper)
- Use new, intact blocks rather than old, crumbling, mystery blocks from an unknown source. Avoid blocks that are deteriorating into dust.
- Consider a barrier between the soil and the block walls if you’re concerned. A geotextile fabric or heavy plastic liner on the inside wall can reduce direct soil contact. (Don’t block the bottom drainage.)
- Seal the blocks if you want extra peace of mind. Some Extension guidance suggests sealing with a polymer paint meant for masonry.
- Soil test every year or two, especially if you’re growing edibles. Testing helps you monitor pH and nutrient levels so you can correct issues early.
- Be strategic with crop placement: if you’re worried, plant food crops a little inward from the edges and use the block holes for ornamentals or herbs you harvest sparingly.
Bottom line: cinder block gardening can be a reasonable choice, and you can dial your approach up or down based on how cautious you want to be.
Design Rules That Make Your Block Garden Easier to Maintain
Width: don’t build a bed you can’t reach
A classic guideline is keeping beds no more than about 4 feet wide if you can access both sides. If a bed is against a fence or wall, keep it narrowerabout arm’s reachso you aren’t belly-flopping into your basil to weed the middle.
Height: match it to roots (and your back)
Many gardeners do well with a bed height around 10–18 inches. Taller beds can be more comfortable to work in, but they need more soil to fill. For accessibility or mobility needs, taller can be betterjust plan for the extra soil volume.
Paths: make room for you and your tools
Plan walkways wide enough for a wheelbarrow or garden cartaround 3 feet is a common comfort zone. Your future self, carrying a bag of compost while pretending it’s “not that heavy,” will thank you.
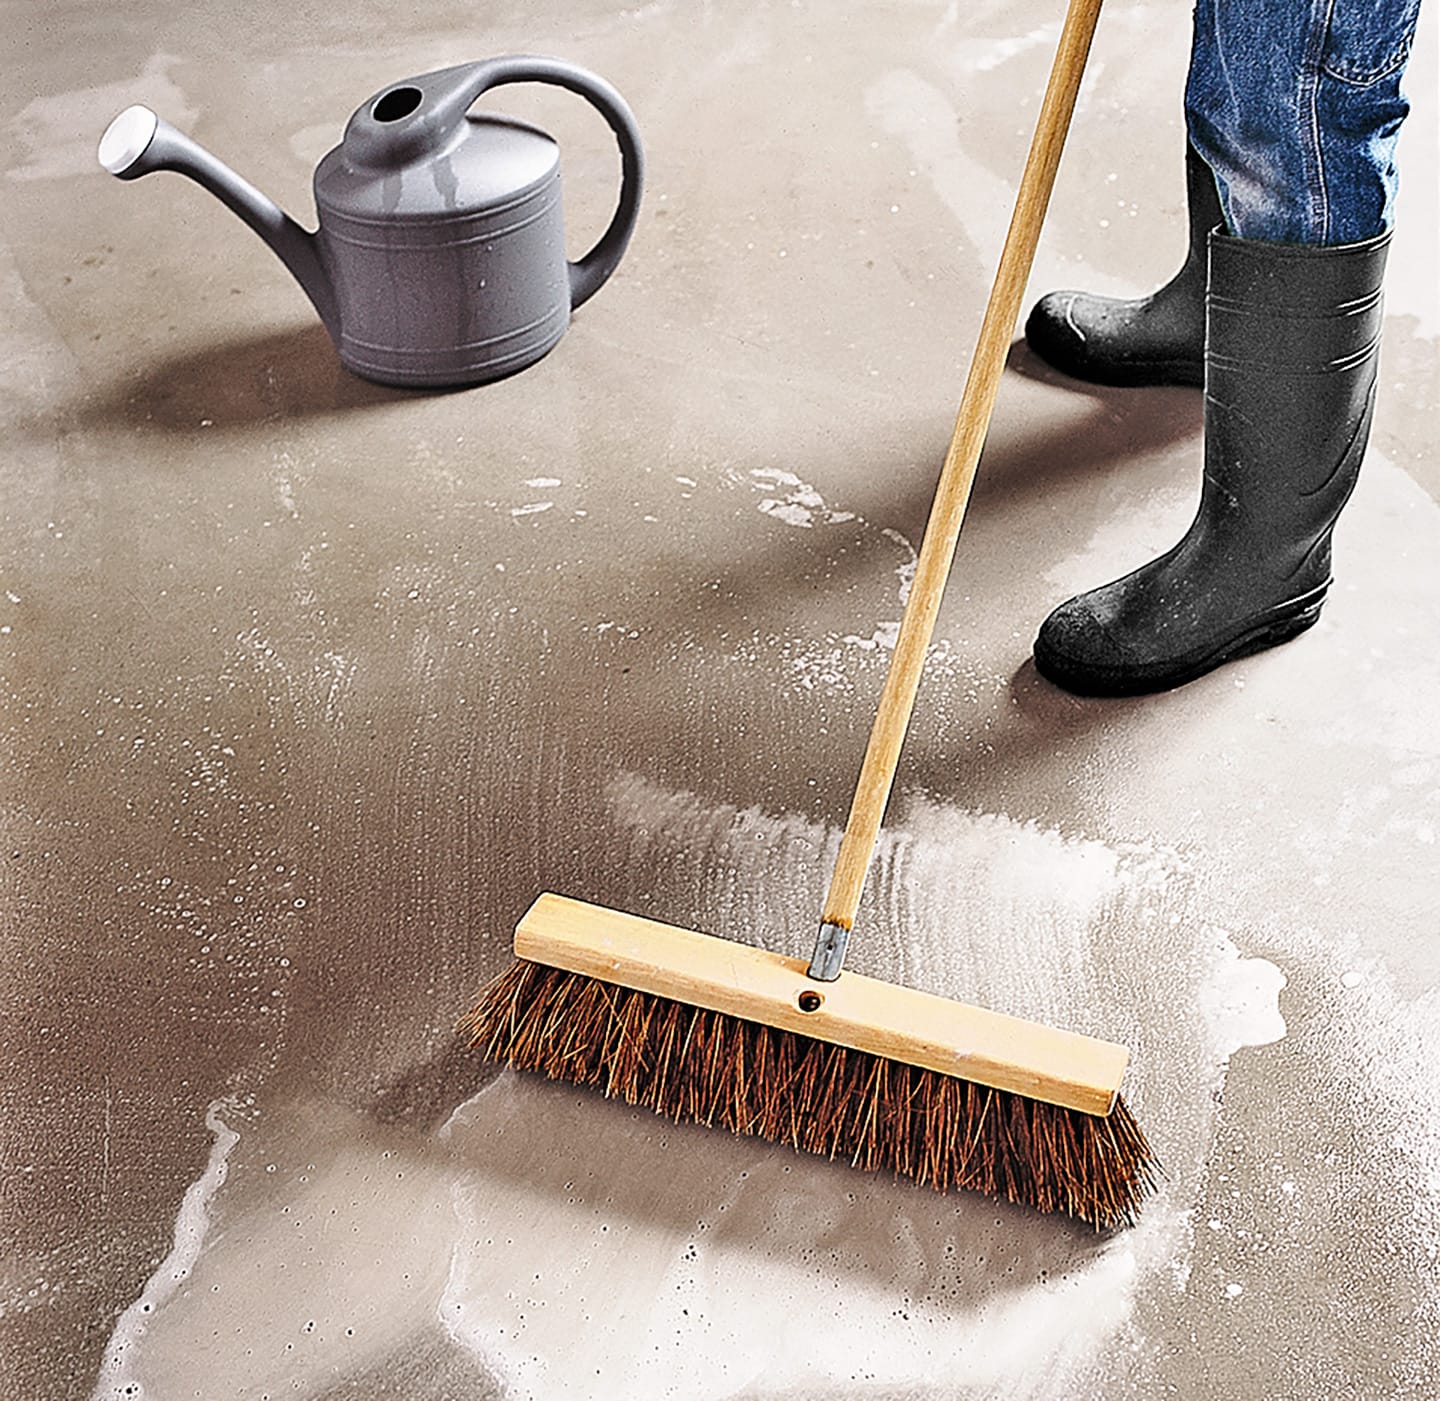
How to Build a Cinder Block Raised Bed (Step-by-Step)
You can build a sturdy block bed with no mortar. The key is a level base. If you skip leveling, your bed will still functionjust with a subtle “leaning tower of vegetables” aesthetic.
Materials
- Cinder/concrete blocks (common size: 8x8x16 inches)
- Cardboard (optional, for weed suppression)
- Raised bed soil mix (more on this below)
- Level + rubber mallet (helpful)
- Landscape fabric or liner (optional, for wall barrier)
- Caps or pavers (optional, for a cleaner top edge)
Step 1: Pick the spot
Aim for 6–8 hours of sun for vegetables and many flowering plants. Near a water source is a sanity-saving bonus.
Step 2: Mark and clear the footprint
Outline your bed with stakes or even just blocks placed at the corners. Remove grass and weeds. If weeds are persistent, lay down flattened cardboard to suppress regrowth (it breaks down over time).
Step 3: Level the base
Set blocks in place dry (no mortar) and check level. Remove high spots or add a bit of compacted soil under low spots. This is the step that separates “wow, professional” from “why does this feel like a funhouse?”
Step 4: Stack your blocks
Place blocks with holes facing up if you plan to use them as planters. One layer is fine for shallow-rooted crops and flowers; two layers give you more soil depth and a slightly higher working height.
Step 5: Add optional wall barrier
If you want to reduce soil contact with the blocks, line the inside walls with geotextile fabric or heavy plastic. Leave the bottom open for drainageraised beds should drain, not become backyard soup bowls.
Step 6: Fill with soil and blend the interface
Raised beds do best when the soil is light and drains well. If your bed sits on native soil, loosen the ground beneath and blend the bottom layer a bit so roots can move down and water can move through. Avoid creating distinct hard layers that slow drainage.
Step 7: Plant, mulch, and water
Add 1–2 inches of mulch (straw, shredded leaves, bark) to reduce weeds and hold moisture. Then plant and water deeply.
Raised Bed Soil That Actually Works (Not Just “Whatever Was On Sale”)
Soil is the engine of cinder block gardening. If your soil is right, plants forgive a lot. If your soil is wrong, plants will stage a protestquietlyby not growing.
A reliable raised bed mix
A commonly recommended approach is a blend of:
- Topsoil for structure
- Compost for nutrients
- An aeration component (like coarse sand, pine bark fines, or perlite) for drainage
One practical ratio many gardeners use is around 40% compost, 40% topsoil, and 20% aeration material. If you prefer simpler mixing, equal parts topsoil and compost can work in many cases, but watch drainage and compaction.
Don’t fill a raised bed with compost alone
Compost is wonderfulbut it’s not meant to be the entire soil profile. Straight compost can hold too much moisture, shrink a lot as it breaks down, and sometimes create salt issues depending on the source. Use compost as a major ingredient, not the whole recipe.
Test soil pH and adjust
Many vegetables do well around a slightly acidic to near-neutral range (often around pH 6.0–6.5). If your pH drifts high near the blocks, you may need to adjust with amendments recommended by a soil test. This isn’t about chasing perfection; it’s about avoiding “mystery nutrient lockout” problems.
What to Plant in a Cinder Block Garden
Best plants for the block holes
The holes are ideal for smaller-rooted plants and “grab-and-go” harvests:
- Herbs: basil, thyme, oregano, chives, parsley (mint only if you like chaos)
- Pollinator flowers: alyssum, marigold, nasturtium
- Succulents: great for sunny, dry spots
- Strawberries: workable in some climates if you keep up with watering
Best plants for the main bed space
In the main bed area, you can grow almost anything you’d grow in the ground if the bed is deep enough:
- Cool-season crops: lettuce, spinach, radishes, carrots, onions
- Warm-season crops: tomatoes, peppers, beans, cucumbers (with trellis support)
- Compact varieties if you’re working with a smaller bed footprint
A concrete example layout (pun fully intended)
Try a 4-foot by 8-foot bed made from standard blocks in a rectangle. Use the block holes for herbs and flowers to attract beneficial insects, and plant your main crop in the center. Put taller plants on the north side so they don’t shade everything else. It’s like stadium seating, but for vegetables.
Watering and Maintenance: The Unsexy Stuff That Makes the Garden Thrive
Raised beds dry out faster
Because raised beds drain well and sit above ground, they can dry quicker than in-ground gardens. Plan on consistent wateringespecially during hot or windy weeks. A soaker hose or drip line under mulch can make watering less of a daily negotiation with your schedule.
Refresh the soil every season
Top-dress with compost annually. Your soil settles over time, and plants use nutrients. A yearly compost layer is like a subscription service your garden actually appreciates.
Weed and pest control made easier
Mulch helps suppress weeds. Rotating crops each year reduces disease and pest buildup. Adding flowers and herbs near vegetables can also support beneficial insects. None of this is magicjust good, boring strategy that pays off.
Make It Look Good: Paint, Caps, and Small Upgrades
Cap the top edge
Adding pavers or caps can make the bed look finished and gives you a cleaner place to sit or rest tools. If you build a two-layer bed, a wide cap can act like a mini “garden bench ledge.”
Paint the blocks (optional but fun)
Paint can transform blocks from “construction site chic” to “intentional design choice.” If you paint, prep matters: masonry is porous, so a bonding primer for concrete helps. Paint only when blocks are dry, and choose exterior-grade products for outdoor beds. Bonus: lighter colors can reflect heat in very hot locations.
Common Mistakes (So You Don’t Have to Learn the Hard Way)
- Skipping leveling: the bed shifts and settles unevenly, especially after heavy rain.
- Using poor soil: plants struggle no matter how charming your block layout is.
- Overfilling block holes with thirsty plants: small soil volumes dry out fast. Pick plants that match the watering reality.
- Planting perennials in tiny raised beds in cold climates: soil can freeze faster in raised structures, stressing roots.
- Ignoring pH: if leaves yellow and growth stalls near the edges, test soil pH before you panic-buy ten different fertilizers.
of “Been There, Watered That”: Real-World Experiences With Cinder Block Gardening
Ask a handful of gardeners about cinder block gardening and you’ll get a spectrum of storieseverything from “best decision I ever made” to “my basil crisped in 24 hours and I took it personally.” The truth is, cinder block gardens behave a little differently than in-ground beds, and most “lessons learned” fall into a few predictable categories.
First: the leveling moment of truth. Many gardeners say the first bed they built looked perfect… until they filled it. Soil is heavy, and water makes it heavier. If the base isn’t level and stable, the bed can settle unevenly and create small gaps or wobble that weren’t obvious on day one. The fix is usually simplelift, adjust, tamp, and resetbut it’s a lot easier before the bed contains 30 cubic feet of soil and your hopes and dreams. People who took an extra 30 minutes to level the base tend to report fewer “why is this corner sinking?” conversations later.
Second: the block holes are amazing, but they’re not a miracle. The holes are perfect for quick-access herbsespecially the ones you grab constantly, like chives and parsley. But they dry out fast because there’s not much soil volume. Gardeners who succeed with hole planters often treat them like mini containers: they add a little extra compost, mulch the surface, and water more frequently. Some even reserve the holes for drought-tolerant picks (thyme, oregano, sedum) and keep thirstier herbs in the main bed where the soil stays evenly moist.
Third: cinder block beds can “run warm,” and that’s both good and tricky. In cooler climates, the slightly warmer edges can help early growth and extend harvest. In hot climates or full sun, that same heat can stress tender plants near the perimeter. Gardeners often adapt by planting heat lovers (peppers, basil, oregano) closer to the edges and giving lettuces or cilantro a bit more interior space or partial shade. It’s less “one perfect rule” and more “match the plant to the microclimate.”
Fourth: the safety conversation is usually about comfort level, not panic. School gardens, community gardens, and backyard gardeners often weigh durability against uncertainty about block ingredients. The most common “peace of mind” solutions people share are lining the inside walls (while leaving the bottom open for drainage), choosing new blocks in good condition, and soil testing regularly. Many gardeners report years of successful harvests with concrete block beds, especially when they focus on good soil and consistent watering. The gardeners who feel best about their setup are the ones who made a clear decisioneither adding a liner/sealant, or choosing alternative materialsrather than worrying about it every time they pick a tomato.
Finally: cinder block gardening tends to create momentum. Once someone builds one bed and realizes they can weed without crawling on the ground, they often build a second. Then they add herbs in the holes. Then a little painted pattern. Then a capstone ledge “just because.” Before long, what started as a practical raised bed becomes a tidy, modular garden system that looks intentional and works hard. In other words: your cinder block garden may begin as a weekend projectand quietly become your favorite part of the yard.
Conclusion
Cinder block gardening is one of the most practical ways to build a durable, flexible raised bed setupespecially if you want something that can handle weather, hold its shape, and double as a planter system. The winning formula is simple: pick a sunny spot, level the base, use a balanced soil mix, water consistently, and keep an eye on soil pH. If you have concerns about block materials, take a cautious route with a liner or sealant and rely on soil testing for real feedback. Then plant something you actually want to eat (or at least something you won’t forget to water), and enjoy the oddly satisfying feeling of turning a construction block into a garden that produces life.