Caps are flying, cameras are flashing, and your wallet is quietly sobbing in the corner. Graduation season is excitingbut between parties, photos, and “just a little something” for every grad you know, the cost adds up fast.
Enter the hero of budget-friendly, adorable presents: the DIY grad cap mason jar. It’s part gift, part decor, and part “I swear I didn’t just Venmo you five bucks.” With a simple mason jar, some black cardstock, and a tassel, you can turn an ordinary jar into a tiny graduation cap that holds money, candy, notes, or all three. DIY bloggers and crafters across the U.S. love this idea because it’s simple, customizable, and works for grads of all agesfrom kindergarten to PhD.
In this guide, you’ll learn how to make a DIY grad cap mason jar, get ideas for filling and decorating it, and pick up real-world tips so your gifts look polished, not “I did this in the parking lot five minutes ago.”
Why DIY Graduation Gifts (and Mason Jars) Are Such a Win
Before we dive into hot glue and cardstock, it helps to know why DIY graduation giftsespecially mason jar projectsare so popular:
- They’re budget-friendly. You can often find jars at dollar stores or reuse spaghetti sauce jars you already have. A little paper and ribbon goes a long way.
- They’re versatile. Fill them with money, candy, gift cards, notes of wisdom, mini self-care kits, or school-colored treats.
- They double as decor. A group of grad cap jars makes an instant centerpiece or gift table display. Guests will crowd around them like they’re a snack tablebecause often, they are.
- They’re easy to personalize. Add the grad’s name, year, school colors, or even a photo on the front of the jar. Many crafters use chalkboard labels, vinyl decals, or printed stickers to customize the design.
- They feel thoughtful. Anyone can buy a card and tuck in cash. When you craft something, it shows time, effort, and a little bit of love… plus hot glue burns, which are their own love language.
What You Need to Make a DIY Grad Cap Mason Jar
You don’t need a full craft room to pull this off. Most grad cap mason jar tutorials use the same basic supplies:
- Mason jar or glass jar (8–16 oz works best; wide-mouth jars are easiest to fill)
- Lid and ring that fit your jar
- Black cardstock or thick black paper for the cap top and lid wrap
- Yellow or gold embroidery thread, yarn, or thin ribbon for the tassel
- Hot glue gun and glue sticks (or strong craft glue)
- Scissors and ruler
- Optional: spray paint (black for the lid, white or clear for the jar), labels or stickers, metallic paint pen or marker, school-colored candy, rolled bills, or tiny notes
If you’re making multiple jars for a party or a whole graduating class, it’s worth setting up a little “assembly line” so you can cut all your squares, wrap all your lids, and then glue everything at once.
Step-by-Step: DIY Grad Cap Mason Jar
There are dozens of variations, but most follow a simple pattern: prepare the jar, build the cap, add a tassel, and fill it with something fun. Here’s a beginner-friendly version inspired by popular tutorials from U.S. crafting blogs.
Step 1: Prep Your Jar
- Clean and dry the jar. Remove any labels and sticky residue if you’re upcycling. Glass cleaner or rubbing alcohol helps get rid of fingerprints.
- Optional: Paint the jar. Some crafters spray paint jars white for a crisp look or leave them clear so the candy and cash show through. If you paint, let the jar dry completely before moving on.
- Add a label. If you plan to use a chalkboard tag or vinyl decal, you can add it now or after you fill the jar. Think messages like “Congrats Grad!”, “Class of 2025,” or “Adventure Fund.”
Step 2: Build the Graduation Cap Lid
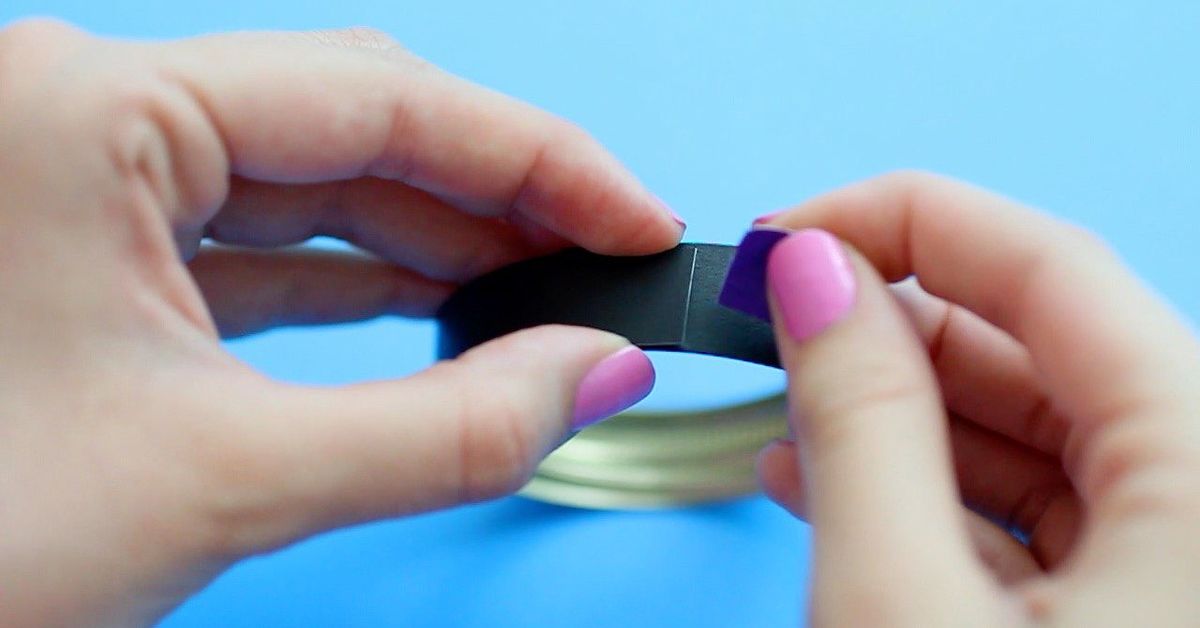
- Wrap the lid edge. Cut a strip of black cardstock long enough to wrap around the outer edge of the jar lid (about 5/8″ wide). Glue it around the rim so the metal is completely covered.
- Cut the cap square. Cut a square of black cardstock, roughly 3.25″–3.5″ depending on your jar size. This will be the top of the graduation cap.
- Glue the square on top. Apply glue to the top of the lid, then press the cardstock square onto it, centering it as much as possible. Let it dry fully so the cap feels sturdy.
Step 3: Make and Attach the Tassel
- Create the tassel. Wrap embroidery thread or yarn around your fingers 8–10 times, slide it off carefully, tie one end to create a loop, then trim the other end to form the fringe.
- Secure the top. Wrap a small piece of thread or ribbon around the upper part of the tassel and tie tightly to create that classic tassel “head.”
- Attach to the cap. You can either:
- Use a small brad or push pin through the center of the cardstock square and tie the tassel loop to it, or
- Hot glue the tassel loop near the center of the square and let it drape over the side.
- Position the tassel. Traditionally, grads move the tassel from right to left during the ceremony, but for decor, you can place it wherever looks balanced.
Step 4: Fill the Jar with Something Awesome
This is where your DIY graduation gift goes from “cute” to “legendary.” Popular options include:
- Money jars: Roll up bills, tie them with ribbon like tiny diplomas, and stand them up inside the jar. You can mix in paper confetti or school-colored tissue strips.
- Candy jars: Fill with the grad’s favorite candy. Some people hide a mini jar or tube of money in the middle of the candy so there’s a “secret” surprise.
- Words-of-wisdom jars: Invite friends and family to write advice, compliments, or memories on small slips of paper. Fold them and fill the jar for a sentimental gift.
- Self-care or dorm survival jars: Think mini lotions, tea bags, instant coffee packets, lip balm, snack bars, or gift cards to coffee shops and food delivery.
Once the jar is filled, screw on your new graduation cap lid and admire your creation. Yes, you’re allowed to take photos and post them everywhere.
Creative Variations on the Grad Cap Mason Jar
Once you’ve mastered the basic DIY graduation mason jar, it’s ridiculously easy to customize. Here are a few ideas inspired by popular projects:
1. School Colors Candy Jar
Fill the jar with M&M’s, jelly beans, or gumballs in the grad’s school colors. Add a coordinating ribbon around the jar and a sticker or tag with their school logo or mascot. This works especially well as a party favor or table centerpiece.
2. Hidden Cash Jar
Create a “decoy” jar filled with candy, but hide a smaller tube or jar of rolled bills in the center. The grad thinks they’re getting just candy… until they start digging. This idea shows up again and again because it’s fun, surprising, and very Instagrammable.
3. Words-of-Wisdom Jar
Instead of cash, fill the jar with advice and encouraging notes from loved ones. Label it “Open when you need motivation” or “Read on a rough Monday.” This version is especially meaningful for grads moving away from home.
4. Party Centerpiece Set
Make several jars in different sizes, all with grad caps on top. Use them as centerpieces, filling some with flowers, some with candy, and some with fairy lights or battery-operated string lights. Lighted mason jars are a huge hit for party decor and photos.
5. Personalized Name Jar
Add the grad’s name and year using vinyl, stickers, or letter decals. Some pre-made mason jar kits even come with alphabet stickers and themed labels, but you can easily DIY the same look with basic craft supplies.
How to Present Your DIY Grad Cap Mason Jar
The way you present your DIY graduation gift can make it feel even more special. Try these ideas:
- Add a clever tag. Pair your jar with a punny tag like “For your bright future,” “College fund starter pack,” or “In case of emergency, break out candy.”
- Pair it with a small gift card. Slide a coffee shop or bookstore gift card into the jar or tie it to the outside with ribbon.
- Group gifts together. For a larger present, pair the jar with a cozy throw blanket, planner, or dorm essentials basket.
- Use it as a card replacement. Instead of a greeting card, write your message on the tag or on the first note inside the jar.
Common Mistakes (and How to Avoid Them)
Even a simple project has its “oops” moments. Here’s how to dodge the most common DIY grad cap mason jar problems:
- Cap sliding off: Make sure you glue the cardstock square firmly to the metal lid, not just to the rim. If the jar will be handled a lot, use a strong glue like hot glue or a heavy-duty craft adhesive.
- Jar too heavy: If you load the jar with tons of coins or heavy candy, the weight can make it hard to carry. Mix in lighter filler like tissue paper or paper confetti.
- Labels peeling: Clean the glass with rubbing alcohol before applying stickers or vinyl so they adhere better.
- Tassel fraying: Use embroidery thread or quality yarn, and tie knots tightly. If needed, trim the ends after everything is glued down.
- Cap looks too small or too big: Adjust the cardstock square size relative to your jar diameter. It’s okay to test with scrap paper first.
Safety & Age-Appropriate Tips
DIY graduation mason jars are generally safe and kid-friendly, but a few precautions help:
- Little kids + glass: If you’re making gifts for young children, consider using plastic jars or supervise them closely when handling glass.
- Hot glue caution: Adults or older teens should handle the hot glue gun. Younger kids can help with filling jars, cutting paper, or writing notes.
- Food safety: If you’re painting the inside of jars, don’t place unwrapped food directly against painted surfaces. Stick to wrapped candy or treats in separate bags.
Extra Ideas for Easy DIY Graduation Gifts (Beyond Mason Jars)
Once you’re in a crafty mood, you might want to create a few more DIY graduation gifts to go with your jars:
- “Adventure Fund” shadow box: A framed box with a slit on top so the grad can save for travel or future goals.
- Memory photo collage: Print favorite pictures and arrange them in the shape of the graduation year.
- Study survival kit: Fill a small caddy with highlighters, sticky notes, headphones, snacks, and a reusable water bottle.
- Mini spa kit: Face masks, bath bombs, lotion, and cozy socks for post-finals recovery.
Real-World Experiences & Practical Tips for DIY Grad Cap Mason Jars
Let’s talk about what tends to work (and what doesn’t) when you’re actually making and giving these DIY graduation gifts in real life.
Plan for “just one more grad” syndrome
Graduation season has a way of multiplying. First you’re making a jar for your niece, then a neighbor’s kid gets invited, then your coworker’s son graduates. The beauty of the grad cap mason jar is that it scales really well. If you cut extra cap squares and tassel threads up front, it’s easy to assemble a couple more jars the night before the party without feeling overwhelmed.
Many crafters find that making 4–6 jars at once is actually faster than making one or two, because you can do each step in batchescutting all strips, gluing all lids, then making all tassels. It also means you can buy candy or filler in larger, more economical bags.
Set expectations with the amount of cash inside
One of the big advantages of a DIY money jar is that it feels more substantial than the raw dollar amount inside. A $20 bill rolled into mini “diplomas” and mixed with candy seems more generous than a $20 bill quietly slipped into a card. That said, it helps to be comfortable with whatever amount you’re giving.
To balance your budget, you can:
- Use a mix of small bills and coins, especially for younger grads.
- Combine moderate cash with inexpensive but fun extras, like school-colored candy or a cheap gift card.
- Make the focus the sentimental partlike wisdom notes or encouragement cardsso the money feels like a bonus, not the main event.
Lean into personalizationeven tiny details count
Personalization doesn’t have to be complicated. Small touches make a big difference in how “special” a DIY gift feels. Matching candy to school colors, adding the grad’s name on the jar, or writing a short inside joke on the tag can transform a simple jar into a keepsake.
Some people like to tuck a small note at the very bottom of the jar to be “discovered last,” such as a favorite quote, a childhood memory, or a message about how proud you are. It’s an easy way to add emotional weight to a lighthearted gift.
Think about how the jar will travel
Graduation celebrations often involve car rides, crowded auditoriums, and chaotic parties. If your jar is going to be carried around a lot, consider:
- Wrapping it in tissue paper or bubble wrap before putting it in a gift bag.
- Choosing a jar size that fits comfortably in one hand.
- Making sure the cap is glued securely so it doesn’t pop off in the car or when the grad tips it to peek inside.
If the gift needs to be mailed, you might opt for a plastic jar or a sturdier container with a “grad cap” topper to reduce the risk of breakage.
Use your jars as double-duty decor
DIY grad cap mason jars shine the most when they’re part of the party environment. Instead of handing them over right away, you can arrange them on a dessert table or gift table. Lined up in a row, they look like a tiny graduating class all on their own.
Some hosts create a “wisdom station” where guests write notes and drop them into a dedicated jar for the graduate. Others use jars as table numbers, centerpieces, or even as prizes for party games. The flexibility means you can customize them to the style and size of your celebration, whether it’s a backyard BBQ or a big rented hall.
Give yourself permission to keep it simple
Finally, it’s worth remembering: the grad is not judging your hot glue technique. They’re usually touched that you did something thoughtful at all. If you’re short on time, focus on the basicsa neat cap, a cute tassel, and something meaningful inside the jar. You don’t need elaborate vinyl decals or perfect calligraphy for this project to be a hit.
DIY graduation gifts like the grad cap mason jar are about celebrating effort, achievement, and the next chapter in someone’s life. Your handmade gift quietly says, “I’m proud of you, and I care enough to make something just for you.” And honestly, that message is worth more than whatever amount of cash ends up inside.
Conclusion
DIY grad cap mason jars strike a perfect balance: they’re affordable, easy to assemble, and endlessly customizable. Whether you’re thanking a hardworking college grad, cheering on a high school senior, or celebrating a little one moving up from kindergarten, this clever gift idea works for all ages and personalities.
With simple supplies, a bit of planning, and the ideas you’ve just learned, you can create graduation gifts that stand out on the gift table, double as decor, and deliver a mix of fun, practicality, and heartfelt meaning. That’s a lot of value packed into one little jar wearing a tiny cardboard hat.