Have you ever scrolled through Pinterest, saved 437 DIY ideas, and then… done exactly zero of them?
Birch log painting is your chance to change that. This simple, budget-friendly project turns plain
logs (or even faux cardboard “logs”) into chic rustic decor that looks like it came straight out of a
cozy cabin photo shoot.
Inspired by the “DIY Fun Challenge – Birch Log Painting” project shared on Hometalk-style craft
communities, this tutorial walks you through everything: picking your logs, painting realistic birch
bark, and styling your new artwork on a mantel, shelf, or centerpiece display. Think of it as a
creative challenge plus instant home decor upgrade in one.
Why Birch Log Painting Is the Perfect DIY Challenge
Low cost, big visual impact
Birch logs have that Scandinavian, cabin-in-the-woods aesthetic that somehow works in almost any
style: farmhouse, modern, traditional, even minimalist. The best part? You don’t need actual birch
trees growing in your backyard. You can:
- Use real firewood logs and paint them to mimic birch bark.
- Create faux birch logs from cardboard boxes or newspaper rolls and paint them white and gray.
- Paint birch tree designs directly on scrap wood planks or log slices for wall art.
Many crafters report spending less than $10 on supplies by using leftover paint and recycled
materials, especially when making faux logs from cardboard or newspaper forms. It’s a high-impact
look on a tiny budget.
Beginner-friendly but still satisfying
Birch bark is naturally imperfect: it has streaks, smudges, knots, and scars. Translation: your
painting doesn’t have to be flawless to look good. Simple techniques like dry brushing and tapping
black paint over a white base quickly create that speckled, textured birch effect. Even beginners
can get impressive results in an afternoon.
Supplies You’ll Need for Birch Log Painting
You don’t need a full art studio. Here’s a practical list to keep things simple:
Base materials
- Logs or faux logs – Real wood firewood, small branches, or cardboard “logs.”
- Sandpaper – Medium and fine grit for smoothing rough spots on real logs.
- Drop cloth or old cardboard – To protect your work surface.
Paint and tools
- White acrylic or chalk paint – Your main birch bark color.
- Black acrylic paint – For streaks, knots, and speckles.
- Gray paint – Optional, but helps create a softer, more realistic bark tone.
- Foam brush – Ideal for covering rounded surfaces with fewer brush strokes.
- Small flat or round brush – For details, marks, and knots.
- Old toothbrush or small stiff brush – Optional, for speckled texture.
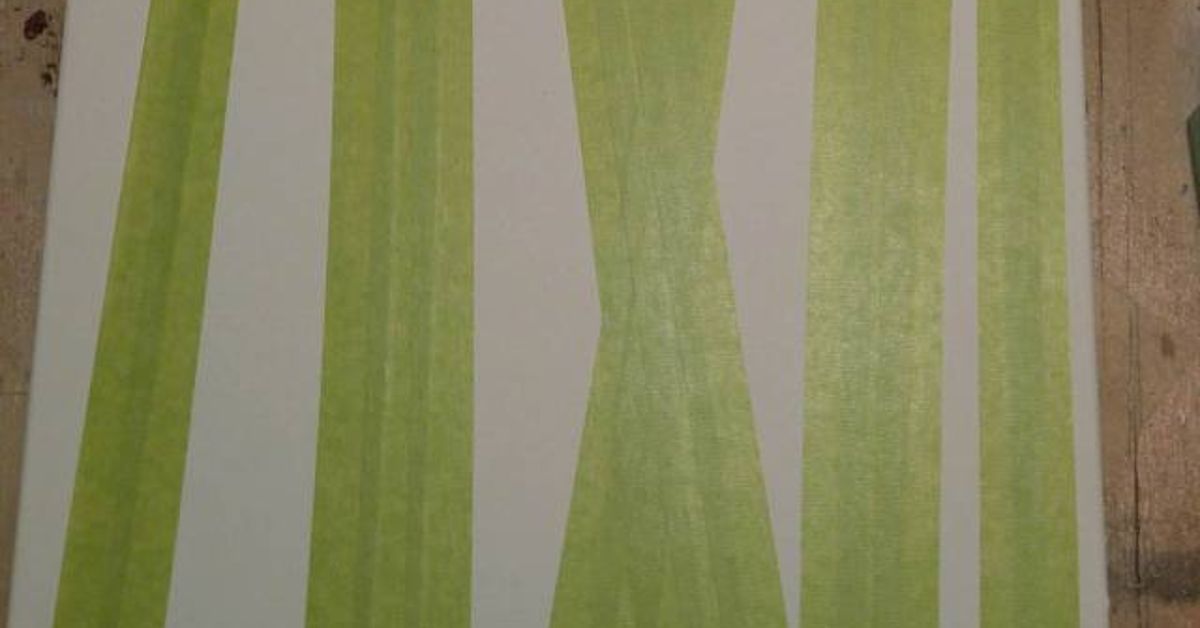
- Painter’s tape – If you want crisp bands or to mask off areas.
Finishing & extras
- Matte clear sealer – Spray or brush-on, especially if logs will be moved often.
- Felt pads – To protect furniture surfaces under your painted logs.
- Decor extras – Faux greenery, fairy lights, candles (battery-operated), pinecones.
Always check that your logs are fully dry before painting. If they feel damp, let them sit in a dry
area for a few days. Moisture can cause paint to peel or crack oddlyand not in the chic, intentional way.
Step-by-Step: How to Paint Birch Logs
Step 1: Prep your logs
-
Clean the surface. Brush off dirt, loose bark, or debris. For real logs, you can use
a stiff brush or even an old rag. -
Lightly sand rough areas. Focus on splintery spots or flaky bark so the paint adheres
better. Wipe away dust afterward. - Protect your work area. Lay down a drop cloth or a flattened cardboard box.
Step 2: Paint the base layer
-
Apply white paint. Using a foam brush, coat the log in white paint. You don’t need
heavy coverage; a slightly streaky white base actually feels more natural, like real birch bark. -
Optional: Blend in gray. While the white is still tacky, lightly drag a bit of gray
paint into random areas to soften the starkness and add subtle depth. - Let it dry fully. Depending on your paint, this can take 20–40 minutes.
Step 3: Add birch bark stripes and scars
This is where the magic happens. You’ll use black (and a little gray) to mimic the characteristic
horizontal dark marks on birch trees.
-
Load a small amount of black paint. Use a small flat brush, Q-tip, or even the edge
of a foam brush with very little paint on itless is more here. -
Make horizontal “scars.” Tap or drag the brush sideways in short strokes around the
log, concentrating marks in bands. Some bands can be darker, others lighter. -
Roughen the edges. Soften sharp lines by lightly pulling the brush up and down or
smudging with your finger or a dry brush. -
Add subtle speckles. For extra realism, use a nearly dry brush to dot tiny black or
gray specs. An old toothbrush flicked lightly with paint can create a natural spotted effect.
Step 4: Create knots and details
Real birch logs often have knots or darker oval areas where branches once grew. You can suggest this with:
- Small oval or teardrop shapes painted in gray and outlined lightly in black.
- A darker patch blended into a horizontal scar to make it look more organic.
- Random darker spots, but not too manyless is more for a believable look.
Step 5: Seal and protect
Once you love how your birch log painting looks and it’s fully dry:
- Apply a matte clear sealer to protect the paint, especially if you’ll handle the logs often.
- Attach felt pads on the bottom to keep the logs from scratching mantels or tables.
Important note: Painted logs are decorative. Don’t burn painted birch logs in a fireplace
or fire pitacrylic paint and sealers are not meant for combustion.
DIY Styling Ideas for Painted Birch Logs
1. Cozy winter mantel display
Stack several painted birch logs in or in front of an unused fireplace for an instant winter vignette.
Add a string of warm white fairy lights weaving between the logs, tuck in faux cedar or eucalyptus, and
layer in a few pillar candles (use LED candles if the logs are close).
2. Centerpiece for holiday or seasonal decor
Arrange three to five painted logs in the center of your dining table on a simple runner. Surround them
with pinecones, tiny ornaments, or fresh greenery. Swap the accents seasonally:
- Winter: Pinecones, faux snow, tiny houses, and twinkle lights.
- Spring: Moss, faux nests, pastel candles.
- Fall: Mini pumpkins, acorns, autumn leaves.
3. Modern rustic shelf styling
On a bookshelf or console table, place one or two birch logs vertically like sculptural objects. Pair them
with black metal candleholders or simple white vases for that clean Scandinavian look.
4. Faux birch bundle in a basket
Create several narrow faux logs from cardboard tubes or rolled paper, paint them with your birch technique,
and bundle them in a woven basket near the fireplace or under a console. Tie them with jute twine or a
wide ribbon for an extra decorative touch.
Tips and Tricks for a Successful Birch Log Painting Challenge
Don’t aim for perfectionaim for “natural”
Nature never copy-pastes. If your painted birch logs don’t match each other perfectly, that’s a good thing.
Vary the width and spacing of the scars and knots, and let some areas stay mostly white.
Layer slowly
Instead of slapping on a lot of black at once, build up the marks with several light passes. It’s easier to
add more contrast than to erase overly dark stripes.
Test your technique on scrap first
If you’re nervous, practice on a scrap board, cardboard tube, or a small log slice first. Once you like
how your “bark” looks, move to your main logs with more confidence.
Match the decor style of your room
Birch log painting is incredibly adaptable. For example:
- Farmhouse: Pair with galvanized metal, plaid textiles, and distressed wood.
- Modern: Style with black and white accessories and sleek candleholders.
- Boho: Combine with woven baskets, macramé, and layered rugs.
Safety and Care for Painted Birch Logs
While this is a low-risk DIY craft, a few simple precautions keep things safe and long-lasting:
- Work in a well-ventilated area, especially when using spray sealers.
- Keep painted logs away from open flame and high heat sources.
- Dust regularly with a dry cloth; avoid soaking them with water.
- If using real logs, store them in a dry place so they don’t mold or warp.
DIY Fun Challenge: Make It a Game!
Part of the charm of the original DIY Fun Challenge concept is turning “I pinned it” into “I actually
made it.” You can recreate that playful energy at home:
-
Host a craft night: Invite friends over, provide a few logs and basic paints, and
see how everyone’s birch bark style turns out. -
Do a timed challenge: Give yourselves two hours to complete and style your logs,
then vote on categories“Most realistic,” “Most creative,” “Best mantel styling.” -
Family version: Let kids decorate mini faux logs with paint markers on top of
the birch basestars, hearts, their names, or seasonal doodles.
Take photos of your finished birch log painting project and compare them to your inspiration images.
You’ll be surprised how “professional” a pile of painted firewood can look once you’ve added good
lighting and a few styling pieces.
Real-Life Experiences with Birch Log Painting (Extra Inspiration)
If you’re still on the fence about starting, here’s what people often discover once they jump into a
birch log painting challengeand what you can learn from their experiences.
From “I’ll do it someday” to “I can’t believe I waited this long”
Many DIYers start birch log painting because they’re overwhelmed by big renovation projects but still
want to refresh their space. It’s the perfect low-pressure win. You don’t need power tools, expensive
lumber, or complex measurements. Once that first coat of white goes on, there’s an instant feeling of
progress. People often say this project gave them the creative “spark” to tackle other decor upgrades.
Trial-and-error actually makes the logs better
Beginners frequently worry about “ruining” their logs with the black details. But the most common
feedback is that mistakes blend in easily. If a stripe feels too dark, a quick swipe of white or gray
softens it. If a knot looks too bold, you can fade it out. Because birch bark is naturally irregular,
these corrections just add to the realism. You end up with logs that tell a visual story instead of
looking factory-made.
Unexpected uses around the house
Once the birch logs are done, they tend to migrate all over the house:
- From the fireplace to a console table as a seasonal vignette.
- Stacked under a bench or coffee table as a decorative “stash.”
- Grouped on a porch (protected from weather) for a wintery welcome scene.
Some crafters even repurpose thinner faux logs as bases for candle holders or plant stands by gluing
a small tray or plate on top. Others cut shorter sections to use as bookends. Once you see how
versatile they are, one project can multiply into several styling moments.
Kids and teens love the “challenge” format
Birch log painting is also a surprisingly good family activity. Younger kids can help with the white
base coats and simple speckles, while older kids and teens enjoy experimenting with scars, knots, or
even painting whole birch forests on flat boards. Turning it into a “fun challenge” with categories
and prizes (like “Best Winter Scene” or “Most Creative Color Palette”) keeps everyone engaged and off
their screens for a while.
Seasonal refresh without constant buying
Another experience people talk about is how these painted logs reduce the urge to buy new decor every
season. Because birch log art is neutral and nature-inspired, it fits into different looks year-round.
Instead of storing bins of themed decor, you can keep your birch logs out and just swap surrounding
accentsribbons, greenery, ornaments, or florals. It’s a small shift, but it makes decorating feel
more intentional and less cluttered.
A reminder that creativity doesn’t have to be complicated
Ultimately, DIY Fun Challenge projects like birch log painting remind you that creativity can be
simple: a piece of wood, a couple of inexpensive paints, and an hour of your time. You get hands-on,
you experiment, you might even laugh at a wonky stripe or twoand by the end, you’re looking at a
piece of decor that has your personality painted all over it. Literally.
So go ahead: grab that log, pick up your brush, and turn your “someday” pin into a “look what I made”
moment. Your mantel (and your inner artist) will thank you.