Tulips are the springtime equivalent of a perfectly timed punchline: they show up, steal the spotlight,
and then disappear before you can say “Waitcome back!” If you’ve ever wondered how to care for tulips
so they bloom bigger, last longer, and (sometimes) return next year, you’re in the right garden bed.
This guide breaks down tulip care in plain, practical stepsplanting, watering, feeding,
deadheading, container tips, cut-flower tricks, and what to do after blooming. You’ll also get real-world
experience notes at the end (the kind you only learn after a squirrel steals your “favorite” bulbs).
Tulips 101: What These Flowers Actually Want
Tulips grow from bulbs, and bulbs are basically tiny underground batteries. In spring, that battery powers
leaves and flowers. After blooming, the leaves recharge the bulb for next year. Your job is to:
protect the bulb, prevent rot, and help it recharge.
- Sun: Full sun is best (at least 6 hours). In warmer regions, morning sun with afternoon shade can help.
- Soil: Well-drained soil is non-negotiable. Wet soil is how bulbs become compost with regrets.
- Water: Moist, not soggyespecially during root growth in fall and active growth in spring.
- Climate reality check: In many parts of the U.S., especially warmer or humid areas, many tulips behave like annuals.
Bonus truth: tulips generally perform best with cool winters and a dry-ish summer dormancy.
If your summers are wet or you irrigate heavily, you’ll need a smarter strategy (we’ll cover it).
Planting Tulip Bulbs for Success
1) Pick the right bulbs (this is where great tulips begin)
Choose bulbs that feel firm and heavy for their size, with no soft spots, mold, or cuts.
Bigger bulbs usually mean bigger blooms. If you want tulips to return, select varieties known for better
“perennial” performance (more on that later).
2) Plant at the right time
In most U.S. regions, tulip bulbs are planted in fall, after soil cools down but before the ground freezes.
A common target is planting about 6–8 weeks before hard freeze. If you’re in a warm climate where winter
doesn’t provide enough cold, you’ll likely need to pre-chill bulbs.
3) Depth, spacing, and direction: the “don’t overthink it” rules
A reliable guideline is planting bulbs about 2.5–3 times as deep as the bulb is tall.
For typical tulips, that often works out to about 6–8 inches deep.
Space bulbs roughly 4–6 inches apart so each plant has room to grow without battling for nutrients.
- Pointy end up: That’s the shoot. Flat end down is where roots form.
- Plant deeper in sandy soil: It dries out faster and can expose bulbs to temperature swings.
- In heavy clay: Improve drainage or use raised beds/containers (clay + winter wet = bulb rot).
4) Soil prep: drainage is the headline, everything else is a subheading
Tulips prefer fertile soil, but “fertile” does not mean “muddy.” Work in compost to improve structure,
especially in clay soils. If water puddles where you want to plant, choose another spot or create a
raised area. Bulb and root rots are far more common in wet, poorly drained beds than in slightly imperfect soil.
5) Water after plantingthen relax (a little)
After planting, water thoroughly to settle soil and start root growth. After that, nature often handles
the rest through fall and winter precipitation. If you’re having an unusually dry fall, give a deep
watering occasionallyjust don’t keep the bed constantly wet.
Spring Tulip Care: Keep Blooms Beautiful (Without Fussing Them to Death)
Watering tulips in spring
In spring, tulips prefer evenly moist soil while growing and blooming, but they hate soggy conditions.
If rainfall is regular, you may not need to water much. If it’s dry, water deeply and less often rather
than splashing them daily. A good rule: if the top couple inches of soil are dry, it’s time to water.
Fertilizing tulips (yes, but don’t overdo it)
Tulips don’t need heavy feeding, but a light boost helps bulbs recharge. Use a bulb fertilizer or a balanced,
slow-release product in early spring as shoots emerge and/or right after flowering. Avoid high-nitrogen
“lawn-style” feedingtoo much nitrogen can encourage weak growth and increase disease risk.
Mulch and weeds
A thin layer of mulch helps moderate soil temperature and suppress weeds. Keep mulch from piling directly
over the crown of emerging shoots. And pull weeds earlytulips dislike competition, and weeds make a
garden bed look like it’s auditioning for a “Before” photo.
After Tulips Bloom: The Step Most People Skip (Then Wonder Why They Don’t Return)
Deadhead promptly (but don’t give the plant a buzzcut)
Once petals drop and flowers look tired, remove the spent bloom (the “head”) so the plant doesn’t waste
energy making seed pods. This is called deadheading tulips. Snip just below the flower.
Leave the stem and leaves.
Leave the leavesseriously
Those green leaves are solar panels recharging the bulb for next year. Let them stay until they yellow
and die back naturallyoften around 4–6+ weeks after bloom. Avoid braiding or tying leaves:
it reduces the leaf surface exposed to sunlight and can weaken the bulb.
What about watering after bloom?
Continue light watering while leaves are still green if conditions are dry. Once foliage yellows, taper off.
The goal is to let the bulb enter dormancy without sitting in wet soil.
How to Help Tulips Come Back Next Year
Tulips are technically perennials, but many modern hybrids are bred for huge first-year flowers and may not
reliably rebloom. If you want repeat performances, stack the odds in your favor:
Choose tulips with better “returning” habits
For stronger perennial potential, look for groups often noted for repeat bloom, including:
- Darwin Hybrids (tall, classic tulip shape, strong stems)
- Greigii (often shorter, with attractive mottled foliage)
- Kaufmanniana (waterlily tulips, early bloomers, great for naturalizing)
- Fosteriana (often early, sturdy, and more consistent)
- Species/botanical tulips (smaller, but frequently the best naturalizers)
Plant deeper, keep them drier in summer
Deep planting helps protect bulbs from temperature swings and drying out. Equally important: tulips prefer
relatively dry conditions in summer dormancy. If your bed is heavily irrigated in summer (especially lawns),
tulips may decline. Consider planting tulips in beds that won’t be watered daily in July.
When (and why) to dig bulbs
In many gardens, leaving tulip bulbs in the ground is fine. But digging makes sense if:
- You have wet summers or heavy irrigation and bulbs tend to rot.
- Squirrels and rodents routinely dig them up.
- You’re treating tulips like a curated annual display and want consistent results.
If you dig, wait until foliage yellows, then lift bulbs, dry them in a shaded, airy place, and store them
cool and dry until fall planting.
Tulip Care in Warm Climates: Pre-Chill Like a Pro
Tulips need a cold period to bloom well. If you live in a warm zone where winter doesn’t provide consistent
chill, pre-chilling bulbs can make the difference between “wow” and “why are you so short and sad?”
- Typical chilling range: about 12–16 weeks in the 35–45°F neighborhood.
- Keep bulbs away from ripening fruit: fruit releases ethylene gas that can affect bulbs and flowers.
- Plant after chilling: treat them as annuals for the most reliable show in warm regions.
How to Care for Tulips in Pots (Containers)
Containers are great for tulipsespecially if you want perfect drainage or need to outsmart squirrels.
The key is a pot with drainage holes and a fast-draining potting mix.
Container rules that keep tulips happy
- Depth matters: Choose a container deep enough for roots (often 10–12 inches or more is comfortable).
- Water wisely: Water thoroughly after planting, then keep slightly moistnot soaked.
- Winter protection: In very cold areas, pots can freeze solid. Move containers to an unheated garage or sheltered spot if needed.
- After bloom: Deadhead, keep leaves until yellow, then reduce watering.
Forcing Tulips Indoors: Spring on Your Windowsill
Want tulips in winter? Forcing is basically a magic trick with a refrigerator. Bulbs need a cold treatment
(often around 35–48°F) for at least 12–13 weeks (sometimes longer, depending on variety),
then they can be brought into warmth and light to bloom.
- Chill: Keep planted pots (or prepared bulbs) cold and dark for the required weeks.
- Root first: After chilling, give bulbs a short cool transition period if possible.
- Bring to light: Move to bright, indirect light and moderate indoor temps.
- Water lightly: Keep media moist but not wet.
Note: Forced tulips often don’t rebloom well outdoors afterward. Many gardeners treat them as one-and-done,
and that’s not “failure”that’s using tulips as seasonal joy.
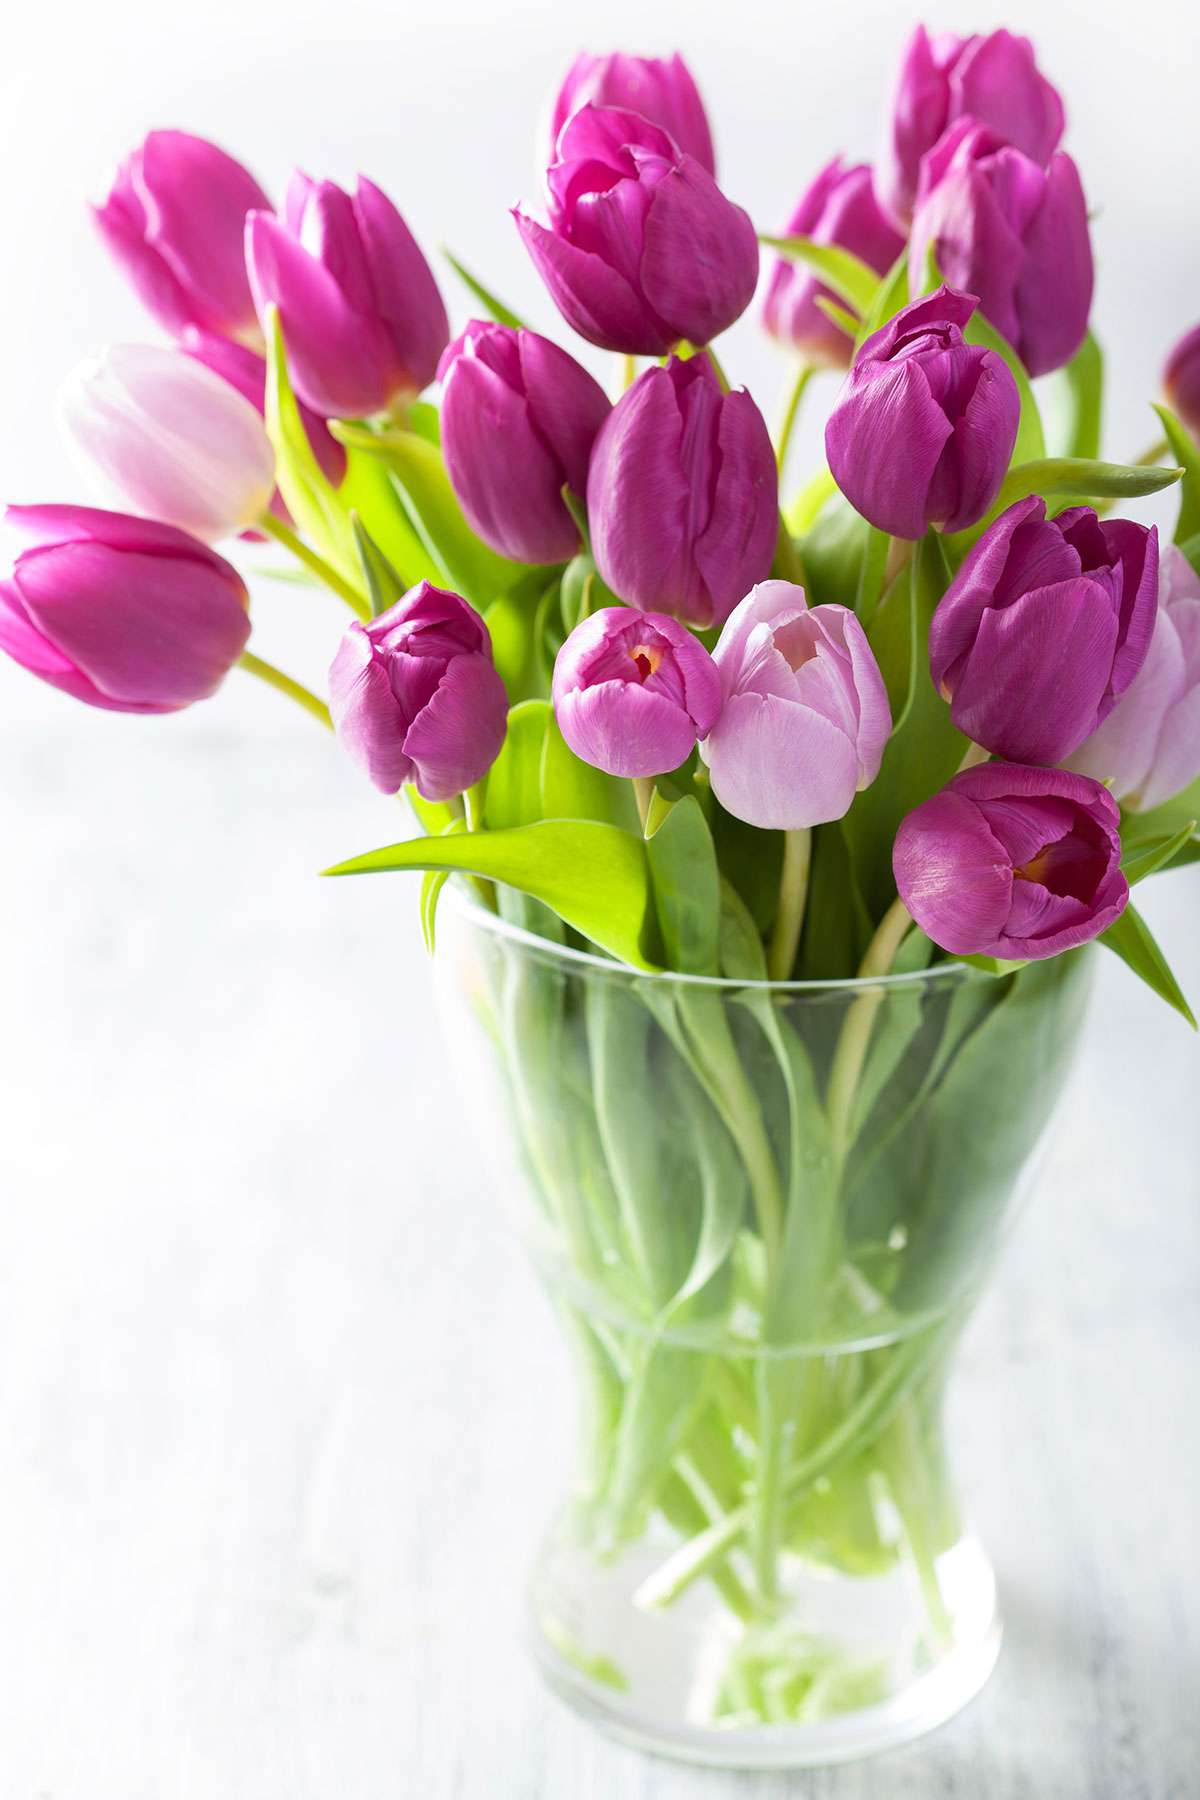
Cut Tulip Care: How to Make Tulips Last Longer in a Vase
Tulips are famous for continuing to grow after being cutand for leaning dramatically toward light like
they’re in a romance movie. Here’s how to keep them upright and fresh longer.
- Trim stems: Recut about 1/2 inch (a diagonal cut helps) and repeat every couple of days.
- Use clean, cold water: Change water regularly and keep the vase clean.
- Use flower food: It works better than home “hacks” that can encourage bacteria.
- Avoid daffodils in the same vase: their sap can interfere with tulip water uptake.
- Keep away from fruit: ethylene gas speeds aging.
- Rotate the vase: tulips bend toward light; rotating keeps them more even.
Pests and Problems: Troubleshooting Tulips Without Panic
Squirrels, voles, and other tiny criminals
If your tulips vanish overnight, you may be gardening for the neighborhood squirrel. Practical defenses:
- Physical barriers: Place chicken wire or hardware cloth over beds after planting until the ground freezes.
- Wire cages/baskets: Protect individual groupings of bulbs in high-risk areas.
- Smart companion planting: Some gardeners switch to daffodils where squirrels are relentless.
Deer and rabbits
Deer tend to treat tulips like salad. If deer pressure is high, use fencing or deterrents, or focus tulips
in protected areas closer to the house. Rabbits may nibble early growth in spring.
Bulb rot and fungal disease
Most bulb heartbreak comes from wet soil. If you’ve had rot before, prioritize drainage above all else.
For fungal issues like tulip fire (Botrytis), prevention strategies include spacing for airflow,
avoiding heavy nitrogen, removing infected plants promptly, and rotating planting locations when feasible.
Quick Tulip Care Cheat Sheet
| Task | Best Practice | Why It Works |
|---|---|---|
| Planting time | Fall, when soil cools; before hard freeze | Encourages rooting + proper cold exposure |
| Planting depth | About 2.5–3× bulb height (often 6–8 inches) | Stabilizes temps, supports stems, protects bulbs |
| Spacing | Usually 4–6 inches apart | Improves growth + airflow |
| After bloom | Deadhead flowers; keep leaves until yellow | Redirects energy back into the bulb |
| Watering | Moist during growth; drier in dormancy | Prevents rot and supports rebloom potential |
FAQ: Quick Answers to Common Tulip Care Questions
How often should I water tulips?
Water after planting, then only as needed. In spring, water during dry spells. Avoid consistently wet soil.
Should I cut tulips back after flowering?
Cut off spent flowers (deadhead), but leave foliage until it turns yellow and withers naturally.
Why didn’t my tulips come back?
Common reasons: a variety that doesn’t perennialize well, cutting leaves too early, wet summer soil, shallow planting,
or pest damage. Consider replanting annually for a guaranteed showor choose better-returning types like Darwin hybrids
or species tulips.
Can I grow tulips indoors year-round?
You can force tulips indoors seasonally with a chilling period, but they aren’t true houseplants for continuous
indoor growth.
Experience Notes: Real-Life Tulip Care Lessons (The Extra )
The first time I tried “serious” tulip care, I did what many optimistic gardeners do: I planted a gorgeous mix of bulbs,
took a photo, and immediately started planning my future as a spring-flower legend. Then I made my first mistakedaily
watering. In my head, extra water equaled extra love. In reality, it equaled “hello, bulb rot” in the shadier corner
where the soil stayed wet. The lesson was instant and slightly rude: tulips don’t want constant attention; they want
good drainage. The next fall, I moved bulbs to a sunnier bed with looser soil and watered once after planting,
then only during an unusually dry stretch. The difference was night and daystronger stems, better blooms, and fewer
“mystery missing” plants.
My second lesson arrived on four paws and a fluffy tail. Squirrels. I had assumed squirrels were cute backyard comedians.
They are not. They are tiny excavation contractors with no permits and very strong opinions about where your bulbs should
be stored (spoiler: in their pantry). After replanting the same area twice, I finally tried a simple barrier: hardware
cloth laid flat over the bed and pinned down until the ground cooled and froze. Not glamorous, but wildly effective.
If you’re only planting a small cluster, wire baskets around the bulbs can also work. Is it a little extra effort? Yes.
Is it less effort than re-buying bulbs and re-digging holes? Also yes.
The most surprising tip I learned came after bloom. I used to cut foliage early because it looked messy. One year I left
the leaves aloneno braiding, no tying, no “just a quick trim.” The bed looked a bit shaggy, but the next spring my
returning tulips were noticeably better. Now I plan for the “ugly leaves phase” by planting tulips among later-emerging
perennials or low annuals that help camouflage fading foliage. It’s not cheating; it’s styling.
I also experimented with pots, and honestly, container tulips are the closest thing to “spring on easy mode” if your soil
is heavy or your yard has critters. The trick is choosing a deep pot with real drainage holes and using a fast-draining
mix. I once used a decorative pot with no drainage because it was cute. The tulips were… not impressed. Now I treat
drainage like a non-negotiable safety featurelike seatbelts, but for bulbs.
Finally, cut tulips taught me a fun party trick: they keep growing and bending after you put them in a vase. The first
time mine leaned halfway out of the arrangement, I thought I’d done something wrong. Turns out, tulips are just like
thatdramatic and phototropic. Rotating the vase daily and giving stems a fresh trim made a real difference. Also,
keeping them away from fruit helped them last longer (apparently bananas are beautiful, delicious, and secretly rude to
flowers). If you want tulips that behave, give them clean water, flower food, cool temperatures, and the respectful
distance they deserve from apples.
The big takeaway from all these tulip adventures: the “easy tips and tricks” aren’t complicated. They’re consistent.
Plant at the right time, prioritize drainage, protect bulbs from pests, deadhead spent flowers, and let foliage recharge
the bulb. Do that, and tulips will reward you with spring color that feels like a small miracleevery single year you
decide to try again.
Conclusion
Caring for tulips is less about complicated schedules and more about understanding the bulb’s rhythm:
plant in fall, keep soil well-drained, water wisely, deadhead after bloom, and leave foliage until it yellows.
If you want repeat blooms, pick varieties known to return and keep summer conditions on the drier side.
If you want guaranteed wow-factor, treat tulips like the best kind of annual tradition and replant fresh bulbs each fall.
Either way, you’ll get a spring display that looks like you hired a professionalwithout the professional price tag.