If hot chocolate and cookies had a winter fling, this would be their adorable, chocolate-splattered love child:
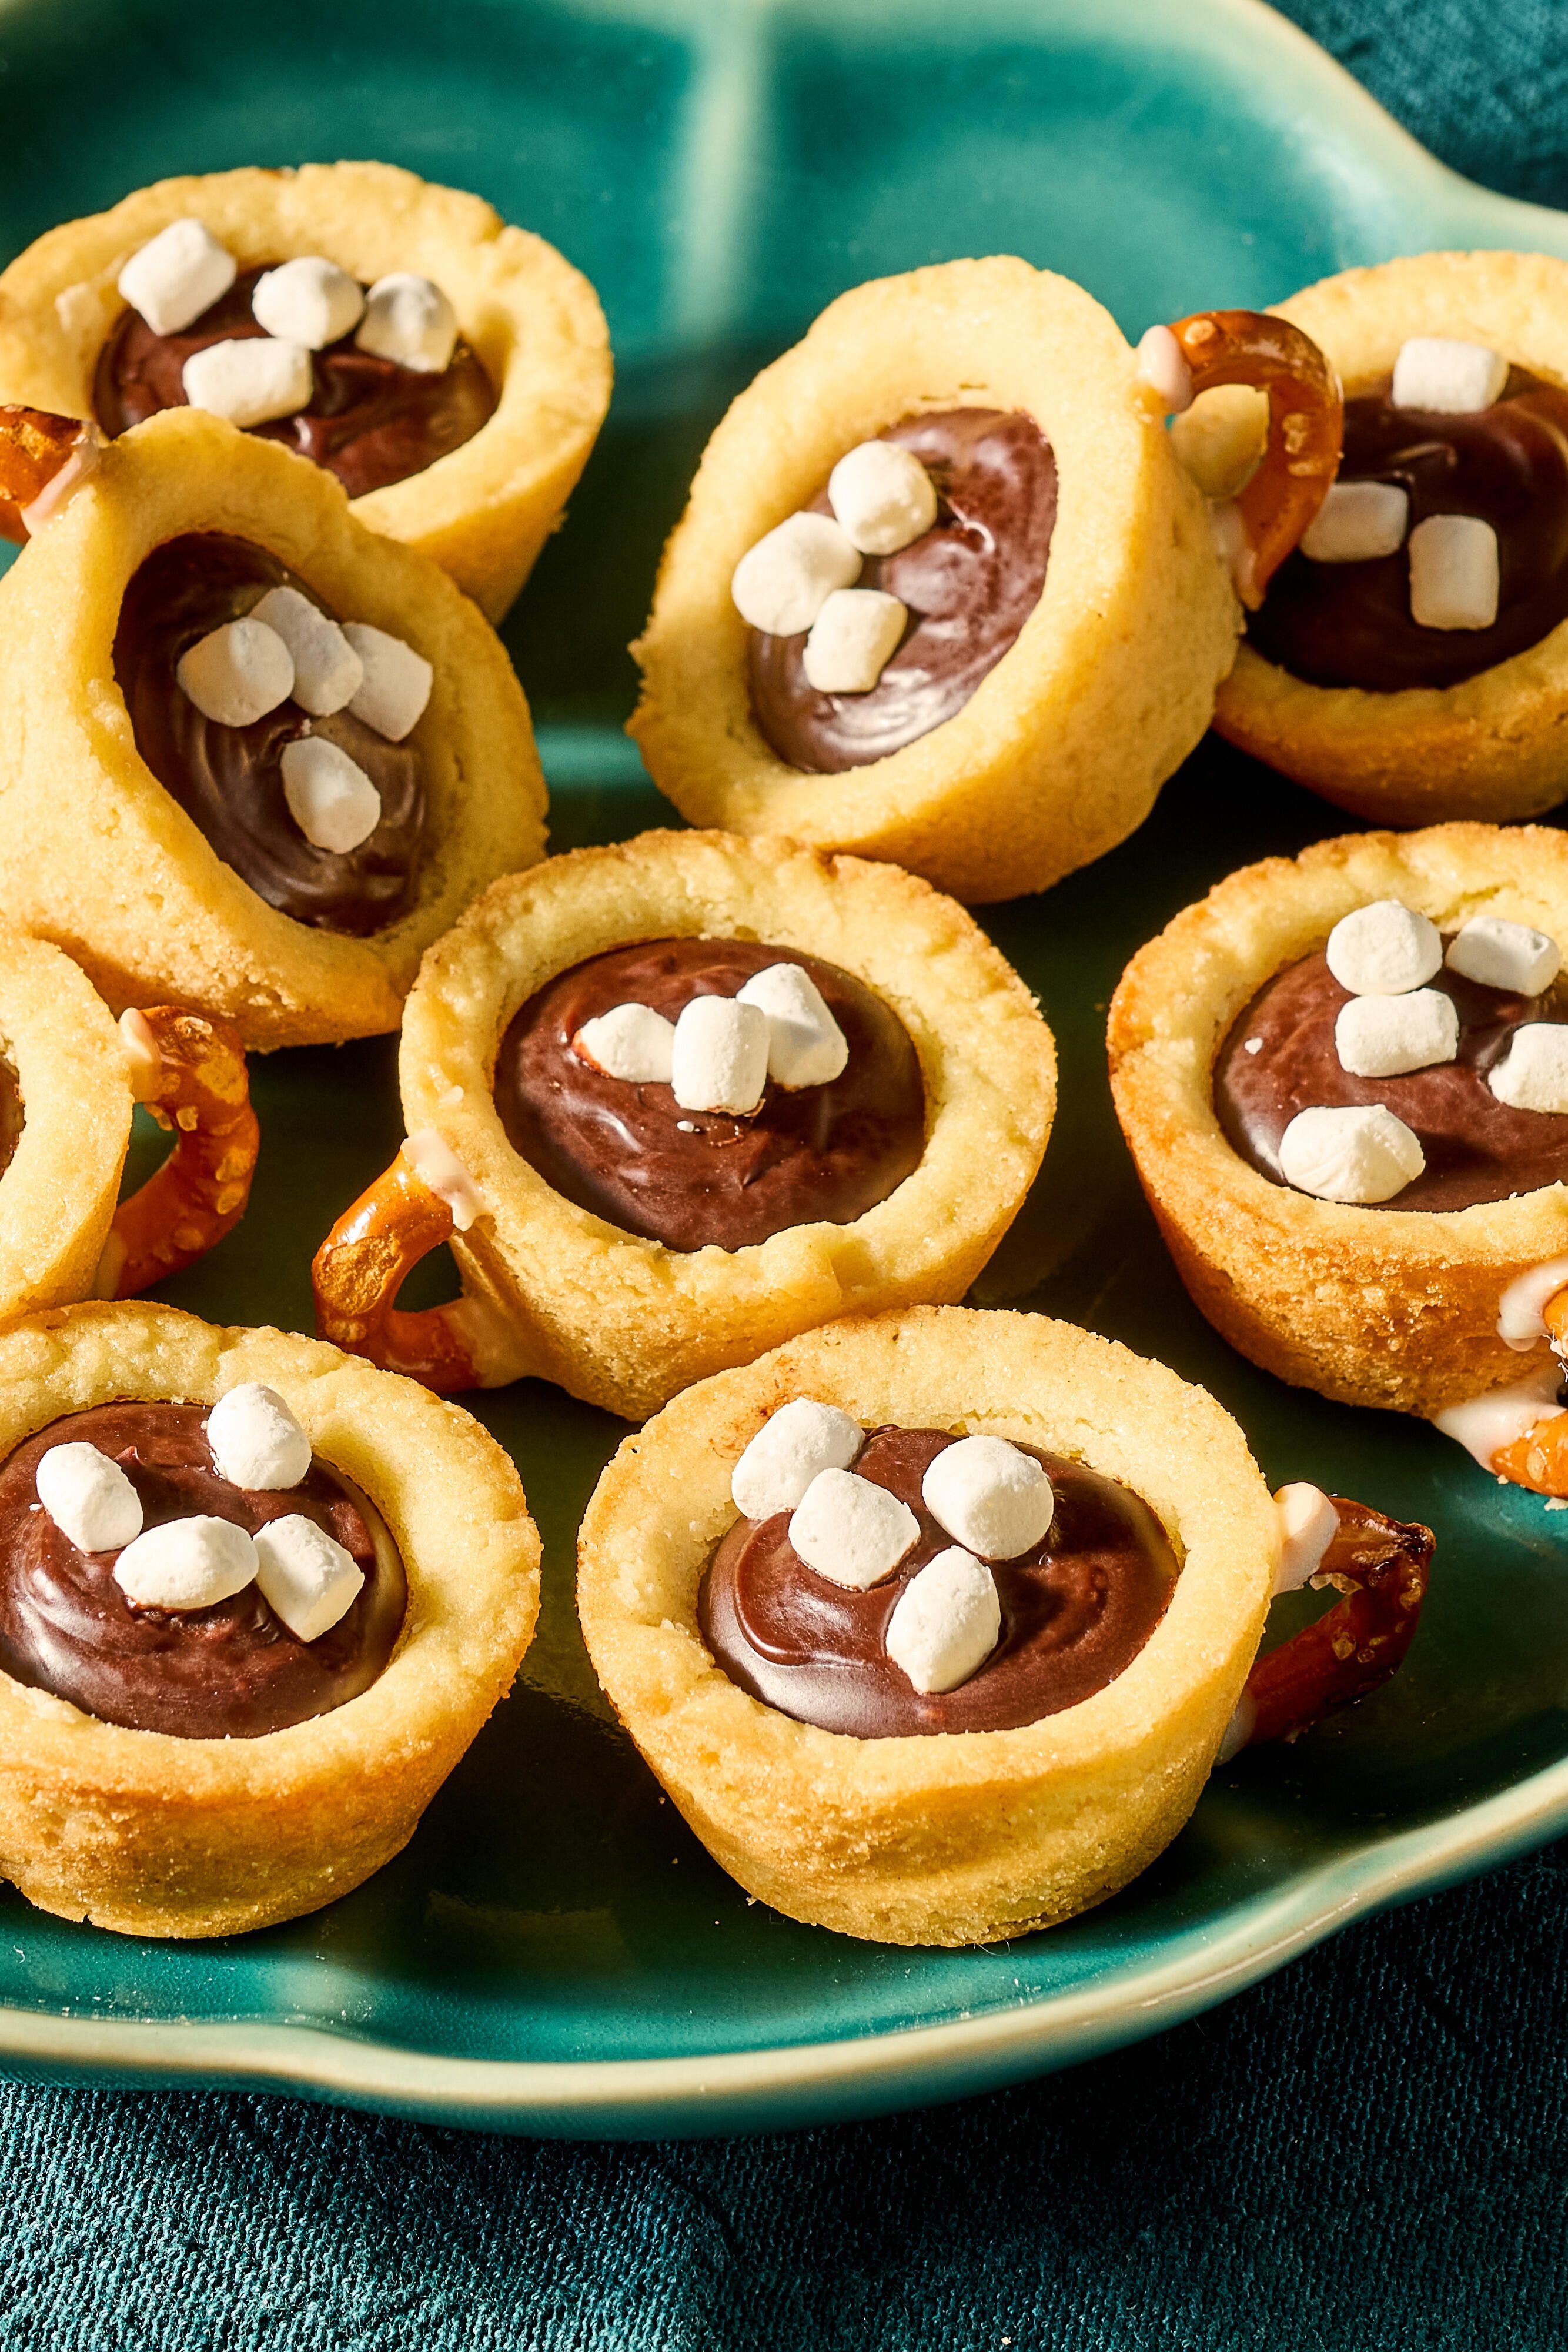
Hot Chocolate Cookie Cups. They’re tiny edible “mugs” made from rich cocoa cookie dough, filled with silky hot-chocolate-style ganache,
and topped with marshmallows (because obviously). Perfect for holiday trays, cozy movie nights, or anytime you want dessert to feel like a warm blanket.
Main keyword: Hot Chocolate Cookie Cups Recipe |
Related terms: hot cocoa cookie cups, cookie cup dessert, mini muffin cookie cups, hot chocolate ganache, marshmallow cookie cups
Why You’ll Love These Hot Chocolate Cookie Cups
- They taste like hot cocoawithout needing a spoon. Chocolate cookie + cocoa-spiked ganache = instant cozy.
- They’re built for sharing. Mini desserts disappear fast (and somehow that’s everyone else’s fault).
- They look fancy with minimal effort. Marshmallows + a drizzle = “I bake professionally,” even if you don’t.
- They’re customizable. Peppermint, salted caramel, mocha, spicy cinnamonchoose your winter personality.
Hot Chocolate Cookie Cups: Ingredients (With Smart Substitutions)
For the Chocolate Cookie Cups
- 1 1/2 cups all-purpose flour (spooned and leveled)
- 1/2 cup natural unsweetened cocoa powder (not Dutch-process, unless noted in tips)
- 1 teaspoon baking soda
- 1/2 teaspoon fine salt
- 1/2 cup (1 stick) unsalted butter, softened
- 1/2 cup granulated sugar
- 1/2 cup light brown sugar, packed
- 1 large egg, room temperature
- 2 teaspoons vanilla extract
- 2 tablespoons instant hot cocoa mix (optional, for “hot chocolate” flavor boost)
- 2–3 tablespoons milk (only if dough feels too dry)
For the Hot Chocolate Ganache Filling
- 3/4 cup heavy cream
- 1 tablespoon instant hot cocoa mix (or 1–2 teaspoons cocoa powder + a bit more sugar)
- 1 1/4 cups semisweet chocolate chips (or chopped semisweet chocolate)
- 1/2 teaspoon vanilla extract
- Pinch of salt (tiny pinch, big payoff)
Toppings (Choose Your Own Cozy)
- Mini marshmallows or marshmallow bits
- Crushed candy canes or peppermint pieces
- Chocolate drizzle (melted chocolate chips + a splash of cream)
- Pretzel “handles” (optional, but ridiculously cute)
- Flaky sea salt (for grown-up hot cocoa energy)
Equipment You’ll Need
- Mini muffin pan (24-count is ideal)
- Nonstick spray (or butter + cocoa powder to “flour” the pan)
- Small tart tamper, or the rounded handle of a wooden spoon
- Mixing bowls, whisk, spatula
- Small saucepan (for heating cream)
- Cooling rack
Pro tip: If your mini muffin pan is older and a little “sticky,” a light spray + a dusting of cocoa powder works like a charm and keeps
your cookie cups looking clean and chocolatey.
Step-by-Step: How to Make Hot Chocolate Cookie Cups
Step 1: Make the Cookie Cup Dough
- In a medium bowl, whisk together flour, cocoa powder, baking soda, and salt.
- In a large bowl, cream butter, granulated sugar, and brown sugar until smooth and slightly fluffy (about 2 minutes).
- Mix in the egg and vanilla until combined.
- Add the dry ingredients and mix just until a dough forms. If using, mix in instant hot cocoa mix.
- If the dough seems crumbly (some cocoa powders are thirstier than others), add milk 1 tablespoon at a time until it holds together.
- Cover and chill the dough for 30–60 minutes. (This helps prevent spreading and makes shaping easier.)
Step 2: Shape the Cookie Cups
- Preheat oven to 350°F.
- Grease your mini muffin pan thoroughly.
- Scoop about 1 tablespoon dough per cup. Roll into balls and place in the pan.
- Use your thumb or a small tamper to press dough down and up the sides, forming a cup shape.
Step 3: Bake (Then “Re-Press” While Warm)
- Bake for 9–11 minutes, until edges look set and the centers look slightly puffed.
- Remove from oven and immediately press the center of each cookie with the rounded end of a wooden spoon (or tamper) to deepen the cup.
- Let cool in the pan for 10–15 minutes, then gently loosen edges with a thin knife and transfer to a rack to cool completely.
Why the re-press matters: Cookie cups puff while baking because science is doing science. Pressing while warm creates that perfect “mug”
cavity for ganache without cracking the cookie walls later.
Step 4: Make the Hot Chocolate Ganache
- Place chocolate chips in a heat-safe bowl.
- In a small saucepan, heat heavy cream until steaming and just barely simmering (don’t boil aggressively).
- Whisk in hot cocoa mix until dissolved, then pour the hot cream over the chocolate.
- Let sit for 2 minutes, then whisk until glossy and smooth.
- Stir in vanilla and a pinch of salt.
- Cool ganache for 10–15 minutes so it thickens slightly (easier to fill, less drippy drama).
Step 5: Fill + Decorate Like a Dessert Influencer (Without the Stress)
- Spoon or pipe ganache into the cooled cookie cups (fill to the top).
- Top with mini marshmallows (or marshmallow bits).
- If using pretzel “handles,” dip one end in a little melted chocolate and attach to the side of each cup. Hold for a few seconds to set.
- Optional: drizzle with melted chocolate and sprinkle with crushed peppermint or flaky salt.
Let the cups sit at room temperature until the ganache sets (about 30–60 minutes) or refrigerate for faster setting.
Flavor Variations (Because One Kind of Cozy Is Not Enough)
Peppermint Hot Chocolate Cookie Cups
Add 1/4 teaspoon peppermint extract to the ganache (go easypeppermint is powerful) and top with crushed candy cane.
Mocha Cookie Cups
Dissolve 1 teaspoon instant espresso powder into the hot cream before pouring it over the chocolate. Tastes like a café dessert that costs
$9 and comes on a plate the size of a frisbee.
Salted Caramel Hot Cocoa Cups
Add a small spoonful of thick caramel to each cookie cup before the ganache, then finish with flaky sea salt.
Spiced Hot Chocolate Cookie Cups
Add a pinch of cinnamon and a tiny pinch of cayenne to the ganache for a warm, slightly spicy finish (think Mexican hot chocolate vibes).
Make-Ahead, Storage, and Freezing Tips
Make Ahead
- Cookie cups: Bake up to 2 days ahead. Store airtight at room temp.
- Ganache: Make up to 3 days ahead and refrigerate. Rewarm gently (short microwave bursts, stirring in between) until spreadable.
Storage
- Once filled, store in an airtight container in the fridge for 3–4 days.
- Let sit at room temperature for 10–15 minutes before serving for the best texture.
Freezing
- Freeze unfilled cookie cups for up to 2 months.
- Thaw at room temp, then fill fresh for the prettiest results.
Troubleshooting: Common Cookie Cup Problems (And How to Fix Them)
“My cookie cups stuck to the pan!”
Next time, grease more generously and consider a cocoa-powder dusting. Also: let them cool a bit before removinghot cookie cups are fragile and clingy.
“They spread and lost the cup shape.”
Chill the dough longer, and don’t over-cream the butter and sugar. Softer dough spreads faster, especially in a warm kitchen.
“My cups cracked when I pressed them.”
Press right after baking while they’re warm and flexible. If you wait too long, the edges set and the center pressure causes cracks.
“Ganache looks grainy.”
Usually it’s heat-related. Let the cream get hot (steaming), but don’t scorch it. If it’s slightly grainy, whisk longer; a tiny splash of warm cream can help smooth it out.
FAQ: Hot Chocolate Cookie Cups Recipe
Can I use store-bought cookie dough?
Absolutely. Refrigerated sugar cookie dough is the shortcut MVP. Add cocoa or hot cocoa mix to give it more “hot chocolate” flavor, then bake in mini muffin cups and press the centers.
Do I have to use hot cocoa mix?
No, but it adds that signature flavorslightly sweeter, milkier, and more “hot cocoa” than plain cocoa powder. If you skip it, add a touch more sugar and vanilla for balance.
What’s the best chocolate for ganache?
Semisweet is the crowd-pleaser. If you prefer a sweeter filling, use milk chocolate (or do a half-and-half blend).
How do I make them look like tiny mugs?
The pretzel handle is the secret. Break mini pretzels into small curved pieces, “glue” with melted chocolate, and suddenly your dessert is wearing a costume.
Serving Ideas (Because Presentation = Extra Joy)
- Cookie tray hero: Place them in mini cupcake liners for easy grabbing and fewer chocolate fingerprints.
- Hot cocoa bar sidekick: Serve alongside real hot chocolateguests can do a cozy “sip + bite” combo.
- Ice cream topper: Warm a cup for 5 seconds, then add a tiny scoop of vanilla. It’s chaos in the best way.
Estimated Nutrition (Per 1 Cookie Cup)
This will vary by chocolate brand and portion size, but a typical cookie cup with ganache and marshmallows lands around:
150–200 calories, with a mix of carbs, fats, and enough joy to fuel at least one holiday playlist.
Real-Life Experiences: What I Learned Making Hot Chocolate Cookie Cups (500-ish Cozy Words)
The first time I made hot chocolate cookie cups, I assumed they’d be one of those “cute but fussy” dessertslike the kind you admire on the internet and then immediately go back to brownies.
I was wrong. These are surprisingly forgiving, and once you learn the rhythm (bake, press, cool, fill, snack), you’ll start finding excuses to make them for everything:
cookie exchanges, school events, “my friend is having a day,” or “it’s Tuesday and Tuesday is hard.”
Here’s the biggest lesson: timing is everything. The cookie cups have a tiny window after baking where they’re warm enough to reshape but not so hot that the edges crumble.
Press too early and you’ll create a gooey crater; press too late and you’ll get cracks that look like a winter pothole situation. The sweet spot is right when they come out of the oven,
while they’re puffed but still flexible. I keep a wooden spoon next to the oven like it’s a sacred tool. Which, frankly, it is.
Second lesson: ganache is a mood. On a calm day, it turns glossy and perfect, like it’s posing for a cookbook cover. On a chaotic day, it can look a little stubborn.
If your kitchen is cold, it sets fast. If your kitchen is warm, it stays runny longer. Both outcomes are normal. If it’s too thin, let it sit and thicken for a few minutes.
If it’s too thick, warm it gently and stir. The goal is a filling that settles into the cup without flooding over the sides like a chocolate waterfall (though, honestly, that’s not the worst problem).
Third lesson: marshmallows make everything better… but they also have opinions. If you top with mini marshmallows and store the cups overnight,
the marshmallows can get a little soft. Not “bad,” just “I took a cozy nap.” If you want that fresh, bouncy marshmallow look for a party,
fill the cups earlier and add the marshmallows closer to serving time. Or use marshmallow bits, which stay perkier and are basically the glitter of the hot cocoa world.
Fourth lesson: the pretzel handle is optionaluntil you try it. Once you attach a pretzel handle, people stop calling them “cookie cups” and start calling them
“those tiny hot chocolate mug things,” which is the highest compliment a dessert can receive. The trick is melted chocolate as edible glue.
I attach handles in batches, then let them set before moving the cups around. If you’re in a hurry, a few minutes in the fridge helps.
Finally, I learned these cookie cups are a sneaky way to build memories. Kids love the pressing step (it feels like baking meets arts and crafts).
Adults love customizing toppings (peppermint! sea salt! extra drizzle!). And everyone loves the moment you bite in and realize it truly does taste like hot chocolate
but with a cookie crunch and a chocolate center that feels like dessert giving you a hug. If you’re looking for a recipe that tastes festive, looks impressive,
and still lets you keep your sanity, this one’s it.