Adding a new contact on Android should be effortless. And it usually is… right up until you save it to the wrong place,
it vanishes on your new phone, or “Mom” turns into “Mom (2)” like your address book is auditioning for a sequel.
The good news: once you know where Android is saving contacts (Phone vs. Google vs. SIM), it’s smooth sailing.
Below are three genuinely easy ways to add an Android contactwhether you’re typing details manually, saving someone from a call/text,
or importing a whole batch like a contact-librarian with superpowers. Along the way, you’ll also get a few sanity-saving tips to keep
your contacts synced, backed up, and not duplicated into oblivion.
Before You Start: Choose Where Your Contact Lives (So It Doesn’t Ghost You Later)
When you “add a contact on Android,” you’re also choosing a storage location. This matters because the location decides whether the contact
syncs to your Google Account, stays only on the device, or sits on the SIM card like it’s 2007.
The three common save locations
- Google Account (recommended): Syncs across devices, shows up at contacts.google.com, easy to restore on a new phone.
- Device/Phone storage: Can be fine short-term, but may not automatically sync unless your phone’s contacts backup is enabled.
- SIM card: Limited fields (often just name/number), not ideal for emails, notes, birthdays, multiple numbers, etc.
If you want the “set it and forget it” option, save contacts to your Google Account. If your phone ever breaks, gets replaced,
or takes an unscheduled swim, you’ll be glad you did.
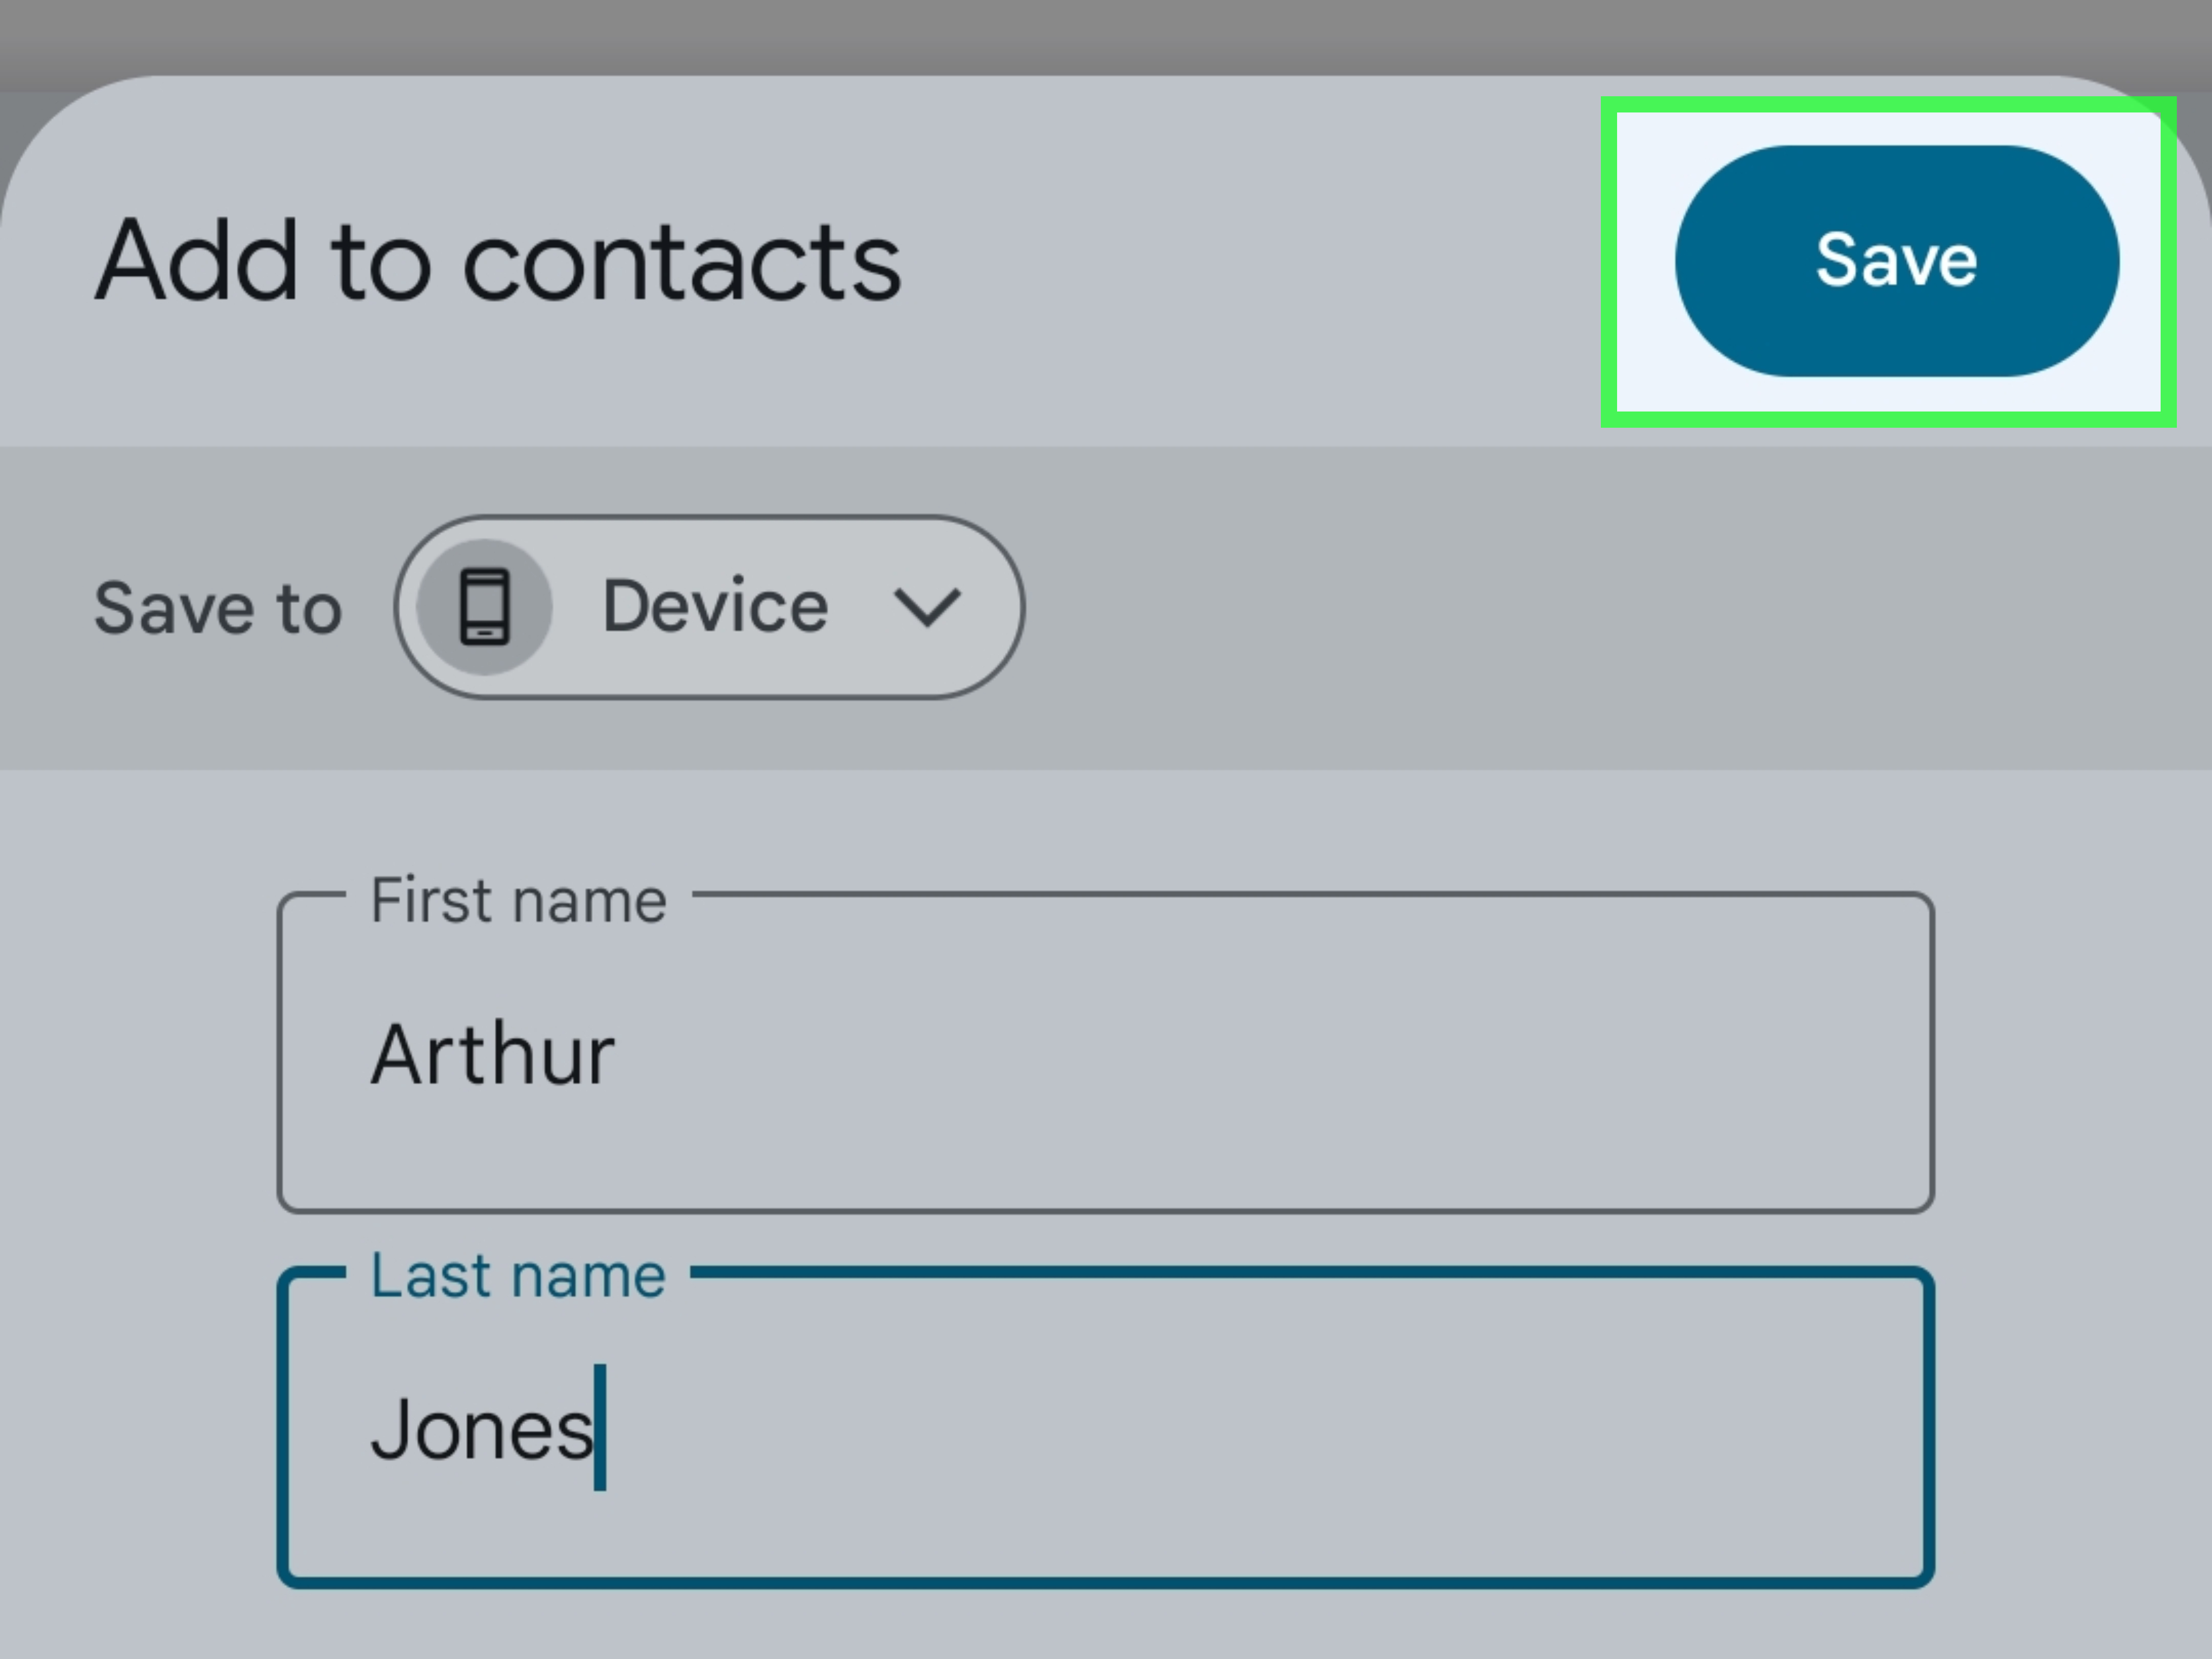
Way 1: Add a Contact in the Contacts App (The Classic, Clean Method)
This is the most universal approach and works on Pixels, Samsung Galaxy devices, and basically every Android phone
that hasn’t been cursed by a mysterious “Enterprise Dialer” from 2014.
Step-by-step
- Open the Contacts app (sometimes labeled Google Contacts).
- Tap the + or Create contact button.
-
If prompted, choose where to save it:
Google (best) or Device/Phone. - Enter the name, phone number, and any extras you have (email, address, company, notes, birthday).
- Tap Save.
Make your future self happy: add “smart” details
Most people stop at name + number. Totally fine… until you meet three “Chris”es in one month and your phone becomes a guessing game.
Consider adding:
- Company / role: “Chris – HVAC”
- Notes: “Met at the conference, likes cold brew, hates voicemail.”
- Label for numbers: Mobile, Work, Home (so you don’t text someone’s office landline like a villain).
- Photo: Not required, but it reduces the “Who is this?” moment by about 87%.
Example: Adding a contact the “organized adult” way
Let’s say you’re adding your dentist. Instead of “Dr. Patel,” try:
“Dr. Patel (Dentist)”, add the clinic name under Company, and put “Next cleaning: April” in Notes.
The next time you search, you’ll find them instantlyeven if your brain is running on one percent battery.
Way 2: Add a Contact from Phone or Messages (Save the Mystery Number Instantly)
This method is perfect when someone calls/texts you and you realize you’ve been living dangerously by not saving them.
Android typically lets you create a new contact directly from the Phone app (call log) or Messages.
Option A: Save from the call history (Phone app)
- Open the Phone app.
- Tap Recents / Call history.
- Tap the number (or the info icon if your phone shows one).
- Choose Add to contacts or Create new contact.
- Add a name and details, select the save location (Google is ideal), then tap Save.
Option B: Save from a text message (Messages app)
- Open Messages.
- Open the conversation with the unsaved number.
- Tap the number/contact header at the top.
- Select Add contact / Create new contact.
- Fill in details and tap Save.
Why this method rocks
- Fast: You’re not re-typing a number that’s already right there.
- Context included: Some Android builds show recent calls/messages while you’re saving.
- Great for “real life” moments: Like saving the delivery driver who keeps finding your apartment without crying.
Quick tip: Always confirm the “Save to” account
When you save from recents/messages, Android may default to Device storage depending on your settings. If you want cloud sync,
make sure the contact is saved to your Google Account.
Way 3: Import Contacts (Google/SIM/VCF) The “Move Everything” Method
If you’re switching phones, migrating from an old SIM, or you have a VCF (vCard) backup file, importing is the easiest way
to add many Android contacts at once. Think of it as moving houses with boxes instead of carrying socks one-by-one.
Option A: Import contacts from a SIM card
- Insert the SIM card with the saved contacts into your Android phone.
- Open the Contacts app.
- Go to Organize (or the menu) and find Manage SIM / Import.
- Select the contacts you want to import.
- Choose the destination account (pick Google if you want syncing).
- Tap Import.
Option B: Import contacts from a VCF (vCard) file
A .VCF file is a common contacts backup format. You might have it on your phone storage, Google Drive, or sent to yourself.
- Open the Contacts app.
- Go to Settings (or Organize → settings/tools).
- Tap Import.
- Select .VCF file, then choose the file location.
- Pick the account to import into (again: Google is your friend).
Option C: Add contacts via Google Contacts on the web (then sync to Android)
If you’re adding a bunch of contacts from a computermaybe from a spreadsheet, an email signature collection phase,
or a questionable “networking event”the web interface can be easier.
- On a computer, open Google Contacts.
- Click Create contact (for a single entry) or use Import (for CSV/VCF).
- Make sure it’s saved under the same Google Account used on your Android phone.
- On Android, ensure contact sync is enabled for that Google Account.
Import troubleshooting (common gotchas)
- Duplicates appear: This happens when you import into Google but still display Device/SIM contacts too. Adjust “Contacts to display.”
- Missing fields from SIM imports: SIM contacts often don’t include email, address, notes, or multiple numbers.
- Contacts not showing after import: Confirm you imported into the correct Google Account and that syncing is on.
Helpful Extras: Make Your Contacts Easier to Use (and Harder to Lose)
Set your default account for new contacts
If your phone keeps saving contacts to Device storage when you want Google, set your default account for new contacts.
The wording varies by manufacturer, but look for options like Default account or Contacts to display.
Back up your contacts (so you don’t have to “rebuild your life”)
The simplest backup strategy: store contacts in your Google Account and keep syncing enabled. For an extra layer,
export a .VCF backup occasionallyespecially before switching phones.
Pin your most important people (optional, but underrated)
If you call the same few people all the time, Android can place contact shortcuts or widgets on your home screen,
turning “call my spouse” into a one-tap action instead of a mini scavenger hunt.
Quick FAQ
Why did my contact disappear after I changed phones?
Most often, it was saved to Device or SIM instead of your Google Account.
If it’s in Google Contacts, it will reappear once your new phone syncs the same account.
What’s the best way to add a contact on Android so it syncs?
Add it in the Contacts app and choose your Google Account as the save location. That’s the most reliable “works everywhere” approach.
Can I store contacts on my SIM card?
Often yes, but it’s limited. You’ll usually lose rich details (multiple numbers, emails, addresses, notes).
It’s better to import SIM contacts to Google and let your account handle syncing.
Conclusion
If you remember just one thing: save contacts to your Google Account. That single choice makes adding contacts on Android
easier today and dramatically less stressful later. Use the Contacts app when you have full details, save straight from a call or text
when you’re in a hurry, and import from SIM/VCF/Google when you’re moving lots of contacts at once.
Do that, and your phonebook becomes what it was always meant to be: a helpful tool… not a chaotic museum of mystery numbers.
Real-Life Experiences & Pro Tips (About of “Yep, That Happens”)
In the real world, adding a contact on Android is rarely the hard part. The hard part is what happens after you add itwhen Android politely
asks, “Where should I save this?” and you tap something without thinking because you’re standing in line, juggling groceries, or trying not to drop
your phone on concrete. That’s how people end up with half their contacts in Google, some on the device, and a few living on a SIM card like they’re
paying rent by the character.
Here’s a scenario you might recognize: you save “Alex” quickly from the call log (Way 2), but later you can’t find them in Google Contacts on your
laptop. You assume the universe is broken. More likely, “Alex” was saved to Device instead of Google. The fix is simple:
open the contact, edit it, and move it to the right account (or export/import). The lesson is simpler: whenever Android gives you a “Save to” choice,
pick Google unless you have a specific reason not to.
Another common experience: you switch to a new Android phone and only some contacts appear. People usually blame the new phone. But it’s usually a
display/sync mismatch. Your contacts might be sitting safely in Google, but the phone is set to display only “Device” contacts (or vice versa).
If your contacts feel “missing,” check which accounts are being displayed and whether Google sync is on. It’s like turning on the lights before
declaring the room empty.
Duplicates are also a rite of passage. Import from SIM, then later sign into Google, and suddenly “Dad” becomes “Dad,” “Dad (SIM),” and “Dad’s iPhone
That One Time.” The solution is usually a two-part combo: (1) pick a single “source of truth” (Google is best), and (2) use the merge/cleanup tools
in Google Contacts. It’s not glamorous, but it’s deeply satisfying in the same way organizing a junk drawer is satisfying.
A practical tip that sounds boring but changes everything: add a short identifier in the name field when it’s helpful. “Jamie – Realtor,”
“Chris – Gym,” “Taylor (Neighbor).” This isn’t formal paperwork; it’s your life. Your future self will thank you when you’re searching fast and your
brain is on autopilot.
Finally, if you add contacts for family members who aren’t techy (or who consider Wi-Fi a form of magic), set up a home screen shortcut or direct-dial
widget for key contacts. It turns “Call me if you need anything” into a literal one-tap action, which is about as close to modern convenience as humans
are allowed to get before the universe adds a subscription fee.