Curtains are basically giant, stylish air filters. They catch dust, pet hair, pollen, and whatever mysterious particles
drift through your home at 2 a.m. (Is it dust? Is it glitter? Is it your life choices?) The good news: you don’t have
to wrestle curtain panels off the rod, rehang them, and pretend you enjoy ladder work. In most cases, you can clean
and freshen curtains right where they arequickly, safely, and without turning your living room into a
DIY obstacle course.
This guide walks you through the easiest “curtains stay up” methods: dry cleaning steps (dusting + vacuuming),
steaming to de-wrinkle and refresh, targeted spot-cleaning for stains, deodorizing, and fabric-specific tips so you
don’t accidentally turn your drapes into doll clothes. Let’s clean those curtains without taking them downbecause
life’s too short to fight curtain hooks.
Before You Start: The 3 Checks That Prevent Regret
1) Read the care label (yes, the tag matters)
If your curtains are labeled “dry clean only,” “do not steam,” or “do not use water,” take that seriouslyespecially
for delicate fabrics like silk, wool blends, or specialty lined drapes. You can still do a lot without removing them,
but you’ll stick to gentler methods (vacuuming, low-moisture deodorizing, and careful spot-cleaning only when allowed).
2) Colorfast test (a 30-second sanity check)
Dab a hidden spot (inside hem or side seam) with a white cloth lightly dampened with water. If dye transfers, avoid
water-based spot cleaning and steaming. In that case, vacuuming and professional advice are your safer bets.
3) Know what you’re cleaning: dust, odor, stains, or wrinkles?
Different problems want different solutions. Dust and pet hair love dry methods. Wrinkles respond to steam. Stains need
spot treatment. Odors often improve with ventilation + gentle deodorizing. Don’t bring a “stain-fighter” to a “dust party.”
What You’ll Need (Mostly Stuff You Already Own)
- Vacuum with upholstery brush or soft brush attachment
- Lint roller or reusable pet-hair remover
- Microfiber cloth or a clean, soft towel
- Handheld steamer (optional but extremely satisfying)
- Spray bottle (for very light misting when label allows)
- Mild dish soap (for spot cleaning when safe)
- Baking soda (odor control) or a gentle fabric deodorizer
- Step stool (because gravity is undefeated)
The Easy Way: A 10-Minute “Dry Clean” Routine (No Water Needed)
If your goal is to remove dust and allergensthis is the fastest win. Do this once every couple of weeks (or more often
if you have pets, open windows, or a household that produces crumbs like a confetti cannon).
Step 1: Close windows and turn off fans
Otherwise you’ll dust the curtains and immediately redecorate them with… dust. Let the air settle for a few minutes.
Step 2: Shake the curtains gently (optional, but effective)
Stand to the side, give the lower hem a gentle shake, and let loose dust fall to the floor. This is also a great time
to question where all the dust comes from and why it is so dedicated.
Step 3: Vacuum top to bottom with a soft brush
Start at the top, use the upholstery/soft brush attachment, and vacuum downward in long strokes. Support the fabric
with your free hand behind the area you’re vacuuming to prevent pulling. Work front and back if possibledust is an
equal-opportunity squatter.
Step 4: Hit pet hair with a lint roller
Focus on lower sections where pets brush against the fabric. For heavy hair, a slightly damp rubber glove (label permitting)
can help gather hair into clumpsthen vacuum again.
Step 5: Don’t forget the header and pleats
The top folds, grommets, and pleats are dust magnets. Use the crevice tool gently around seams and the curtain header.
Pro tip: Vacuum the surrounding area toowindow sills, baseboards, and nearby ventsso your freshly cleaned
curtains don’t get “re-dusted” by their environment.
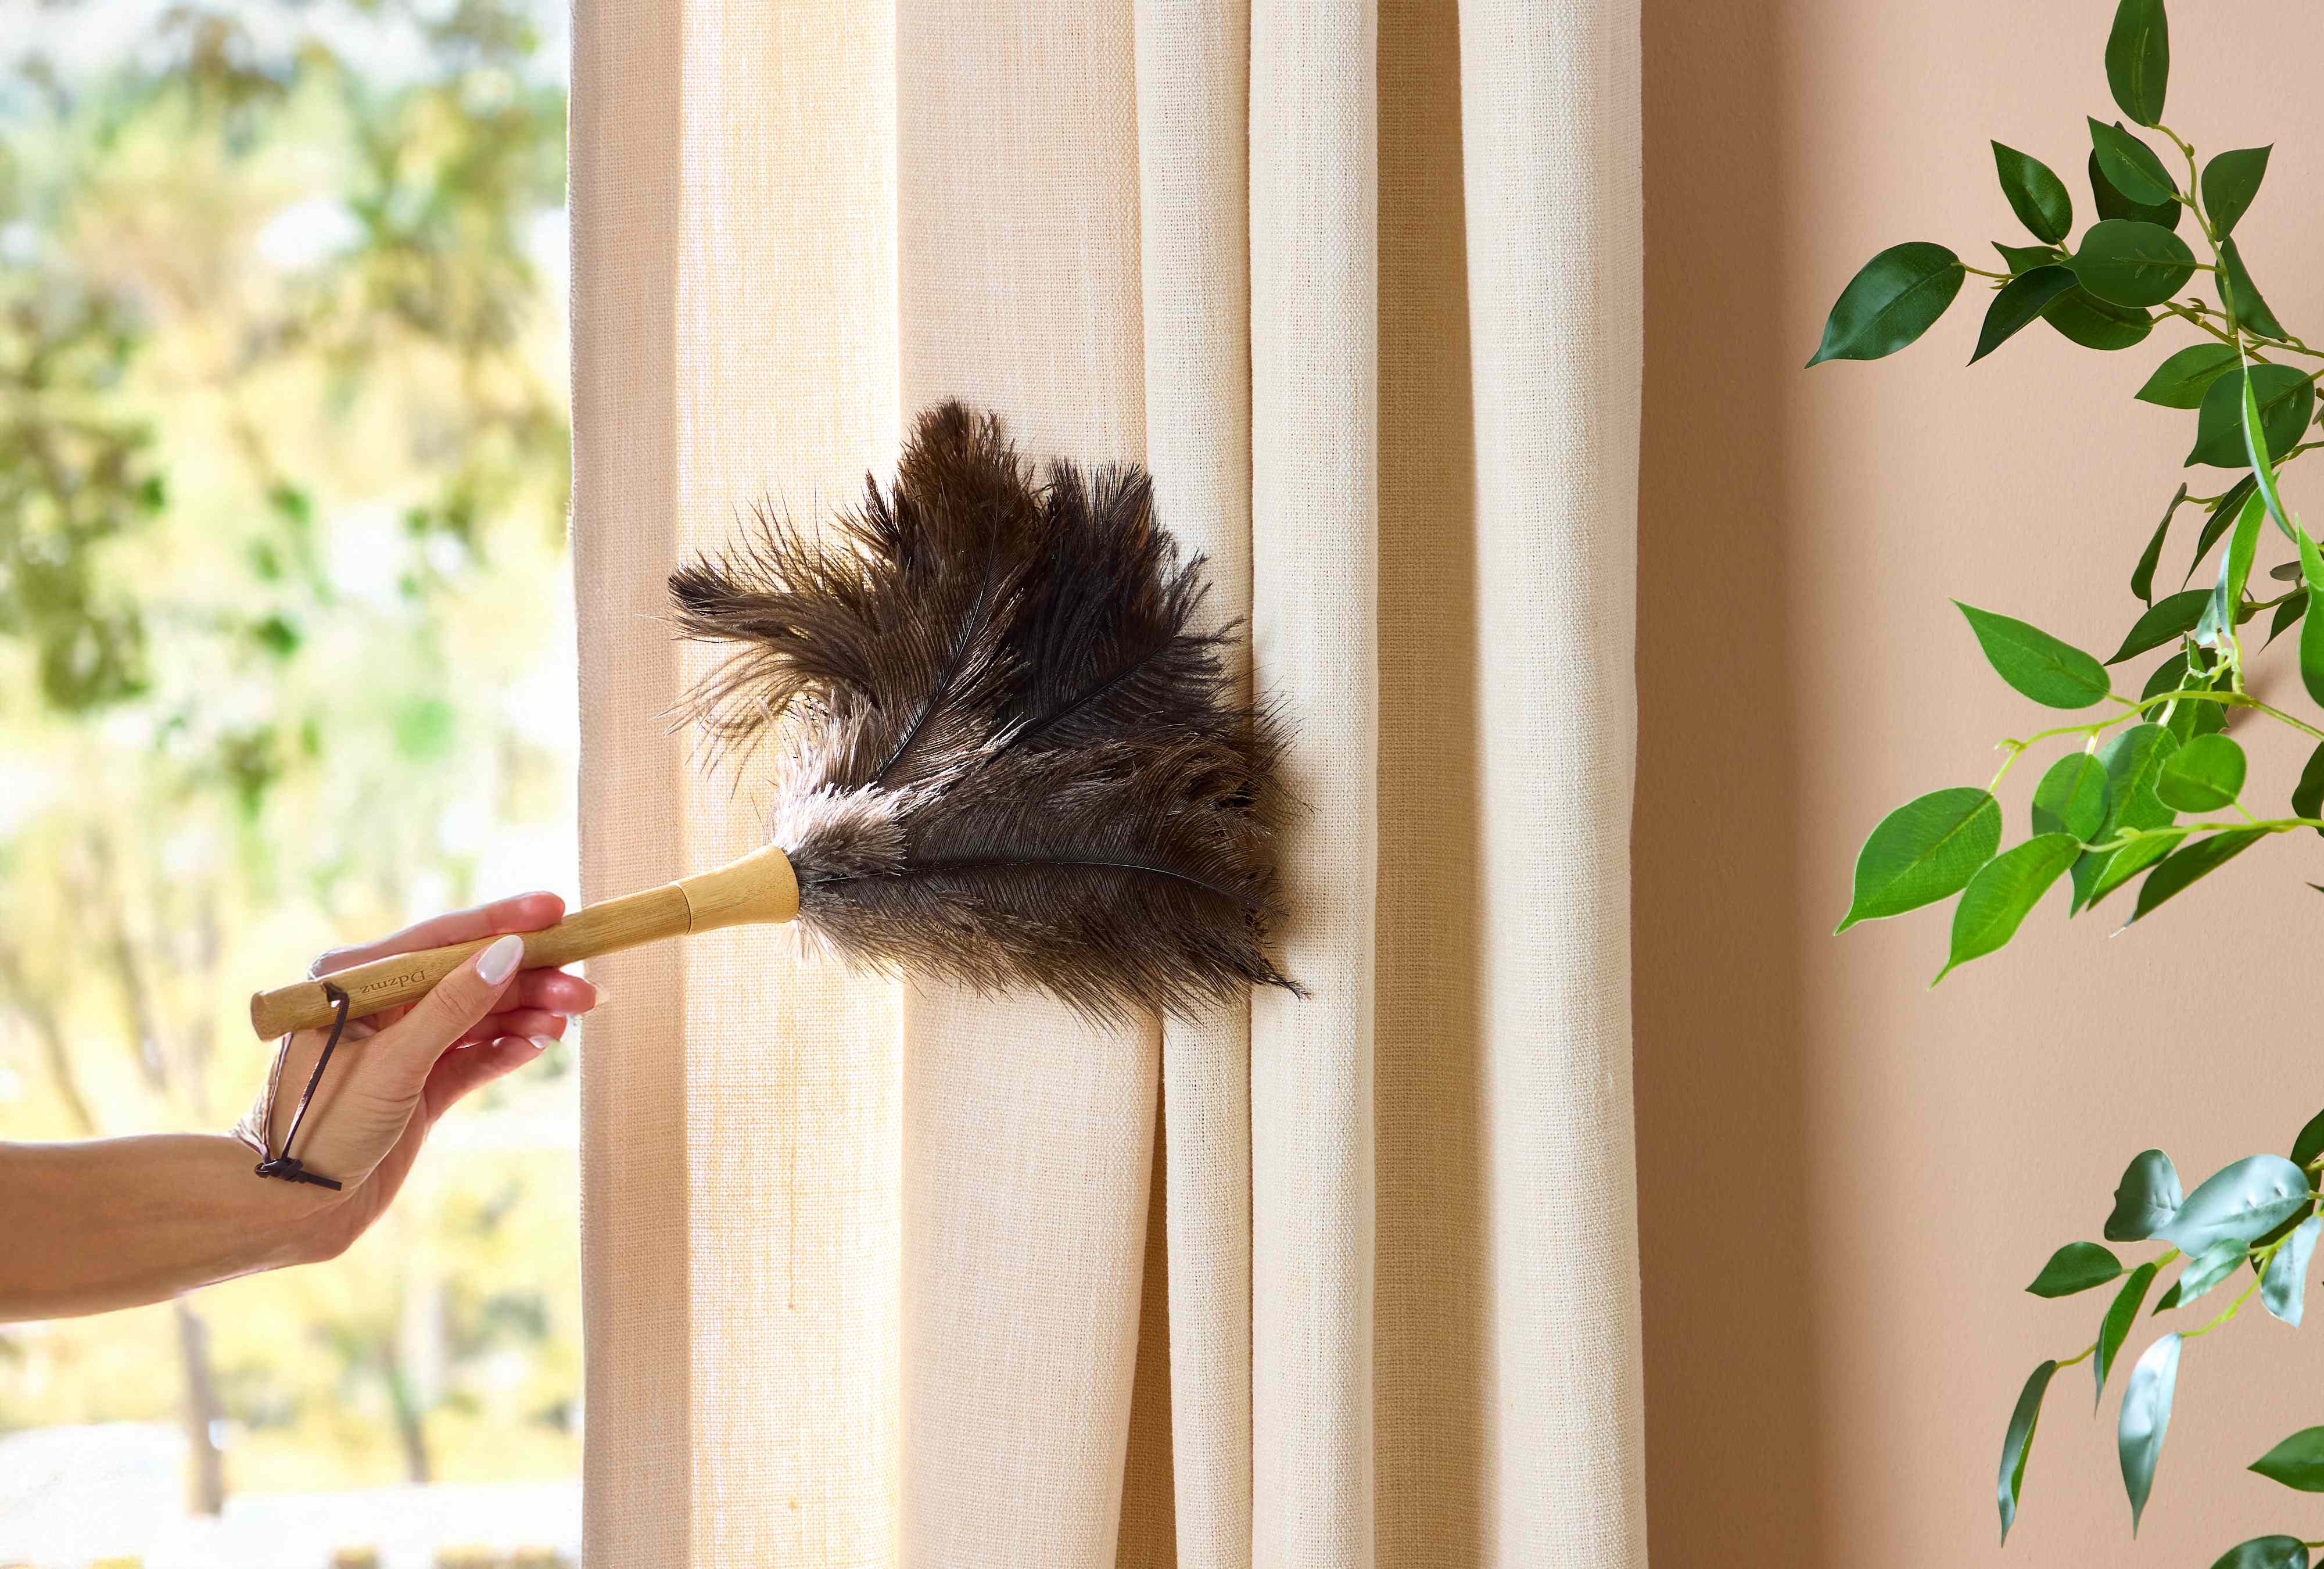
Steam Cleaning Curtains While They Hang (Wrinkles + Odors, Be Gone)
A handheld steamer can freshen fabric, relax wrinkles, and reduce light odors without fully washing. It’s one of the best
“easy way” optionsas long as the care label allows it. When in doubt, test on a small hidden area first.
How to steam safely
- Fill steamer with distilled water (helps reduce mineral spotting).
- Start from the top, holding the steamer head a small distance from the fabric.
- Use slow downward passes. Don’t park the steamer in one spot (that’s how you get water marks).
- Keep the fabric taut with your free hand or a towel behind it.
- Let curtains dry fully before closing them tightly against each other or the wall.
Steaming lined or blackout curtains
For lined drapes, steam the face fabric lightly. Avoid saturating seams where moisture can get trapped between layers.
If the fabric feels damp, give it airflow (open the curtains slightly and let the room ventilate).
When steaming is not a great idea
- Delicate silk/wool or fabrics labeled “no steam”
- Older curtains with unstable dyes (fails the colorfast test)
- Water-sensitive fabrics that spot easily
Spot Clean Stains Without Taking Curtains Down
Spot-cleaning works best for small, localized stains. The key is to use minimal moisture and blotnever scrub
like you’re trying to erase your past. Always test first.
General spot-clean method (for washable fabrics)
- Vacuum first so you don’t grind dust into the stain.
- Blot dry with a clean cloth if the stain is wet.
- Mix a gentle solution: a few drops of mild dish soap in cool water.
- Dampen (don’t soak) a cloth and blot the stain from the outside inward.
- Rinse-blot with a cloth dampened with plain water (again: minimal moisture).
- Dry-blot with a towel, then let air dry fully.
Common stains and what usually helps
- Dusty smudges: Often lift with plain water blotting after vacuuming.
- Food splatter: Dish soap solution, then rinse-blot.
- Oily marks (hands, cooking residue): A tiny bit more dish soap, gentle blotting; repeat rather than over-wetting.
- Water marks: Lightly mist the surrounding area and blend by blotting evenly (only if fabric tolerates water).
What about mildew or musty spots?
Musty odors can come from trapped humidity near windows. First, fix the moisture issue (ventilation, dehumidifying, and
ensuring the window area is dry). For minor spots on water-tolerant fabrics, mild cleaning can help, but if you see
extensive staining or suspect mold growth, it’s safer to consult a professionalespecially if the fabric is delicate or
lined, because moisture can hide between layers.
Deodorize Curtains While Hanging (Because Smells Also Like to Decorate)
Odors cling to fabric: cooking smells, smoke, pets, and that “closed-up room” vibe. Try these low-effort options that
don’t require taking curtains down.
Option A: Ventilation + vacuum (simple and surprisingly effective)
Open curtains wide during the day, crack a window if weather allows, and run your dry-clean routine. Sometimes airflow
plus dust removal solves most “mystery smells.”
Option B: Baking soda “soft deodorize”
If your curtains are sturdy (cotton blends, polyester) and the label allows light contact, sprinkle a small amount of
baking soda on the lower portion, let it sit 15–30 minutes, then vacuum thoroughly with a brush attachment. Avoid this
on delicate fabrics or anything that snags easily.
Option C: Light misting (only when label permits)
A gentle fabric refresher can help, but use it sparinglyheavy sprays can leave rings. Mist from a distance and let the
curtains air dry fully with good airflow.
Fabric-Specific Tips (So You Don’t Accidentally Make Things Worse)
Cotton and cotton blends
Usually forgiving. Vacuuming, steaming (if allowed), and mild spot-cleaning work well. Watch for shrink risk if the fabric
is not pre-shrunkanother reason to avoid heavy wetting while hanging.
Polyester and synthetics
Often the easiest: vacuum + steam + careful spot cleaning. Keep heat moderatesome synthetics don’t love high heat.
Linen
Linen wrinkles if you look at it wrong, so steaming is helpful. Use low moisture and gentle handling to avoid water spots.
Velvet
Vacuum gently with a soft brush in the direction of the nap. If steaming is allowed, use light passes and avoid crushing
the pile. When in doubt, consult a professional for deep cleaning.
Silk or “dry clean only” curtains
Stick to careful vacuuming and minimal intervention. Spot-cleaning and steaming can permanently mark or distort delicate
fibers and dyes. If they truly need more than dust removal, professional cleaning is usually the safest route.
How Often Should You Clean Curtains?
- Weekly: Light dusting or a quick pass with a vacuum brush in high-allergen seasons.
- Every 2–4 weeks: Full dry-clean routine (vacuum front/back, lint roll).
- Seasonally: Steam refresh + targeted spot-cleaning as needed.
- Immediately: After visible stains, smoky cooking events, or pet “mystery incidents.”
Common Mistakes to Avoid
- Over-wetting: Soaking fabric while it hangs can cause water rings, stretching, or trapped moisture.
- Scrubbing stains: Scrubbing frays fibers and spreads stains. Blot gently and repeat.
- Skipping the test patch: Dyes can run. Always test first.
- Using harsh chemicals: Strong cleaners can bleach color, weaken fabric, or leave residue.
- Forgetting airflow: Damp curtains need ventilation to prevent musty smells.
Quick Troubleshooting FAQ
“My curtains still look dusty after vacuuming.”
Try vacuuming both sides, slow down your passes, and focus on pleats and headers. A lint roller can also pull surface
fuzz that the vacuum misses.
“Steaming left faint spots.”
That can happen with mineral-heavy water or too much moisture in one area. Use distilled water, keep the steamer moving,
and do lighter passes. If the fabric tolerates water, evenly blending with minimal misting and blotting may help.
“My curtains smell weird, but they aren’t visibly dirty.”
Odors often come from a mix of dust + humidity. Do a full vacuum routine, ventilate the room, and consider a gentle
deodorize method (like baking soda + vacuum) if the fabric allows.
Real-World Experiences: What People Learn After Cleaning Curtains This Way (Extra Tips)
Cleaning curtains while they’re still hanging sounds like a “too good to be true” hackuntil you do it once and realize
it’s basically the adult version of discovering you can microwave leftovers and eat them straight from the container.
Here are the most common lessons people run into, plus the “next time I’ll do this instead” wisdom that usually follows.
The “I didn’t know curtains could hold that much dust” moment
A lot of people start with the vacuum brush and immediately think, “Is my curtain made of dust?” The surprise is normal.
Curtains hang in the same spot for months, quietly collecting particles from open windows, HVAC airflow, and daily life.
One practical takeaway: put a quick curtain vacuum on the same schedule as your couch cushions. When people do it monthly,
the job becomes almost comically easytwo minutes per panel instead of a full workout session.
Why starting at the top changes everything
It’s tempting to clean the obvious lower section firstespecially if there are pet marks near the bottom. But many people
notice a “dirty streak” effect if they start low: dust from above falls onto the freshly cleaned part and ruins the victory
lap. Top-to-bottom cleaning feels slower in the moment, but it’s faster overall because you don’t have to redo sections.
Once someone switches to top-first vacuuming, they rarely go back.
The steamer learning curve (and how to skip the awkward phase)
Steaming curtains is satisfying, but beginners often do one of two things: they hold the steamer too close, or they move
too fast. Too close can leave damp marks; too fast doesn’t relax wrinkles. The “sweet spot” is usually a short distance away
with slow, steady passes. People who get great results often use their free hand to keep the fabric gently taut and work in
vertical lanes, like mowing a lawnexcept the lawn is hanging and judging you silently.
Spot-cleaning: less water, more patience
The most common “oops” is using too much water on a small stain. Someone sees a smudge, grabs a wet cloth, and suddenly the
smudge has a watery halo the size of a pancake. The better approachlearned through experienceis to blot with a barely damp
cloth, repeat a few times, and stop early if the fabric starts to look stressed. Patience is the secret ingredient. It’s not
glamorous, but neither is a brand-new water ring.
Pet hair has a favorite height
In homes with pets, people often discover a “fur horizon line” about 6–18 inches from the floor. That’s where pets brush by,
nap nearby, or do dramatic zoomies past the window. A lint roller (or reusable pet-hair tool) works best here, followed by a
quick vacuum pass. Many pet owners keep a lint roller near the window specifically for this, because it’s easier to do a
30-second touch-up than to wait until the curtains look like they’ve adopted a second animal.
Odors often come back if the room doesn’t breathe
People sometimes deodorize curtains and feel prouduntil the “closed-up” smell creeps back. The curtain isn’t always the true
villain; the room’s humidity and airflow are often part of the story. The practical lesson: deodorizing works best when paired
with ventilation, a clean window area, and (if needed) humidity control. In real life, the best results come from a small combo:
vacuum the curtains, wipe the window sill, and let the room air out for a bit. It’s boring, but it works.
The surprisingly satisfying “whole-window reset”
One of the best experiences people mention is how much brighter a room feels after a curtain refreshespecially when they also
clean the window glass and dust the rod. Even without taking curtains down, that small reset can make a space feel cleaner and
more “put together” in under an hour. It’s the kind of task that pays off immediately: less sneezing, fewer odors, and curtains
that hang like they’re auditioning for a home magazine spread.
Conclusion
You don’t need to unhook, unring, and rehang curtains just to keep them clean. For most homes, a simple routinevacuuming with
a soft brush, lint rolling problem spots, steaming to refresh, and spot-cleaning only where neededkeeps curtains looking crisp
and smelling fresh with minimal effort. Treat the care label like a tiny instruction manual from the fabric universe, use moisture
sparingly, and remember: the goal is “clean and fresh,” not “soaked and mysterious.”