Window cleaning is one of those household tasks that feels suspiciously like it was invented by someone who hates joy.
You wipe. It looks great. You step back. The sun hits the glass. Suddenly your “sparkling finish” is a modern art exhibit called
Streaks & Regret.
The good news: you don’t need a cabinet full of neon-blue sprays to win this battle. A simple vinegar window cleanerused the right way,
with the right toolscan cut through grime, lift water spots, and leave glass clear enough to make your neighbors wonder if you replaced your windows overnight.
Why Vinegar Works (And Why It Sometimes “Doesn’t”)
Distilled white vinegar is mildly acidic. That’s the secret sauce. The acidity helps loosen mineral buildup (hello, hard-water spots),
break down greasy film (looking at you, kitchen windows), and remove everyday fingerprints and smudges.
When vinegar “doesn’t work,” it’s usually not the vinegarit’s one of these:
- Cleaning in direct sun, which dries your solution too fast and leaves streaks.
- Using too much product, which creates residue you then chase around the glass.
- Skipping the dust step, which turns dry grit into a smeary paste.
- Using the wrong cloth, like linty paper towels that leave fuzz behind.
- Hard water in your tap water, which can deposit minerals as it dries.
What You’ll Need for Streak-Free Results
Think of this as your “window cleaning starter pack,” minus the influencer link in bio.
- Distilled white vinegar (clear, inexpensive, widely available)
- Water (distilled water is best if you have hard water)
- Spray bottle or a bucket (depending on how many windows you’re doing)
- 2–4 microfiber cloths (one for washing, one for drying/buffing, extras for swapping)
- Squeegee (optional but highly recommended for large panes)
- Soft brush/old toothbrush for tracks and corners
- Small vacuum or handheld brush for dusty sills and tracks
- Step stool/ladder for high windows (use safely; if you’re not comfortable, ask an adult for help)
The Best Vinegar Window Cleaner Recipes
Different windows have different drama levels. Here are reliable mixes you can choose from depending on the mess.
1) Everyday Vinegar Spray (Most Popular)
- Equal parts distilled white vinegar + water (50/50)
- Optional: 1–2 drops dish soap per 16–24 oz bottle (only if windows are greasy)
This is the “daily driver” of DIY glass cleaner recipessimple, effective, and hard to mess up.
2) Mild Mix for Sensitive Noses (Or Light Cleaning)
- 1 part vinegar + 2–4 parts water
Great for routine touch-ups, interior windows, and quick fingerprints. It’s gentler, and the vinegar smell fades faster.
3) Hard-Water Spot Pre-Treat (Targeted, Not a Full-Window Bath)
- Equal parts vinegar + water in a spray bottle
Use this as a pre-treatment on stubborn mineral spots before you do your regular clean. Let it sit briefly, then wipe and rinse.
Important Safety Notes (Don’t Skip This)
- Never mix vinegar with bleach. That combination can create dangerous fumes.
- Don’t mix vinegar with ammonia-based cleaners. It can create strong fumes and may leave a cloudy film.
- Test first if you have specialty coatings, window film, or painted/unfinished wood frames. When in doubt, spot-test.
Step-by-Step: How to Clean Windows With Vinegar (Inside)
Step 1: Pick the Right Time
Aim for a cloudy day or a time when the window is shaded. Direct sunlight heats the glass and dries your cleaner too quicklyclassic streak-maker.
Step 2: Dry Dust First (Yes, Really)
Use a dry microfiber cloth or a duster to remove dust, pet hair, and loose dirt. If you spray first, you’re basically making “dirt soup” on your glass.
Step 3: Clean the Frames, Sills, and Tracks
This is where grime throws parties. Vacuum or brush out tracks, then wipe with a damp cloth. For sticky buildup, use a soft brush and a little warm soapy water.
(You can use a stronger vinegar-water mix on tracks, but rinse and wipe dry afterward.)
Step 4: Wash the Glass
Lightly mist one window section at a timedon’t soak it. Wipe with a clean microfiber cloth using an “S” pattern from top to bottom.
This pattern helps prevent you from redistributing dirt back onto cleaned areas.
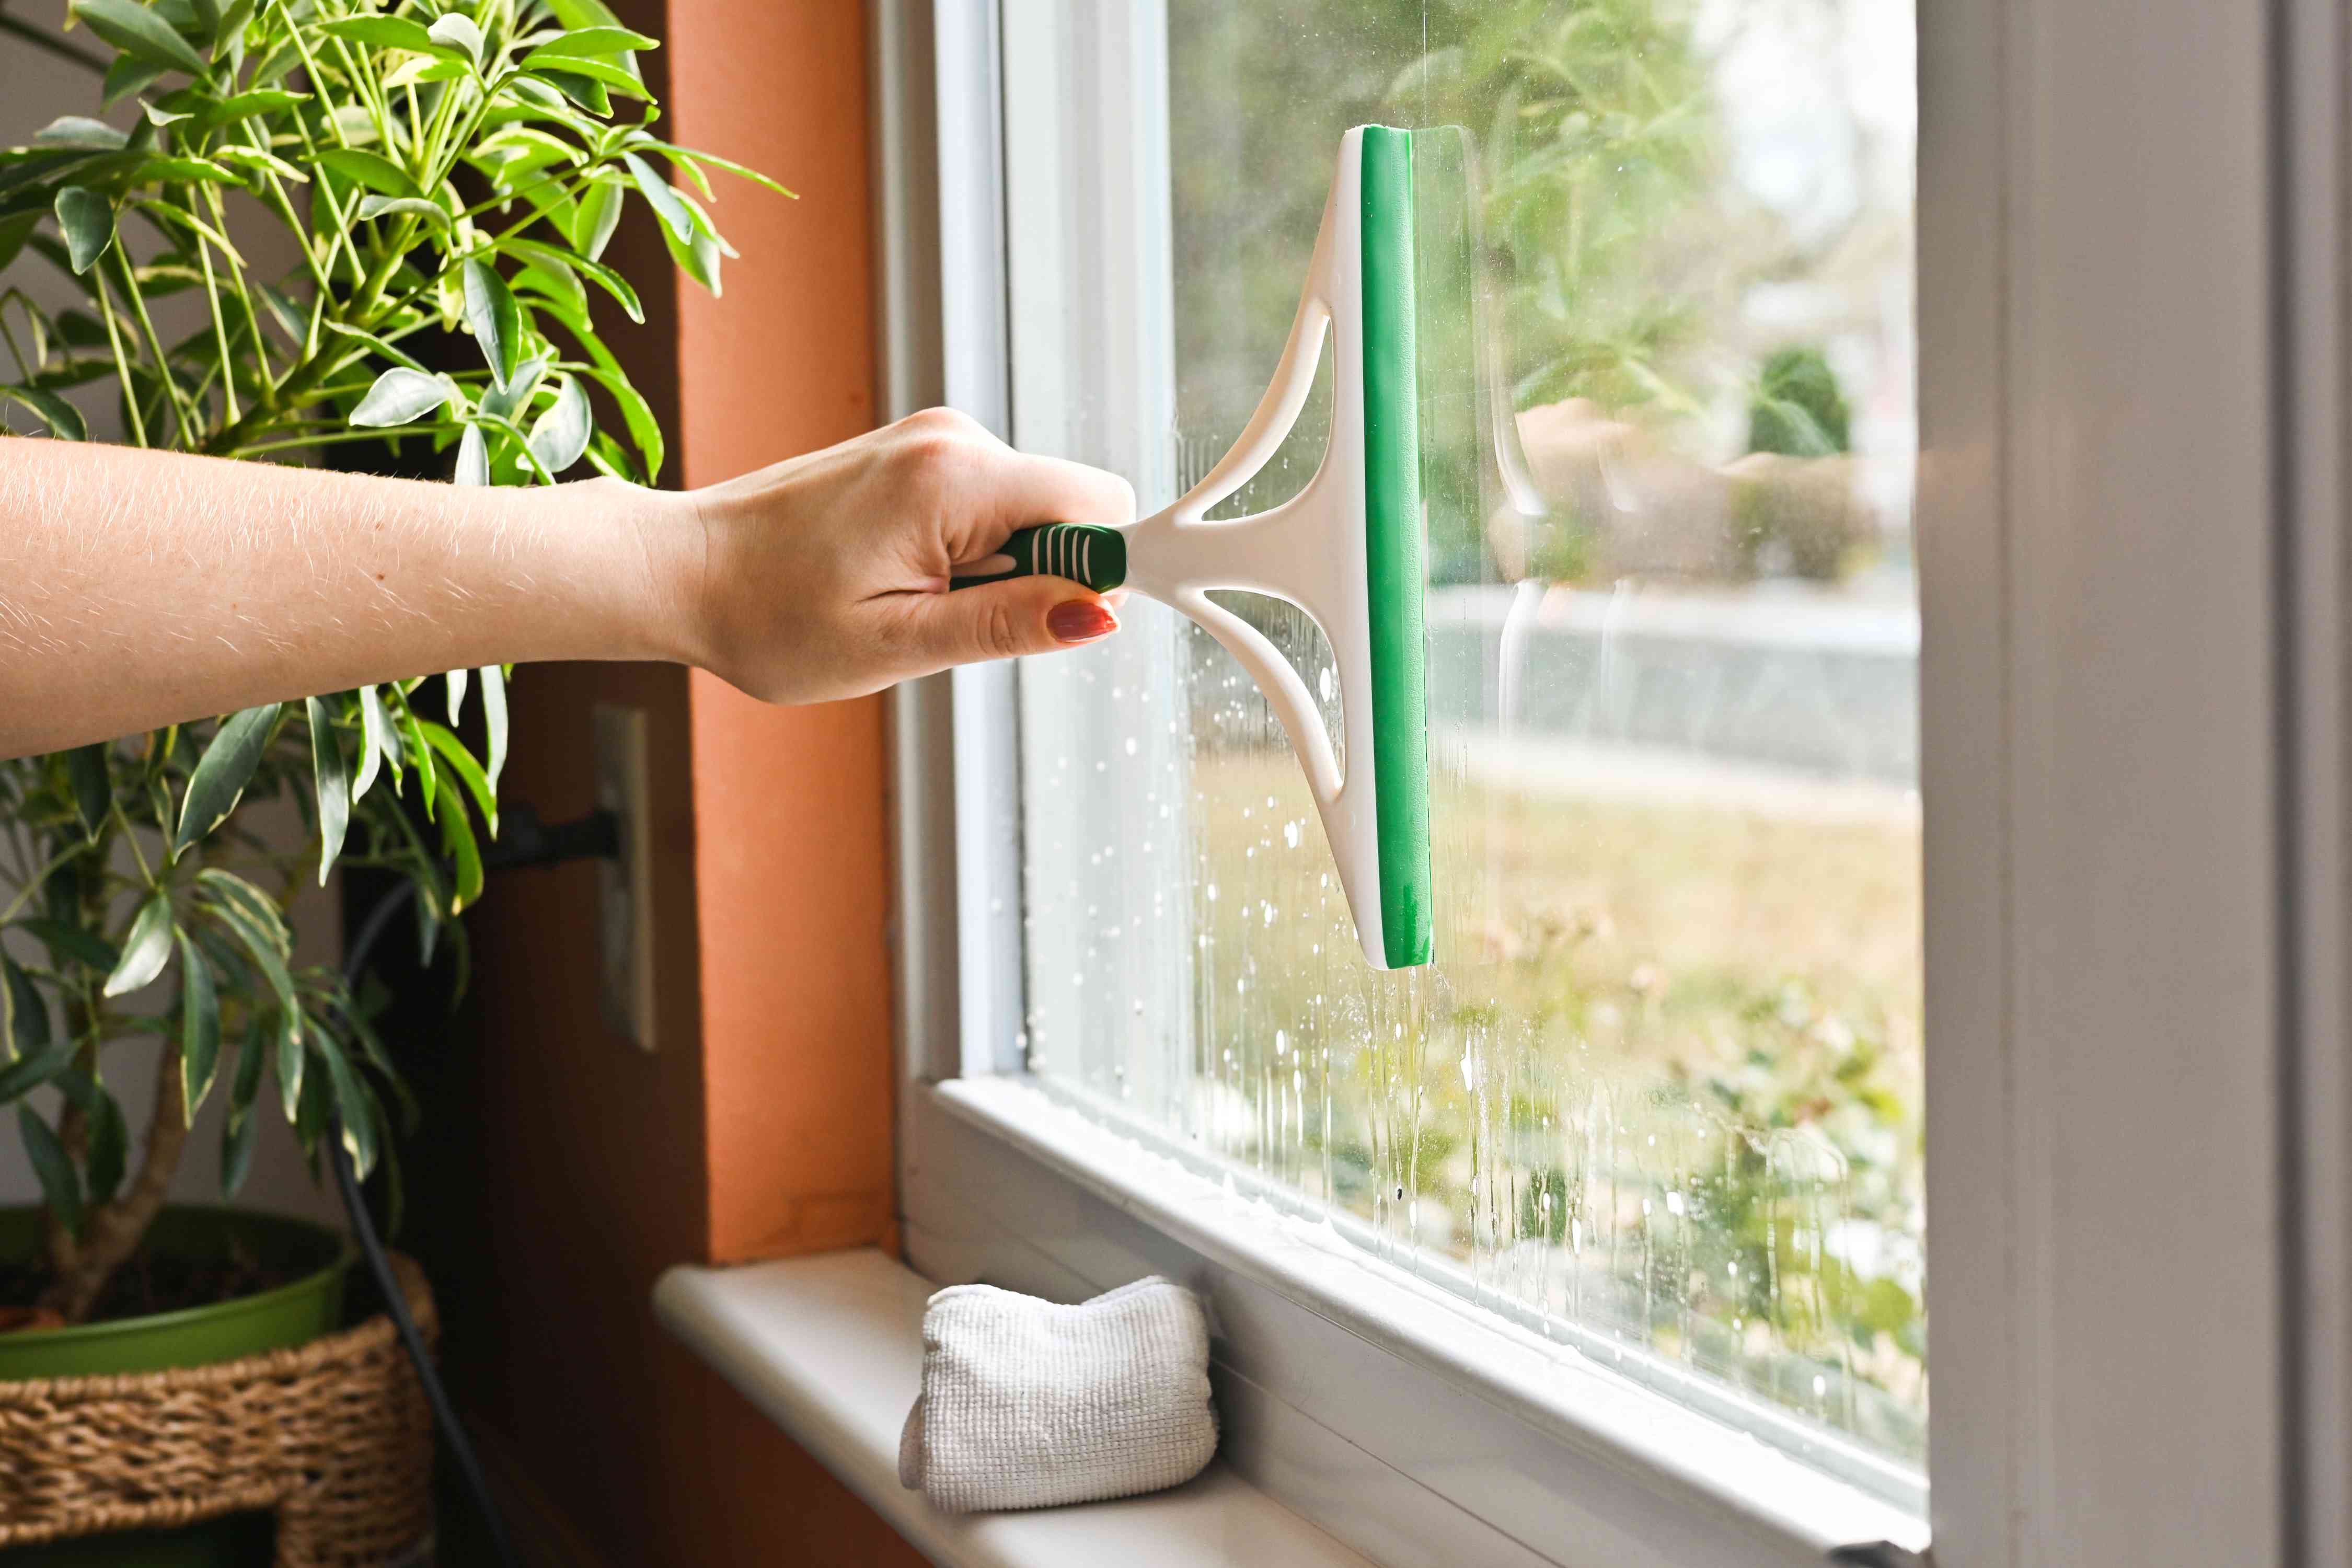
Step 5: Squeegee (Optional, but Pro-Level)
If you have large panes, a squeegee can be the difference between “pretty good” and “how is this even glass?”
- Start at the top corner.
- Pull the squeegee across or down in smooth strokes, keeping steady pressure.
- Wipe the blade with a cloth after each pass so you don’t drag water lines across the window.
Step 6: Buff Dry for the Sparkling Finish
Use a second dry microfiber cloth to buff the glass. This is where streaks go to die.
Pay attention to edgescleaner can pool there and dry into faint lines later.
Step-by-Step: How to Clean Outside Windows With Vinegar
Outdoor windows collect more than fingerprintsthey get pollen, dust, bird… opinions, and whatever the wind delivered overnight.
The trick is to remove loose debris before you start wiping.
Step 1: Rinse or Brush Off Loose Grime
If you can, rinse with a gentle hose spray (not pressure-washer levels of enthusiasm). Otherwise, use a soft brush to remove cobwebs and debris.
Step 2: Use a Bucket + Mop for Reach
For tall windows, mix your vinegar solution in a bucket and use a microfiber mop or sponge mop on an extension pole.
Work top to bottom. Re-dip and wring frequently so you’re not spreading dirty water.
Step 3: Squeegee and Dry
Squeegee the glass and wipe the blade between passes. Finish with a dry microfiber cloth to catch drips and polish edges.
Safety Reminder for Heights
If ladders make you nervous (valid), don’t risk it. Use an extension tool from the ground or ask an adult to help.
A sparkling window is not worth a not-so-sparkling ankle.
How to Remove Hard-Water Spots and Cloudy Film
If your windows have a hazy film that laughs at regular cleaning, you’re probably dealing with mineral deposits.
Vinegar can helpespecially when you give it a little time to work.
Hard-Water Spot Method
- Spray the affected area with a 50/50 vinegar-water mix.
- Let it sit for 2–5 minutes (don’t let it dry completely).
- Wipe with a microfiber cloth or a non-scratch sponge.
- Rinse with clean water and dry thoroughly.
For severe buildup, you may need a repeat round. The key is patience and drying wellminerals love to reappear if water dries on the glass.
Common Mistakes That Cause Streaks (And How to Avoid Them)
- Over-spraying: A light mist is plenty. More product often equals more residue.
- Dirty cloths: If your microfiber feels damp or looks gray, swap it out.
- Paper towels lint: They can leave fuzz behind. Microfiber is cleaner and more consistent.
- Skipping the dry buff: Buffing is the finishing movedon’t skip it.
- Using tap water in hard-water areas: Distilled water can reduce mineral streaking.
- Cleaning in bright sun: The solution dries too fast and streaks before you can wipe.
Pro Tips for Next-Level Results
Tip 1: Use Two Cloths, Minimum
One cloth to clean, one cloth to dry and polish. If you try to do both with one cloth, you’ll end up with a damp rag and a streaky window.
Tip 2: Wash Microfiber the Right Way
Skip fabric softenerit coats the fibers and reduces absorbency. Microfiber works best when it’s clean and “grabby.”
Tip 3: Work One Window at a Time
This prevents cleaner from drying on the glass before you wipe it. It also keeps you from doing that thing where you clean… then forget which windows you cleaned.
Tip 4: Don’t Ignore Screens
Dirty screens can make clean windows look dull. Remove screens (if possible), brush or vacuum them, then rinse and let them dry completely before reinstalling.
Tip 5: Kitchen Windows Need a Slightly Different Plan
If your windows are near a stove, you may have an invisible greasy film. Add a tiny amount of dish soap to your vinegar mix, or wash first with warm soapy water,
then finish with vinegar spray and a dry buff.
Quick “Sparkle Routine” for Busy Weeks
Don’t want to deep-clean every time? Here’s a low-effort maintenance routine:
- Dry dust with a microfiber cloth.
- Light mist of vinegar-water on fingerprints and smudges.
- Buff dry immediately with a clean cloth.
Done. Your windows won’t be museum-level perfect, but they’ll look clean in normal lightingwhich is the real goal of adulthood.
FAQ: Cleaning Windows With Vinegar
Will vinegar damage my windows?
Distilled white vinegar diluted with water is generally safe for glass. Avoid letting strong vinegar sit on delicate finishes, and spot-test if you have window film,
specialty coatings, or painted/unfinished frames.
Why do my windows look streaky after they dry?
Usually it’s one of three things: cleaning in sun/heat, too much cleaner, or mineral-heavy water. Switch to distilled water, use less spray, and buff dry with a clean cloth.
Can I use apple cider vinegar instead?
You can, but distilled white vinegar is preferred because it’s clear and less likely to leave behind color or a stronger odor.
What’s better: vinegar or commercial glass cleaner?
Both can work. Vinegar is inexpensive and effective when used correctly. Commercial glass cleaners can be convenient, but some contain ingredients that may leave residue.
Technique and tools matter more than the label.
Real-World Experiences and Lessons Learned (An Extra of “What Actually Happens”)
In real homes (as opposed to perfectly staged ones where nobody touches anything), vinegar window cleaning tends to go through a predictable storyline.
First, there’s optimism. You mix your vinegar window cleaner recipe, you grab a cloth, and you think, “This will be quick.” Then reality taps you on the shoulder:
the window is dusty, the track is gritty, and there’s a mysterious smudge at toddler-height that looks like it might be jam… or modern finger paint.
One common experience is discovering that the frame and sill are the secret streak-makers. People often clean the glass first,
then wipe the frame afterwardand drip dirty water right onto the freshly cleaned pane. The fix is simple: treat the window like a mini-project.
Clear the track, wipe the sill, then clean the glass. It’s the difference between “clean for 10 minutes” and “clean for a week.”
Another real-life lesson: less spray is more sparkle. It’s tempting to drench the window like you’re watering a houseplant,
but oversaturation leads to drips, edge streaks, and that faint cloudy film that appears only after everything dries.
Many people get better results when they spray lightly, wipe thoroughly, and then buff with a dry microfiber cloth right away.
Buffing feels like an extra step until you see the glass afterwardthen it feels like magic.
Kitchens create their own special category of window grime. If you’ve ever wondered why your “clean” kitchen window still looks hazy,
it may be because grease vapor can settle into a thin, nearly invisible film. In those situations, vinegar alone can struggle because it’s battling both dirt and oil.
The practical approach is a two-step: a quick wash with warm water and a tiny bit of dish soap (just enough to break the grease), followed by the vinegar spray and a dry polish.
The vinegar helps remove leftover soap residue so the glass doesn’t look dull.
People also notice that distilled water matters more than expectedespecially in areas with hard tap water.
If you clean with mineral-heavy water, you can do everything “right” and still end up with faint marks as the water evaporates.
Switching to distilled water often turns a frustrating chore into a predictable, repeatable routine.
And yes, the vinegar smell comes up. The good news is it dissipates quickly once the windows dry.
If it bothers you, many folks find that opening a window (ironically), running a fan, or using a milder ratio makes the process more pleasant.
The biggest “experience-based” takeaway is this: vinegar isn’t a miracle by itselfit’s the combination of the right mix, the right timing, and the right cloth
that delivers that truly sparkling finish.
Conclusion
Cleaning windows with vinegar isn’t about finding a magical potionit’s about using a simple, effective solution with smart technique.
Pick a shaded time, dust first, use microfiber, go easy on the spray, and always finish with a dry buff.
Do that, and your windows will look so clear you’ll walk into the glass at least once. (Kidding. Mostly.)