If you’ve ever wished you could summon cozy crackling flames with the same effort it takes to turn on the TV, an electric fireplace is basically your new best friend. No chimney, no soot, no chopping wood in questionable pajamasjust plug it in (or hardwire it) and enjoy the ambiance.
This guide walks you through how to install an electric fireplace safely and confidently, whether you’re mounting one on the wall, recessing it into a new feature wall, or sliding an insert into an existing firebox. We’ll cover choosing the right type, planning the location, electrical and safety basics, and step-by-step installation tipsall grounded in real manufacturer advice, code guidance, and fireplace pros’ best practices.
Understanding Electric Fireplaces Before You Install
Common Types of Electric Fireplaces
Before you buy anything, make sure you know which kind of electric fireplace you’re dealing with. The installation steps are slightly different for each.
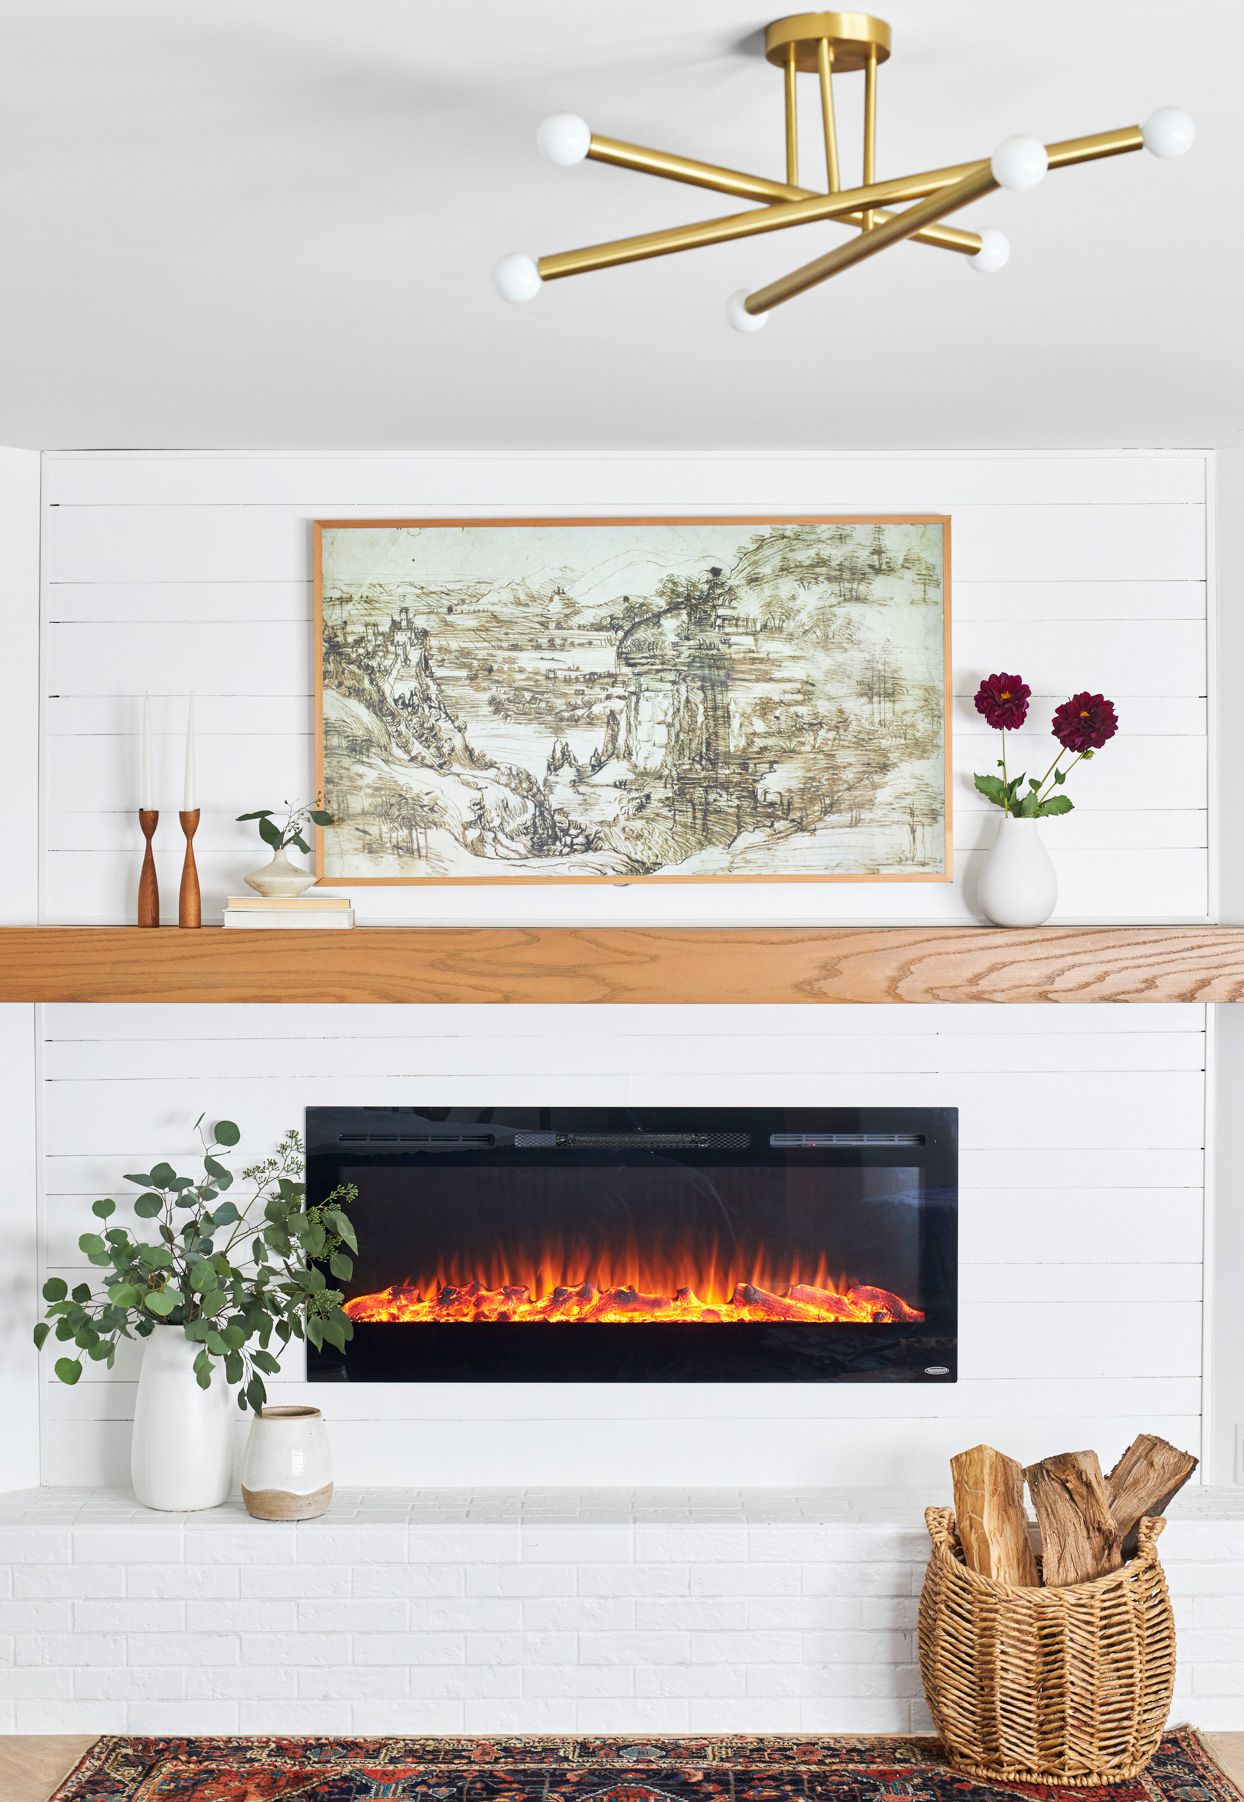
- Wall-mounted units: These hang on the wall like a TV or a big piece of art. Many can also be partially recessed into the wall for a sleeker look.
- Recessed or built-in units: Designed to sit inside a framed opening in the wall for a flush, custom appearance. These almost always require more planning and framing work.
- Inserts: Built to slide into an existing masonry or prefab firebox. Great if you have a dusty, unused wood fireplace and want to make it low-maintenance and efficient.
- Mantel or media console fireplaces: These come with a built-in surround or furniture pieceusually plug-in and mostly “place and go,” with minimal installation beyond leveling and anchoring.
All of these types are vent-free, and many are “zero clearance,” meaning they can be built into standard framing without special non-combustible boxes. Still, you must follow the manufacturer’s clearance and installation instructions to stay safe.
Power and Heat Basics
Most residential electric fireplaces in the U.S. run on a standard 120-volt circuit and produce about 4,000–5,000 BTUs of supplemental heatenough to warm roughly a 400-square-foot room. Some high-output units may require 240-volt hardwiring and a dedicated breaker.
Because they’re essentially space heaters with very fancy flame effects, you should treat them like any other heating appliance: don’t overload circuits, don’t drape fabrics over them, and don’t shove them behind your sofa and pretend physics doesn’t exist.
Step 1: Plan the Perfect Location
Think About Sightlines and Furniture
Electric fireplaces are part heat source, part focal point. Ideally, you want the flame viewing area roughly at eye level when you’re seatedsimilar to how you’d hang a TV. In many living rooms, that means the bottom of the fireplace sits 12–24 inches above the floor, but always confirm the manufacturer’s minimum mounting height.
Make sure you have:
- Comfortable viewing from your main seating area.
- Enough wall width for the unit and any planned trim or surround.
- Room for a TV above, if you’re going for that modern “fireplace media wall” look (and clearance between the unit and TV per your TV manufacturer’s heat guidelines).
Check Clearances and Combustibles
Most electric fireplaces require less clearance than wood or gas, but “less” doesn’t mean “none.” Manufacturers often specify minimum distances to mantels, shelves, side walls, and combustible materials like drapes or upholstered furniture. Some inserts call for as little as 3/8 inch from the firebox to surrounding materials, while others want an inch or more at the sides and back plus a couple of inches to a mantel above.
As a general safety habit, keep combustibles at least 3 feet from the front of the heater grille, and follow any clearance labels printed on the unit or in the manual.
Plan for Power
Next, figure out how the fireplace will connect to electricity:
- Plug-in units: Many wall-mounted and mantel models plug into a standard grounded 120-volt receptacle. Ideally, the outlet should be on the same wall and close enough that the cord isn’t stretched or visible.
- Hardwired units: Built-in and high-power models may require direct connection to a circuit. This usually means running cable inside the wall and landing it in a junction box at the fireplace locationwork that’s best left to a licensed electrician.
Most experts recommend a dedicated circuit for an electric fireplace, especially if it’s a 1500-watt heater and you already have other loads on that breaker. Your installer will also need to comply with the National Electrical Code (NEC) and local amendments, including limitations on hidden live outlets.
Step 2: Gather Tools, Materials, and Safety Gear
Your exact shopping list depends on your unit and wall construction, but common items include:
- Stud finder, tape measure, pencil, and level
- Drill/driver with bits, impact driver if needed
- Wall anchors or lag screws rated for the unit’s weight
- Drywall saw or oscillating tool (for recessed installs)
- 2×4 lumber for framing a wall cavity (for built-in units)
- Electrical boxes, cable, connectors, and wire staples (if hardwiringtypically done by an electrician)
- Safety glasses, dust mask, and work gloves
And, crucially, you’ll want the fireplace’s installation manual printed or open on a tablet nearby. The manufacturer’s instructions always override any generic advice you find online (including this article).
Step 3: Installing a Wall-Mounted Electric Fireplace
This is one of the simplest DIY options and is often comparable to hanging a heavy mirror or large TVas long as you respect the weight rating and clearances.
1. Mark the Mounting Location
- Use a stud finder to locate studs on the wall and mark them lightly in pencil.
- Hold the mounting bracket (or cardboard template, if provided) against the wall at the desired height.
- Use a level to make sure it’s straight, then mark the screw locations.
Whenever possible, mount directly into studs; if you can’t hit a stud, use high-quality wall anchors rated for more than the unit’s weight.
2. Attach the Mounting Bracket
- Drill pilot holes at the marked spots.
- Install screws or lag bolts through the bracket into the studs or anchors.
- Give the bracket a gentle tug to confirm it’s solidthis is not the moment to be optimistic.
3. Hang the Fireplace
- With a helper, lift the fireplace onto the bracket, engaging the hooks or slots as shown in the manual.
- Secure any locking screws on the bottom or sides that prevent accidental lift-off.
- Plug the unit into the nearby outlet or connect it to the prepared junction box (electrician territory again).
Once everything is secure, power the unit on briefly to verify that the flame effect and heater work. If the breaker trips or anything smells off (beyond normal “new heater” odor), stop and contact a professional.
Step 4: Installing a Recessed or Built-In Electric Fireplace
A recessed unit delivers that ultra-clean, designer lookbut it does require cutting into the wall and framing a cavity. If you’re not comfortable with structural modifications or wiring, pair up with a contractor and electrician.
1. Frame the Opening
Your fireplace manual will include framing dimensions for the width, height, and depth of the cavity. Cut and assemble a simple 2×4 frame to fit between studs, making sure it’s square and level.
- Mark the outline of the opening on the finished wall.
- Use a drywall saw or oscillating tool to cut away the wall surface.
- Install the 2×4 frame inside the wall, tying into existing studs as required.
Because electric fireplaces are typically zero-clearance, you can frame with standard lumber, but follow any spacing requirements around the firebox shell itself.
2. Bring Power to the Cavity
For a plug-in unit, you’ll usually position a receptacle either in the cavity (if allowed by local code) or on an adjacent wall where the cord can be hidden behind trim. Some jurisdictions don’t allow a live outlet in a closed cavity, so many installers hardwire the unit instead.
For hardwired units, your electrician will:
- Run cable from the service panel or an existing circuit (if adequately sized and permitted).
- Install a junction box in or near the cavity.
- Connect the unit per the wiring diagram using approved connectors.
3. Slide in and Secure the Fireplace
- Carefully lift the fireplace into the framed opening.
- Center it with equal gaps on both sides and the top, as specified.
- Use the mounting flanges or side brackets to fasten the unit to framing members.
- Install any finishing trim, glass fronts, or decorative media.
At this point, your fireplace should look like it was always meant to be thereno gaps, rattles, or suspicious wiggles.
Step 5: Installing an Electric Fireplace Insert in an Existing Firebox
If you’ve got a traditional brick or steel fireplace that mostly collects dust and spiders, an electric insert can transform it into a low-maintenance focal point.
1. Clean and Measure the Firebox
Remove grates, ashes, and debris, and give the firebox a thorough clean. Measure the width, height, and depth at several points; old masonry is rarely perfectly square. Choose an insert that fits within the smallest dimensions and meets any minimum side and top clearances called for by the manufacturer.
2. Plan the Power Route
Decide where the cord or wiring will go. Common options include:
- A nearby receptacle just outside the hearth, with the cord running through a small notch or conduit.
- A new outlet installed in the firebox side wall or hearth edge (subject to local code and proper fireproofing).
3. Slide In and Level
- Place the insert on the hearth and gently slide it into the opening.
- Use shims if needed to level it and center it visually.
- Attach any trim surround that covers the gap between the insert and the firebox opening.
Most inserts have built-in fans and heaters, so confirm the frontal air intake and exhaust aren’t blocked by brick, tile, or decorative objects.
Step 6: Final Safety Checks and First Use
Before you declare victory and dim the lights, run through a quick checklist:
- Breaker and wiring: Confirm the unit runs without tripping the breaker or dimming lights on the same circuit.
- Heat test: Run the heater on high for 10–15 minutes, checking that the wall surface around the unit only gets mildly warm, not hot.
- Clearances: Move furniture, rugs, and drapes so they’re at least several feet away from the heater outlet and follow the manual’s specific guidance.
- Child and pet safety: Show kids that this is “no touch” territory, and consider a low barrier if you have toddlers or curious pets.
Many electric fireplaces come with overheat protection and tip-over switches (for portable models), but these are backupsnot excuses to ignore safe placement.
Real-World Tips to Make Installation Easier
- Dry-fit first: Always test the unit temporarily in place before closing walls or attaching all the trim. Fixing a crooked firebox behind finished drywall is…not fun.
- Think about cable management: If you’re pairing the fireplace with a wall-mounted TV, pre-plan chases or conduit for HDMI and power so you don’t end up with dangling cables in your Instagram shot.
- Use fire-resistant materials where exposed to heat: Even though electric fireplaces are cooler than gas or wood, tile, stone, or non-combustible panels around the opening will age better than basic painted drywall.
- Respect your limits: If running new electrical cable or cutting into structural framing makes you nervous, that instinct is probably rightbring in a pro for those parts.
of Hands-On Experience: What It’s Really Like to Install an Electric Fireplace
On paper, installing an electric fireplace is a tidy little checklist: measure, cut, mount, plug, toast marshmallows. In reality, it’s a mix of small victories, drywall dust in your hair, and a surprising number of “huh, that stud is not where I thought it was” moments.
The first big “experience” lesson is that the planning phase matters way more than you think. Most people stand in their living room, hold the cardboard box roughly against the wall, and say, “Yeah, here looks good.” Then they realize the outlet is halfway across the room, the thermostat is right above the planned spot, and the sofa blocks half the flame view. Taking an extra 30 minutes to sketch the wall, measure the viewing height from your main seating, and check where studs and wires are located saves you from major regrets once the hole is cut.
Wall mounting a fireplace is often easier than mounting a TV, but the weight and glass front make it a two-person job. One of the most common real-world mistakes is trusting flimsy anchors or ignoring the stud layout. Yes, some brackets can technically be hung with heavy-duty anchors only, but nothing beats the confidence of lag bolts sunk into solid wood. If your studs don’t line up with the bracket slots, it’s often worth adding a horizontal 2x board anchored to multiple studs and then attaching the bracket to that.
With recessed or built-in units, framing and drywall are where things get interesting. Old houses are rarely square, and that means even a perfectly cut opening can look slightly off if the surrounding wall is bowed or uneven. People who’ve done this more than once almost always dry-fit the fireplace before closing everything up. They’ll shim behind the frame, tweak the height by a quarter inch, and step back to see how it lines up with the TV and the rest of the wall. That “step back and stare at it for five minutes” move is underratedbut it’s exactly what gives high-end custom fireplace walls their clean, intentional look.
Another experience point: electrical planning is less glamorous than picking flame colors, but it can make or break the project. Many DIYers discover halfway through that the only nearby outlet already shares a circuit with a space heater, hairdryer, and half the Christmas decorations. If the fireplace is going to be a regular heat source, a dedicated or lightly loaded circuit is worth every penny. People who are happy with their long-term results usually bring in an electrician early, even if they do the framing and drywall themselves.
Finally, there’s the “after” periodthe part where you actually live with the fireplace. This is where you’ll appreciate quiet fans, adjustable flame brightness, and thermostatic controls. Folks often say they use their electric fireplace far more than they expected, not just on cold nights but on rainy afternoons or when guests come over. Because there’s no ash or smoke, you can turn it on for 20 minutes just for atmosphere without feeling wasteful or high-maintenance.
In short, installing an electric fireplace is a very doable project for a moderately handy homeowner, especially if you respect the electrical work and pay attention to the details the manual emphasizes: clearances, mounting strength, and ventilation for the heater. Do that, and you’ll end up with a feature that looks custom, works safely, and makes your living room feel like it belongs in a design magazinewithout ever touching a chimney sweep brush.
Conclusion
Installing an electric fireplace is one of those rare home upgrades that can seriously boost both comfort and style without requiring a demolition derby in your living room. Choose the right type for your space, plan your location carefully, respect electrical and clearance requirements, and follow the manufacturer’s instructions step by step. Whether you’re hanging a sleek wall-mount unit or building a full recessed feature wall, the process is manageableand the payoff is a warm, inviting focal point you can enjoy year-round at the push of a button.