Chicken biryani is what happens when fluffy rice, juicy chicken, and a whole spice cabinet agree to be best friends.
It’s dramatic (layers!), fragrant (your neighbors will “just happen” to stop by), and surprisingly doable at home once
you understand the method. This guide walks you through a classic dum-style chicken biryanimarinated chicken,
par-cooked basmati rice, and a final steam that ties everything together like a culinary group project where everyone
actually did their part.
What Makes Biryani “Biryani” (Not Just Spiced Chicken and Rice)
Real biryani isn’t a stir-fry. It’s a layered rice dish where the chicken and aromatics perfume the grains during a
final gentle steam (often called dum). That steaming step is the magic: it finishes cooking the rice, keeps the
chicken tender, and locks in the aroma so your kitchen smells like you know what you’re doing (even if you’re
still reading the recipe with one hand and holding a spatula with the other).
Biryani also leans heavily on whole spices (cardamom, cloves, cinnamon), fried onions, fresh herbs, and often saffron
or saffron water. The goal isn’t “spicy” as in “hot.” The goal is fragrantwarm, layered, and just a little bit fancy.
Chicken Biryani Ingredients
This recipe serves about 6. You can scale it up, but beware: doubling biryani doubles your confidence, not your pot size.
For the chicken marinade
- 2 pounds bone-in chicken thighs and/or drumsticks (skin removed for best texture)
- 1 cup plain whole-milk yogurt
- 1 1/2 tablespoons ginger-garlic paste (or equal parts grated ginger + minced garlic)
- 1 tablespoon lemon juice
- 1 1/2 teaspoons kosher salt (plus more to taste)
- 1 1/2 teaspoons ground coriander
- 1 teaspoon ground cumin
- 1 teaspoon garam masala
- 1 teaspoon Kashmiri chili powder (or mild chili powder; use cayenne sparingly if you want heat)
- 1/2 teaspoon ground turmeric
- 1/2 teaspoon black pepper
- Optional: 1–2 slit green chiles for extra kick
For the rice
- 2 1/2 cups basmati rice
- Water for rinsing/soaking and boiling
- 2 tablespoons kosher salt (for the boiling water; this seasons the rice)
- Whole spices for the rice water: 2 bay leaves, 6 green cardamom pods, 6 cloves, 1 small cinnamon stick
For the biryani layers
- 2 large onions, thinly sliced
- 1/4 cup neutral oil + 2 tablespoons ghee (or all ghee if you’re feeling luxurious)
- 1/2 cup chopped cilantro
- 1/2 cup chopped mint
- 1 teaspoon saffron threads soaked in 3 tablespoons warm milk (or warm water)
- Optional: 1/3 cup golden raisins and/or toasted cashews/almonds
Optional (but very worth it) to serve
- Raita (yogurt + cucumber + salt + cumin)
- Lemon wedges
- Sliced cucumbers and onions
- Quick salad tip: chopped tomato + onion + cilantro + lemon + salt
Equipment You’ll Want
- A heavy pot or Dutch oven with a tight-fitting lid (heavy-bottomed helps prevent scorching)
- A fine-mesh sieve for rinsing rice
- A large pot for parboiling rice
- Aluminum foil (helpful for sealing)
- A clean kitchen towel (optional, for trapping condensation under the lid)
Step-by-Step: Dum-Style Chicken Biryani
1) Rinse and soak the rice (yes, it matters)
Rinse basmati rice in cool water until the water runs mostly clear. This removes excess surface starch and helps keep
the grains separate. Then soak the rice in fresh water for 20–30 minutes. Soaking gives you longer, fluffier grains
and more even cookingespecially helpful because the rice finishes on steam later.
2) Marinate the chicken
In a large bowl, mix yogurt, ginger-garlic paste, lemon juice, salt, and all the ground spices. Add chicken and coat
thoroughly. Cover and refrigerate at least 30 minutes (2–12 hours is even better). Yogurt tenderizes chicken and
carries spices deep into the meat, which is exactly what biryani demands.
3) Fry the onions (aka the flavor insurance policy)
In your biryani pot, heat oil and ghee over medium heat. Add sliced onions and cook, stirring often, until deeply golden
and caramelized. This can take 15–25 minutes depending on your stove and patience. Remove about two-thirds of the onions
to a plate (these become your layers and garnish). Leave the rest in the pot to form the flavor base for the chicken.
Shortcut: store-bought fried onions work in a pinch, but homemade gives you that “restaurant aroma” you’re chasing.
Also, you’ll feel like a wizard when the onions turn golden. A slightly teary wizard, but a wizard.
4) Cook the chicken masala
Add the marinated chicken to the pot (on top of the onions you left behind). Cook over medium heat for 8–10 minutes,
stirring gently, until the yogurt marinade looks less raw and the chicken begins to turn opaque. Reduce heat to medium-low,
cover, and cook another 10–15 minutes, stirring once or twice, until the chicken is partially cooked and you have a thick,
spoonable masala. You’re not trying to fully cook the chicken heredum steaming finishes the job.
Practical tip: If the masala looks dry or starts sticking, add a splash of water (2–4 tablespoons). Biryani wants moisture,
but not soup.
5) Parboil the rice (the secret to evenly cooked biryani)
Bring a large pot of water to a rolling boil. Add salt and the whole spices (bay leaves, cardamom, cloves, cinnamon).
Drain the soaked rice and add it to the boiling water. Cook until the rice is about 70% donetypically 5–7 minutes for
basmati. The grains should be longer, softened on the outside, but still have a firm center when you bite one.
Drain immediately. Don’t rinse. (You just seasoned itlet it keep the flavor.)
6) Layer like you mean it
With the chicken masala in the bottom of your biryani pot, you’ll build layers:
- Spread half the drained rice over the chicken.
- Top with half the reserved fried onions, plus a sprinkle of cilantro and mint.
- Drizzle on about half the saffron milk (or saffron water).
- Add the remaining rice.
- Finish with remaining fried onions, herbs, and the rest of the saffron milk.
Optional add-ins like raisins or toasted nuts can go between layers or on top. If you’re serving guests, add them.
If you’re serving yourself, add them anyway. You deserve joy.
7) Dum steam (the “don’t peek” phase)
This step finishes cooking the rice and chicken together. Cover the pot tightly. If your lid isn’t a great seal,
press a sheet of foil over the pot first, then put the lid on. For extra protection against condensation dripping back
down, you can wrap the lid in a clean kitchen towel (tie ends up and away from flame).
Cook on the lowest heat possible for 20–25 minutes. Then turn off heat and let it rest, covered, for 10 minutes.
Resting finishes the steam cycle and makes the rice easier to fluff without turning into mush.
8) Check for doneness safely
The rice should be tender and fragrant, and the chicken should be fully cooked. If you use a thermometer, poultry should
reach 165°F in the thickest part. If you’re not there yet (rare, but it happens), re-cover and steam 5 more minutes.
9) Fluff and serve (without destroying the layers)
Use a wide spoon to gently lift rice from the edges and fold it overthink “fluff,” not “stir like a maniac.”
Serve by scooping down deep enough to get both chicken and rice in each portion. Top with extra herbs, lemon, and
(if you’re feeling fancy) a few crisp fried onions right at the end.
A Simple Timing Plan (So You Don’t Panic at Step 6)
- Earlier: Marinate chicken (30 minutes to overnight).
- T-minus 45 minutes: Rinse/soak rice.
- T-minus 35 minutes: Fry onions (set aside most).
- T-minus 15 minutes: Cook chicken masala.
- T-minus 5 minutes: Parboil rice, then layer.
- Finish: Dum steam 20–25 minutes + rest 10 minutes.
Common Chicken Biryani Mistakes (and How to Fix Them)
“My rice is mushy.”
Usually this means the rice was overcooked during parboil or steamed too long with too much moisture. Next time,
drain the rice earlier (aim for 70% cooked). Also keep the dum heat very low and don’t add extra water unless the masala is dry.
“My rice is undercooked in the middle.”
This is often a sealing issue. Steam escaped, so the rice didn’t finish. Seal with foil under the lid, and let it rest covered.
You can also sprinkle 2–3 tablespoons hot water over the top layer before dum if your masala is very thick.
“The bottom burned.”
Your heat was too high or your pot is thin. Use a heavy-bottomed pot and the lowest possible heat. If your stove runs hot,
place a heat diffuser under the pot or finish dum in a 325°F oven for about 20 minutes (tightly covered).
“It tastes flat.”
Biryani needs enough salt at each stage: in the marinade, in the rice boiling water, and sometimes a final pinch before serving.
Also don’t skip fresh herbs and fried onionsthey’re not garnish, they’re the point.
Flavor Variations (Without Turning It Into “Random Rice Situation”)
- Hyderabadi-style lean: Add more mint/cilantro, use whole spices generously, and keep the dum seal tight.
- Weeknight shortcut: Use store-bought fried onions and a spice blend (garam masala + cumin + coriander + turmeric).
- Extra richness: Add a tablespoon more ghee and a few toasted nuts.
- More heat: Add slit green chiles and a pinch of cayenne, but keep Kashmiri chili for color and aroma.
- Boneless chicken: Works, especially thighsjust reduce the pre-dum cooking time slightly so it doesn’t overcook.
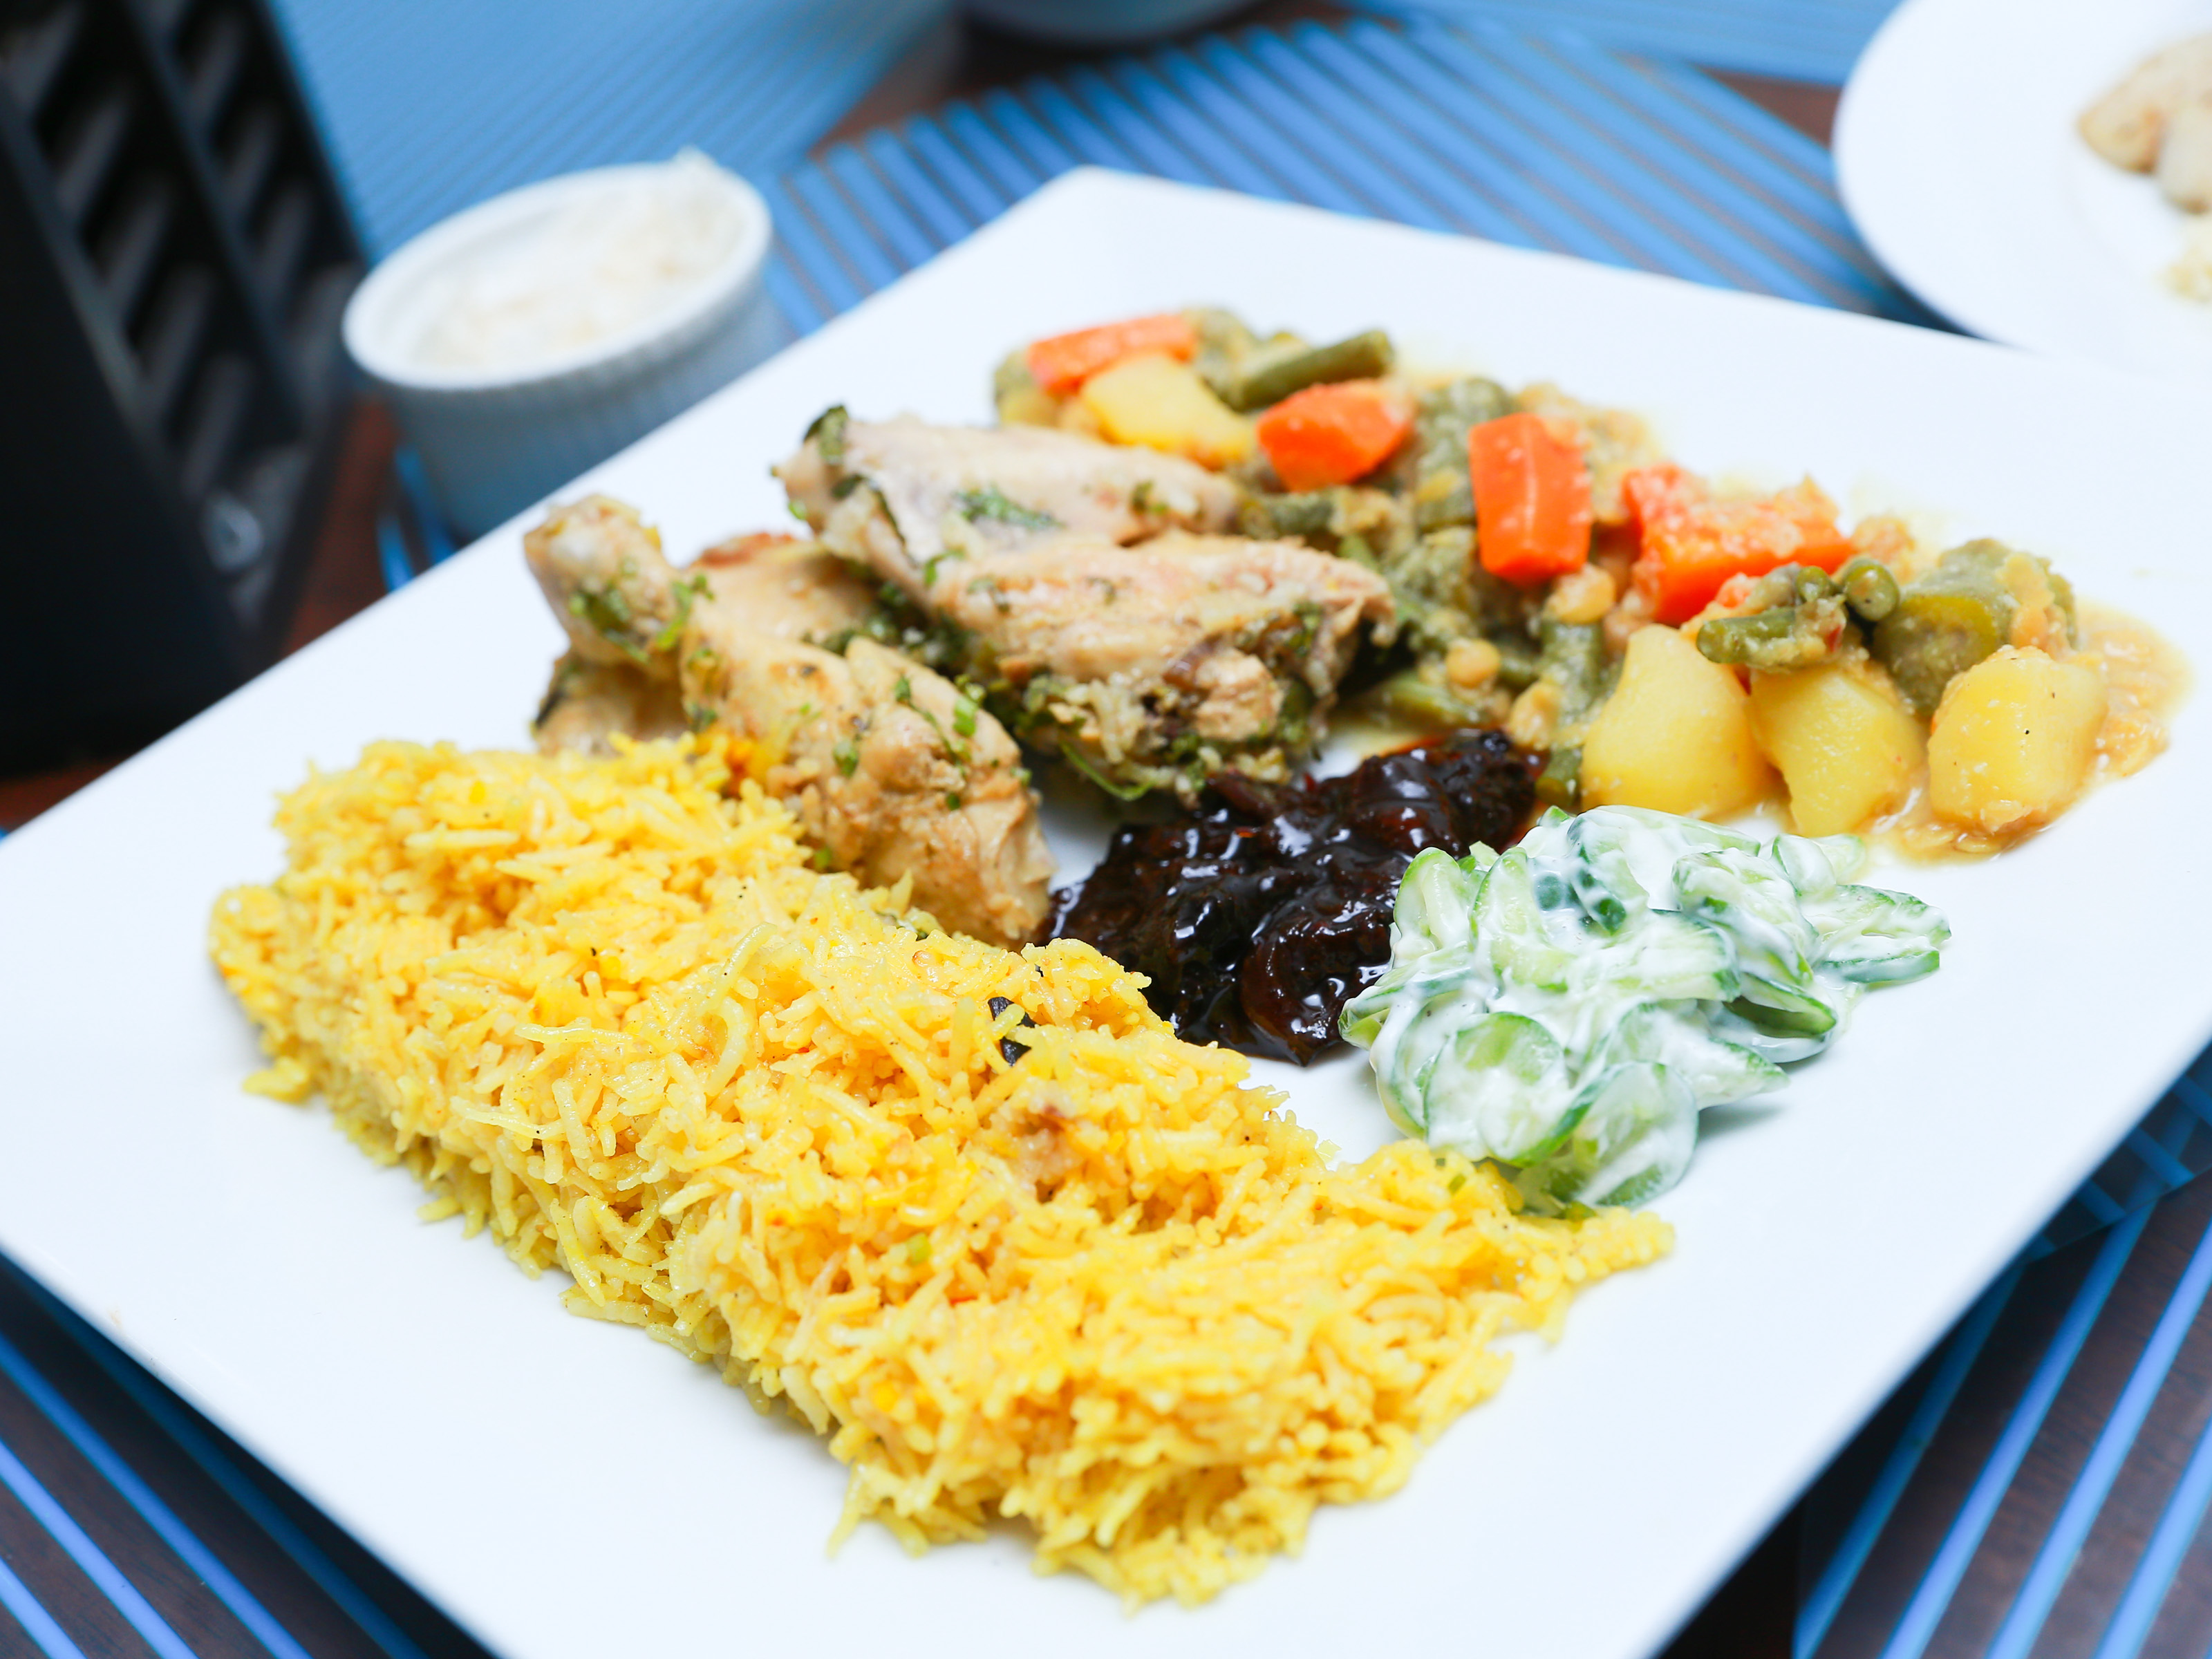
What to Serve With Chicken Biryani
Biryani is a complete meal, but the best sides are cooling and crunchy:
- Raita: yogurt + cucumber + salt + roasted cumin (your spice-loving mouth will thank you)
- Fresh salad: onions, cucumbers, tomatoes, lemon
- Pickles/chutneys: a little tang cuts the richness
- Something fizzy: sparkling water or soda is surprisingly perfect
Storage and Reheating
Refrigerate biryani in an airtight container for up to 3–4 days. It often tastes even better the next day as the spices
settle in. Reheat covered (microwave or stovetop) with a splash of water to loosen the rice. Keep it steamy, not crispyunless
you love the crispy bottom bits, in which case, you and the pan are in a committed relationship now.
Kitchen Experiences: What Making Chicken Biryani Feels Like ()
The first time you make chicken biryani, it’s normal to feel like you’ve signed up for a cooking class you didn’t pay for.
There are bowls. There are spices. There is soaking. There is a suspicious amount of onion slicing, and you will absolutely
question your life choices around minute twelve of caramelizing. But then something changes: the smell starts building.
At first it’s just onions and ghee, which already feels promising. Then the ginger and garlic hit the heat and the aroma
goes from “nice” to “why does this smell like a celebration?” Add warm spicescardamom, cloves, cinnamonand suddenly your
kitchen has a personality. It’s confident. It’s wearing a nice jacket. It’s humming.
The most iconic biryani moment is layering. You’ll spoon rice over the chicken masala and it will feel oddly ceremonial,
like you’re tucking the flavors into bed. You scatter fried onions, herbs, and saffron milk, and you’ll think, “This is
either going to be incredible or I’m ordering pizza.” (Spoiler: it’s usually incredible, and you’ll still think about
pizza because you’re human.)
Then comes dum: the “don’t peek” phase. This is when biryani tests your character. Your instincts will scream,
“Open the lid! Check it! Stir it!” Biryani calmly replies: “No.” The steam needs to stay trapped. The rice needs time
to finish gently. The chicken needs to stay juicy. The whole pot is basically doing couples therapyeverything is merging,
getting along, and becoming better together as long as you stop interrupting.
And yes, things can go sideways. Sometimes the bottom browns a bit more than you wanted. Sometimes the rice is slightly
firmer in the center and you learn what “seal the pot tightly” means in a very personal way. Sometimes you realize your
stove’s “low” is emotionally unstable and runs hot. But each batch teaches you something: how long your rice takes to
parboil, how much moisture your chicken releases, how much salt makes the spices pop, and how the scent of saffron
doesn’t shoutit whispers.
The best part is serving. When you lift rice and chicken from the pot and the steam rises, people hover. Even if it’s just
you, you hover. The grains look longer, the herbs look greener, the fried onions look like you did something impressive
on purpose. Biryani also has an unfair advantage: it tastes like time and care, even when you used a shortcut or two.
Pair it with a simple raita and a squeeze of lemon and suddenly the whole meal feels balancedrich, bright, savory, and
comforting.
After a few tries, biryani stops feeling complicated and starts feeling like a rhythm: marinate, parboil, layer, steam,
rest. It becomes the dish you make when you want to feed people wellor when you want leftovers that make weekday lunches
feel like you’re winning at life.
Conclusion
Chicken biryani isn’t about perfectionit’s about method. Marinate for depth, parboil for control, layer for flavor,
and steam for harmony. Once you nail the dum technique and learn your stove’s personality, you’ll be able to make biryani
that’s fragrant, fluffy, and proudly not “just chicken and rice.” And if someone asks for the recipe, you can casually say,
“Oh, it’s just a little biryani,” like you didn’t orchestrate a whole edible symphony in a pot.