If you have ever looked at the back of your car and thought, “You know what this needs? Less chrome alphabet soup,” welcome. Removing emblems from a car is one of the most popular cosmetic DIY jobs because it can instantly make a vehicle look cleaner, sleeker, and a little more intentional. A dealer badge can disappear. A giant trim badge can retire early. Your trunk lid can finally breathe.
That said, debadging is one of those jobs that looks laughably easy right up until somebody attacks it with a screwdriver and creates a new “custom look” called scratched clear coat. The good news is that when you use the right tools, take your time, and resist the urge to go full raccoon-on-a-trash-can, removing car emblems is very doable at home.
This guide walks you through exactly how to remove emblems from cars in 14 steps, plus what to do about leftover adhesive, faint outlines, and the annoying surprises older badges sometimes leave behind.
Before You Start: Know What Kind of Emblem You Have
Not every emblem is attached the same way. Many modern car emblems are held on with double-sided automotive tape or foam adhesive. Those are the easiest to remove. Others may have locator pins or clips, especially larger make or model badges. If that is the case, pulling them off can leave holes in the panel. In other words, before you start dreaming about a clean trunk, make sure the emblem is not secretly load-bearing for your peace of mind.
A quick online search for your exact make, model, and badge location can save you from an awkward moment halfway through the job. If you plan to reinstall a badge later, it also helps to photograph and measure its original position first.
Tools and Supplies You’ll Want Nearby
- Car wash soap and water
- Microfiber towels
- Hair dryer or heat gun on a gentle setting
- Dental floss or fishing line
- Plastic razor blade or non-marring plastic scraper
- Automotive adhesive remover
- Detail spray or soapy water for lubrication
- Mild polish or scratch remover
- Wax or paint sealant
- Painter’s tape if you want alignment marks
- Optional: eraser wheel and drill for stubborn residue
Try to work in the shade with a cool panel. Hot paint and impatience are a terrible team.
How to Remove Emblems From Cars: 14 Steps
Step 1: Wash the Area First
Start by washing the emblem and the paint around it. This sounds boring because it is boring, but it matters. Dirt trapped under your fishing line or scraper can scratch the paint faster than you can say “I should have cleaned this first.” Use normal car soap, rinse well, and dry the area with a microfiber towel.
Step 2: Check for Pins, Clips, or Hidden Holes
Before you remove anything, confirm how the badge is mounted. Small dealer emblems and trim badges are often adhesive-only. Larger factory nameplates may use alignment pins. If you remove a pinned emblem, you could expose holes that do not magically become invisible just because you regret your decision. Look up your badge type first, and if you plan to reinstall it later, outline the position lightly with painter’s tape or take exact measurements.
Step 3: Warm the Emblem Gently
Use a hair dryer or a heat gun on low to warm the emblem and soften the adhesive behind it. Keep the tool moving and do not let one spot get too hot. The goal is warm, not “small solar event on your trunk lid.” If the panel feels too hot to comfortably touch, back off and let it cool slightly. Gentle heat makes the adhesive more cooperative and lowers the chance of paint damage.
Step 4: Slide in Dental Floss or Fishing Line
Take a length of dental floss or fishing line and work it behind the emblem. Use a gentle sawing motion to cut through the foam tape or adhesive. This is much safer than prying at the emblem with your fingers or a metal tool. Never use metal wire. That is not clever. That is how people end up shopping for touch-up paint at midnight.
Step 5: Work Slowly Across the Badge
Keep the line moving back and forth as you progress across the emblem. If you hit a stubborn section, stop and reheat it. Do not yank. Do not twist aggressively. Do not decide that brute force has suddenly become a detailing skill. Slow, even pressure is what gets the badge off cleanly.
Step 6: Lift the Emblem Away Carefully
Once the adhesive is cut, lift the emblem off gently. If it resists, there is still adhesive holding it somewhere. Reheat and cut again rather than forcing it. This is especially important with chrome-plated plastic badges, which can crack or snap more easily than they look.
Step 7: Peel Off the Thick Adhesive Left Behind
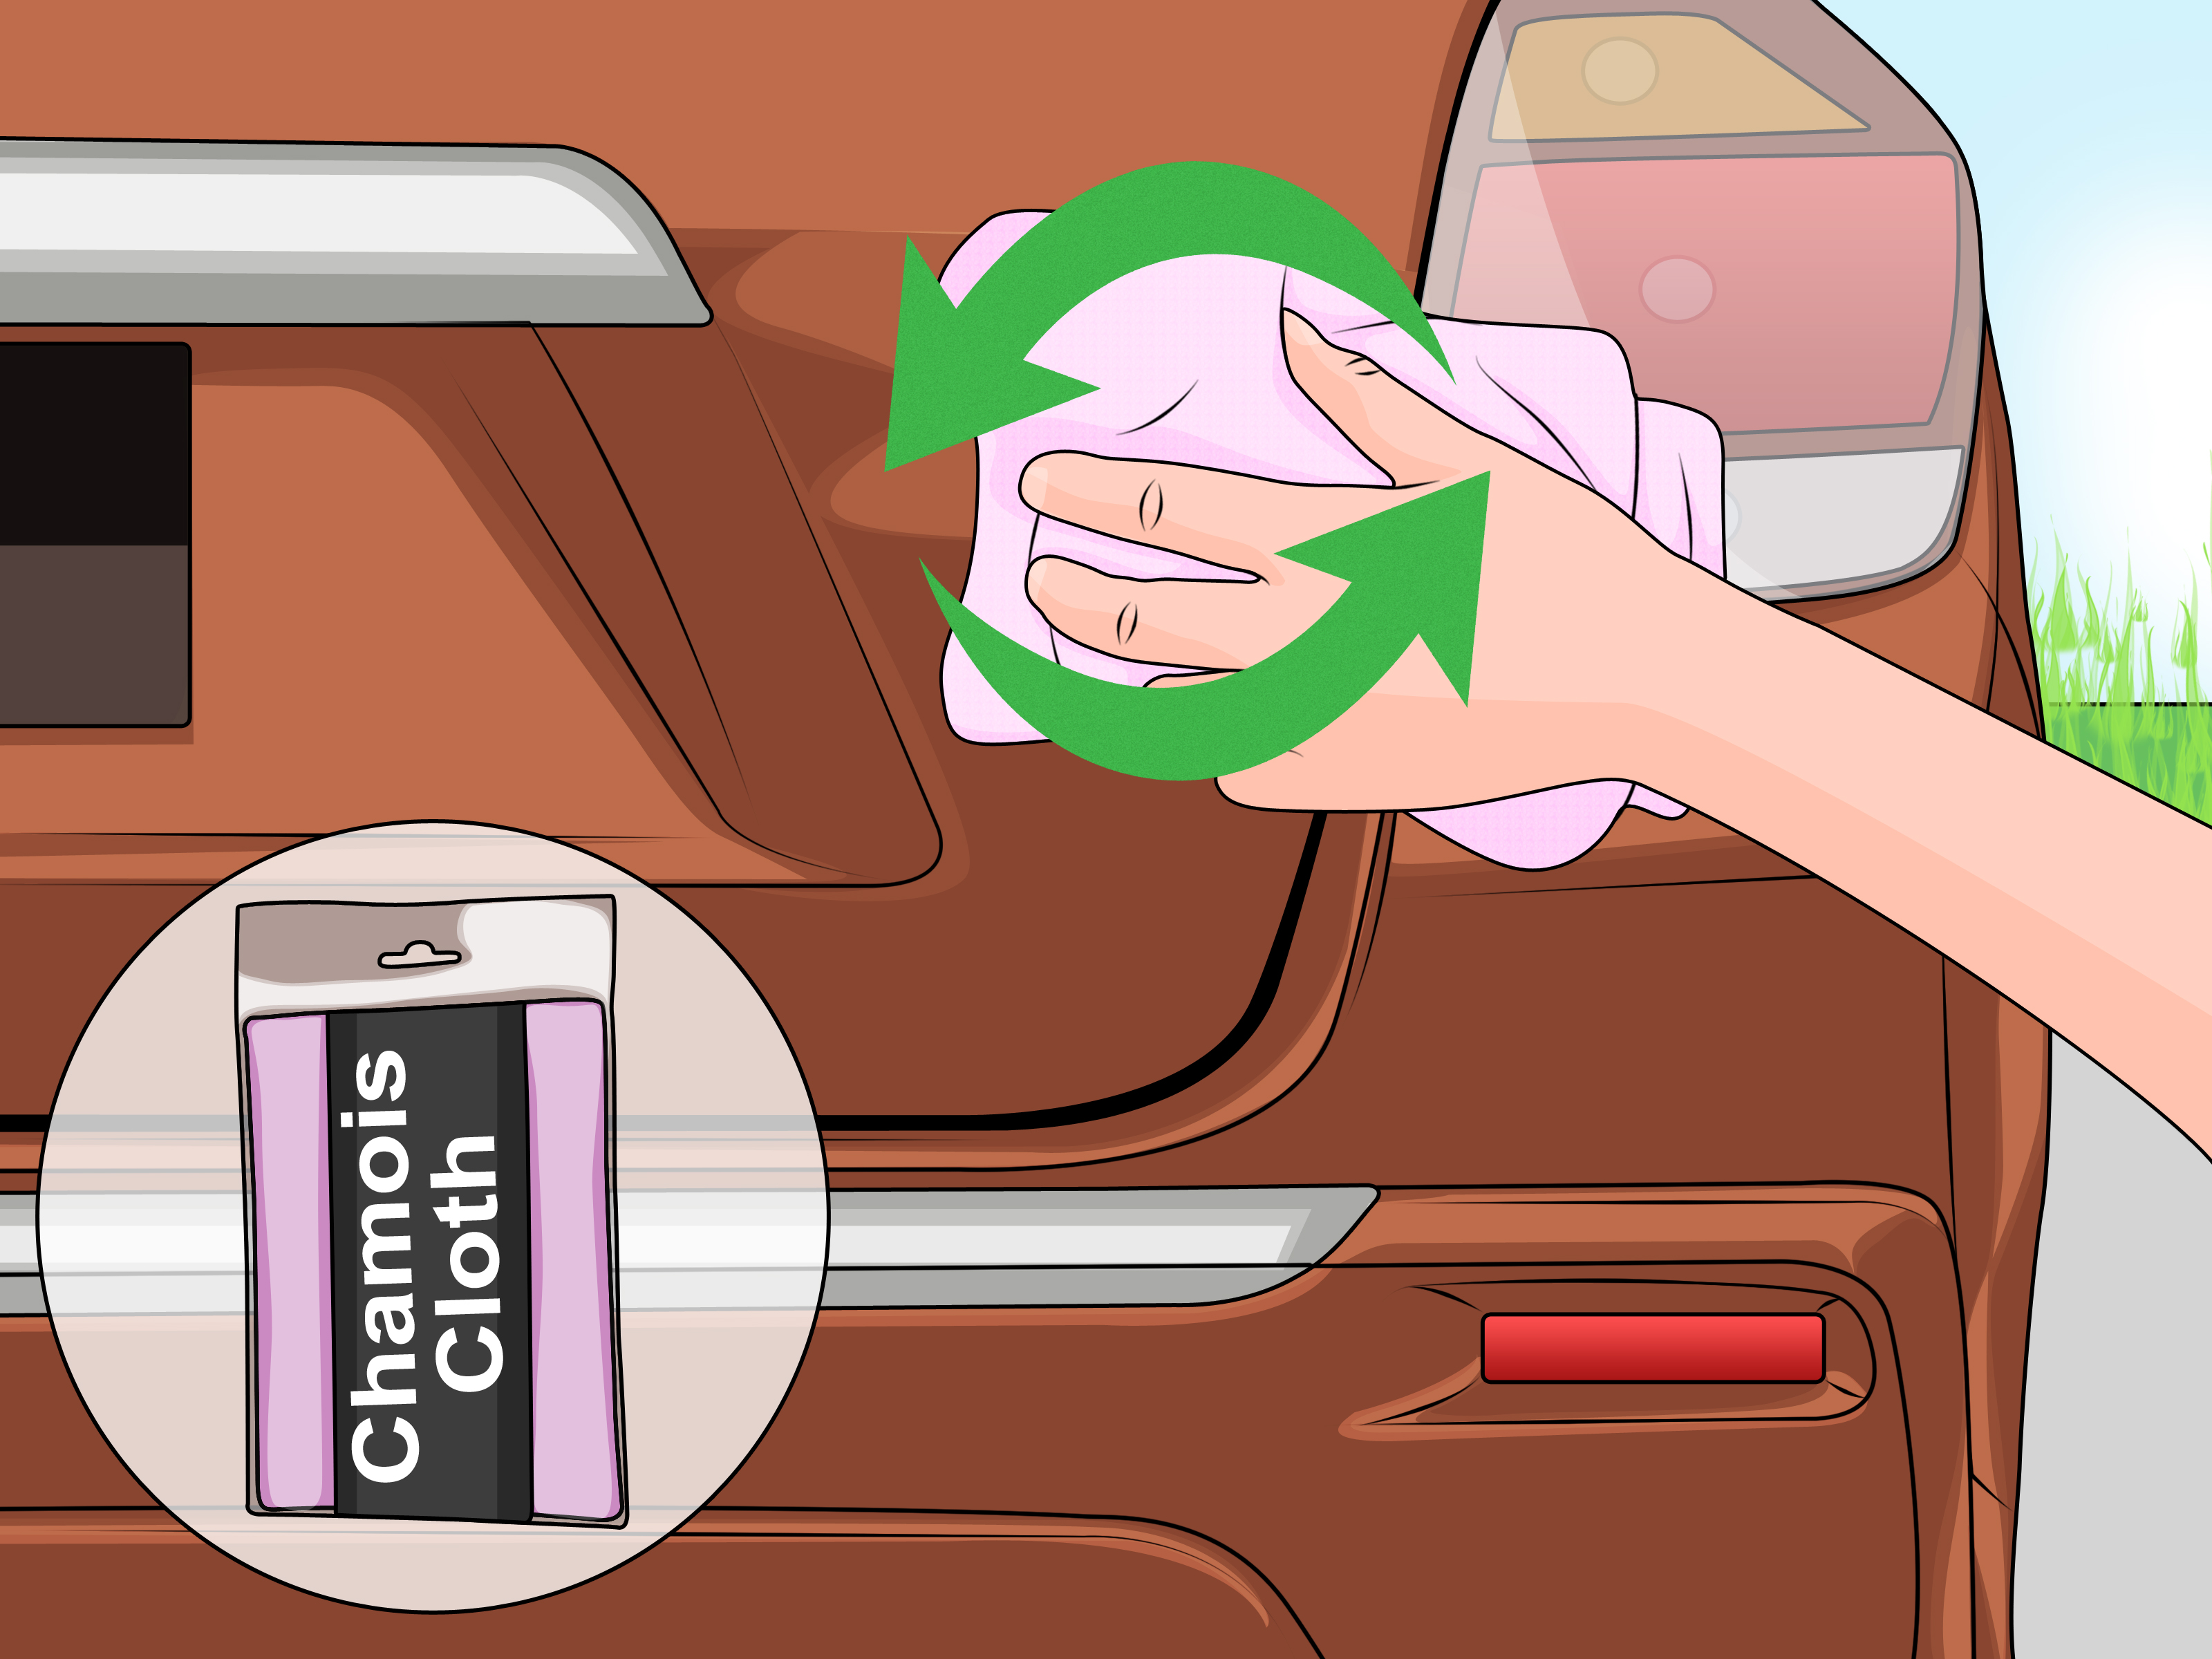
After the emblem comes off, you will usually be staring at leftover foam tape or sticky residue that looks like gray chewing gum lost a fight. Reheat that residue lightly and start peeling or rolling it off with your fingers. Your thumb can actually do a surprising amount of work here. So can patience, which is less exciting but more effective.
Step 8: Use Adhesive Remover the Right Way
Apply an automotive adhesive remover to the residue and let it dwell according to the product directions. This is where the job gets easier if you let chemistry do its thing. Put the remover on a microfiber towel or directly on the residue if the label allows it. Do not flood every surrounding trim piece just because you are in a hurry. A paint-safe remover is your friend; random household solvents are not.
Step 9: Use a Plastic Razor Blade for Stubborn Bits
If the softened adhesive still hangs on like it pays rent, use a plastic razor blade or non-marring scraper. Keep the surface lubricated with detail spray, soapy water, or adhesive remover. Glide lightly. You are lifting residue, not carving initials into the clear coat. Metal scrapers and screwdrivers should stay far away from this job.
Step 10: Wipe and Repeat Until the Panel Feels Smooth
Wipe away loosened residue with a clean microfiber towel. Run your fingertips lightly over the area. If it still feels tacky or uneven, apply more remover and repeat. Old adhesive often takes multiple passes, especially on badges that have lived through years of summer heat, winter cold, and car washes that were more optimistic than effective.
Step 11: Inspect for Ghosting or an Outline
Once the adhesive is gone, inspect the area in good light. You may see a faint outline where the emblem used to be. This is called ghosting, and it is common on older vehicles. Usually, the paint under the badge has been protected from UV exposure, oxidation, and normal wear, while the surrounding paint has aged. So yes, the badge may be gone, but its ghost might still be haunting your quarter panel.
Step 12: Polish the Area Lightly
Use a mild finishing polish, scratch remover, or cleaner wax to refine the area and reduce light marring or ghosting. Apply by hand with a soft applicator or microfiber towel. Work in small circles or straight overlapping passes, then buff off with a clean towel. In many cases, a light polish is enough to make the panel look dramatically more uniform.
If the outline is severe, the issue may be paint fade rather than residue. At that point, polishing can help, but it may not completely erase the difference. On older finishes, some ghosting is just the automotive version of a tan line.
Step 13: Consider an Eraser Wheel for Very Stubborn Residue
If the adhesive is especially tough, an eraser wheel attached to a drill can speed things up. This tool is designed to remove decals, tape residue, and leftover badge adhesive with friction. Use light pressure, keep the wheel moving, and stay within the tool’s recommended speed range. This is not the time to pretend your drill is auditioning for a demolition derby. Eraser wheels work well, but too much heat or pressure can create problems. They are also not suitable for every finish, especially older or delicate paint systems.
Step 14: Protect the Paint
Once the panel is clean and polished, apply a wax, sealant, or other paint protection product. This helps even out the finish visually and protects the newly exposed paint from sun, moisture, and grime. It also gives you that satisfying “I definitely knew what I was doing the whole time” final shine.
Common Mistakes to Avoid
Using Metal Tools
A metal blade, flathead screwdriver, or random garage mystery tool can scratch paint in seconds. Use floss, fishing line, plastic razor blades, and non-marring tools instead.
Overheating the Panel
More heat is not always better. Too much heat can soften paint, damage trim, or warp a plastic badge you were trying to save. Keep the heat source moving and stay patient.
Skipping the Wash Step
Any grit left on the panel can turn your careful removal job into a micro-scratch factory. Cleaning first is not optional if you care about the finish.
Being Too Aggressive With Adhesive
Let the remover dwell. Let the towel do the wiping. Let the scraper glide. The more the residue fights you, the more tempting it is to get rough. Resist the urge.
Ignoring Paint Difference
If the car is older, the paint under the emblem may look fresher than the surrounding panel. That does not always mean you did anything wrong. Sometimes it simply means the badge spent years acting like a tiny sunshade.
When You Should Skip the DIY Route
There are times when the smart move is letting a pro handle it. If the vehicle has custom paint, fresh repaint work, matte paint, fragile vintage emblems, or badges mounted with pins you are unsure about, professional help may save you money in the long run. The same goes for extremely baked-on adhesive or visible panel damage hiding under a dealer emblem.
Extra Experience and Real-World Lessons From Removing Car Emblems
In real life, removing car emblems rarely goes exactly like the five-second videos online where somebody warms a badge, pulls once, and the panel underneath looks like it just left a photo shoot. Real cars have age, road grime, old wax in the edges, sun exposure, and previous owners who treated maintenance like a polite suggestion. That does not make the job hard so much as unpredictable.
One of the most common real-world experiences is removing a dealer emblem from a fairly new car and thinking, “That was absurdly easy. I am basically a detailer now.” Then you move on to an older trim badge on the other side and suddenly the adhesive behaves like industrial concrete with emotional issues. The difference often comes down to age, heat cycles, and the type of foam tape used. Newer badges usually come off with much less drama. Older ones tend to leave thicker residue and a more noticeable outline.
Another frequent surprise is that the badge itself is not always the hardest part. The real work is the cleanup after. Removing the emblem with floss may take two minutes. Removing the leftover adhesive can take twenty. That is normal. In fact, the cleanup stage is where most people either win or make a mess. The calm, methodical approach almost always beats the aggressive one. If you keep applying remover, wiping, and repeating, the residue usually gives up. If you start gouging at it, the paint loses.
People also learn quickly that lighting changes everything. A panel can look perfect in a dim garage, then suddenly reveal a faint badge outline the second it rolls into sunlight. That is why it helps to inspect the area from multiple angles before calling the job finished. What looks clean indoors may still need a little polish outdoors.
There is also the emotional side of the job, which sounds dramatic until you remove a badge from a car you really like. Debadging changes the look more than many people expect. Sometimes it makes the rear end look elegant and uncluttered. Sometimes it makes the car look oddly empty, like it forgot to put on jewelry. That is why some owners remove only the dealer badge but keep the factory emblems, while others keep the model badge and remove the drivetrain or trim badge. The best result is the one that suits the car and your taste, not the one that wins an internet argument.
A lot of enthusiasts will tell you the first emblem they removed taught them more about patience than about styling. They learned to stop reheating when the panel got too warm. They learned that fishing line works better than improvised nonsense. They learned that microfiber towels deserve better than being dropped on a dusty garage floor five times. Most importantly, they learned that cosmetic DIY on cars is rarely about speed. It is about controlled, reversible steps.
And perhaps the funniest lesson is this: the smaller the badge, the more emotionally invested you become in defeating it. A tiny dealership logo can turn into a personal rivalry. By the end of the job, it is no longer about aesthetics. It is about principle.
Still, when the panel is smooth, clean, and protected, the result is worth it. The rear of the car looks cleaner. The side profile looks simpler. And every time you walk up to it in a parking lot, you get that deeply satisfying feeling that comes from finishing a job without scratching, blistering, or accidentally inventing new swear words. That, in the world of DIY car care, counts as a win.
Final Thoughts
If you want to know how to remove emblems from cars without damaging the paint, the formula is simple: clean first, use gentle heat, cut the adhesive with floss or fishing line, soften the residue with a paint-safe remover, and polish the area afterward if needed. The method is straightforward, but the secret ingredient is patience.
Take your time and your car can end up looking cleaner, sharper, and more custom without any permanent damage. Rush it, and your badge removal project may turn into a touch-up paint project. The emblems may be small, but the consequences of impatience are not.