Rooting trees can be an exciting and rewarding process, whether you’re starting a new tree from scratch or trying to propagate your favorite tree variety. This article will guide you through the process of rooting trees with helpful pictures, practical tips, and detailed instructions. By following this guide, you’ll learn how to propagate trees, increase your gardening knowledge, and enjoy the fruits of your labor as you watch your new trees grow.
What You Need to Know Before You Start
Before you jump into rooting trees, it’s essential to understand that not all tree species are easy to propagate from cuttings. Some trees root readily, while others require a bit more effort or specialized conditions. Here are a few things you need to consider:
- Tree species: Certain trees, such as willows, poplars, and maples, root more easily from cuttings than others like oaks or conifers.
- Time of year: Rooting is best done in the spring or early summer, when the tree is actively growing.
- Tools and materials: You’ll need sharp pruning shears, rooting hormone, containers for planting, and well-draining soil.
Step 1: Select the Right Tree Cutting
The first step in rooting trees is choosing the right branch or cutting to propagate. For most tree species, you’ll want to select a healthy, non-flowering branch with a diameter of about the size of a pencil. Look for a branch that is about 6-8 inches long. The best time to take cuttings is in the early spring when the tree is beginning to push new growth.
Here’s a quick guide to selecting the best cutting:
- Avoid old, woody branches that are too mature.
- Choose a green, flexible branch with no signs of disease.
- Make sure the cutting is at least one node (a section where leaves emerge) long.
Step 2: Prepare the Cutting
Once you have your cutting, the next step is preparing it for rooting. Follow these steps:
- Trim the cutting: Using your sharp pruning shears, cut the branch just below a node. Remove any leaves from the bottom 2 inches of the cutting.
- Trim the top: Cut the top of the cutting to a clean, even angle, removing any excess growth.
- Dip in rooting hormone: Rooting hormone will encourage the cutting to develop roots faster. Dip the bottom end of the cutting into rooting hormone, shaking off any excess powder.
Step 3: Plant the Cutting in Soil
Now it’s time to plant your cutting. Choose a small container filled with well-draining potting mix. Insert the cutting into the soil with the hormone-coated end facing downwards. Firm the soil around the base of the cutting to hold it in place. Be sure to plant it deep enough to support itself but not too deep that it could rot.
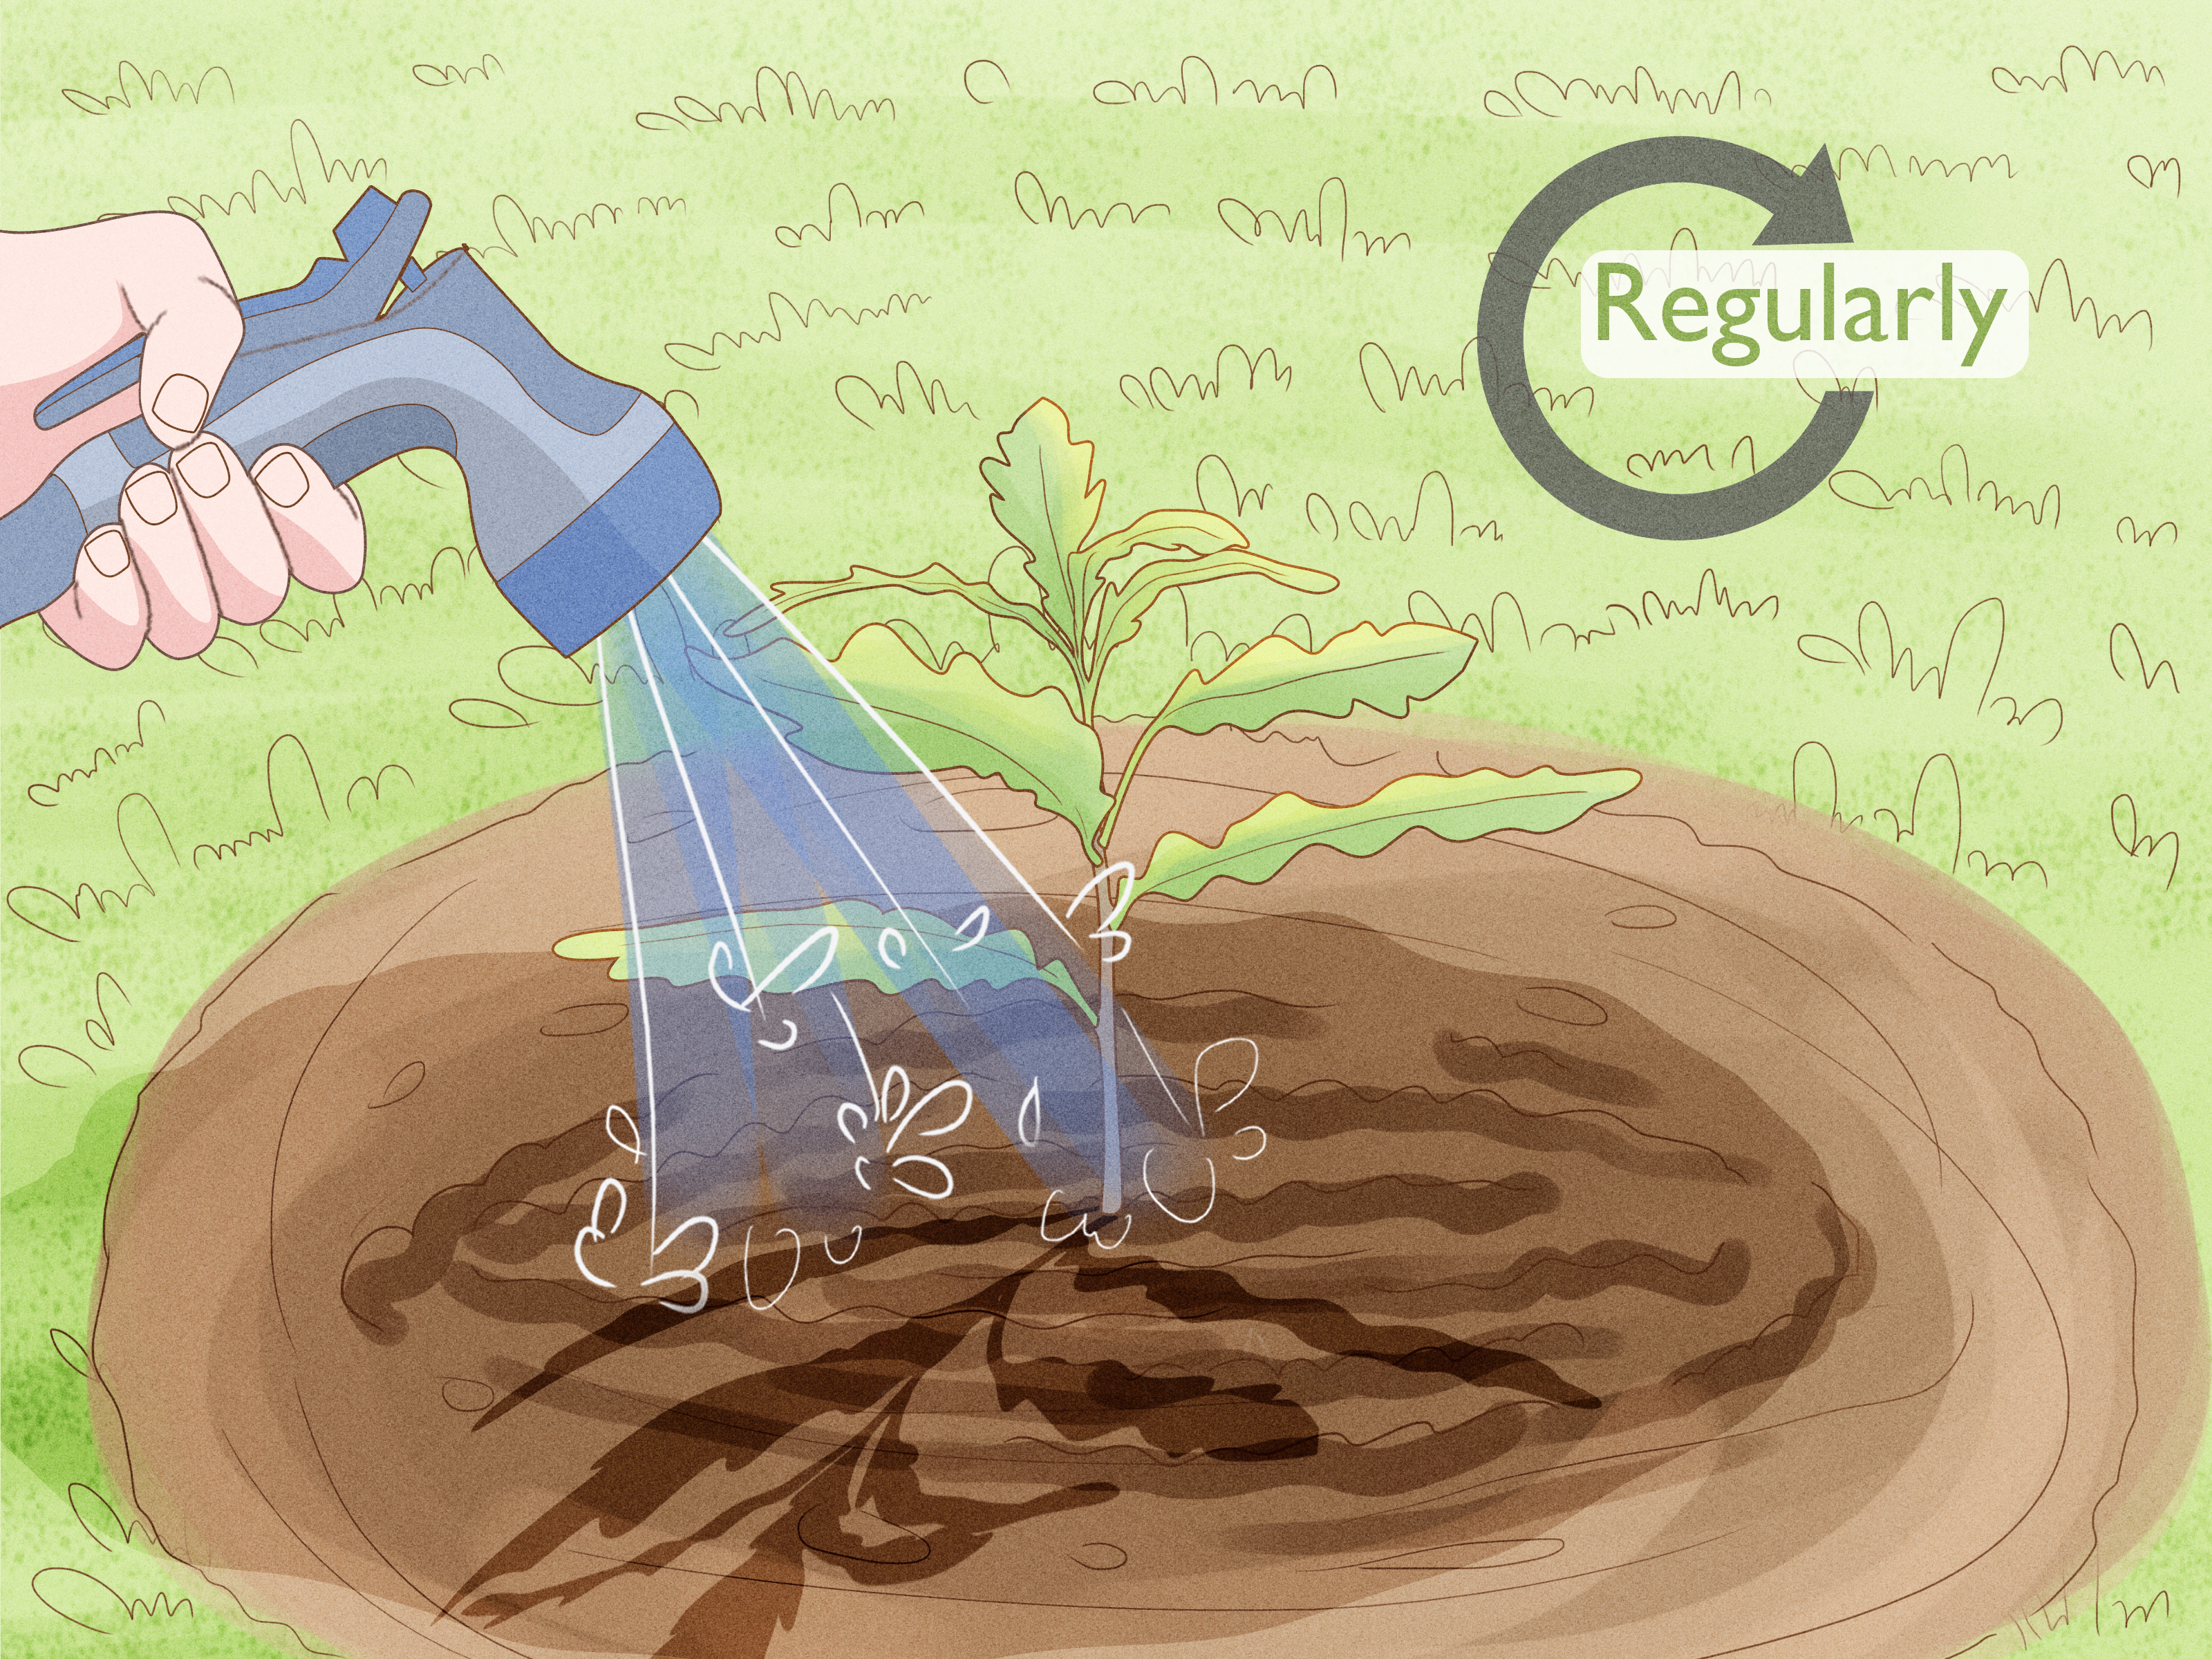
If you’re propagating multiple cuttings, be sure to space them out in separate pots to avoid crowding. After planting, water the soil lightly to keep it moist, but not soggy.
Step 4: Create a Humid Environment
Cuttings require humidity to thrive. This is the most critical step in ensuring your cutting roots properly. To create a humid environment, follow these tips:
- Use a plastic bag: Place a plastic bag over the cutting to trap moisture. You can also use a plastic dome if you have one.
- Place the cutting in a warm spot: A bright, warm location with indirect sunlight is ideal. Avoid direct sunlight as it can dry out the cutting.
- Monitor moisture: Check the humidity levels regularly, and mist the cutting with water if the environment starts to dry out.
Step 5: Wait for Roots to Develop
Now that your cutting is planted and in a humid environment, the waiting begins. This is where patience comes in. Roots may take several weeks to develop, depending on the tree species and environmental conditions. Keep an eye on your cutting, and look for the following signs that it is rooting:
- New growth at the top of the cutting.
- Resistance when you gently tug on the cutting (this means roots are forming).
Step 6: Transplant the New Tree
Once the cutting has developed a strong root system, it’s time to transplant it into a larger container or directly into the ground. Be sure to harden off the new tree by gradually exposing it to outdoor conditions over several days to avoid shock.
Now, your new tree is ready to thrive! Continue to care for it with regular watering, fertilizing, and proper sunlight. As the tree matures, you’ll be able to enjoy the fruits of your hard work for years to come!
How Long Does It Take to Root a Tree Cutting?
The rooting process can take anywhere from a few weeks to a few months. Fast-rooting trees like willows may develop roots in as little as 3-4 weeks, while more stubborn species may take longer. Be patient, and don’t rush the process!
Common Mistakes to Avoid When Rooting Trees
While rooting trees is a relatively straightforward process, there are a few common mistakes to watch out for:
- Not using rooting hormone: Rooting hormone is essential to speeding up the rooting process. Always make sure to use it.
- Too much water: Overwatering can cause the cutting to rot. Make sure your potting mix is moist but not soggy.
- Not providing enough humidity: Without adequate humidity, your cutting will dry out and fail to root.
Conclusion
Rooting trees is a rewarding activity that allows you to propagate your favorite trees and expand your garden. By selecting the right cutting, preparing it carefully, and creating the ideal environment, you’ll be well on your way to growing a new tree from scratch. Remember, the process takes time, but with patience and the right care, your new tree will take root and flourish. Happy gardening!
sapo: Rooting trees from cuttings is a great way to grow new plants in your garden. Learn the steps to propagate your favorite trees, from selecting cuttings to transplanting them with care and success!
My Experience with Rooting Trees
Over the years, I’ve tried rooting several different tree species, from ornamental willows to fruit trees like apples and peaches. My first attempt was with a cutting from a willow tree. I followed the steps I had read about, cutting the branch just below a node and dipping it in rooting hormone. I was amazed by how quickly it rooted! Within a month, my cutting had developed a robust root system and I was able to transplant it into a small pot.
As I gained more experience, I began experimenting with other species, like apple and peach trees. These took a little more time, and the process wasn’t as straightforward as it was with the willow. I learned that tree type really matters; some species root quickly while others need extra care or specific conditions. One of my best successes was with a peach tree I propagated from a cuttingit took almost two months, but the tree is now thriving and will hopefully bear fruit in a few years.
One key thing I’ve learned is the importance of humidity. When I neglected to create a sufficiently humid environment, I found that the cuttings would dry out before they could root. Now, I always use a plastic bag to cover the cutting and make sure it stays moist. Another tip is to be patient. It’s easy to get discouraged when it seems like nothing is happening, but often the tree is just taking its time to develop a solid root system.
Overall, I’ve found that rooting trees is a wonderful way to expand my garden, and the process has taught me a lot about the resilience of trees. If you’re thinking about trying it, I highly recommend it. Just make sure you’re patient, and don’t forget to give your new trees a little extra love!