Hair gel has a reputation for being the “one true ruler” of hold. And suregel can lock a style in place like it’s applying for a job at a museum.
But if gel leaves your hair crunchy, itchy, flaky, or stuck in a permanent “middle school picture day” pose, you’ve got options.
The good news: you can set hair without gel by using a mix of technique, timing, and lighter products that don’t turn your head into a glossy helmet.
This guide breaks it down into three simple methods you can use at homewhether you want volume, waves, smoothness, or that “I woke up like this”
look that actually looks good (and not like you fought a ceiling fan).
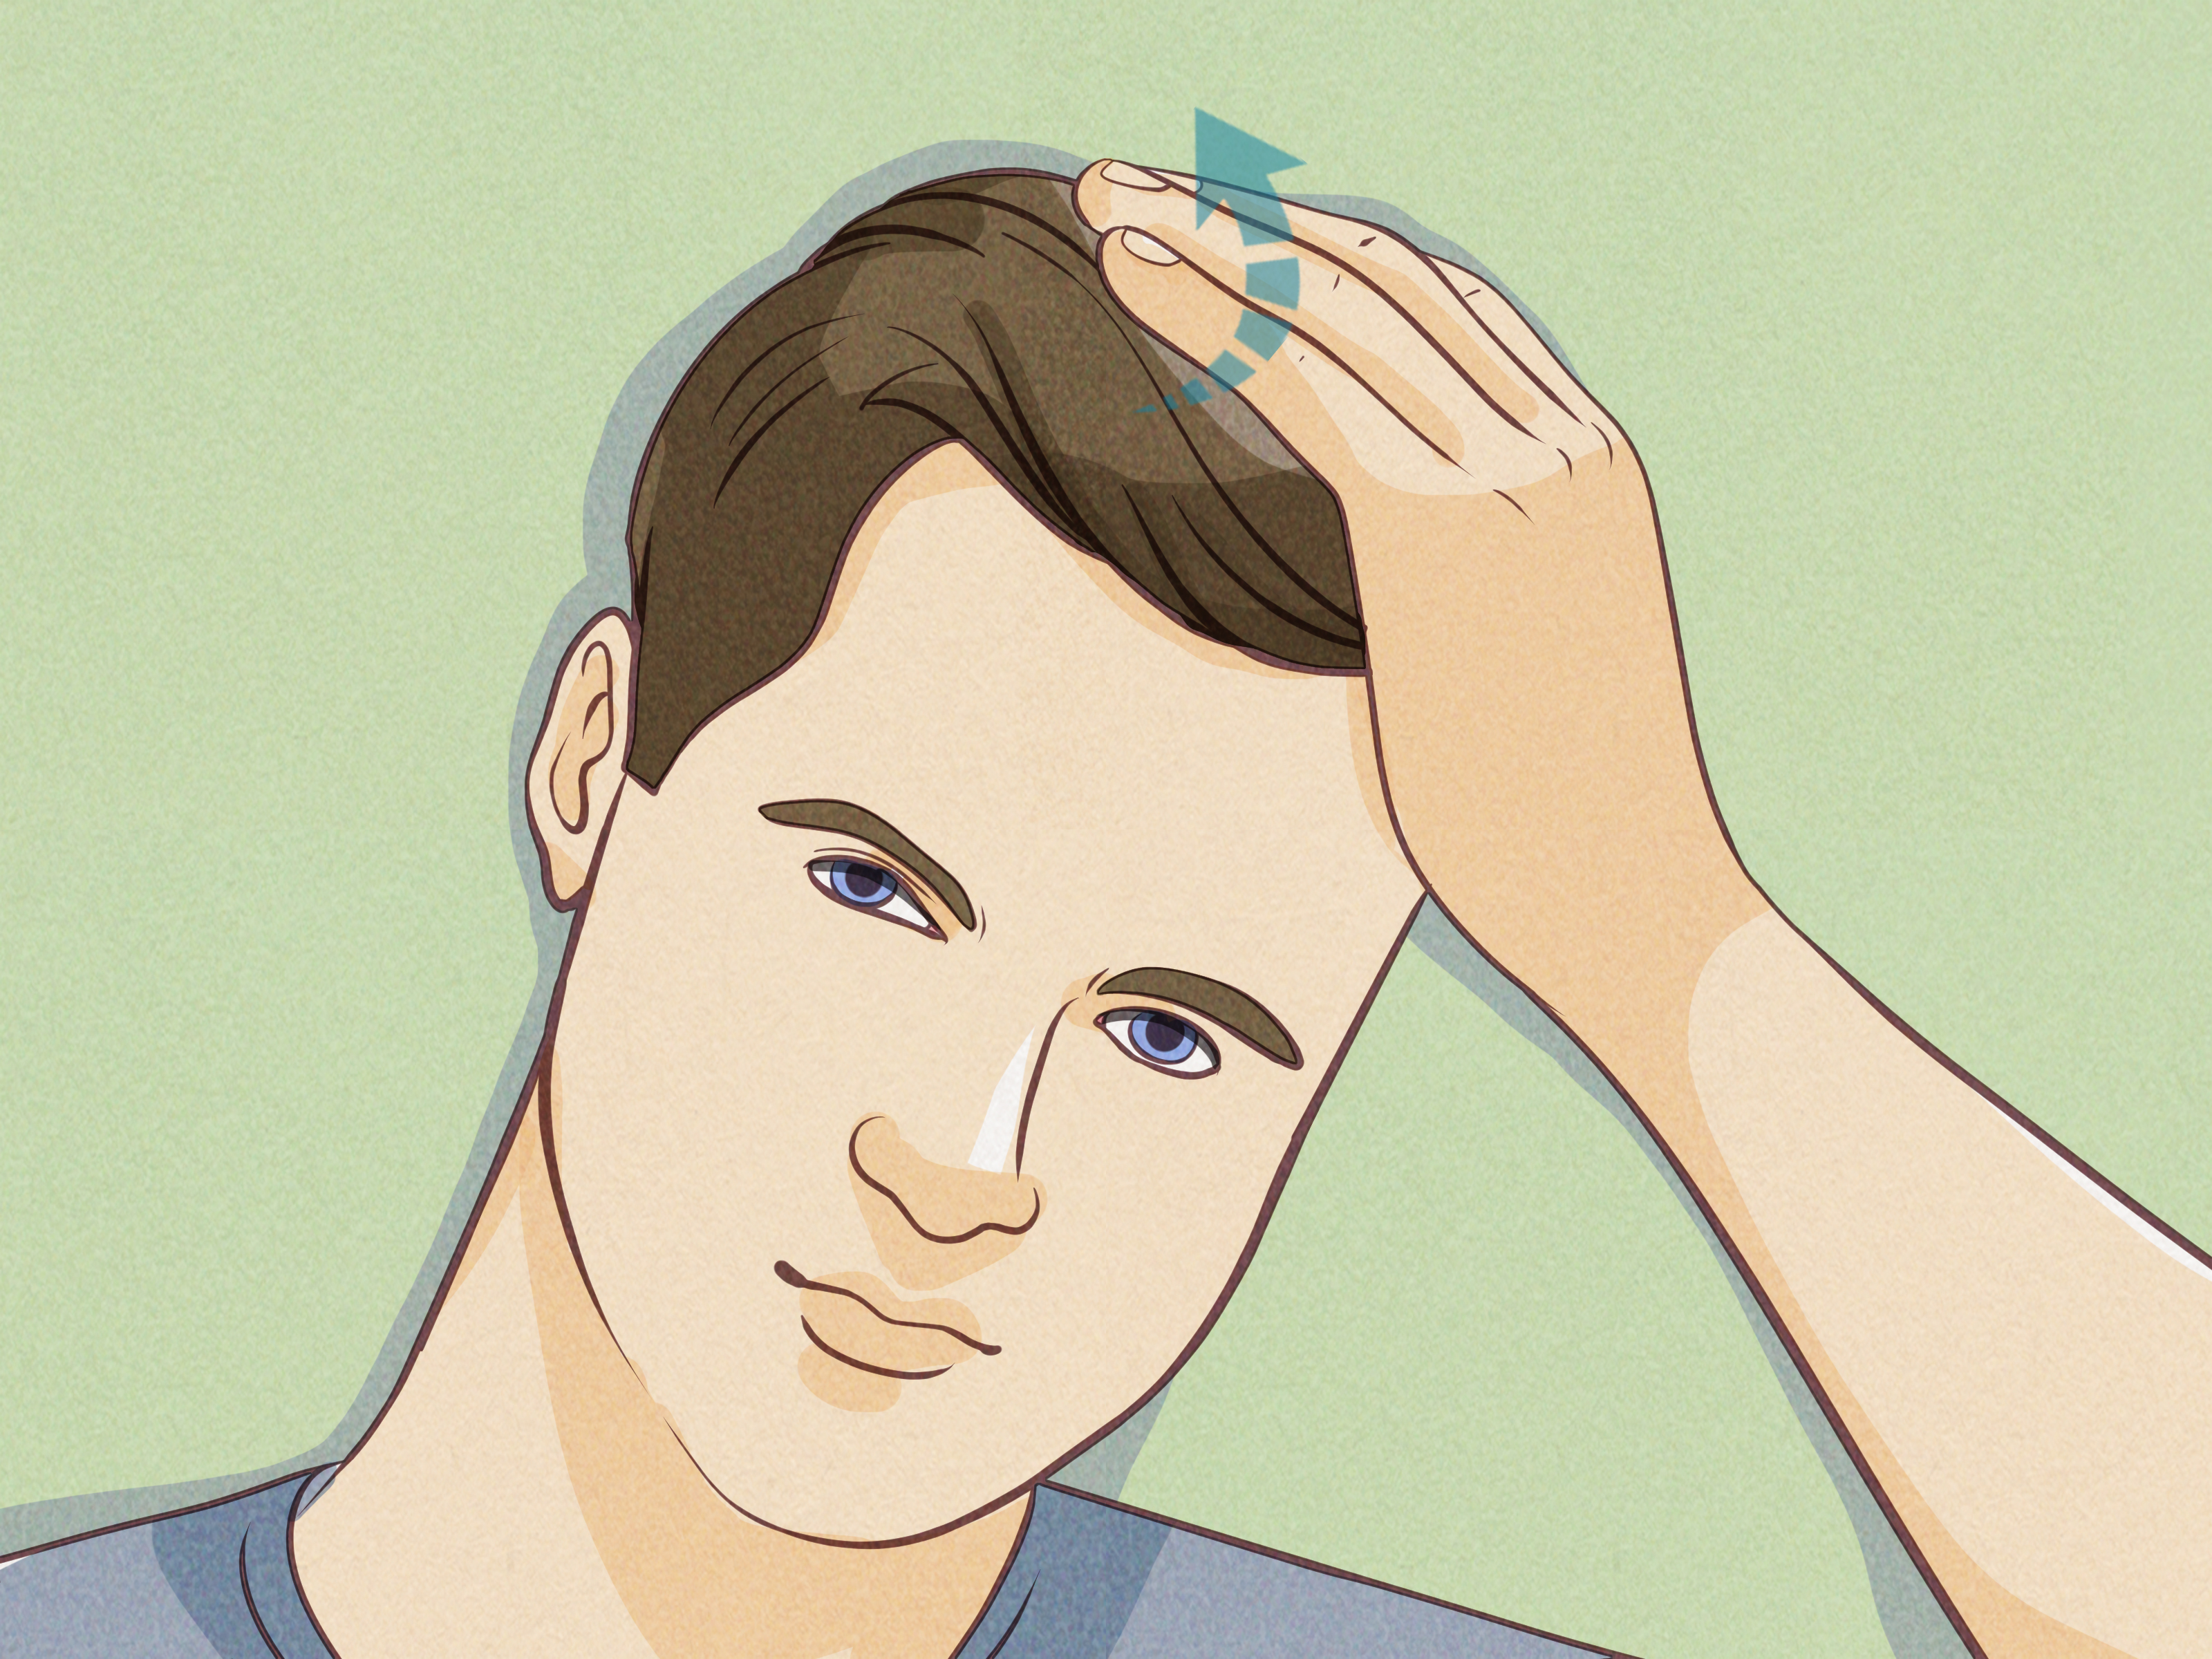
What “Setting” Hair Really Means (and Why Gel Isn’t Required)
Setting hair is just getting your style to stayfor a few hours, a full day, or at least long enough to make it through your commute and one surprise selfie.
The secret isn’t “more product.” It’s controlling shape + dryness + cooling.
- Shape: how you position hair (brush direction, roller size, braid pattern).
- Dryness: hair tends to “remember” the shape it dries in.
- Cooling: letting hair cool in position helps the style last longer (especially after heat).
Gel is only one tool for hold. You can swap it for smarter technique (Method 1 and 2) or lighter, flexible stylers (Method 3).
A Quick Prep That Makes Any No-Gel Style Work Better
1) Aim for “damp, not dripping”
If your hair is soaking wet, products get diluted and styling takes forever. If it’s bone-dry, you’ll fight frizz and flyaways.
After washing, gently towel-dry (wrapping is kinder than aggressive rubbing) and let hair sit a few minutes before you style.
2) Detangle like you’re handling expensive silk
Hair is more fragile when wet. Use a wide-tooth comb or a gentle detangling brush, starting at the ends and moving up.
If you have tightly curled/textured hair, detangling while wet can actually reduce breakagejust keep it gentle and supported.
3) Don’t skip protection if you use heat
“No gel” doesn’t have to mean “no product ever.” If you blow-dry or use warm tools, a lightweight heat protectant can help reduce damage.
Think of it as sunscreen for your strandsless drama later.
Method 1: Blow-Dry + Cool Shot (The “Freeze Frame” Set)
This is the fastest way to set hair without gel, and it works for short, medium, and long hair.
The idea: shape hair while drying, then use a cool shot to help lock the style in.
Best for
- Volume that lasts (especially at the roots)
- Smooth styles without slick gel
- Quick control of cowlicks and flyaways
What you need
- Hair dryer with a nozzle attachment (helpful, not mandatory)
- Brush: round brush for volume, paddle brush for smoothness
- Optional: mousse or root-lift spray (light hold), a tiny bit of styling cream for ends
Step-by-step
- Rough-dry to about 70–80%. Use medium heat, keep the dryer moving, and dry roots first.
- Section your hair. Even two sections (top and sides/back) is better than none.
- Shape with a brush.
- For volume: lift hair at the roots with a round brush and aim airflow down the hair shaft.
- For smoothness: use a paddle brush, pulling hair taut and directing airflow downward.
- Cool shot the section you just styled. 3–8 seconds is often enough. Let that section cool before you mess with it.
- Finish strategically. If you need extra staying power, mist a little hairspray from a distance or use a pea-sized amount of styling cream on ends.
Real examples (so you’re not guessing)
- Short hair, textured quiff: rough-dry forward, then brush up and back; cool-shot at the front; finish with a tiny dab of matte paste (not gel).
- Medium hair, side-swept set: part while damp; blow-dry in the direction you want; cool-shot the part line so it stays put.
- Long hair, “soft blowout”: round-brush mid-lengths and ends; cool-shot each section; clip or pin curls for 5 minutes while they cool.
Common mistakes (and quick fixes)
- Problem: Hair falls flat after 20 minutes.
Fix: You skipped the cool-down. Cool-shot and let sections cool before touching. - Problem: Frizz city.
Fix: Aim airflow downward, use a nozzle, and don’t over-dry the ends. - Problem: Puffy roots, limp lengths.
Fix: Focus root lift first, then lightly polish lengths.
Method 2: Heatless Setting (Rollers, Pin Curls, Braids, Twists)
Heatless setting is the quiet hero of gel-free hair. You shape damp (or almost dry) hair, let it dry in place, and then release.
The result is often softer, bouncier, and more touchable than gel-based styling.
Best for
- Waves and curls that don’t feel stiff
- Volume that looks “done” but not crunchy
- People who want lower-heat routines
Option A: Rollers (foam, Velcro, flexi-rods)
Rollers are basically “set it and forget it” for hairespecially if you’re busy, tired, or emotionally attached to multitasking.
- Start with hair that’s 70–90% dry. Too wet = it won’t dry; too dry = it won’t take the shape.
- Pick the right size.
- Big rollers: volume + soft bends
- Medium: classic bouncy waves
- Small/flexi-rods: tighter curls
- Roll from the ends up. Keep tension evennot yanking.
- Let hair fully dry and cool. This is where the magic happens. Rushing = “one sad wave.”
- Release gently. Finger-comb first. Brush only if you want a softer, bigger look.
Option B: Pin curls (tiny clips, big payoff)
Pin curls are great if you want defined waves without heat. Twist a small section into a coil against your head and pin it.
Let it dry fully, then unpin and separate with your fingers.
Option C: Braids and twists (the easiest wave hack)
For natural waves, braid or twist damp hair and let it dry. Two braids = looser waves; more braids = more texture.
A quick version: twist two sections and secure with soft ties; release once fully dry.
Important: avoid ultra-tight styles worn constantly. Too much tension over time can stress hair and scalp.
Keep styles comfortableyour follicles deserve peace.
Method 3: Light-Hold Alternatives (Mousse, Hairspray, Sea Salt, Creams)
If gel is too heavy or too crunchy, you want “supporting actor” productslight hold, flexible finish, and less drama.
This method is all about using the right product in the right place instead of coating your whole head like a frosting project.
Mousse (volume + shape without stiffness)
Mousse is fantastic for lift and definition, especially when applied to damp hair before blow-drying.
Start smallabout a golf ball-sized amount for most peoplethen add more only if needed.
- Fine hair: focus mousse at roots for lift; keep ends light.
- Curly hair: scrunch mousse in to help clump curls and reduce frizz (use a diffuser if blow-drying).
- Thick hair: apply in sections so it’s evenly distributed.
Hairspray (the “invisible set”)
Hairspray is a classic for a reason: it can set hair without the look and feel of gel.
The trick is using a light mist from a proper distance and avoiding direct scalp saturation.
- For curls/waves: spray lightly underneath the style, not directly on top, to avoid weighing it down.
- Distance matters: hold the can several inches away so you get mist, not wet spots.
- Wash it out: frequent heavy spraying can lead to buildup and drynessreset with regular washing.
Sea salt spray and texturizing sprays (grip + “lived-in” texture)
If your goal is texturebeachy waves, piecey layers, natural gritsea salt spray can help create hold without gel.
Use it on damp hair for more volume and definition, or on dry hair for finishing texture.
One caution: salt can feel drying for some hair types. If your hair is already dry or color-treated, use it sparingly
and pair it with a light leave-in conditioner on the ends.
Styling cream, paste, or clay (great for short hair)
These are ideal when you want control without shine or crunch. Emulsify a pea-sized amount between palms and apply to dry or slightly damp hair.
Focus on the outer layer and endsdon’t bury your scalp in product like you’re hiding evidence.
Make It Last Longer (Without Becoming a Product Statue)
Use “cool + don’t touch” as a rule
Whether you used a dryer, rollers, or twists, let hair cool and fully set before you fluff, brush, or shake it out.
Warm hair is still negotiating its final decision.
Sleep like you want good hair tomorrow
- Long hair: loose braid or “pineapple” pony with a soft scrunchie.
- Waves/curls: clip the crown loosely or wrap hair in a silk/satin scarf.
- Everyone: reduce friction when possibleyour pillowcase has been plotting against you.
Humidity-proofing (without shellacking)
If frizz shows up the second you step outside, finish with a quick cool shot (Method 1) and a tiny mist of flexible hairspray.
For extra stubborn frizz, a drop of lightweight serum on the ends can help.
Troubleshooting: When Your Hair Ignores Your Plans
If your style falls flat
- Use less conditioner at roots (it can weigh hair down).
- Add mousse at the roots and blow-dry upward, then cool-shot.
- Try Velcro rollers at the crown for 10 minutes after drying.
If your hair looks frizzy or fuzzy
- Don’t brush dry curls/wavesfinger-comb or use a wide-tooth comb.
- Direct airflow downward when blow-drying.
- Use a small amount of cream or leave-in on the outer layer and ends.
If products make hair stiff
- Use less product (always the least fun advice, but also the most effective).
- Switch to flexible/medium-hold sprays and avoid layering too many products.
- Brush out lightly once fully dry if you want softer movement.
Hair-Health Notes (Because Great Style Shouldn’t Cost You Your Strands)
Styling without gel can be gentler overall, but technique still matters. Limit high heat, avoid constant tension styles, and treat wet hair carefully.
If you’re noticing unusual shedding, scalp irritation, or breakage that doesn’t improve, consider checking in with a dermatologist or trusted clinician.
Extra 500+ Words: Real-World Experiences with Gel-Free Hair Setting
When people ditch gel, the first “surprise” is usually emotional: their hair moves again. Not in a scary “my bangs are free-range” way,
but in a touchable, normal-human way. A common experience is realizing gel was doing two jobs at onceholding the style and hiding weak technique.
Once gel is gone, technique suddenly matters more… but the payoff is better texture and less buildup.
For example, someone with fine hair often reports that gel makes their roots collapse by midday. When they switch to the blow-dry + cool-shot method,
the experience changes: mousse at the roots (lightly), rough-dry to mostly dry, then round-brush lift and cool-shot each section.
The result tends to feel airier and look fullerespecially if they avoid over-brushing and let sections cool before touching.
A lot of people describe it as “my hair looks like I tried, but it doesn’t feel like I tried,” which is basically the dream.
People with thick hair often have the opposite complaint: gel holds, but it can create a heavy, sticky finish that attracts lint like a magnet.
Heatless setting becomes a favorite here. A typical routine is towel-drying, letting hair get to “damp but not wet,” then using medium or large rollers
(or a few loose braids) while getting ready for the day. The experience many mention is that the style looks softer and lasts longer than expected,
as long as they wait for full dryness and cooling. The big mistake is impatiencetaking rollers out too early gives you one dramatic bend in the front
and a whole lot of “meh” everywhere else.
Curly-haired folks often share that gel gives definition but can feel crunchy or flaky, especially if layered over certain leave-ins.
A gel-free experience that works well is mousse + scrunch + diffuser (or air-dry), then a tiny mist of flexible hairspray only where needed.
Many find the curls look a bit softer and more “lived-in,” with less of that hard cast. The tradeoff is that they may need a quick refresh later:
damp hands, a little leave-in on the ends, and a few scrunches can bring shape back without reapplying heavy product.
One of the most relatable gel-free experiences is the “weather test.” Someone styles indoors, feels confident, steps outside into humidity,
and their hair immediately auditions for a role as a frizz cloud. The people who succeed long-term tend to do two small things:
(1) finish with cool air to help set the cuticle, and (2) use a light finishing product only on the surfacelike a mist of hairspray or a tiny amount of cream
on flyaways. The key experience shift is learning to use less product but in smarter placement.
Finally, there’s the day-two bonus. Heavy gel users often feel forced to re-wash because hair looks dull or coated. With lighter methodsrollers, mousse, sea salt,
or minimal hairspraymany people find day-two hair is easier: a quick root refresh (dry shampoo or a blast of cool air), a few finger twists, and they’re back in business.
If you’ve ever wanted hair that behaves without requiring a chemistry set, gel-free setting is a surprisingly practical upgrade.
Conclusion
If you want to set hair without gel, you don’t need a miracleyou need a method. Use blow-dry + cool shot for fast, polished hold,
heatless setting for soft volume and waves, or light-hold alternatives like mousse, hairspray, and sea salt spray for flexible control.
Mix and match based on your hair type, your schedule, and how much you enjoy having hair that feels like hair.