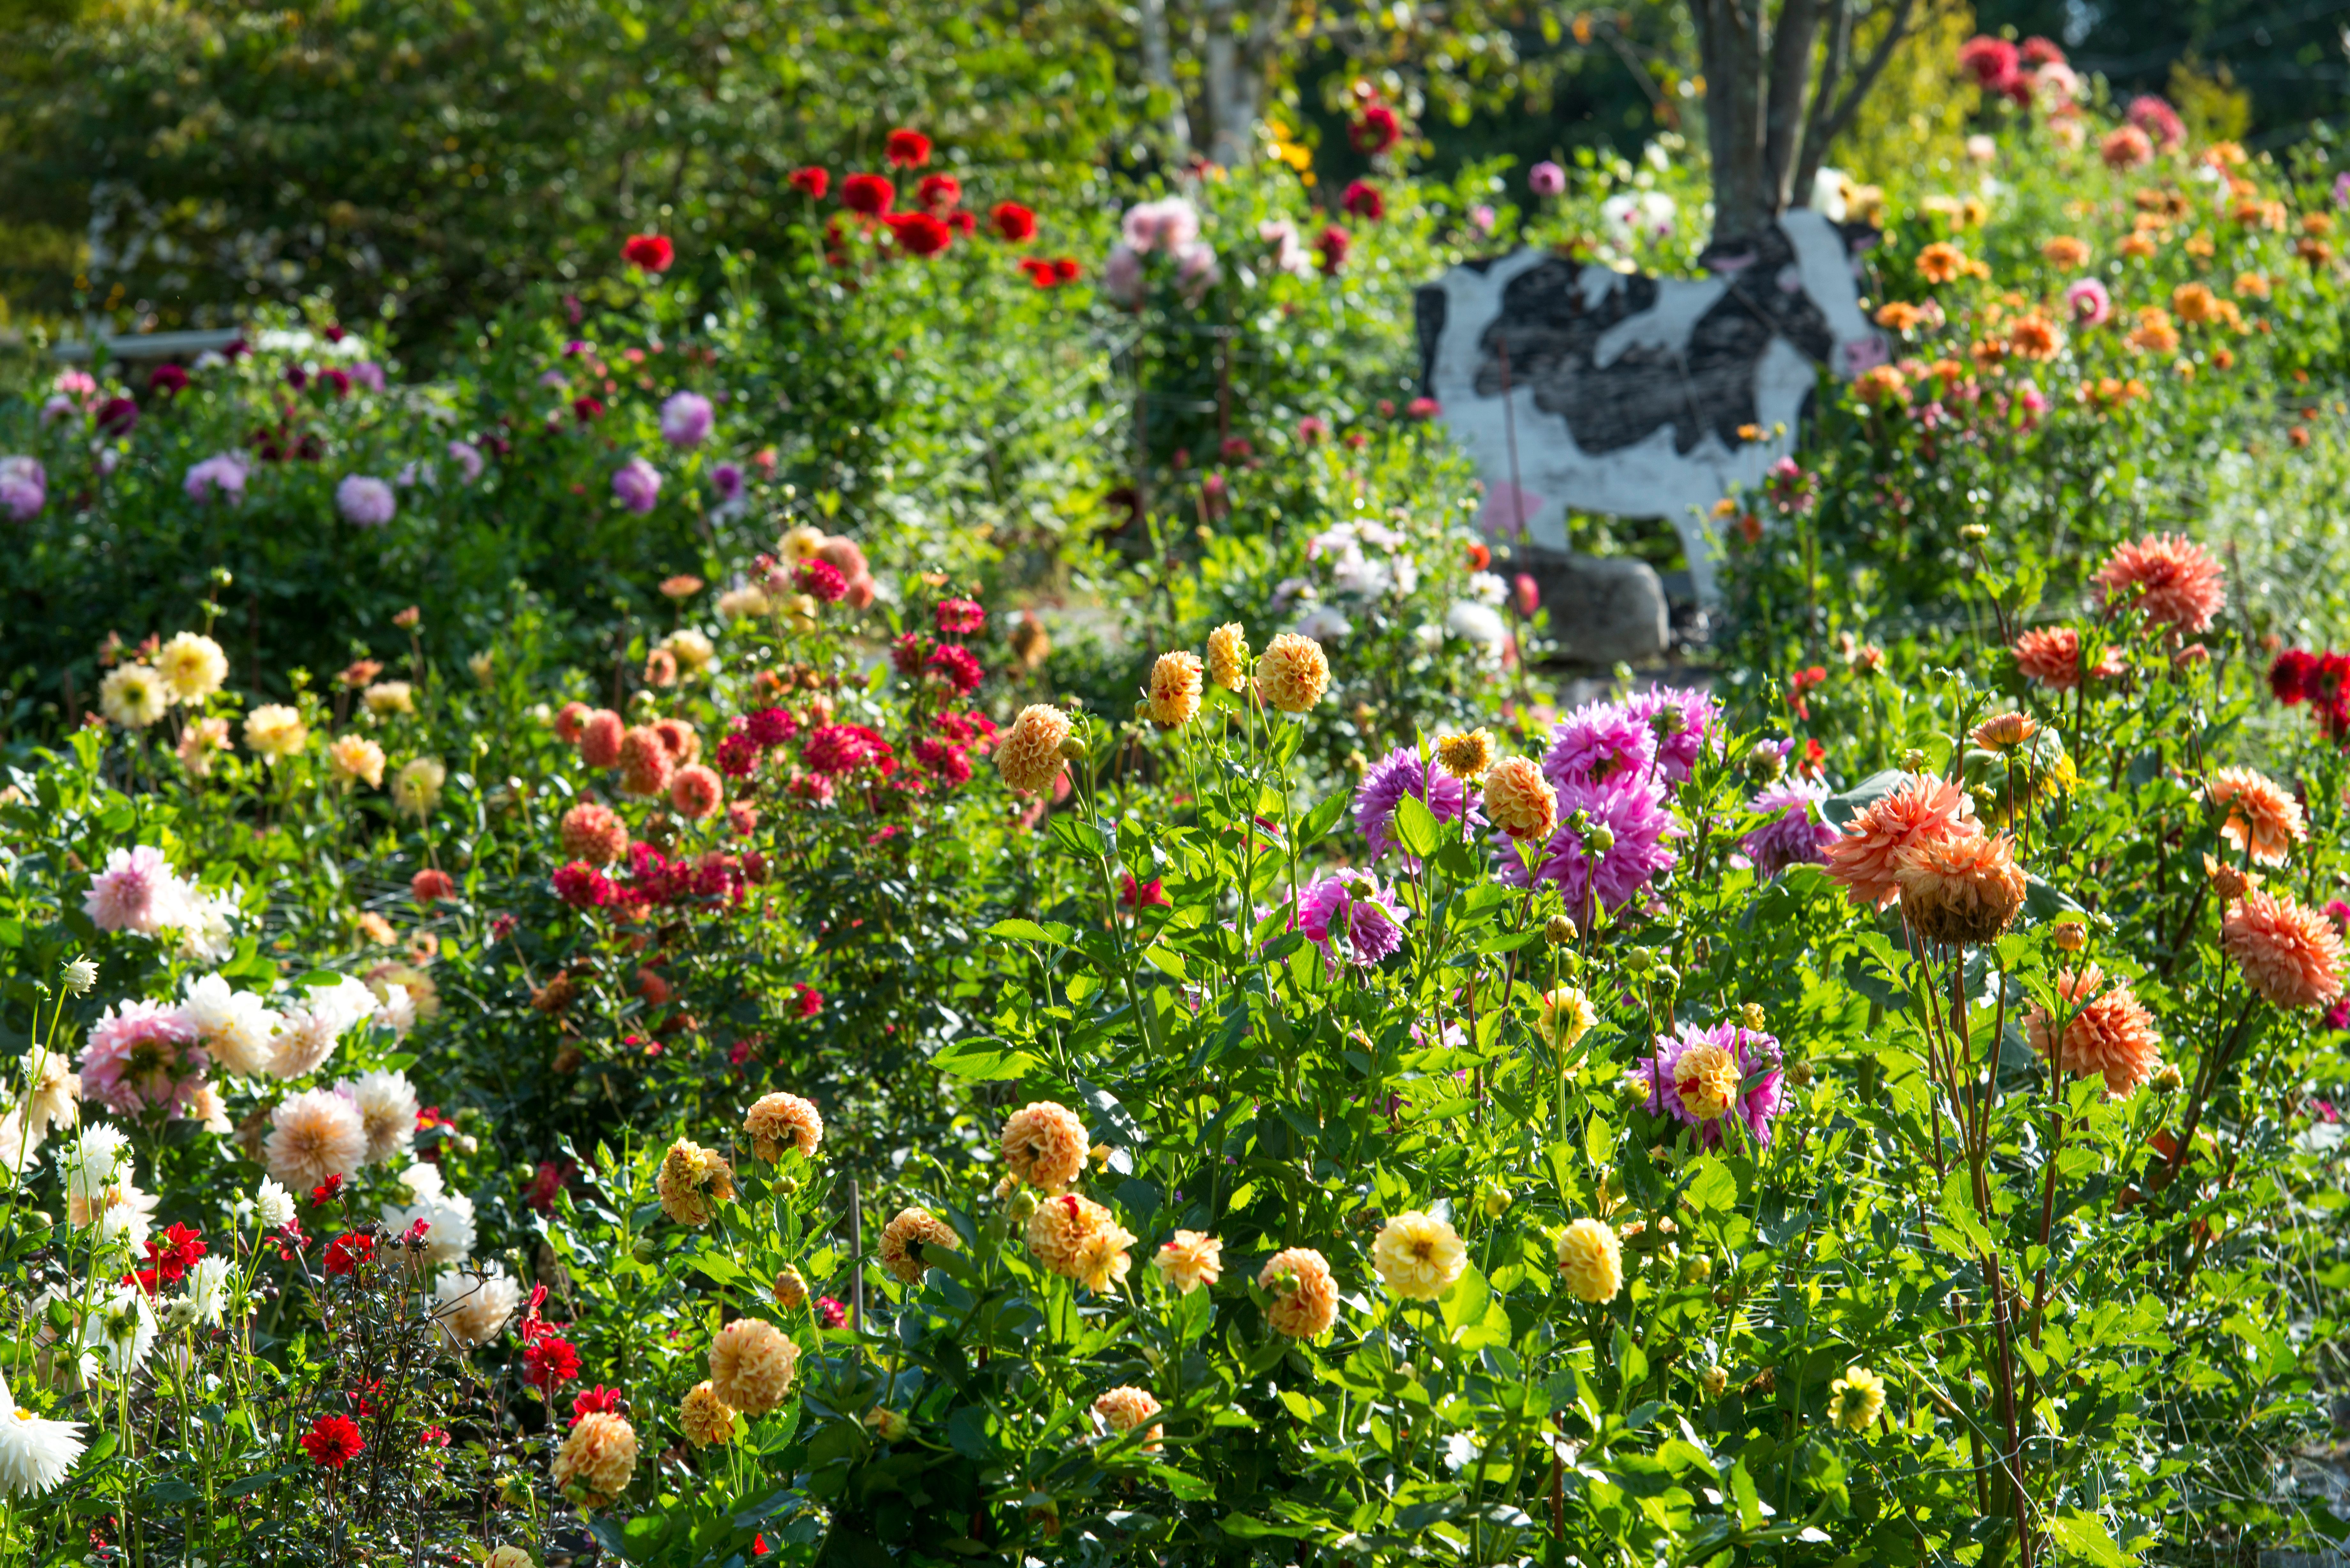
Summer bulbs are the overachievers of the flower world. They wait until warm weather settles in, then explode into color when spring bulbs have already taken their bow and exited stage left. Dahlias, cannas, gladiolus, caladiums, calla lilies, elephant ears, and tuberous begonias all bring serious drama to beds, borders, and containers. The catch? In many parts of the United States, winter treats these beauties like uninvited party guests and sends them packing.
The good news is that many so-called summer bulbs can be saved and replanted the following year. Better yet, once you get the rhythm down, storing them is not complicated. It is more like a seasonal routine: dig, dry, pack, store, check, repeat. Skip the drama, keep the tubers alive, and you can enjoy another season of blooms without buying a whole new lineup next spring.
If you have ever stared at a box of odd-looking roots in the basement and wondered whether you were saving flowers or starting a science experiment, this guide is for you. Here is exactly how to store summer bulbs for winter so they bloom again next year.
What Are “Summer Bulbs,” Exactly?
First, a quick gardening truth bomb: many summer bulbs are not true bulbs at all. Some are tubers, some are corms, some are rhizomes, and some are tuberous roots. Gardeners, being practical people, tend to toss them into one big category anyway. It is easier to say “summer bulbs” than “a mixed underground cast of swollen storage organs.” Fair enough.
Here are a few common examples:
- Dahlias grow from tuberous roots.
- Cannas grow from rhizomes.
- Gladiolus grow from corms.
- Caladiums grow from tubers.
- Calla lilies grow from rhizomes.
- Tuberous begonias grow from tubers.
- Elephant ears may grow from corms or tubers, depending on the species.
Why does that matter? Because different underground structures hold moisture differently, bruise differently, and store best at slightly different temperatures. So while the overall process is similar, one-size-fits-all storage is not always the best idea.
Do You Need to Dig Them Up Every Fall?
Not always. Whether you need to lift your summer bulbs depends on your climate and the plant itself. In warm regions, some tender bulbs can stay in the ground year-round. In colder climates, especially where the soil freezes hard, many of them need to come indoors for winter.
A simple rule works well: if your winters regularly dip below what the plant can tolerate, dig it. If not, you may be able to mulch heavily and leave it in place. Dahlias, for example, are often left in the ground in warmer zones, while gardeners in colder areas usually lift them after frost. Cannas, caladiums, gladiolus, and tuberous begonias are also commonly stored indoors in regions with cold winters.
If you are unsure, treat the plant as tender and store it. It is much easier to bring a bulb inside than to negotiate with a frozen garden bed in January.
Why Proper Storage Matters
Storing summer bulbs is not just about keeping them alive. It is about keeping them healthy enough to perform next season. A bulb or tuber that survives winter but emerges weak, moldy, or shriveled is technically alive, but it is not going to deliver the flower show you were hoping for.
Proper storage helps you:
- Save money by reusing favorite plants.
- Preserve special varieties that may be hard to find again.
- Keep mature clumps that often bloom better than brand-new stock.
- Divide vigorous plants in spring to make even more flowers.
In other words, winter storage is not glamorous, but it is the backstage crew that makes next summer’s performance possible.
Step 1: Wait for the Right Time to Dig
Timing matters. Dig too early, and the plant may not have finished storing energy underground. Wait too long, and a hard freeze can damage or rot the storage structure.
General timing rule
For most tender summer bulbs, wait until one of these things happens:
- The foliage yellows and begins to die back naturally.
- A light frost blackens the tops.
- The plant has clearly gone dormant.
That said, do not let them sit through a deep freeze. A light frost often signals the right moment. A hard freeze is where things can get ugly. Mushy stems, frozen tissue, and rot are not exactly the ingredients of a successful spring comeback.
Plant-by-plant timing tips
- Dahlias: Dig after a light frost kills the tops, but before the ground freezes hard.
- Cannas: Lift after a light frost, before the rhizomes are exposed to severe cold.
- Gladiolus: Dig when foliage yellows or shortly after the first frost.
- Caladiums: Lift before frost or as soon as nights become chilly and foliage declines.
- Tuberous begonias: A light frost can knock back tops, but do not leave them for a hard freeze.
Step 2: Dig Gently Like You Mean It
Summer bulbs do not appreciate rough handling. Dahlias bruise easily. Cannas can be nicked. Gladiolus corms can be damaged if you jam a shovel too close. The safest method is to start digging several inches away from the plant and loosen the soil all the way around before lifting.
Use a digging fork or spade and lift the entire clump rather than yanking by the stems. Pulling is fast, yes, but so is regretting it.
What to remove right away
- Cut off most foliage, usually leaving 1 to 4 inches depending on the plant.
- Shake or brush away loose soil.
- Discard any pieces that are obviously damaged, mushy, moldy, or insect-ridden.
Some gardeners rinse soil off certain bulbs, while others prefer to leave a little on to reduce handling damage. Either way, the priority is the same: keep the storage structure intact and avoid unnecessary bruising.
Step 3: Cure Before You Store
This is the step many impatient gardeners skip, and it is often the reason winter storage goes sideways. Freshly dug bulbs and tubers need a curing period so excess surface moisture evaporates and outer tissue toughens up a bit before storage.
Think of curing as giving your bulbs time to put on a winter coat.
How to cure summer bulbs
- Spread them in a dry, well-ventilated place.
- Keep them out of direct sun.
- Aim for mild warmth, not high heat.
- Do not stack them in damp piles.
Most types need only a few days to about a week. A few, such as gladiolus and calla lilies, benefit from a longer curing period that can stretch to two or three weeks. Cannas and caladiums often need about a week. Dahlias are usually on the shorter end, though they still need enough time to dry off before packing.
If bulbs go into storage wet, rot becomes a very real possibility. If they are cured too aggressively in hot sun or drying wind, they can shrivel. The sweet spot is airy, shaded, and dry.
Step 4: Label Everything
This sounds boring until spring. Then it becomes genius.
Once foliage is gone, a crate of dahlia tubers, canna rhizomes, and caladium tubers can look like a botanical mystery box. Label the clumps before storage with plant names, color, height, or bed location. Use tags, paper bags, cardboard dividers, or even a permanent marker on dry plant material where appropriate.
Without labels, you may still grow flowers next year, but the design plan becomes “surprise chaos.” That is fine for fireworks, less fine for a carefully planned border.
Step 5: Choose the Right Packing Material
The goal of packing material is simple: protect bulbs from drying out too much while still allowing airflow. You want the environment slightly buffered, not wet, not sealed, and not swampy.
Good storage materials include:
- Peat moss
- Vermiculite
- Perlite
- Dry sand
- Pine shavings
- Sawdust
- Shredded newspaper
- Coconut coir
Place bulbs in shallow layers so they are not all piled together. If possible, keep individual bulbs or clumps from touching. That way, if one begins to rot, it is less likely to infect the others.
Best containers
- Cardboard boxes
- Paper bags
- Milk crates or bread crates
- Mesh bags
- Shallow bins with ventilation
Avoid airtight plastic storage. Bulbs need air circulation. Sealed containers can trap moisture and turn your careful storage project into a winter rot incubator.
Step 6: Store Them at the Right Temperature
This is where many gardeners either nail it or accidentally create a sprouting factory. Most tender summer bulbs prefer cool, dark, dry, frost-free conditions. For many types, that means roughly 40°F to 50°F. However, not every plant likes the exact same winter setup.
| Plant | Best Time to Lift | Typical Storage Range | Notes |
|---|---|---|---|
| Dahlia | After a light frost, before a hard freeze | About 40°F to 50°F | Handle gently; tubers bruise easily and may shrivel if too dry. |
| Canna | After a light frost | About 45°F to 50°F | Wrap or pack to prevent excessive drying. |
| Gladiolus | When foliage yellows or after first frost | About 35°F to 45°F | Cure longer than most; store with good airflow. |
| Caladium | Before frost or as foliage declines | About 55°F to 60°F | Prefers warmer storage than many other summer bulbs. |
| Calla Lily | Before severe cold | About 45°F to 55°F | Needs a longer drying period than many gardeners expect. |
| Tuberous Begonia | After tops decline, before hard freeze | About 40°F to 50°F | Store dry and ventilated; avoid freezing. |
A basement, root cellar, cool closet, spare room, or unheated but frost-free area can work well. A garage can work too, but only if it stays above freezing. If the temperature swings wildly, choose a more stable location.
Step 7: Check on Them During Winter
Do not pack your summer bulbs away in November and forget they exist until April. They are not canned goods. They are alive, and winter storage is an ongoing relationship.
Check them about once a month. Look for:
- Rot: Soft, mushy, or foul-smelling sections should be removed and discarded.
- Mold: Increase airflow and remove affected pieces.
- Shriveling: If bulbs are becoming wrinkled, the storage medium may be too dry.
- Sprouting: Temperatures may be too warm.
- Pests: Insects can spread trouble fast in storage.
If the bulbs are shrinking badly, you can very lightly moisten the packing material. Lightly is the operative word here. You are correcting dryness, not starting a swamp. Too much moisture is usually a bigger problem than too little.
Common Mistakes That Ruin Stored Summer Bulbs
1. Digging too late
A hard freeze can damage tender structures before you ever get them indoors.
2. Skipping the curing step
Stored wet equals stored rotten more often than not.
3. Using airtight containers
No airflow means trapped moisture, mold, and decay.
4. Keeping them too warm
Bulbs may sprout early or burn through stored energy before spring.
5. Letting them dry out too much
Paper-thin, shriveled tubers are not exactly ideal spring material.
6. Forgetting labels
Every bulb becomes “probably pink?” and your future self will not be amused.
How to Wake Them Up in Spring
When winter ends and frost danger passes, it is time for the annual reunion tour.
Before planting:
- Inspect everything again and discard anything dead or diseased.
- Divide large clumps if needed.
- Make sure each divided piece has viable growing points where required.
- Let cold-sensitive types warm gradually before planting.
- Wait until soil temperatures are suitable and freezing nights are gone.
Dahlias and cannas can often be divided in spring. Gladiolus cormels can be saved for propagation if you are feeling patient and ambitious. Caladiums appreciate warm soil and do not enjoy being rushed into chilly ground. In short, do not undo your careful winter storage by planting too early just because the garden center has spring fever.
Final Thoughts
Learning how to store summer bulbs for winter is one of those gardening skills that feels fussy the first time and completely worth it the second. Once you understand the pattern, it becomes a straightforward seasonal habit: wait for dormancy, dig gently, cure properly, pack loosely, store cool, and check periodically.
The payoff is huge. Instead of buying replacements every spring, you get stronger plants, more blooms, and the satisfaction of carrying your favorite summer flowers through winter like a gardening pro. Plus, there is something deeply satisfying about opening a box in late winter and realizing you successfully smuggled a little piece of summer through the cold months.
So yes, storing summer bulbs takes a bit of effort. But when your dahlias return, your cannas leaf out, and your gladiolus stand tall again next year, it will feel less like a chore and more like a very smart move.
Experience-Based Lessons Gardeners Learn After a Few Winters
Gardeners who store summer bulbs year after year usually end up with the same kind of stories. The first year is all optimism. Everything gets dug up, tossed into whatever box is available, and placed in a basement corner with the confidence of someone who has watched exactly one gardening video and now feels unstoppable. Then February arrives, and reality starts sending updates. One dahlia clump has shriveled into something that looks like driftwood. A canna rhizome is suspiciously soft. The gladiolus corms, meanwhile, are sitting there like tiny ancient artifacts, looking fine and mildly judgmental.
That is usually when the real learning begins.
One of the biggest lessons gardeners talk about is how much storage conditions matter more than storage containers. People often assume the box, bag, or bin is the secret. It is not. The real secret is balancing temperature, airflow, and moisture. A fancy tote in a bad spot will fail faster than a plain cardboard box in the right conditions. Many experienced gardeners discover that a simple, breathable setup in a cool room beats a sealed plastic tub every time.
Another common experience is realizing that different plants are not equally dramatic. Dahlias are the divas. They bruise easily, dry out faster than you expect, and can go from “totally fine” to “what happened here?” in a short stretch of winter. Cannas are often more forgiving, though they still resent freezing. Caladiums are particular about warmth. Gladiolus tends to be more straightforward as long as they are properly cured. After a season or two, most gardeners stop treating all summer bulbs the same and start organizing them by plant type, which is when success rates usually improve.
Gardeners also learn that monthly checks are not optional. They are the difference between saving one soft tuber and losing an entire box. A five-minute inspection in December can prevent a February disaster. That habit becomes second nature after the first bad surprise. It is a little like checking the fridge for leftovers before they become a science fair entry.
Then there is the labeling lesson. Almost everyone learns this one the hard way. In fall, it seems obvious that the tall red canna is different from the peach dahlia and the white calla lily. In March, they all look like undecorated root chunks auditioning for the same role. Gardeners who skip labels once rarely skip them twice.
Perhaps the best experience-based lesson is this: perfection is not required. Even skilled gardeners lose a few bulbs some years. A basement gets warmer than expected. A cold snap sneaks into the garage. One variety stores beautifully while another sulks all winter. That does not mean the method failed. It means gardening is still gardening, and plants are still living things, not batteries you put on a shelf.
Over time, storing summer bulbs becomes less about rigid rules and more about reading the material in front of you. Does it feel too damp? Increase airflow. Does it look wrinkled? Add just a touch of moisture to the medium. Is the room warming up? Move the box. Experienced gardeners are not necessarily lucky. They are observant. And that, more than any product or trick, is what brings those summer bulbs back for an encore next year.