A voltmeter (or the voltage mode on your trusty multimeter) is one of those tools that looks a little scary
until you use it onceand then you wonder how you ever lived without it. Whether you’re checking a car battery,
confirming that a wall outlet actually has power, or troubleshooting a dead gadget, learning how to use a
voltmeter safely is a must-have life skill.
In this guide, we’ll walk through the basics of what a voltmeter does, safety rules you absolutely cannot skip,
and a clear 12-step walkthrough for measuring voltage like a pro. We’ll focus mainly on digital multimeters
(since that’s what most people own now), but we’ll also explain how analog voltmeters fit into the picture.
Along the way, you’ll get practical examples, “picture ideas” for each step, and real-world experience tips at
the end to make everything stick.
What a Voltmeter Actually Does (And Why You Should Care)
A voltmeter measures the electrical potential differencevoltagebetween two points in a circuit. Think of it
like a pressure gauge for electricity: it tells you how strongly the electrons are being pushed. You’ll normally
use it to:
- Check if a battery is still good
- Confirm that a power outlet or power supply is working
- Diagnose why a circuit, appliance, or device isn’t behaving
- Verify safe conditions before working on wiring
Digital voltmeters (usually part of a digital multimeter) display the reading as clear numbers on an LCD or LED
screen. They’re accurate, easy to read, and often include features like auto-ranging, data hold, and overload
protection.
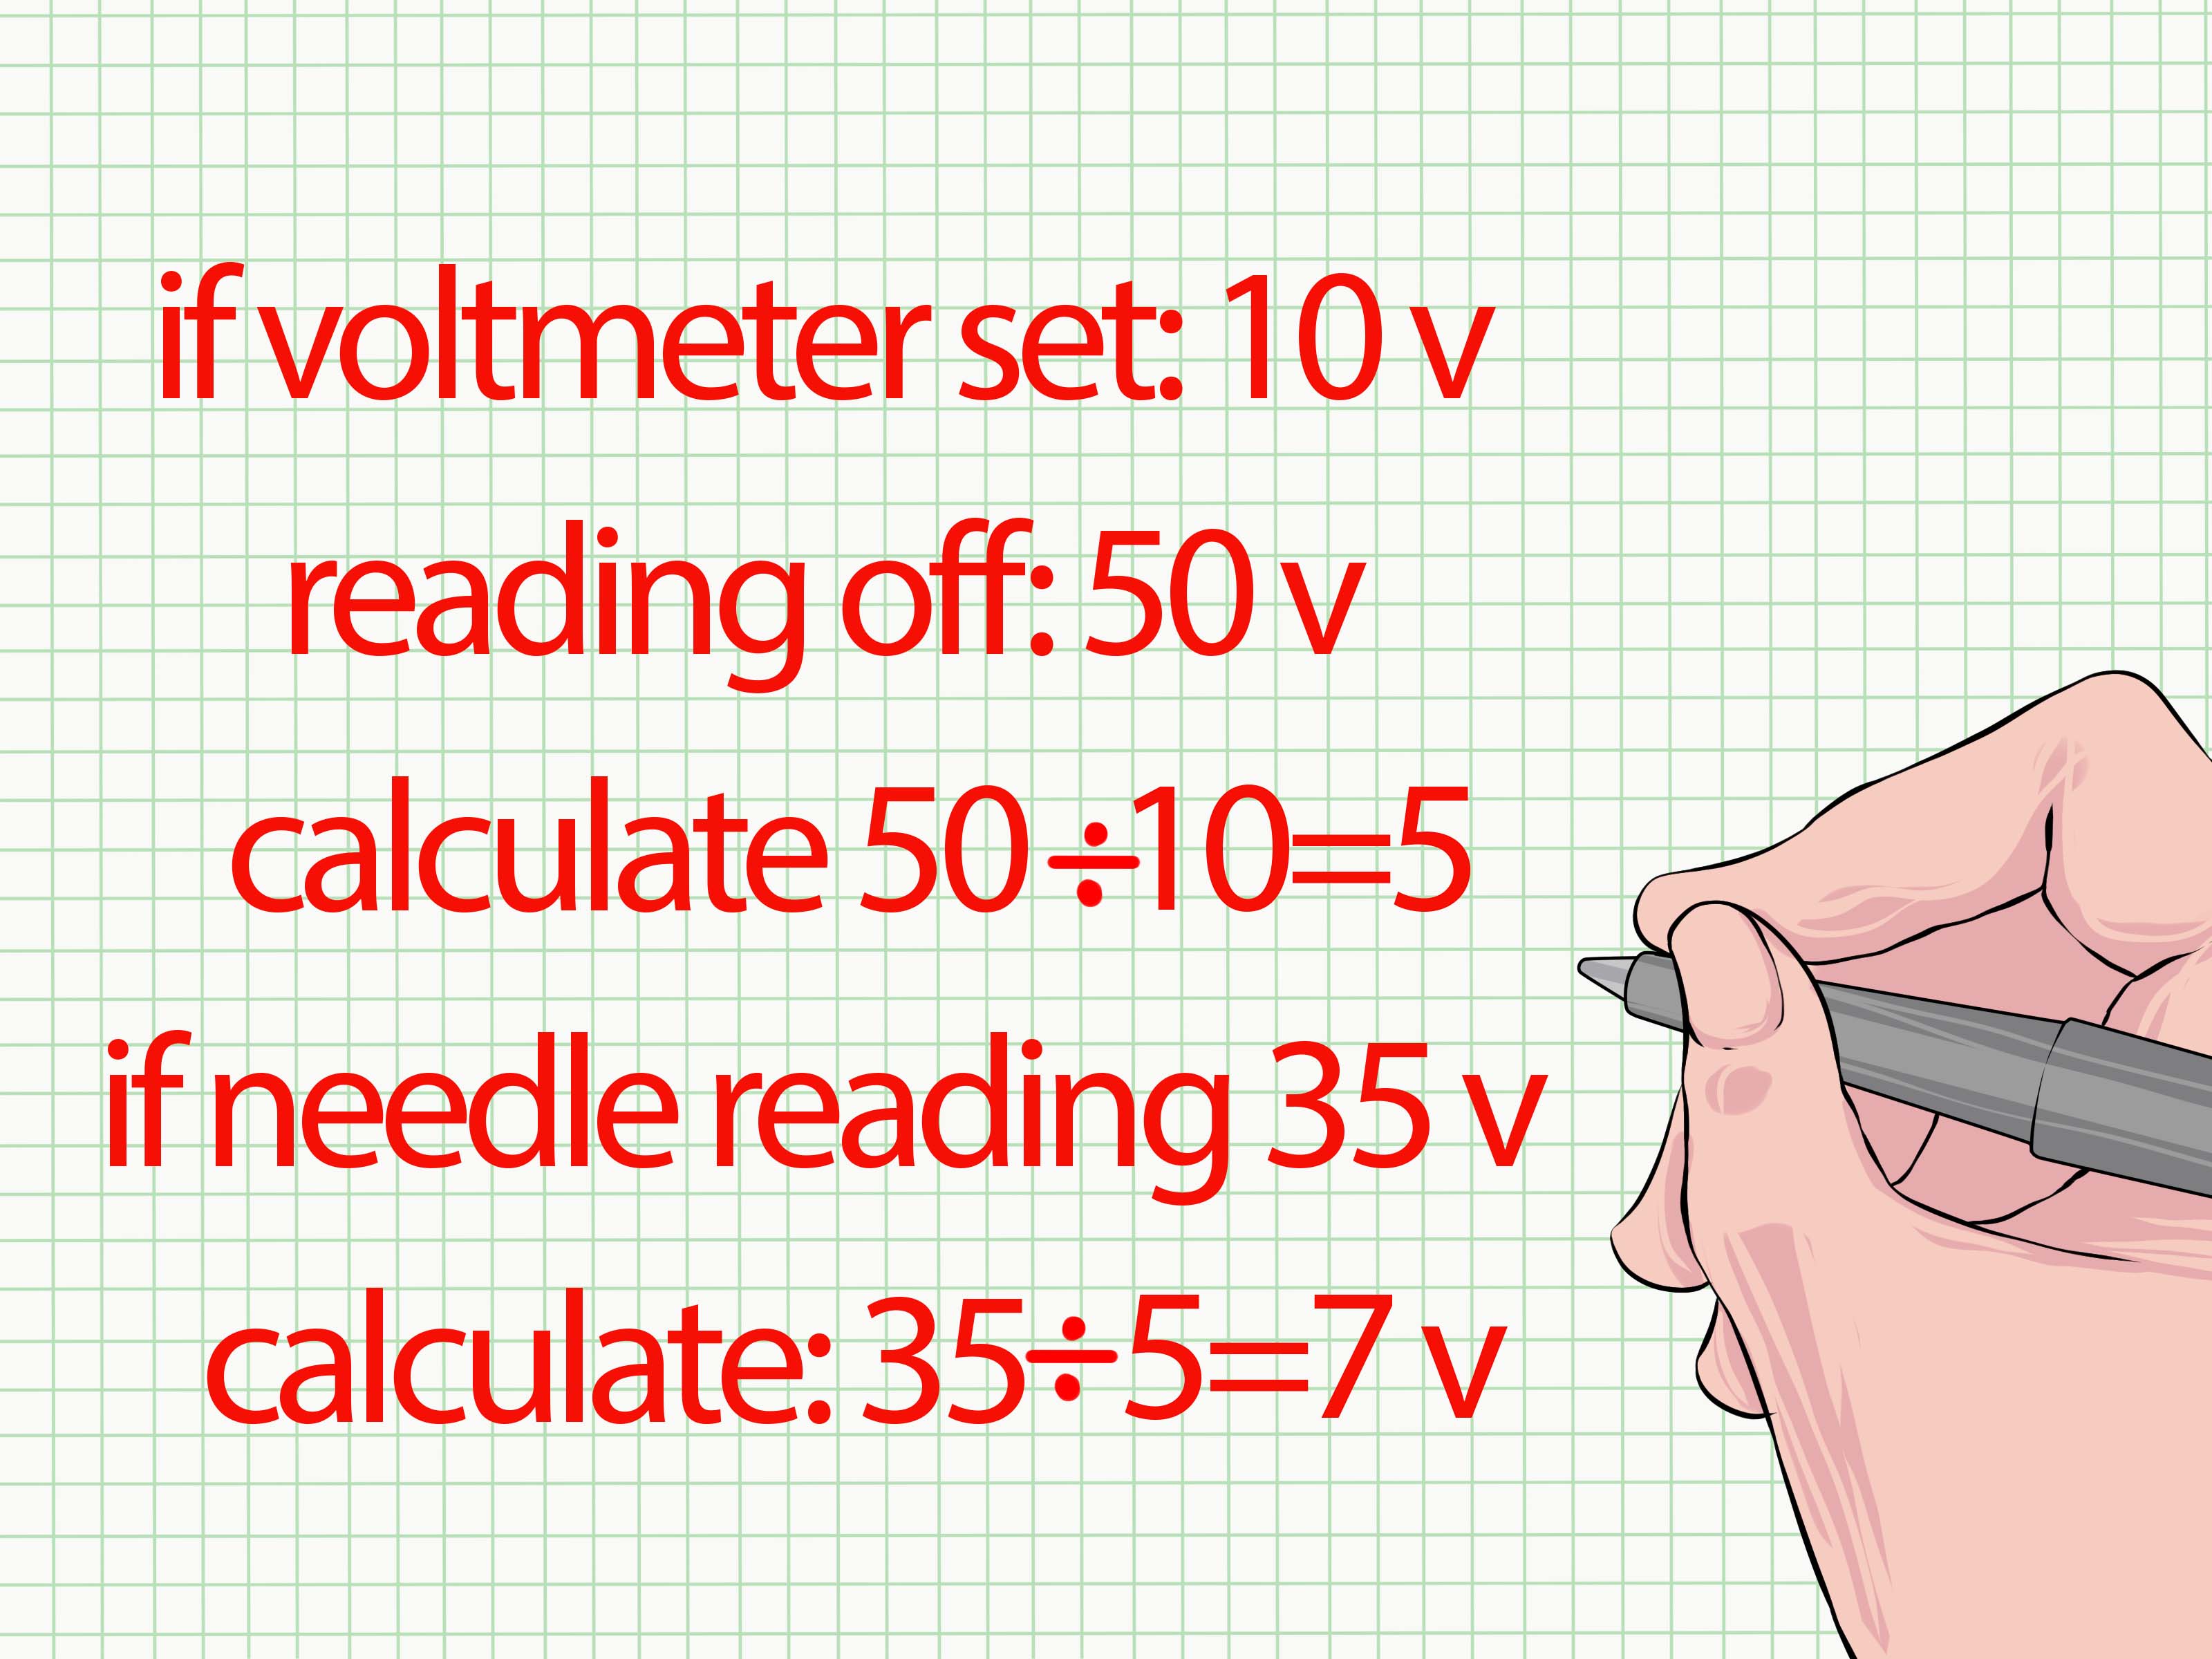
Analog voltmeters, on the other hand, have a needle that sweeps across a scale. They react quickly to changes and
can be nice for watching trends, but they’re harder to read precisely and can introduce reading errors if you’re
not viewing the scale straight on.
Voltmeter vs. Multimeter: What’s the Difference?
A voltmeter is a tool dedicated to measuring voltage only. A multimeter is like
the Swiss Army knife of test equipment: it can measure voltage, current, resistance, and often extras like
continuity, temperature, or capacitance.
In everyday life, most people don’t own a standalone voltmeterthey use the voltage mode on a digital multimeter.
For this article, when we say “voltmeter,” you can safely assume we’re talking about the voltage setting on a
multimeter unless we say otherwise.
Safety First: Rules You Follow Every Single Time
Electricity doesn’t care how confident you feel. Before you poke anything with metal probes, there are a few
non-negotiable safety rules:
- Assume everything is live until you verify otherwise with safe procedure or by turning off power and locking it out.
- Use the right tool for the job – pick a voltmeter or multimeter rated (CAT II, CAT III, etc.) for the voltage and environment you’re measuring.
- Inspect your leads – cracked insulation, loose tips, or burned connectors are a “do not use” sign.
- Keep fingers behind the guards – hold the probes by the insulated handles, not the metal tips.
- Connect in parallel only – a voltmeter always goes across the component or power source, not in series with it.
- Start on the highest range if you’re not sure what voltage to expect (or use auto-range).
- Don’t switch modes while connected – especially don’t flip from voltage to current range with the probes still across a live source.
If you’re ever unsure, step back. It’s better to ask for help or call a licensed electrician than to become part
of the circuit yourself.
Get to Know Your Voltmeter (or Multimeter)
Before we dive into the 12 steps, let’s quickly map out the main parts you’ll use:
- Dial or mode selector: Choose between AC (V~) and DC (V⎓ or V–) voltage, resistance (Ω), current (A), etc.
- Display: Shows the numerical voltage reading, plus units and sometimes icons (like AC, DC, low battery).
- Ports/jacks:
- COM: Common/ground jack for the black probe
- VΩ (or similar): Jack for the red probe when measuring voltage and resistance
- Additional A/mA jacks: Used only for current measurements
- Probes/leads: One black (negative/COM), one red (positive).
Picture idea: Close-up photo of a digital multimeter with arrows pointing to the dial, display, COM port,
VΩ port, red probe, and black probe.
How to Use a Voltmeter in 12 Steps
These steps assume you’re using a digital multimeter in voltage modeessentially using it as a voltmeter. The
basic flow is the same whether you’re measuring a AA battery, a car battery, or a wall outlet (with proper
safety).
Step 1: Decide What You’re Measuring
Are you checking a DC battery? An AC wall outlet? A power adapter? Knowing what you’re measuring helps you choose
the correct voltage type (AC or DC) and range. Batteries, car systems, and most electronics use DC. Outlets and
household mains use AC.
Picture idea: Simple graphic showing a battery labeled “DC” and a wall outlet labeled “AC.”
Step 2: Turn On the Meter and Select Voltage Mode
Turn the dial to the appropriate voltage symbol:
- V⎓ or V– for DC voltage
- V~ or V≈ for AC voltage
If your meter has separate ranges (2 V, 20 V, 200 V, etc.), start with a higher range than you think you’ll need.
If it says “AUTO,” congratulationsyour meter does the range picking for you.
Step 3: Plug the Probes into the Correct Jacks
This part is easy, but surprisingly often done wrong:
- Plug the black probe into COM.
- Plug the red probe into the jack labeled VΩ or similar (for voltage).
Do not leave the red lead in a high-current (A or 10A) jack when measuring voltage. That mistake
is how fuses blow and meters die.
Picture idea: Voltmeter with black lead in COM and red lead in VΩ, with a red X over the “10A” jack.
Step 4: Verify the Range (So You Don’t Scare Yourself)
If the expected voltage is:
- Around 1.5–9 V (small batteries) → choose 20 V DC range.
- About 12–14 V (car battery) → choose 20 V DC range.
- 120–240 V (household mains) → choose 200 V or 600 V AC range.
Starting too low may cause the meter to show “OL” or an overload indicator. Starting high is safer and you can
step down ranges later for more precise numbers.
Step 5: Position Yourself Safely
Before touching the circuit:
- Stand on a dry surface; avoid wet floors or metal ladders.
- Keep one hand in your pocket or behind your back when dealing with mains voltage to reduce shock risk.
- Hold probes by the insulated part, fingers behind the safety guards.
Picture idea: Person standing on a dry mat, one hand behind the back, carefully holding probes.
Step 6: Connect the Probes in Parallel
A voltmeter doesn’t go “in line” with the circuit. Instead, you place it across the component or
power source you want to measure:
- Touch the black probe to the negative side or ground.
- Touch the red probe to the positive side or “hot” point.
This applies to batteries, terminal blocks, and most circuit points. For AC outlets, one probe goes in the “hot”
slot and the other in the neutral (or ground, depending on what you’re checking), but that should only be done if
you’re confident and following local electrical codes.
Step 7: Read the Display (And Don’t Panic if It’s Negative)
Once both probes are in contact, the meter will display a number in volts. If you’re measuring DC and the number
shows up with a minus sign (–), it simply means the probes are reversed: you put red on the negative side and
black on positive. Swap them if you want a positive reading.
Picture idea: Display showing “-1.52 V” with a note saying “probes reversedstill OK.”
Step 8: Refine the Range for Better Precision
If your reading is, say, 8.9 V on a 200 V range, you can switch down to a 20 V range to get more precise digits,
such as 8.92 V. Just be sure to keep the probes steady and don’t switch to a range that’s lower than the actual
voltage.
Step 9: Remove the Probes Safely
When you’re done:
- Remove the red (hot) probe first.
- Then remove the black (ground) probe.
This order reduces the chances of accidental short circuits, especially on live circuits.
Step 10: Turn the Dial to a Safe/Off Position
Some meters have a dedicated power switch, others turn off via the dial. When finished:
- Set the meter back to a neutral mode (like OFF or voltage) instead of leaving it on a current range.
- That way, next time you grab it, you won’t accidentally measure voltage with the leads in a current jack.
Step 11: Review and Interpret the Reading
A voltmeter doesn’t just say “yes/no”it tells a story:
- A 1.5 V battery reading 1.59 V → excellent.
- A “12 V” car battery reading 12.6–12.8 V (engine off) → healthy. Reading 11 V or less → weak or discharged.
- A 120 V outlet reading 118–125 V → normal range in many homes.
Use the voltage reading together with symptoms (flickering lights, dead device, slow crank on a car) to decide
what to check next.
Step 12: Store Your Voltmeter Like a Tool You Care About
Wrap the leads loosely (don’t strangle them), keep the meter in a dry spot, and avoid tossing it into a drawer
full of metal tools where the probes can bend or scratch. Replace the battery when the low-battery icon appears,
or readings may become unreliable.
Picture idea: Multimeter in a small case, probes neatly wrapped, stored on a shelf.
Everyday Examples: Where You’ll Actually Use a Voltmeter
1. Checking a Household Battery
Set the meter to DC voltage, 20 V range. Place the red probe on the “+” end of the battery and the black probe on
the “–” end. A 1.5 V AA battery above ~1.3 V is usually fine; below ~1.0 V it’s pretty tired.
2. Testing a Car Battery (Engine Off)
Set DC voltage to 20 V, red probe on the positive (+) terminal, black on negative (–). Around 12.6 V is a fully
charged battery at rest; around 12.0 V is borderline; below 11.8 V usually means it needs charging or replacing.
3. Verifying an Outlet Has Power (Advanced Users Only)
With AC voltage selected and the appropriate high range, carefully insert one probe into the “hot” slot (usually
smaller) and the other into the neutral slot. In many U.S. homes, you should see roughly 120 V. This task carries
real shock riskif you’re not confident, skip it and call a professional.
Common Voltmeter Mistakes (So You Can Avoid Them)
- Wrong mode: Trying to measure voltage while the meter is set to resistance or current.
- Wrong jacks: Leaving the red probe in the high-current jack from a previous test. Fuse-blowing classic.
- Wrong range: Using a too-low range so the meter constantly shows “OL” or overload.
- Touching the probe tips together on a live source: Instant short circuit on some circuits.
- Ignoring safety category ratings when working around mains or industrial equipment.
Analog vs. Digital Voltmeter: Which Should You Use?
For most DIYers and homeowners, a digital voltmeter (or digital multimeter) is the best choice:
- Easy-to-read numerical display
- Higher accuracy and resolution
- Auto-range features on many models
- Extra functions like resistance, continuity, and more
Analog meters still have their place for certain applicationslike watching slow changes in voltagebut if you’re
buying your first meter, digital is the way to go.
Real-Life Experiences & Pro Tips for Using a Voltmeter (Bonus ~)
The first time many people use a voltmeter, it’s because something has already gone wrong: the car won’t start,
the outlet “seems dead,” or a beloved gadget suddenly refuses to turn on. That’s actually the perfect moment to
learn, because you have a real problem to solve and real motivation to figure it out.
Picture this: it’s a cold morning, your car only gives a sad click when you turn the key, and you suspect the
battery. Instead of guessingand maybe buying a brand-new battery you don’t needyou grab your multimeter. You
set it to DC volts, 20 V range, red on positive, black on negative. The display says 11.4 V. That number tells
you more than any hunch ever could. The battery is low, but not stone-dead, and a proper charge or jump-start is
the likely fix. If you see something like 9 V, you know the battery is in serious trouble and replacement is
probably in your future.
Another classic “first win” with a voltmeter happens around the house. Maybe one lamp won’t turn on, and you’ve
already swapped the bulb. With a voltmeter, you can check whether there’s actually voltage at the outlet. If the
outlet reads 0 V but another outlet in the room reads ~120 V, you’ve learned the problem is upstream: a tripped
breaker, a GFCI outlet that needs resetting, or a loose connection that a professional should handle. The key
feeling here is controlsuddenly you’re not just guessing, you’re measuring.
People also quickly learn the emotional side of voltmeter use: the “tiny jolt of panic” when the meter initially
shows something unexpected. Maybe your battery reads 0.0 V because you forgot to switch from resistance mode back
to voltage. Or maybe the number is flickering weirdly because the probes aren’t making good contact. Over time,
you get used to double-checking simple things: Are my leads in the right jacks? Is the range correct? Is this
AC or DC? That little mental checklist becomes second nature, and the panic turns into curiosity.
One very practical habit: many experienced users make a “known-good check” before any serious measurement. For
example, they’ll briefly test a fresh AA battery or a USB power adapter with a known good output. If the meter
shows something reasonable there, they know the meter is functioning and their technique is OK. Then, when they
move on to the unknown circuit, they can trust the reading more.
Experienced DIYers and technicians also learn to combine voltage readings with simple logic. Suppose a device
won’t turn on. If the wall outlet has good voltage, the power strip has good voltage, and the device’s power
adapter outputs the correct DC voltage, the problem is probably inside the devicenot in the building wiring.
Conversely, if the outlet shows no voltage but the breaker is on, that points toward a wiring or connection
issue, and that’s a good time to call an electrician instead of poking around deeper.
Finally, there’s a quiet confidence that comes from using a voltmeter correctly a few times. You start to see
voltage not as an abstract scary concept but as a measurable, understandable quantity. You respect it (because it
can definitely hurt you at higher levels), but you’re no longer in the dark. You can verify that a circuit is
off before touching it, check that a repair actually worked, and diagnose issues more intelligently. That’s a big
upgrade from “wiggle it and hope.”
The bottom line: your voltmeter is more than a gadget. Used well, it’s a decision-making tool. It saves you time,
money, and guesswork, and it makes you safer around electricity. The more you use itcarefully, methodically,
and with respectthe more valuable it becomes.
Conclusion: Measure Smart, Stay Safe, Feel Like a Wizard
Learning how to use a voltmeter isn’t about memorizing mysterious symbolsit’s about following a repeatable
process. Start with safety, choose the right mode and range, connect in parallel, read the number, and interpret
what it means in the real world. With these 12 steps and the extra tips you’ve just read, you’re ready to measure
battery voltage, check outlets, and troubleshoot circuits with far more confidenceand far less guesswork.
Respect the power, respect the tool, and your voltmeter will quickly become one of your favorite problem-solving
sidekicks.