If your garage floor could talk, it would probably say something like, “Hey, I’m tired of road salt, oil drips, and that mystery stain from 2018.” We park on it, spill on it, and ignore ituntil the concrete starts to crumble or the epoxy peels like a bad sunburn.
The good news? A little TLC for your garage floor goes a long way. With some cleaning, minor repairs, and the right coating or sealer, you can turn that dusty, stained slab into a tough, good-looking surface that’s easier to clean and nicer to live with every day.
Why Your Garage Floor Deserves Some Love
Garage floors take more abuse than almost any other surface in your home. They’re hit with:
- Road salt and de-icer in winter, which can eat away at concrete.
- Oil, brake fluid, and other chemicals that stain and soak into bare concrete.
- Hot tire pickup that can soften and peel cheap paints and coatings.
- Moisture and puddles that lead to efflorescence, cracking, and mold along the walls.
Left alone, concrete slowly dusts and spalls (flakes), coatings chip and peel, and the space becomes grimy and unpleasant. With a little maintenancethink sweeping, washing, sealing, and maybe upgrading to epoxy or polyasparticyou can dramatically extend the life of your floor and make the whole garage feel more like a room and less like a forgotten warehouse.
Step One: Clear, Inspect, and Clean the Floor
Clear the Decks
First, channel your inner This Old House crew and start with a blank slate:
- Move cars, tools, shelves on casters, and anything stored on the floor out of the garage.
- Cover the lower 2–3 feet of walls with plastic if you’ll be spraying water or using strong cleaners.
- Open the garage door and any side doors or windows for ventilation.
Dry Cleaning: Sweep, Vacuum, and De-Cobweb
Before you add water, get rid of loose debris:
- Use a wide push broom to sweep from the back of the garage toward the door.
- Vacuum corners, expansion joints, and around the foundation where dust and spiderwebs collect.
- Knock down cobwebs on the walls and ceiling; they’ll just fall on your freshly cleaned floor later otherwise.
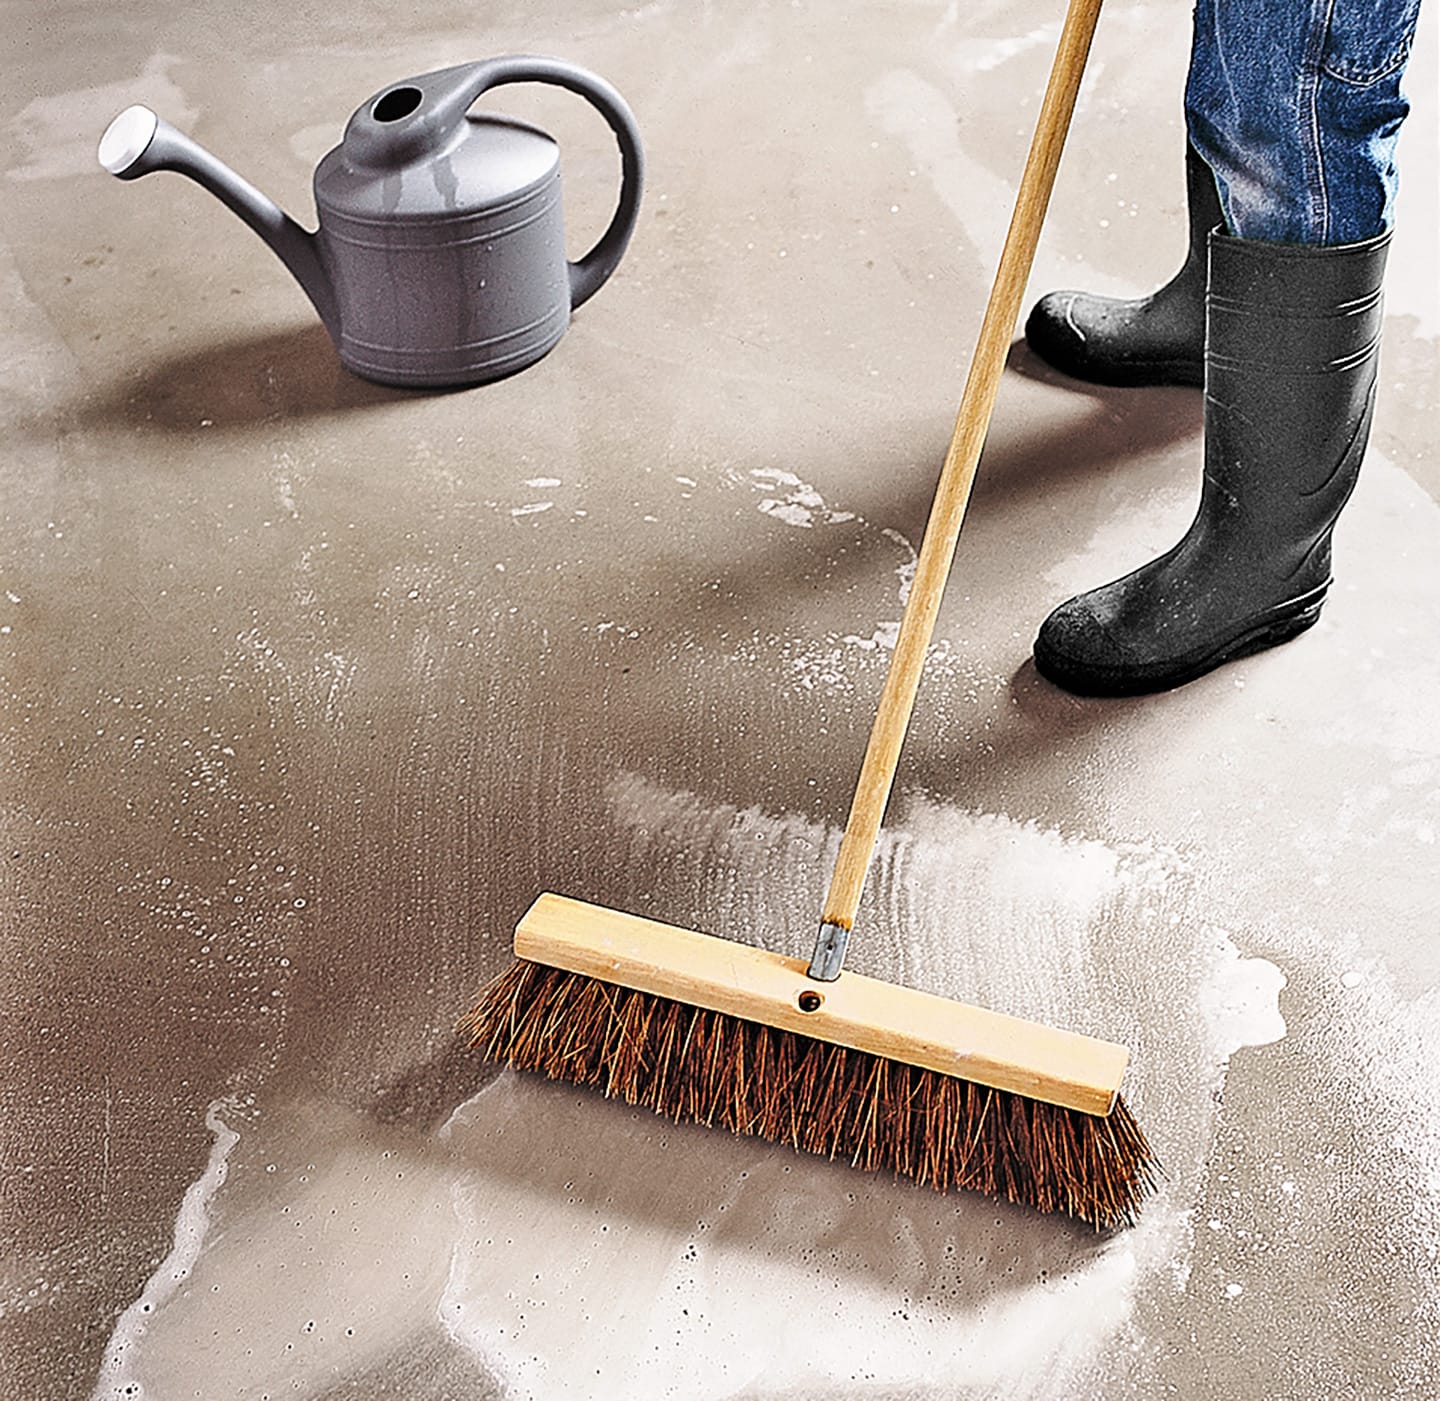
Wet Cleaning: Degrease and Wash
Most garage floor grime is a mix of dirt, oil, and road film. A basic cleaning routine looks like this:
- Mix a cleaning solution. In a bucket, combine warm water with an all-purpose cleaner or degreaser that’s safe for concrete, like a dish soap with good degreasing power.
- Pre-treat oil spots. Sprinkle cat litter or an oil-absorbent product on fresh spills and grind it in with your shoe. Sweep it up, then hit the stain with a stronger degreaser and a stiff brush.
- Scrub in sections. Starting at the back wall, scrub the floor with a deck brush or stiff push broom, working your way toward the door.
- Let it dwell. Give the cleaner a few minutes to work on tough stainsjust don’t let it dry on the surface.
- Rinse thoroughly. Use a hose (or a few buckets of clean water) and a squeegee to flush dirt and soap toward the garage door and out onto the driveway.
Special Stains: Rust, Efflorescence, and More
- Rust stains from tools or paint cans: Use a concrete-safe rust remover or a mild acid product specifically labeled for masonry. Scrub, rinse, repeat as needed.
- Efflorescence (white powdery deposits): Usually caused by moisture moving through the concrete. Brush off loose material, then wash with a masonry cleaner designed for efflorescence. If it keeps coming back, you may also need to address drainage or moisture under the slab.
- Old oil stains: It’s normal for some ghost stains to remain even after cleaning. Deep staining can be minimized with multiple rounds of degreaser or covered later by an opaque coating.
Repairing Cracks, Pits, and Spalled Areas
Once the floor is clean and dry, you’ll see the true condition of the concrete. Hairline cracks are common and often just cosmetic, but wider cracks, pitting, and flaking should be repaired before you seal or coat the floor.
Assess the Damage
- Hairline shrinkage cracks: Usually harmless; you can fill them for looks and to keep dirt out.
- Wider cracks or heaving: May point to movement in the slab or soil. For significant movement, a pro should take a look.
- Pitting and spalling: Small craters or flaking surfaces from salt, moisture, or poor original concrete.
Basic Repair Steps
- Clean the cracks. Vacuum out dust and loose chunks so repair products can bond.
- Use the right filler. For narrow cracks, use a concrete crack filler or epoxy crack repair. For larger areas, use a trowel-grade concrete patch or polymer-modified repair mortar.
- Feather the edges. Smooth patched areas so they blend into the surrounding floorlumps and ridges will show through coatings.
- Let repairs cure. Follow the curing time on the product; rushing this step is a sure way to get future peeling or cracking under coatings.
Good prep work isn’t glamorous, but it’s the difference between a stunning, long-lasting floor and one that starts failing after the first hot summer.
Seal, Paint, or Coat? Choosing the Right Finish
Now for the fun part: deciding how fancy you want your garage floor to be. You’ve got a spectrum of options, from simple clear sealers to professional-grade polyaspartic systems.
Option 1: Clear Sealers and Penetrating Treatments
Clear sealers are a great minimal-maintenance upgrade for bare concrete:
- Penetrating sealers (like silane/siloxane) soak into the concrete and help resist water and de-icing salts without changing the appearance much.
- Acrylic film-forming sealers provide a low-sheen finish that makes sweeping and mopping easier and gives the concrete a slightly richer color.
These are ideal if you want better protection and easier cleaning, but you’re not obsessed with a showroom shine.
Option 2: Concrete Paint and 1-Part Epoxy Paint
Standard garage floor paint and 1-part “epoxy acrylic” products are budget-friendly and DIY-friendly. They’re easy to roll on and come in several colors.
The trade-off: they’re not as durable as true 2-part epoxy or polyaspartic. Hot tires, heavy use, and road salt can cause peeling or wear-through over time. If you choose this route, surface prep and following the can’s instructions are absolutely critical.
Option 3: Two-Part Epoxy Coatings
True 2-part epoxy is a classic upgrade for garage floors:
- Creates a hard, non-porous, chemical-resistant surface.
- Resists oil, most household chemicals, and road salt.
- Available with decorative color flakes for a speckled, slip-resistant finish that hides dirt.
Epoxy is durable, but it does have a few quirks:
- It’s more brittle than newer coatings, so it can chip if the concrete moves or heavy objects are dropped.
- It can yellow in UV light if exposed to a lot of sun near the garage door.
- Install time is slowerusually you’re off the floor for a couple of days while it cures.
Option 4: Polyaspartic and Polyurea Coatings
Polyaspartic and polyurea coatings are the newer, higher-end cousins in the garage floor world. Many professional installers now recommend them over epoxy for demanding garages because they:
- Cure much fasteroften allowing light use in 24 hours or less.
- Offer superior abrasion resistance, so they’re less likely to scratch or scuff.
- Have excellent UV resistance, so they don’t yellow at the door opening.
- Remain slightly flexible, making them more forgiving on concrete that expands and contracts with temperature changes.
They are typically more expensive and are often installed by pros, but the payoff is a beautiful, low-maintenance floor that’s built to last.
Option 5: Mats and Interlocking Tiles
If coatings feel like too much commitment, or your floor has moisture issues that make coatings tricky, consider:
- Roll-out vinyl or rubber mats that cover the main parking areas.
- Interlocking plastic tiles that snap together and create a finished, ventilated surface above the concrete.
These products can be removed or replaced later and are great if you rent or you’re not ready for a full-blown coating project.
Everyday TLC: How to Maintain a Garage Floor
Simple Weekly and Monthly Routines
- Weekly (or as needed): Sweep or dust-mop to keep grit and dirt under control. On coated floors, this prevents micro-scratches.
- Monthly: Mop with warm water and a mild cleaner. Avoid harsh acids, strong solvents, or abrasive powdersespecially on epoxy and polyaspartic coatings, which can dull over time if abused.
- Spill control: Wipe up oil, brake fluid, and chemical spills promptly so they don’t stain or attack the coating.
Seasonal Maintenance
- Winter: Place mats where wet, salty slush drips off the car. Sweep and mop more frequently to keep de-icing salts from sitting on the concrete or coating.
- Spring: Do a deep clean to flush away sand, salt, and grime. Inspect for new cracks or chips and touch up any damaged coating.
- Summer and Fall: Keep up regular sweeping and occasional mopping. Check weatherstripping and drainage so rain doesn’t puddle inside the garage.
Safety Tips While You Work
- Wear gloves and eye protection when using cleaners, degreasers, or repair products.
- Ensure good ventilationopen doors and windows, and consider a fan when using coatings.
- Use non-slip shoes, especially on freshly cleaned or freshly coated floors, which can be slick.
Before-and-After: What a Little TLC Can Do
Picture this: Saturday morning, the garage is a cluttered mess with a stained, dusty floor. By Sunday night, the tools are organized, the concrete is patched and coated, and the floor looks like a clean, bright car showroom (or at least a very respectable workshop). Suddenly, you’re more inclined to do projects, the kids can safely park bikes inside, and you’re not tracking as much grime into the house.
That’s the power of giving your garage floor a little tender loving care. It’s not just a cosmetic upgrade; it’s a quality-of-life improvement every time you hit the garage door opener.
Real-World TLC for Garage Floors: Experiences and Takeaways
Advice is great, but it really comes to life when you see how different homeowners handle their garage floors. Here are some real-world style scenarios and lessons that can help you decide what’s right for your own space.
The Weekend Warrior’s Epoxy Makeover
One common story goes like this: the homeowner is tired of parking on stained concrete and decides to tackle a full epoxy project over a long weekend. Day one is all about cleaning and surface prepsweeping, degreasing, rinsing, and waiting for the slab to dry thoroughly. Any cracks and pits get filled in the afternoon.
On day two, the epoxy kit comes out. After carefully mixing the two-part resin, the homeowner cuts in along the walls, then rolls the coating across the floor in sections, broadcasting decorative flakes as they go. They work in small areas to stay ahead of the pot life of the epoxy.
By Monday, the floor has cured enough for light foot traffic. The transformation is dramatic: the speckled finish hides old stains, the surface feels solid underfoot, and sweeping up dust and sawdust is suddenly easy. The big takeaway? Prep took more time than rolling the epoxy, but it made the difference between a so-so DIY job and a professional-looking result.
The Busy Family That Needed Easy Maintenance
Another family, with kids in sports and two cars constantly coming and going, wanted a floor that could handle soccer cleats, muddy strollers, and winter slush without becoming a disaster zone. They opted for a professionally installed polyaspartic coating with a full broadcast of color flakes.
The install only took about a day, which minimized disruption to their schedule. The floor cured quickly, so they could park in the garage again by the next evening. What they appreciate most now is how simple cleanup is: a quick sweep and occasional mop keep the floor looking good. Road salt and spilled sports drinks don’t soak in or leave the floor sticky.
The lesson from their experience is that if your garage is high-traffic and your schedule is packed, it can be worth investing in a coating that installs fast and demands very little ongoing maintenance.
The “Good Enough” Upgrade with Mats and Sealers
Not everyone wants to go all-in with epoxy or polyaspartic. One homeowner with an older, slightly uneven slab chose a more modest path. They used a penetrating sealer to help resist moisture and dust, then rolled out heavy-duty parking mats where the cars sit.
The mats catch oil drips, snowmelt, and dirt, while the sealed concrete around them is easier to sweep and doesn’t dust as much. The total project cost was relatively low, and everything could be DIY’d with a free afternoon and a bit of muscle to move storage racks.
The takeaway here is that you don’t have to chase perfection to get meaningful results. Even a basic sealer plus strategic mats can radically reduce grime and protect your slab.
Landlords and Long-Term Durability
Landlords and property managers often look for solutions that survive multiple tenants. One landlord managing several single-family rentals decided to upgrade each garage as it became vacant. In properties where the slabs were in good shape, they invested in professional epoxy or polyaspartic coatings. In older garages with moisture concerns, they went with sealed concrete and interlocking tiles.
Over several years, they found that coated floors reduced complaints about oil-stained garages, and move-out cleaning was much faster. Tenants tended to treat the garage more like a usable bonus room rather than just a storage cave. For the landlord, that meant better overall property appeal and less time spent repainting battered concrete between leases.
What These Stories Have in Common
Across all these experiences, a few themes stand out:
- Preparation matters. Whether you’re sealing, painting, or coating, cleaning and repairing the floor first is non-negotiable.
- The “right” solution depends on how you use the space. Heavy DIY work, kid chaos, or rental turnover all call for different levels of durability and investment.
- Maintenance is simpler when the floor is protected. Once the slab is sealed or coated, you spend less time scrubbing stains and more time just giving the floor quick, easy cleanups.
At the end of the day, TLC for your garage floor doesn’t have to be overwhelming. Start with a thorough cleaning, fix the worst trouble spots, and then choose a finish that fits your budget and lifestyle. Whether you go with a simple sealer and mats or a full professional coating, your garage will feel cleaner, brighter, and a lot more inviting every time you hit that opener.