There is something deeply satisfying about turning an ordinary sheet of printer paper into a neat little box. One minute it is sitting there minding its own business, looking like it belongs in a stapler’s social circle. The next minute, it is holding earrings, paper clips, wrapped candy, sticky notes, or that one mysterious button every household seems to own for no reason.
If you want a simple paper craft that is useful, beginner-friendly, and weirdly calming, learning how to make an origami box with printer paper is a great place to start. You do not need fancy origami paper, a craft room that looks like a lifestyle magazine, or the patience of a monk who has sworn off group chats. You just need one sheet of printer paper, a flat surface, and a willingness to make a couple of folds that may look suspicious at first but come together beautifully in the end.
This guide walks you through a clean, practical 12-step method for making a classic origami box from printer paper. Along the way, you will also learn how to make a square from standard paper, how to avoid common folding mistakes, and how to make your finished box look crisp instead of slightly emotionally overwhelmed. Let’s fold.
Why Printer Paper Works So Well for This Project
Origami paper is lovely, colorful, and absolutely smug about how perfect it is for folding. But printer paper has a few advantages of its own. First, it is easy to find. Second, it is cheap. Third, if you mess up the first attempt, you can calmly start over without feeling like you just destroyed a precious imported craft supply.
Standard printer paper is also thin enough to fold without becoming bulky, yet sturdy enough to hold a box shape once the creases are sharp. That balance makes it ideal for beginner paper folding. A finished box made from printer paper will not replace a wooden jewelry chest or survive a wrestling match, but it is perfect for lightweight items and quick desk organization.
What You Need Before You Start
- 1 sheet of printer paper
- Scissors, or a careful tear along a crease line
- A flat table or desk
- Your hands and a little patience
That is it. No glue is required for the basic box. No tape is required either. This is one of those rare crafts that does not begin with a shopping list long enough to qualify as a side quest.
How to Make an Origami Box with Printer Paper: 12 Steps
-
Step 1: Place the printer paper vertically on your table
Set your sheet of printer paper on a flat surface in portrait orientation, with the shorter edges at the top and bottom. Smooth it out with your palm so you are not starting with random wrinkles. Surprise creases are the paper-craft version of plot twists nobody asked for.
-
Step 2: Fold one top corner diagonally to form a triangle
Bring the top right corner down so it lines up evenly with the left edge of the paper. You should create a large triangle at the top and a narrow rectangular strip left over at the bottom. Press the diagonal fold firmly. This fold is important because it creates the square shape you need for the box.
-
Step 3: Remove the extra strip to make a square
Fold the bottom strip upward against the triangle and crease it well. Then cut or carefully tear off that strip. When you unfold the triangle, you should have a square. Congratulations: your humble sheet of printer paper has officially entered its origami era.
-
Step 4: Fold the square in half both ways
Take your square and fold it in half from top to bottom. Unfold it. Then fold it in half from left to right and unfold again. You should now see a cross-shaped crease pattern. These center lines act like a map, and unlike some maps, this one will not reroute you into a lake.
-
Step 5: Fold all four corners into the center
Bring each corner neatly into the middle point where the two crease lines meet. Work one corner at a time and line them up carefully. When all four corners are folded in, your square will look smaller and more compact. This is the stage where the paper starts looking pleasantly serious about becoming a box.
-
Step 6: Fold the top and bottom edges to the center
With the corner flaps still folded in, bring the top edge down to the center. Crease it, then bring the bottom edge up to the center and crease that too. After pressing both folds firmly, unfold them. You are not done with these creases yet; you are just training the paper like a tiny geometric athlete.
-
Step 7: Fold the left and right edges to the center
Now fold the left edge into the center and crease it. Do the same with the right edge. Then unfold both sides. At this point, the paper should show a tidy network of fold lines. If it looks a little complicated, do not panic. Origami often looks like nonsense right before it suddenly makes perfect sense.
-
Step 8: Open two opposite corner flaps
Choose the left and right corner flaps and unfold them completely so those two corners point outward again. Keep the top and bottom corner flaps folded in. Your model should now look like a strange paper creature with a clear sense of purpose.
-
Step 9: Lift the top section to form the first wall
Raise the top edge upward along the existing crease lines. As you do, the side folds will begin to angle inward. This is where the flat shape starts becoming three-dimensional. Support the paper gently with your fingers so the creases guide the motion instead of fighting it.
-
Step 10: Fold the side corners inward
Look at the little angled flaps forming on the left and right sides of the raised wall. Push those inward so they tuck neatly inside. Then fold the top flap down over them to lock that end of the box into place. Give the folds a firm press to help the wall stand upright and behave itself.
-
Step 11: Repeat on the opposite side
Now rotate the box or move to the bottom end and repeat the same shaping process. Lift the remaining side wall, tuck the angled side flaps inward, and fold the outer flap down to secure that end. Once both sides are formed, you will finally have something that looks unmistakably like a box rather than an elaborate argument with paper.
-
Step 12: Square the corners and flatten the base
Use your fingers to adjust the corners, press the base flat, and straighten the walls. Run your thumb along the edges to sharpen the shape. That is it. You now have an origami box made from printer paper, and it did not require glue, a YouTube panic spiral, or calling an artsy friend for emergency support.
How to Make Your Box Look Cleaner
The difference between a beautiful origami box and a sad paper tray usually comes down to one thing: crease quality. Sharp, accurate folds matter more than speed. If you rush, the box can lean, gap, or bulge at the corners. If you take an extra few seconds to line up edges before pressing each fold, the final result will look dramatically better.
Also, do not be shy about pressing folds firmly with a fingernail or the side of your thumb. Crisp creases give the box structure. Soft folds make it act like it has commitment issues.
Common Mistakes Beginners Make
Using a crooked square
If the first square is uneven, the whole box becomes harder to shape. The errors stack up fast, and the final result may twist slightly. Start carefully, because the first fold decides a lot.
Rushing the center folds
When corners do not meet neatly in the middle, later folds stop lining up correctly. That can make the side walls uneven. Slow down and line up the points cleanly.
Forgetting which corners to unfold
Only two opposite corners should be opened before forming the walls. If all four corners are unfolded, the structure gets confusing and the box will not lock together the same way.
Trying to force the walls
The paper should rise because the creases guide it, not because you are bullying it into submission. Gentle shaping works better than aggressive folding.
What Can You Put in an Origami Box?
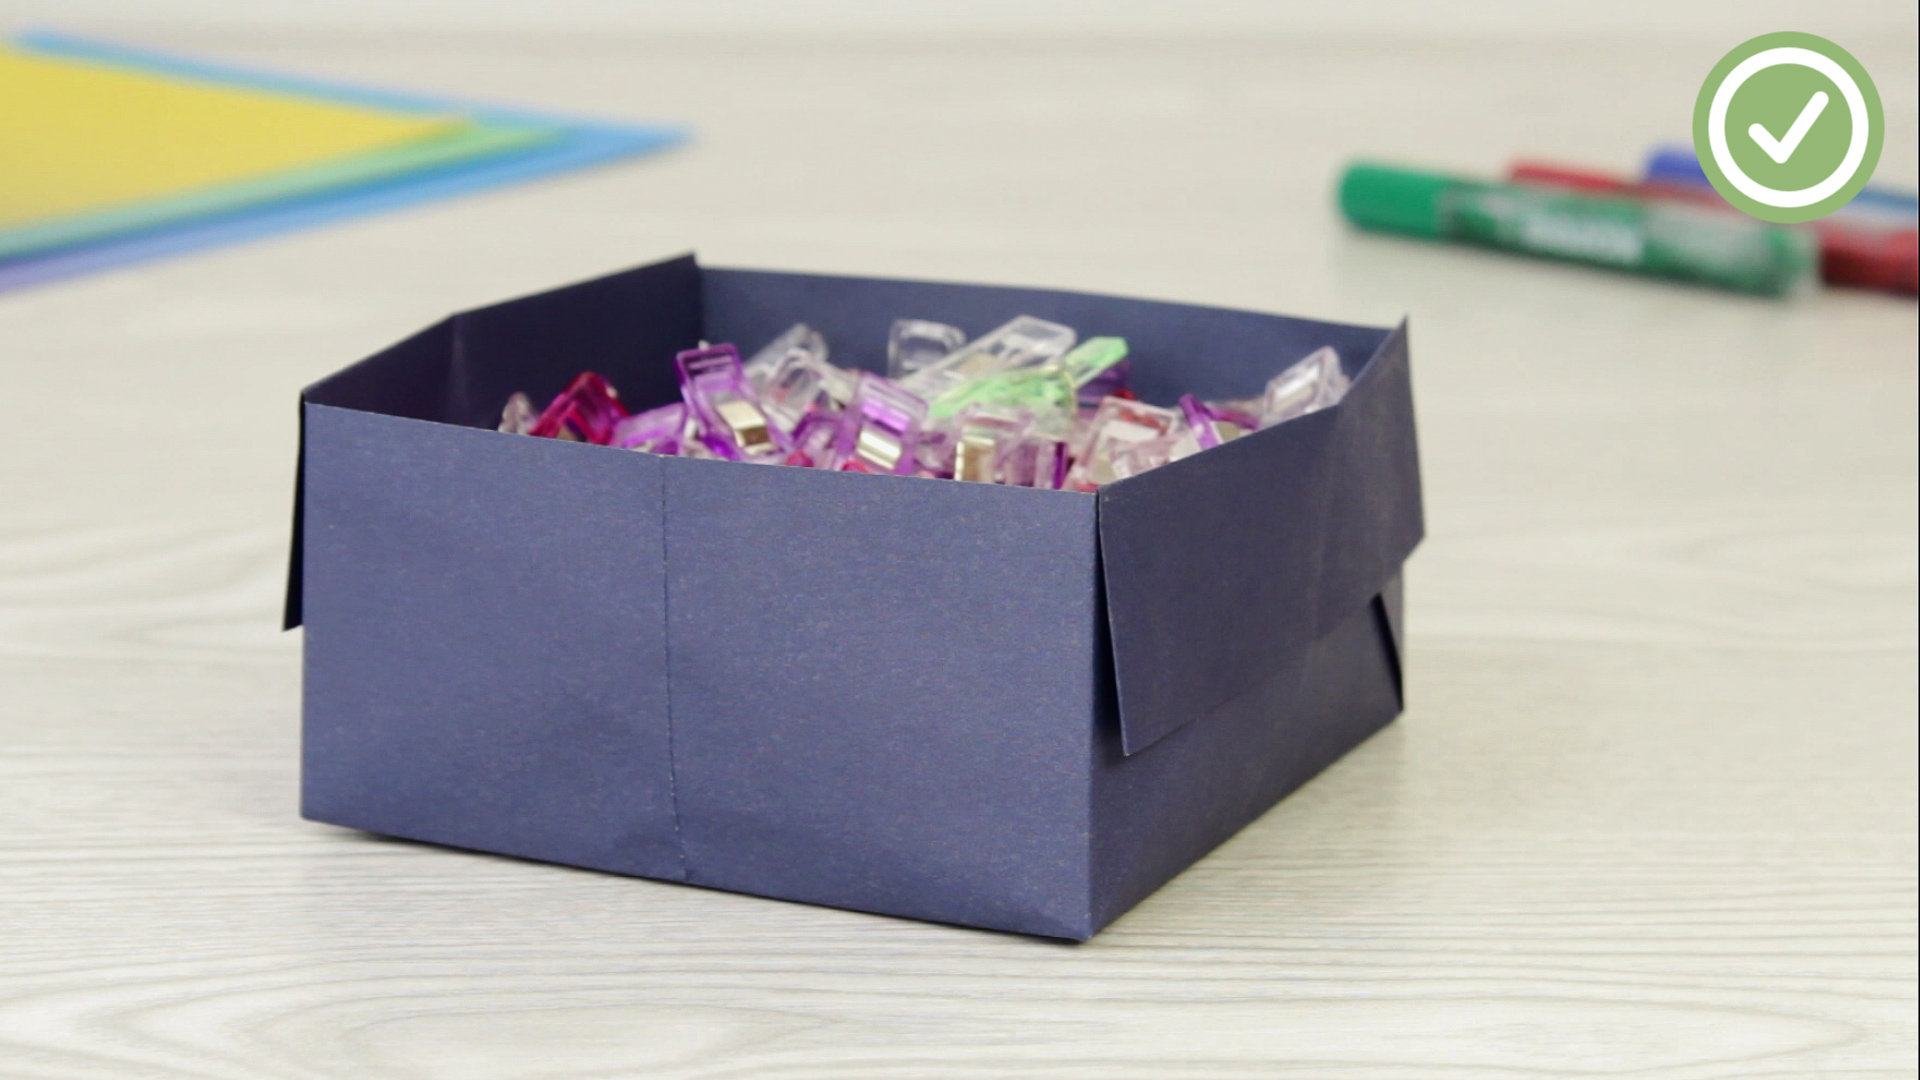
Quite a few things, actually. A printer-paper origami box is ideal for lightweight items like paper clips, push pins, hair ties, earrings, wrapped candy, tea bags, beads, tiny notes, or spare buttons. It also makes a cute desk organizer, a party favor tray, or a quick gift container for something small and thoughtful.
If you want to use the box for gifting, slip in tissue paper, a handwritten note, or a piece of ribbon around the outside. Suddenly your humble office paper project looks intentional and charming, which is a nice upgrade from “I wrapped this in whatever I found near the printer.”
Can You Make a Lid Too?
Yes. The easiest way is to make a second box from a slightly larger square for the lid, or make the base from a slightly smaller square. Even a tiny size difference can help one piece fit over the other. This is a great follow-up project once you are comfortable with the basic folding sequence.
You can also experiment with colored printer paper, scrapbook paper, or paper with one patterned side. The structure stays mostly the same, but the personality changes a lot. It is the same box wearing a much better outfit.
Experience: What It’s Actually Like to Make an Origami Box with Printer Paper
The first time most people make an origami box with printer paper, there is usually a moment somewhere around the middle when the project seems deeply suspicious. Up until then, everything feels manageable. Fold a corner. Make a square. Fold the corners inward. Great. Very civilized. Then the paper starts developing little flaps and hidden creases, and suddenly it looks like the blueprint for a tiny spacecraft. That is normal.
One of the most interesting things about this project is how quickly it teaches patience without giving a lecture about patience. A slightly crooked fold in the beginning does not seem dramatic, but by the time you form the walls, the box tattles on you. Every rushed crease leaves evidence. It is a strangely honest craft. The paper is basically saying, “I remember what you did in Step 3.”
Printer paper also gives the experience a practical, low-pressure feel. Because the material is so ordinary, there is less fear of messing up. That makes the project especially good for beginners, kids, classrooms, or adults who claim they are “not crafty” while secretly enjoying every second of organized folding. If the first attempt comes out a little lopsided, no problem. Grab another sheet and try again. You are out maybe one piece of paper and a few minutes, not your dignity.
There is also something satisfying about how useful the finished box becomes almost immediately. It is not just a decorative craft that sits there hoping someone notices it. It can actually hold things. That functional payoff makes the experience more rewarding than many beginner projects. A finished origami box can land on a desk, dresser, nightstand, or classroom shelf and start working right away.
For families, this project is a sneaky little win. It feels like play, but it builds attention to detail, sequencing, hand coordination, and spatial awareness. For students, it can be part of an art activity, a math-adjacent lesson on shapes and symmetry, or a simple calm-down exercise. For adults, it is a surprisingly effective screen break. Folding paper for ten minutes can reset a scattered brain better than scrolling through thirty-seven opinions about productivity.
The emotional arc is also pretty great. At first, you are mildly curious. Then a little confused. Then weirdly determined. Then suddenly proud of a paper box the size of your palm, as if you have personally reinvented architecture. And honestly, that pride is deserved. Turning one flat sheet into a three-dimensional container using only folds is kind of magical, even when the material came from a boring office ream.
After a few tries, the experience changes again. The steps start living in your hands instead of your head. You stop overthinking. The folds become rhythmic. That is when this project goes from “craft tutorial” to “pleasant ritual.” Many people end up making several boxes in a row without planning to, which is how you know the paper has won.
Final Thoughts
Learning how to make an origami box with printer paper is one of those wonderfully useful skills that feels small at first and then keeps paying off. It is easy enough for beginners, practical enough for everyday use, and charming enough to make even ordinary paper feel a little special. Better yet, it proves that creativity does not need expensive supplies. Sometimes all it takes is a sheet of paper, a table, and a willingness to fold the same line twice until it looks right.
So the next time you are near a printer, do not just think about reports, forms, or school handouts. Think bigger. Or technically, think smaller. There is a box hiding in that paper.