Few things test a homeowner’s patience quite like tiny nail holes in drywall. They are small enough to look harmless, but once sunlight hits the wall at the wrong angle, those little dots suddenly announce themselves like they are auditioning for a home-renovation reality show. The good news is that you can often fill nail holes in drywall without painting the entire wall, especially when the holes are small, the surrounding paint is in decent condition, and you use the right repair method.
This guide walks you through a practical, low-drama way to repair nail holes without repainting. The goal is not to perform museum-grade restoration on a wall that has survived moving day, toddlers, picture frames, and maybe one overly enthusiastic hammer swing. The goal is to make small holes blend in well enough that guests do not notice them, landlords stop squinting at them, and you can stop pretending that “gallery wall” was always your long-term decorating strategy.
Below, you will learn the tools you need, the right filler to choose, the nine-step process, and smart tricks for matching wall color and texture without reaching for a paint roller. Let’s patch those tiny craters and give your drywall the quiet comeback it deserves.
Can You Really Fill Nail Holes in Drywall Without Painting?
Yes, you can fill nail holes in drywall without painting in many situations. The best candidates are small holes left by picture hooks, finishing nails, thumbtacks, small screws, or wall anchors that did not tear a large chunk of paper from the drywall surface. If the surrounding wall color is white, off-white, beige, or another common neutral, the repair can often disappear surprisingly well with lightweight spackle, a careful touch, and a bit of surface blending.
However, “without painting” does not always mean “completely invisible under a detective’s flashlight.” If your wall has a bold color, glossy finish, heavy texture, smoke staining, sun fading, or older paint that has changed color over time, a filler-only repair may still show slightly. In those cases, you can reduce the appearance of the repair, but a tiny touch-up may be needed for perfection. Still, for most small nail holes, especially in rental units or everyday living spaces, the no-paint method works well enough to save time, money, and sanity.
What You Need Before You Start
Before you begin, gather the right supplies. A simple nail-hole repair does not require a toolbox large enough to scare the neighbors. You only need a few basic items.
Recommended Tools and Materials
- Lightweight spackling compound or premixed drywall repair filler
- Small putty knife, plastic scraper, or old credit card
- Clean microfiber cloth or sponge
- Fine-grit sanding sponge, around 220 grit
- Cotton swab or small artist brush
- White toothpaste or bar soap for very temporary cosmetic fixes
- Wall-colored repair putty or color-matched filler, if available
- Vacuum or soft brush for dust removal
For most homeowners, lightweight spackle is the best choice. It is easy to spread, dries faster than traditional joint compound, and is designed for small dents, cracks, and nail holes. Joint compound can also work, but it usually shrinks more, dries slower, and may require extra sanding. Save the heavy-duty materials for larger drywall repairs. A tiny nail hole does not need the same treatment as a doorknob-sized disaster.
How to Fill Nail Holes in Drywall Without Painting: 9 Steps
Step 1: Inspect the Hole and the Wall Surface
Start by looking closely at the nail hole. Is it a clean pin-sized opening, or did the nail pull away some drywall paper? Is the hole flat, raised, cracked, or surrounded by loose paint? This quick inspection tells you how much repair work is needed.
For a clean nail hole, you can usually apply lightweight spackle directly. If the drywall paper is torn or sticking out, gently press it back into place or remove loose bits with your fingernail or a utility knife. Do not dig aggressively. The goal is to make the area smaller and smoother, not turn a nail hole into a home-improvement side quest.
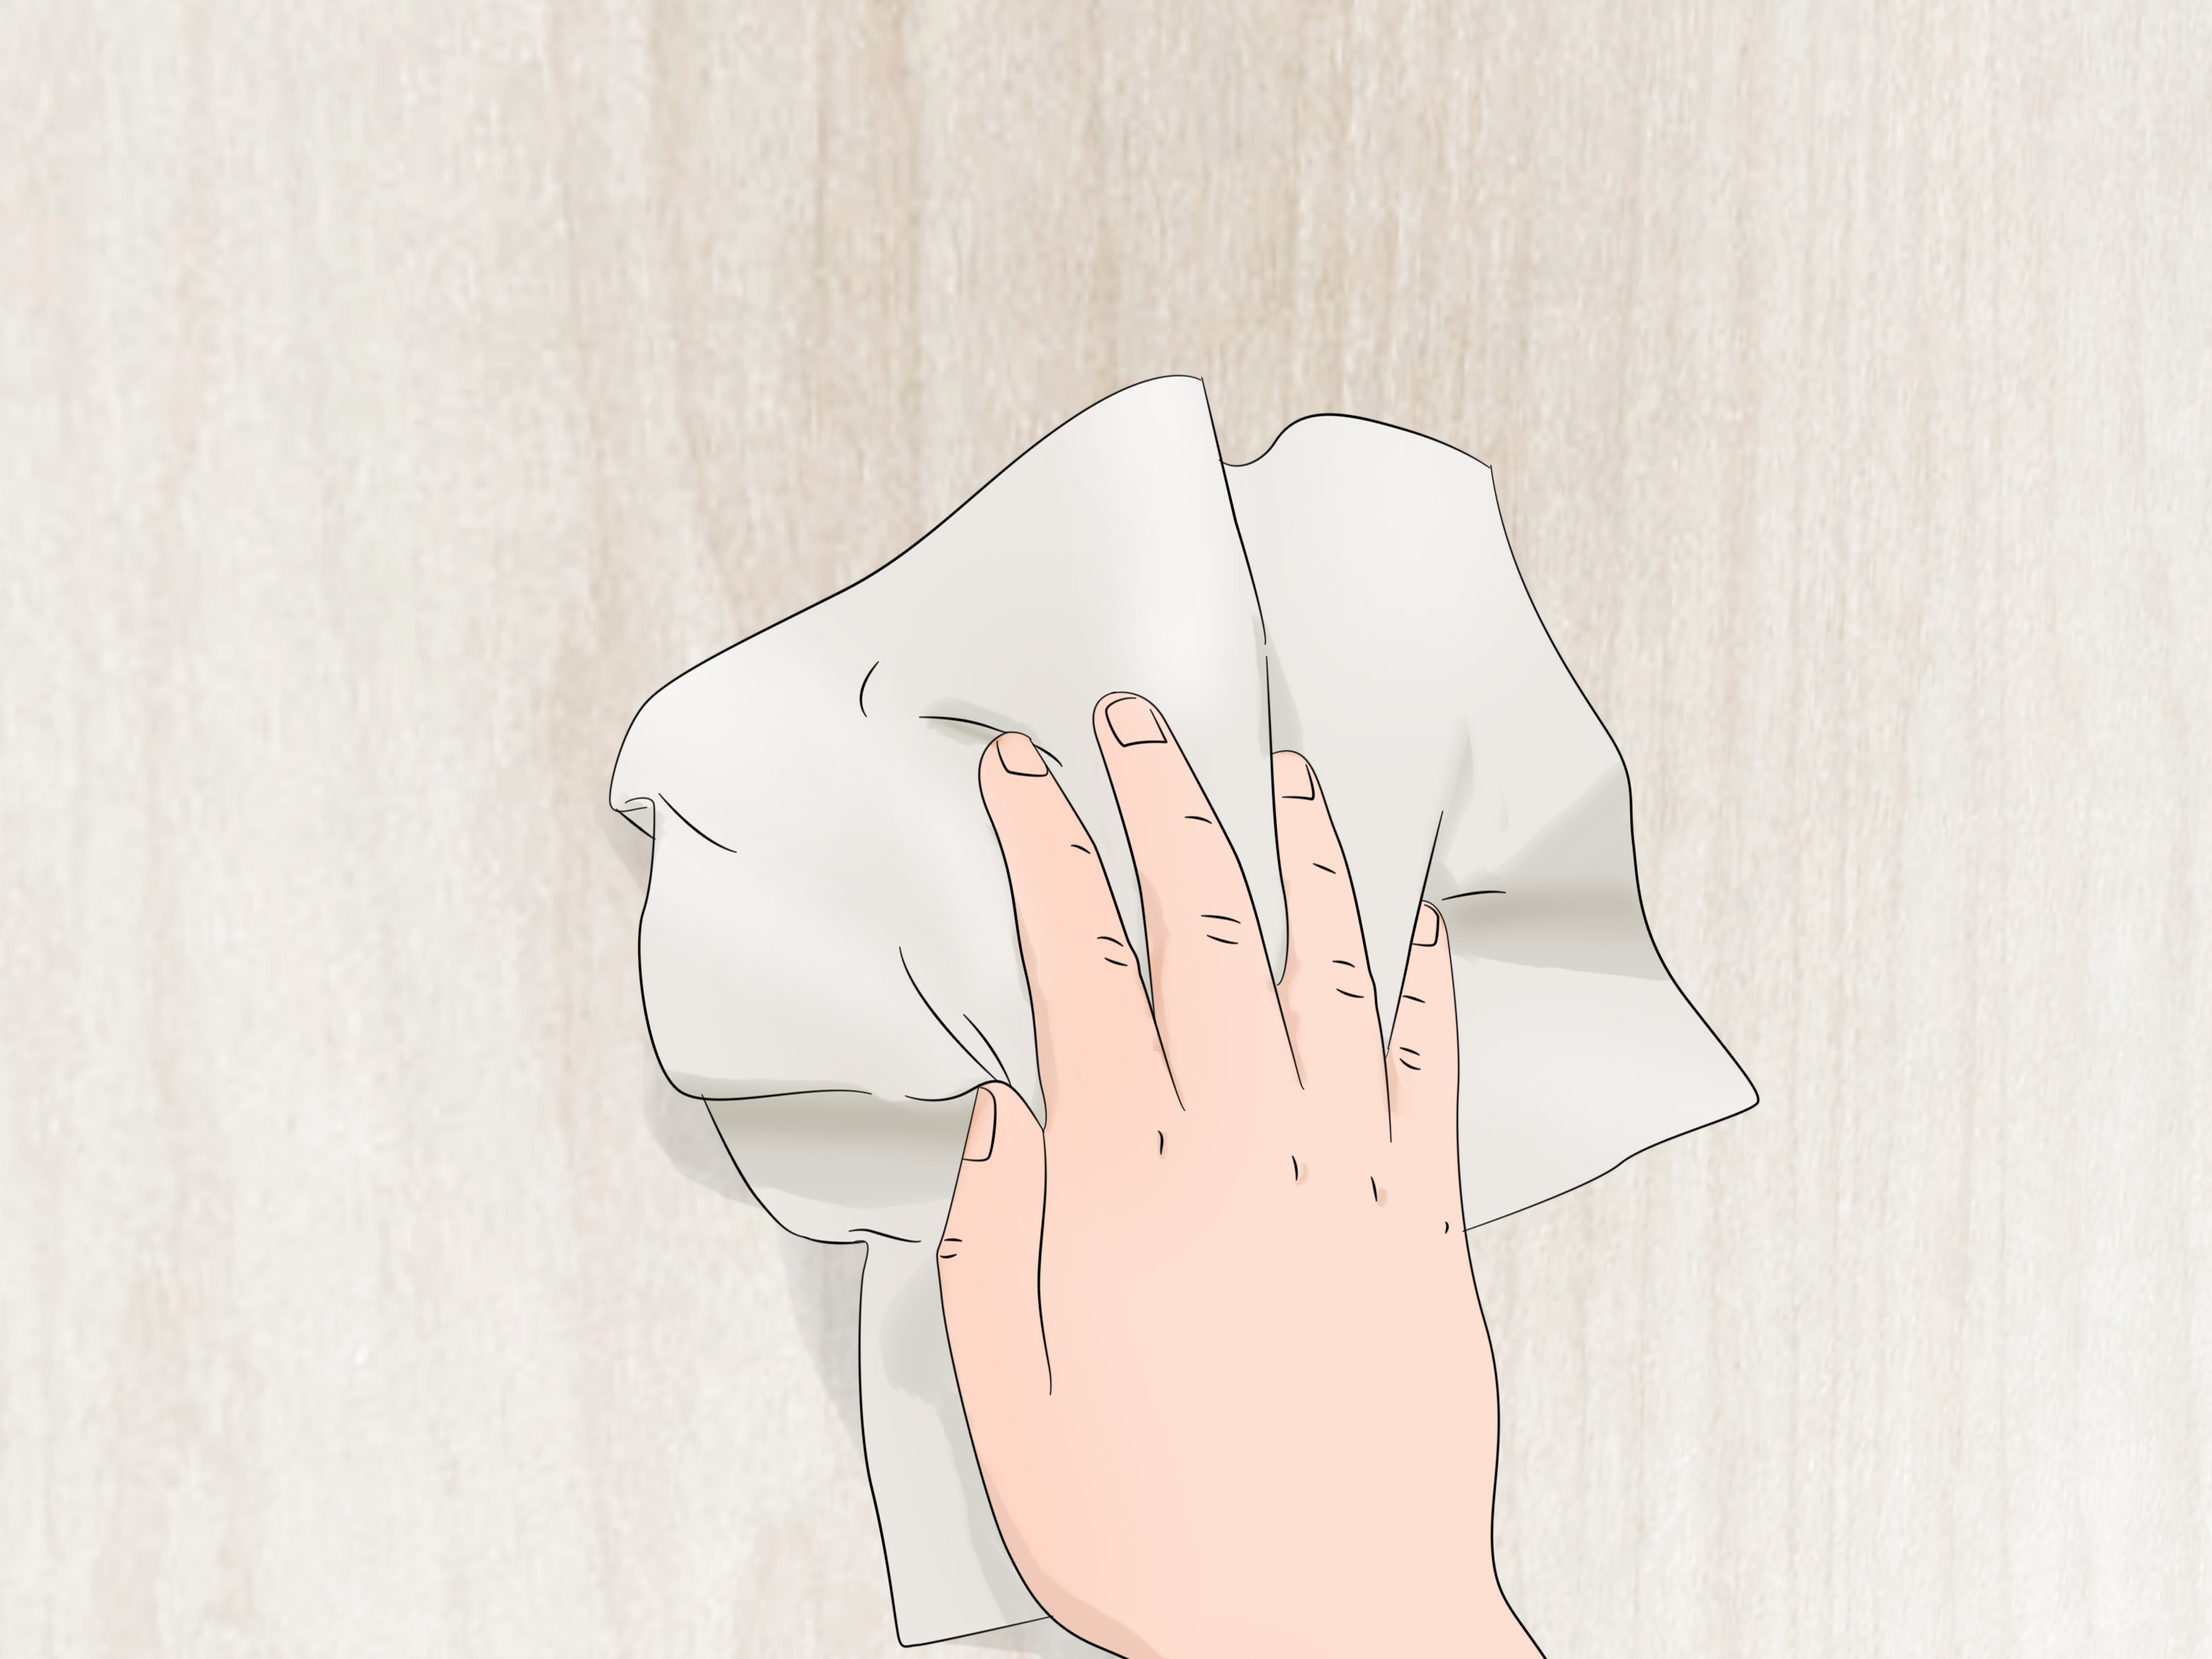
Step 2: Clean the Area Around the Nail Hole
Dust, grease, and tiny drywall crumbs can keep filler from sticking properly. Wipe the area with a clean, slightly damp microfiber cloth. If the wall is near a kitchen, hallway, or high-touch area, use a tiny amount of mild dish soap mixed with water, then wipe again with plain water.
Let the surface dry before applying filler. Spackle adheres better to a dry wall, and you will have more control over the finish. This step may feel boring, but skipping it is like putting a bandage on a dusty elbow. Technically possible, spiritually questionable.
Step 3: Choose the Right Filler for a No-Paint Repair
If you want to avoid painting, the filler color matters. Standard lightweight spackle is often bright white, which blends well on white or very light walls. For cream, beige, gray, or tan walls, look for color-changing spackle, wall repair putty, or tinted filler. Some repair sticks and putties are made for quick cosmetic fixes and come in neutral shades.
If your wall is painted a custom color, you can still use white spackle, but apply as little as possible and keep it only inside the hole. The less filler you spread onto the surrounding painted surface, the less obvious the repair will be. Think of this as drywall makeup: blend carefully, avoid over-applying, and do not panic under bright bathroom lighting.
Step 4: Apply a Small Amount of Spackle
Scoop up a tiny amount of lightweight spackle with a small putty knife, plastic scraper, or even the edge of an old credit card. Press the filler into the hole using a firm, smooth motion. The key is to fill the hole completely without smearing a large patch across the wall.
Hold the putty knife at a slight angle and drag it across the hole in one direction. Then scrape away excess filler by pulling the knife across the area again. You want the repair to sit flush with the wall, not form a raised bump. A common beginner mistake is applying too much compound. More spackle does not mean a better repair; it means more sanding, more mess, and more opportunity to mutter at your wall.
Step 5: Feather the Edges Carefully
Feathering means thinning the edges of the filler so it blends into the surrounding surface. For a no-paint repair, this step is especially important. Use your putty knife or fingertip to gently smooth the outer edges of the spackle. Avoid widening the repair area more than necessary.
If the hole is tiny, you may be able to wipe the excess away with a damp cloth immediately after filling it. This leaves filler only inside the nail hole and reduces the chance of a visible white patch. Be gentle. If you wipe too hard, you may pull the filler back out and have to start again.
Step 6: Let the Filler Dry Completely
Drying time depends on the product, the size of the hole, humidity, and how much filler you used. Some lightweight spackles dry in under an hour for tiny repairs, while others need longer. Always follow the instructions on the container.
Do not sand or blend the patch while it is still soft. Damp spackle can smear, shrink, or pull out of the hole. If the filler changes color as it dries, wait until the color indicates it is ready. This is the one part of the repair where patience matters. Drywall compound does not care that you have plans.
Step 7: Smooth the Patch Without Over-Sanding
Once the filler is dry, lightly smooth the spot with a fine-grit sanding sponge. Use very gentle pressure. For a no-paint repair, the goal is to level the filler, not sand the surrounding painted wall. Too much sanding can dull the existing finish, create a shiny or chalky spot, and make the repair more visible.
If the patch is already smooth, skip sandpaper and use a clean, dry cloth to buff it instead. For extremely small holes, a damp fingertip or cotton swab may be enough to soften the edge and blend the surface. The best repair is often the one you barely touch.
Step 8: Match the Wall Texture
Even if the color looks right, texture can reveal a repair. Many drywall surfaces are not perfectly flat. They may have orange peel texture, roller stipple, brush marks, or years of subtle wear. If your patch looks too smooth compared with the surrounding wall, it may catch light differently.
For a lightly textured wall, dab the damp filler with a sponge, paper towel, or fingertip before it fully dries. This can create a subtle texture that matches the wall better than a perfectly smooth patch. For painted walls with roller texture, lightly tapping the surface can help imitate the surrounding pattern. Practice on a hidden area or piece of cardboard first if you are nervous.
Do not use heavy spray texture for a tiny nail hole unless the wall itself has obvious texture and you know what you are doing. Spray texture can quickly turn a small repair into a circular “look at me” spot. That is the opposite of the mission.
Step 9: Blend the Color Without Painting the Wall
After the patch is dry and smooth, check it in natural and artificial light. If the filler is slightly brighter than the wall, you can sometimes tone it down using household tricks. Rub the area lightly with a clean finger, soft cloth, or a tiny amount of dust from the surrounding wall. On off-white walls, this can reduce the fresh, bright look of new spackle.
For beige or gray walls, a color-matched wall repair putty may work better than standard white spackle. Some people use a tiny dab of makeup, chalk, colored pencil, or artist pastel to tint a small patch. Use caution with these methods. Apply very little, test first, and avoid oily products that can stain the wall.
If the repair still stands out, you may need a tiny paint touch-up rather than repainting the entire wall. But in many cases, careful filling, minimal sanding, and smart blending make the nail hole nearly disappear.
Best Products for Filling Nail Holes Without Painting
The best product depends on your wall color and how permanent you want the repair to be. Lightweight spackle is the most reliable choice for real drywall repair. It fills the hole, dries firm, and can be sanded smooth. For white walls, this is usually enough.
Color-changing spackle is useful because it shows when the compound is dry. It often goes on pink or purple and turns white when ready. This helps prevent premature sanding. Premixed patching compound is also convenient for small repairs, though it may need more drying time.
Wall repair putty sticks are another option. They are cleaner than traditional spackle and can be pressed directly into small holes. Some come in shades designed to blend with white or neutral walls. These are great for quick cosmetic repairs, rental move-outs, and small nail holes left by picture frames.
Toothpaste and bar soap are sometimes suggested as quick fixes. They can hide tiny holes temporarily, especially on white walls, but they are not ideal permanent repairs. Toothpaste can shrink, crack, attract dirt, or discolor. Bar soap can look waxy and may not bond well. Use these only when you need a temporary visual fix, not when you want a proper drywall repair.
Common Mistakes to Avoid
Using Too Much Filler
A nail hole needs a tiny amount of filler. If you spread spackle several inches around the hole, you create a larger area that may need sanding and blending. Keep the repair small and controlled.
Sanding the Paint Around the Patch
Sanding painted drywall can change the sheen. Even if the color matches, the texture and finish may not. Use fine-grit sandpaper and feather-light pressure, or buff with a cloth instead.
Ignoring Wall Color
White spackle on a dark blue wall will not perform magic. If your wall is colorful, choose tinted filler, apply only inside the hole, or accept that a tiny paint touch-up may be necessary.
Repairing a Nail Pop Like a Nail Hole
A nail pop is different from a simple nail hole. It happens when a drywall nail or screw pushes outward and creates a bump. If you only cover it with spackle, it may return. Nail pops usually need to be secured with drywall screws before patching.
When You Should Paint After Filling Nail Holes
Even though this guide focuses on avoiding paint, there are times when painting is the smarter choice. Paint may be needed if the wall is dark, glossy, stained, textured, or faded. You may also need paint if the hole is larger than a small nail mark, if the drywall paper is torn, or if the filler covers a wide area.
For the best paint touch-up, use leftover paint from the original wall if you have it. Stir it well, apply a tiny amount with a small brush, and feather the edges. Keep in mind that old paint on the wall may have faded, so even the original paint can look slightly different. That is why no-paint repair is appealing when the damage is tiny. Less intervention often means a better blend.
How to Make the Repair Look Invisible
The secret to an invisible repair is restraint. Use less filler than you think you need. Keep it inside the hole. Wipe away excess immediately. Let it dry fully. Smooth gently. Match the texture before obsessing over the color. Most visible repairs happen because the patch becomes bigger than the original problem.
Lighting also matters. A repair that disappears in soft evening light may show in direct morning sun. Check the wall from different angles. If you see a raised edge, smooth it slightly. If you see a bright dot, tone it down carefully. If you see nothing, congratulations. Walk away before you “improve” it into a new problem.
Rental-Friendly Tips for Filling Nail Holes
If you are moving out of a rental, nail holes can become surprisingly emotional. One minute you are packing coffee mugs; the next, you are negotiating with a wall like it controls your security deposit. The key is to make repairs look clean and intentional.
Use lightweight spackle for real repairs, not toothpaste, unless the lease inspection is extremely casual and the holes are tiny. Clean the wall first, fill each hole neatly, and avoid leaving smudges. If your walls are white, a small tube of white lightweight spackle may be all you need. If the walls are beige or gray, test your filler in a hidden corner before applying it everywhere.
Do not fill large anchor holes the same way you fill nail holes. Plastic wall anchors can leave wider openings that may need extra filler and a second coat. Remove loose anchor pieces, press filler firmly into the opening, and smooth the surface carefully. If the wall has multiple holes clustered together, repair them one at a time instead of spreading compound across the whole area.
Extra Experience: What Actually Works When You Fill Nail Holes Without Painting
After dealing with nail holes in real homes, apartments, dorm rooms, and “I swear this frame was level yesterday” situations, one lesson becomes clear: the smallest repair usually wins. Many people approach nail holes like they are patching a highway pothole. They scoop too much spackle, smear it broadly, sand aggressively, and then wonder why the wall now has a pale oval where a tiny dot used to be. The better method is slower, smaller, and more controlled.
One practical trick is to use a fingertip for very tiny holes. A putty knife is helpful, but on pin-sized nail holes, your finger can press filler directly into the opening with excellent control. After pressing it in, wipe the surface with a damp cloth wrapped tightly around one finger. This removes the haze around the hole while leaving filler inside. It is simple, fast, and surprisingly effective on white or off-white walls.
Another real-world lesson is that wall sheen matters almost as much as color. Flat paint hides repairs better because it does not reflect much light. Eggshell and satin finishes are less forgiving. Semi-gloss walls, common in bathrooms and kitchens, can reveal even a smooth patch because the filler has a different shine. When working on shinier walls, avoid sanding the surrounding paint. Instead, use a damp cloth to smooth the repair before it dries and buff very lightly afterward.
Texture is another sneaky detail. A perfectly smooth patch on a lightly textured wall can look like a tiny bald spot. If the surrounding wall has roller stipple, tap the wet spackle gently with a sponge or fingertip. Do not overdo it. You are not creating stucco; you are adding just enough irregularity so light does not betray the repair. For orange peel texture, a tiny dabbed pattern often blends better than a flat smear.
Color matching without paint is possible, but it requires realistic expectations. On bright white walls, white lightweight spackle often blends nicely. On older white walls, fresh spackle may look too clean. A very light wipe with a dry cloth after the filler dries can soften the brightness. On beige walls, standard white spackle can look like a tiny snowflake. Tinted repair putty or a carefully chosen off-white filler usually works better.
For rental move-outs, the best strategy is to repair holes at least a day before inspection. This gives the filler time to dry fully and lets you check the repair in different lighting. Walls can look perfect at night and suspiciously polka-dotted at noon. If a patch shrinks, apply a second tiny coat rather than trying to fix it with one thick blob. Thin layers almost always look cleaner.
One more experience-based tip: clean hands and tools matter. Dirty fingers can leave smudges around the patch, especially on matte paint. A dusty putty knife can drag gray marks across a white wall. Keep a damp cloth nearby and wipe tools often. Also, close the spackle container immediately after use. Dried chunks in filler can scratch the wall and create a repair that looks worse than the original hole.
Finally, know when to stop. This is harder than it sounds. Once a repair looks 90 percent invisible from normal standing distance, leave it alone. Many DIY wall repairs go wrong during the final 10 percent, when someone keeps sanding, wiping, dabbing, or “just touching it up a little.” Drywall rewards calm hands. Fill the hole, blend the surface, check it from a few angles, and then let the wall live its quiet, hole-free life.
Conclusion
Learning how to fill nail holes in drywall without painting is one of those small home skills that pays off again and again. Whether you are removing old picture frames, preparing for a rental inspection, refreshing a room, or covering evidence of your “I can hang this in five minutes” confidence, the process is simple when you use the right approach.
Start with a clean surface, choose lightweight spackle or a wall-colored repair putty, apply only a tiny amount, smooth the patch gently, and blend the texture before worrying about color. For small nail holes on white or neutral walls, you can often get a clean repair without opening a paint can. For darker or glossy walls, the repair may still be visible up close, but careful technique can make it much less noticeable.
The real secret is not a fancy product or professional tool. It is patience, restraint, and the courage to stop before you turn a pinhole into a wall mural. Done correctly, your drywall will look clean, tidy, and ready for whatever comes nextunless what comes next is another gallery wall. In that case, maybe measure twice.
SEO Tags
Note: This article is intended for small nail holes and minor drywall damage. Larger holes, torn drywall paper, water damage, or recurring nail pops may require a more complete drywall repair method.