Twitter notificationsyes, we are talking about X notifications too, because the app changed its name but not our collective habit of calling it Twittercan be incredibly useful. They tell you when someone mentions you, replies to your post, likes your joke that deserved more attention, follows your account, sends a direct message, or posts something new from an account you care about. In theory, that sounds wonderful. In real life, your phone may start buzzing like it is trying to escape your pocket.
The good news is that you do not have to choose between “receive every tiny alert from the internet” and “delete the app and go live in a cabin.” You can manage Twitter notifications on desktop and mobile with a few smart settings. Whether you want fewer push notifications, cleaner email alerts, better mention filters, or notifications only from specific accounts, this guide walks you through the practical steps.
Below, you will learn how Twitter notification settings work, how to adjust them on desktop, how to manage them on iPhone and Android, how to mute words and accounts, how to reduce spammy alerts, and how to build a notification setup that keeps you informed without turning your day into a digital pinball machine.
What Are Twitter Notifications?
Twitter notifications are alerts connected to activity on your account or activity from accounts you follow. They can appear inside the Notifications tab, as push notifications on your phone, as web browser notifications on desktop, or as email notifications in your inbox.
Common Twitter notifications include replies, mentions, likes, reposts, new followers, direct messages, Spaces, post recommendations, trending topics, and posts from accounts where you have enabled account-specific alerts. For personal users, notifications help track conversations. For creators, brands, journalists, and businesses, they can be the difference between responding quickly and missing a useful interaction.
The trick is not simply turning notifications on or off. The real skill is deciding which notifications deserve your attention and which ones should politely take a seat in the back row.
Why You Should Manage Twitter Notifications
Unmanaged notifications can make Twitter feel louder than a group chat during a breaking news event. Every like, repost, reply, recommendation, and random “you may like this” alert competes for attention. That can become distracting fast, especially if you use Twitter for work, school, news, networking, customer service, or content promotion.
Managing Twitter notifications helps you:
- Reduce unnecessary interruptions during work or study time.
- Keep important replies, mentions, and direct messages visible.
- Prevent your email inbox from becoming a museum of old Twitter alerts.
- Filter low-quality or unwanted interactions.
- Follow important accounts without letting every account shout at you.
- Create a healthier relationship with social media.
In short, notification management is not about ignoring people. It is about building a smarter doorbell. You still hear the people who matter, but the internet does not get to ring it every five seconds.
How to Manage Twitter Notifications on Desktop
Managing Twitter notifications on desktop is useful if you spend time on X.com from a laptop or computer. Desktop settings are especially important for browser notifications, email preferences, and filters that control what appears in your Notifications timeline.
Step 1: Open Twitter Notification Settings
Start by signing in to your account on X.com. From the left-side menu, select More, then choose Settings and privacy. Next, open Notifications. This is where you can adjust filters, preferences, email alerts, push notifications, and other notification controls.
Depending on your account, device, and app version, the exact wording may vary slightly. If you see “X” instead of “Twitter,” do not panic. That is still the same neighborhood, just with a new sign out front.
Step 2: Use Notification Filters
In the Notifications area, look for filter options. Twitter/X provides tools such as quality filtering, muted words, and advanced filters. These controls help reduce unwanted or low-value alerts.
The quality filter is designed to reduce lower-quality content from your Notifications timeline. It may help filter repeated posts, automated-looking activity, or content that appears less relevant. It does not remove notifications from people you follow or accounts you have recently interacted with in the same way, so it is usually safe to enable if your Notifications tab feels messy.
Advanced filters can help limit notifications from certain types of accounts, such as accounts you do not follow, accounts that do not follow you, new accounts, accounts with default profile photos, accounts without confirmed email addresses, or accounts without confirmed phone numbers. These filters are especially helpful if your posts attract spam replies or random drive-by comments.
Step 3: Manage Web Browser Notifications
Desktop browser notifications are pop-up alerts that appear on your computer even when you are not actively staring at Twitter. They can be helpful for direct messages or urgent mentions. They can also be extremely annoying if you accidentally allow everything.
On X.com, go to your notification preferences and look for web notification settings. You may see an option to turn browser notifications on or off. If enabled, your browser may also ask for permission to allow notifications from X.com.
You can also manage this from your browser. In Chrome, open browser settings, go to privacy and site settings, then adjust notification permissions for websites. In Firefox, site notification permissions can be managed through browser settings as well. If Twitter notifications keep popping up on your desktop like a very needy toaster, check both Twitter settings and your browser permissions.
Step 4: Adjust Email Notifications
Email notifications are useful when you do not want to miss account activity, but they can quickly clutter your inbox. To manage them, go to Settings and privacy, open Notifications, and select Email notifications.
From there, you can turn email notifications on or off. You can also choose specific email categories, such as new notifications, direct messages, account activity, product updates, or recommendations. A good rule is simple: keep account security emails enabled, then be selective with everything else.
For example, if you use Twitter casually, you probably do not need an email every time someone likes a post. If you manage a brand account, you may want email alerts for direct messages or important account activity. Match the settings to your actual use, not to Twitter’s enthusiastic desire to become your pen pal.
How to Manage Twitter Notifications on Mobile
Mobile notifications are the alerts most people notice first because they appear on the lock screen, in the notification center, and sometimes with sound or vibration. Managing Twitter notifications on mobile requires two layers: settings inside the Twitter/X app and settings inside your phone’s operating system.
Step 1: Open Notification Settings in the Twitter App
Open the X app on your iPhone or Android device. Tap your profile icon or navigation menu, then go to Settings and privacy. Select Notifications, then open Preferences. From there, you can manage push notifications, email notifications, SMS options if available, filters, and muted notifications.
Push notifications are the alerts sent directly to your phone. These may include mentions, replies, reposts, likes, new followers, direct messages, recommendations, Spaces, news, and posts from selected accounts.
Step 2: Choose Which Push Notifications You Want
In push notification settings, review each category carefully. Turn on alerts that are important and turn off alerts that only add noise.
A practical setup might look like this:
- Keep on: Direct messages, mentions, replies, and security alerts.
- Maybe keep on: New followers, reposts, posts from selected accounts, and Spaces.
- Consider turning off: Broad recommendations, trending topics, news suggestions, and “popular in your network” alerts.
This keeps Twitter useful without letting the app narrate every eyebrow raise happening on the platform.
Step 3: Manage iPhone Notification Settings
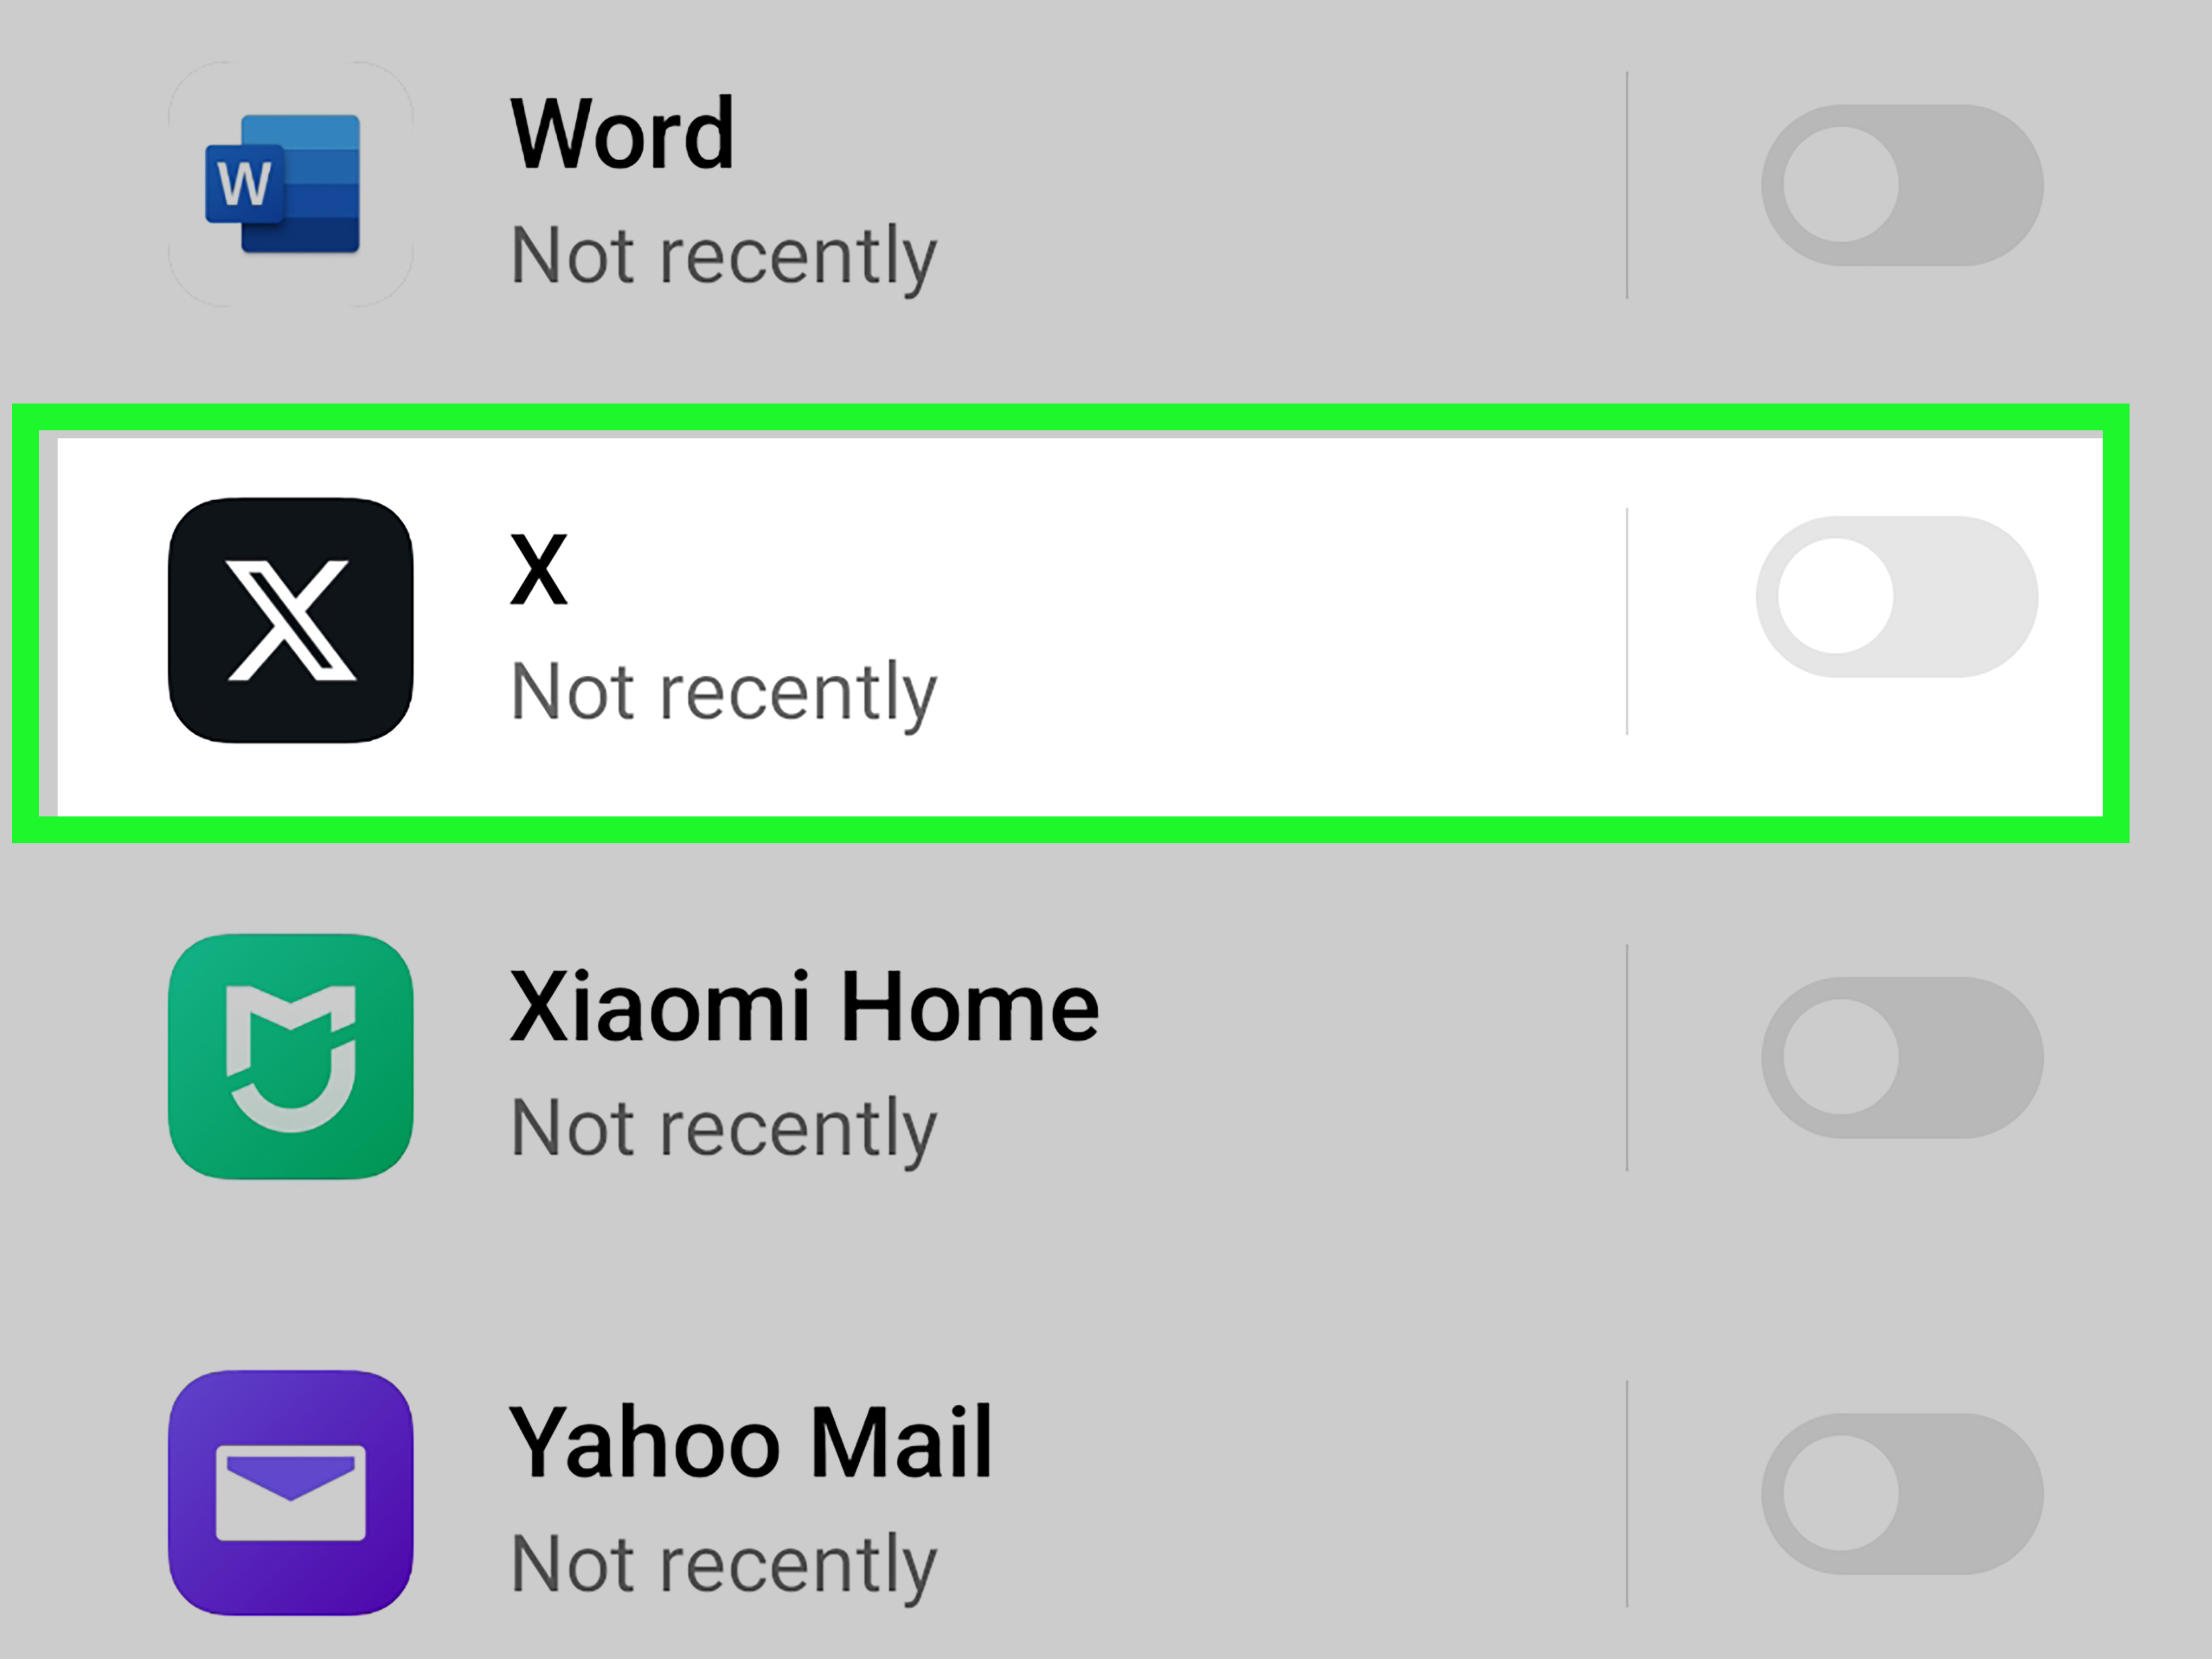
On iPhone, Twitter/X notifications are also controlled through iOS. Open Settings, go to Apps or scroll to the X app, then tap Notifications. From there, you can turn Allow Notifications on or off.
You can also control where alerts appear: Lock Screen, Notification Center, and banners. You may adjust sounds, badges, notification previews, grouping, and delivery style. If you want fewer interruptions but still want to check Twitter later, consider turning off sounds while keeping badges or Notification Center alerts enabled.
For a calmer setup, use scheduled summaries or Focus modes. For example, you can allow Twitter notifications during personal time but silence them during school, work, or sleep. Your future self may thank you, preferably without sending a push notification.
Step 4: Manage Android Notification Settings
On Android, open Settings, then go to Notifications or Apps. Select X from your app list and open its notification settings. Depending on your Android version and phone brand, you may be able to control notification categories separately.
This is useful because you may want direct messages to make a sound but likes to stay silent. On many Android devices, you can manage lock screen visibility, notification dots, sound, vibration, silent delivery, and categories. Samsung Galaxy phones may also offer app notification categories when enabled in advanced notification settings.
If notifications are turned on inside Twitter but still not appearing, check Android system settings. The app may be muted, battery restrictions may delay alerts, Do Not Disturb may be active, or notification permissions may be disabled at the device level.
How to Get Notifications from Specific Twitter Accounts
Sometimes you do not want more notifications from Twitter in general. You want notifications from one specific account: a news source, favorite creator, sports team, emergency update account, customer support profile, or that one friend whose posts are suspiciously funnier than yours.
To turn on notifications for a specific account, visit that account’s profile. Tap or click the notification bell icon. You may be able to choose between notifications for all posts or only live video, depending on the account and platform version.
This feature is best used sparingly. If you enable post notifications for too many accounts, you have basically built your own notification avalanche. Choose accounts that truly matter, such as urgent news sources, important professional contacts, or creators whose posts you do not want to miss.
How to Mute Words, Phrases, Hashtags, and Emojis
Muted words are one of Twitter’s most underrated peacekeeping tools. You can mute words, phrases, usernames, hashtags, and even emojis from your Home timeline, replies, and notifications.
To mute words, go to Settings and privacy, then Privacy and safety, then Mute and block. Choose Muted words and add the term you want to mute.
You can usually choose whether the mute applies to your Home timeline, notifications, or both. You can also choose whether it applies to anyone or only people you do not follow. Timing options may include forever, 24 hours, 7 days, or 30 days.
Muting is helpful for:
- Spoilers for movies, shows, sports, and events.
- Overused hashtags during major news cycles.
- Topics you find distracting or repetitive.
- Spam phrases and suspicious promotional wording.
- Temporary events you only want to hide for a few days.
For example, if you are avoiding spoilers for a season finale, mute the show title, character names, popular hashtags, and common abbreviations. Muting only one phrase is like locking the front door while leaving the garage open.
How to Mute Accounts Without Blocking Them
Muting an account removes that account’s posts from your timeline without unfollowing or blocking it. The account is not notified that you muted it. This makes mute a useful option when you want less content from someone without turning the situation into a dramatic courtroom scene.
To mute an account, go to the account profile, open the more options menu, and choose Mute. You can review muted accounts later in your muted accounts settings.
Muting is different from blocking. Blocking limits interaction more strongly and is more visible. Muting is quieter. It is the digital equivalent of lowering the volume instead of throwing the speaker out the window.
How to Reduce Spam and Low-Quality Twitter Notifications
If your notifications are full of spam, bot-like replies, random mentions, or low-quality engagement, start with three settings: quality filter, advanced filters, and muted words.
Use the Quality Filter
Turn on the quality filter to reduce lower-quality notifications. This can help clean up repeated, automated, or less relevant alerts. It is not perfect, but it often makes the Notifications tab more readable.
Use Advanced Filters
Advanced filters help limit alerts from certain account types. If you are receiving junk replies from new or suspicious-looking accounts, these filters can reduce the noise without blocking real conversations from people you already follow.
Mute Spam Phrases
If spam replies often use the same words, emojis, or hashtags, add those terms to your muted words list. This is especially useful for repeated promotional phrases, scam-like wording, or irrelevant trending tags.
Best Twitter Notification Settings for Different Users
There is no single perfect setup. The best Twitter notification settings depend on how you use the platform.
For Casual Users
Keep direct messages, mentions, and replies on. Turn off most recommendations, trending topics, and email notifications. Use muted words for spoilers and topics you do not want to see.
For Creators
Keep replies, mentions, direct messages, reposts, and account activity visible. Consider turning off less useful recommendations so you can focus on audience engagement. Use filters carefully so you do not miss genuine comments from new followers.
For Businesses and Brands
Prioritize direct messages, mentions, replies, and customer-related alerts. If multiple people manage the account, create a workflow for checking notifications at scheduled times. Do not rely only on push alerts; important customer messages deserve a consistent review process.
For News Followers
Turn on notifications for a few trusted accounts instead of every news account you follow. Too many breaking news alerts can create alert fatigue. Choose quality over volume, especially during major events.
Troubleshooting: Twitter Notifications Not Working
If Twitter notifications are not working, check both the app and your device settings.
- Make sure notifications are enabled inside Twitter/X.
- Check iPhone or Android system notification permissions.
- Confirm Do Not Disturb, Focus mode, or Sleep mode is not blocking alerts.
- Check whether battery saver settings are delaying background activity.
- Update the X app to the latest version.
- Restart your phone or browser.
- For desktop alerts, check browser notification permissions for X.com.
- Review muted words and filters to make sure you did not accidentally hide alerts.
If everything looks correct and notifications still fail, the issue may be temporary. Social platforms occasionally have service glitches. In that case, avoid changing every setting in frustration. Give it a little time, then test again.
Smart Tips for a Cleaner Twitter Notification Setup
A great notification setup is not just technical. It is personal. Start by asking what you actually need from Twitter. Do you need fast replies? Breaking news? Creator updates? Customer messages? Or do you mostly want to browse when you choose?
Once you know your goal, build your settings around it. Turn off broad recommendations if they distract you. Use account notifications for only your most important profiles. Keep direct messages available if people contact you there. Mute words aggressively during spoiler-heavy events. Review settings once a month, because your interests and tolerance for buzzing rectangles may change.
Also, consider separating notification types by urgency. A direct message from a client may deserve a push alert. A like from a stranger probably does not need to interrupt dinner. A trending topic notification can usually wait until you open the app yourself.
Experience Notes: What Managing Twitter Notifications Feels Like in Real Life
The first time you seriously manage Twitter notifications, it feels a little like cleaning out a closet. At first, everything seems important. You look at likes, reposts, quote posts, recommendations, trending alerts, email updates, browser pop-ups, and account notifications, and your brain says, “But what if I miss something?” That fear is exactly how people end up with a phone that buzzes more often than a cheap motel sign.
In practice, most users discover that fewer notifications actually make Twitter more useful. When every small interaction triggers an alert, important messages blend into the background. But when you keep only replies, mentions, direct messages, and selected account alerts, those notifications become easier to trust. You stop reflexively swiping away everything and start noticing the alerts that matter.
One helpful approach is to test your settings for a week. On day one, turn off recommendation-heavy alerts, trending topic notifications, and unnecessary emails. Keep direct messages, mentions, and replies active. Then pay attention to what you miss. If you never think, “I wish Twitter had interrupted me about that,” the setting can stay off. If you do miss something valuable, turn that category back on.
Another real-world lesson: muted words are magic, but they work best when you are specific. During sports finals, awards shows, product launches, elections, or big TV releases, one muted hashtag is rarely enough. Add names, abbreviations, slogans, common misspellings, and related phrases. For temporary topics, choose a short mute duration like 24 hours or 7 days. That way, your timeline does not stay frozen in last week’s drama forever.
For desktop users, browser notifications deserve special attention. Many people turn them on once and forget they exist until their computer starts throwing pop-ups during a meeting. If you use Twitter for work, browser notifications can help you catch direct messages quickly. If you use Twitter mostly for casual scrolling, they may be more distracting than helpful. Desktop alerts should be reserved for genuinely time-sensitive activity.
Mobile users often get the best results by combining app settings with phone settings. Inside Twitter, choose the notification categories you want. Inside iPhone or Android settings, decide how loudly those alerts should behave. For example, you might allow Twitter notifications but disable sounds. That way, you can still check alerts from the Notification Center without letting every reply barge into your day wearing tap shoes.
The biggest experience-based tip is this: do not treat notification settings as permanent. Twitter changes, your habits change, and your tolerance for alerts changes. A setup that worked when you were growing an account may feel exhausting once your audience gets larger. A quiet setup that worked during vacation may be too limited when you are managing customer messages. Review your notification settings whenever Twitter starts feeling either too noisy or too silent.
In the end, managing Twitter notifications is less about controlling an app and more about protecting your attention. You can still enjoy conversations, follow news, support creators, and respond to people without handing your entire day to a notification feed. The best setup is the one that keeps Twitter useful, timely, and just quiet enough that your phone no longer acts like it has breaking news about every single like.
Conclusion
Learning how to manage Twitter notifications on desktop and mobile gives you more control over your time, attention, and online experience. Instead of accepting every alert by default, you can choose what deserves immediate attention and what can wait until you open the app.
Start with the basics: adjust push notifications, clean up email alerts, review web browser permissions, enable useful filters, and mute words or accounts when needed. Then refine your setup based on how you actually use Twitter. A casual user, creator, business owner, and news follower should not all have the same notification settings.
Twitter can be fast, useful, funny, chaotic, and occasionally louder than necessary. With the right notification settings, you get the useful parts without letting the noise take over. That is not just better app management. That is digital self-defense with fewer dramatic hand gestures.