Sleeveless shirts are basically the sweat-management version of “I have my life together.” They’re breezy, versatile,
and (most importantly) they let your armpits experience freedom. The best part? You don’t need a fashion degree or a
haunted sewing machine to make one. Whether you want a quick cutoff for the gym, a clean-edged tank you can actually
wear in public, or a from-scratch sleeveless tee that looks store-bought, this guide walks you through four solid
methodseach with the right level of effort for your mood and patience.
Along the way, you’ll learn how to avoid uneven armholes, keep edges from stretching into sad bacon waves, and get that
“Yes, I meant to do this” finish. Grab a shirt you’re okay experimenting on (translation: not your favorite concert
tee), and let’s make a sleeveless shirt you’ll actually reach for.
Before You Cut: Pick the Right Shirt and Plan the Fit
1) Choose a good “base” shirt
Most DIY sleeveless shirts start with a T-shirt, because knit fabric doesn’t fray and it forgives a lot of beginner
decisions. Look for:
- 100% cotton jersey for classic curl-at-the-edge cutoffs (very “summer”).
- Cotton blends (cotton/poly/rayon/modal) if you want less curling and a drapier look.
- A slightly oversized tee if you want deeper armholes or a muscle-tee vibe.
2) Wash and dry first (seriously)
If the shirt is newor even “new-ish”wash it the way you normally will. Many cotton tees shrink more in length than
width, and nothing says “DIY” like accidentally creating a cropped top when you were aiming for “weekend errands
casual.”
3) Decide your armhole style (this changes everything)
Sleeveless shirts aren’t one-size-fits-all. Choose your lane:
- Classic cutoff: sleeves removed, armhole stays close to the original seam.
- Tank top: more shoulder removed, armhole scoops deeper.
- Muscle tee: wider shoulder coverage, deeper armhole, usually raw edge.
- Racerback: sporty back shape, straps angled inward.
4) Tools you’ll actually use
- Sharp fabric scissors (dull scissors = jagged edges = emotional damage)
- Washable marker or chalk
- Measuring tape or ruler
- Pins or clips (optional but helpful)
- Sewing machine (for Methods 3 and 4)
- Twin needle or zigzag/coverstitch option (nice-to-have for pro hems)
Way 1: The 5-Minute Classic Cutoff (No-Sew, Raw Edge)
This is the fastest way to make a sleeveless shirt: remove the sleeves, keep the body intact, and let the edges do
their naturally casual thing. Perfect for workout tanks, heat waves, and “I’m only leaving the house for iced coffee”
days.
Step-by-step
- Put the shirt on and mark your cut line. Use a mirror. Start conservativelike “barely sleeveless.”
- Take it off and lay it flat. Smooth the fabric so you’re not cutting wrinkles into permanent decisions.
- Cut just outside the sleeve seam. Following the seam line helps you keep both sides even.
- Repeat on the other side. Fold the shirt in half lengthwise to double-check symmetry before cutting.
Make it look intentional (not like you lost a fight with scissors)
-
Roll the raw edge inward once for a cleaner line. You can tack it down with a few hand stitches or a
tiny bit of fabric-safe adhesive if you want it to stay put. -
Don’t cut into the side seams unless you want a deep armhole. A “surprise side-boob situation” is
real, and it will find you at the least convenient moment. - Try it on again and only then decide if you want a deeper armhole or thinner straps.
Best for: quick sleeveless T-shirts, gym cutoffs, casual muscle tees
SEO-friendly keywords to keep in mind: make a sleeveless shirt, DIY cutoff shirt, sleeveless T-shirt tutorial
Way 2: The Template-Traced Tank (No-Sew, Cleaner Shape)
Want a tank top shape that looks more “planned” than “panic-cut”? Use a tank you already love as a template. This
method is beginner-friendly and produces a consistent neckline and armholeswithout requiring sewing skills.
Step-by-step
- Pick a tank top that fits the way you want. Similar stretch level is ideal.
- Turn both shirts inside out and stack them. Align the shoulder seams and center lines.
-
Trace around the template tank. Add a little extra (about 1/2 to 1 inch) for a looser fit and to
avoid over-cutting. - Cut along your traced lines. Cut slowly, especially around curves.
- Try it on. If you want a lower neckline or deeper armholes, trim in small amounts.
Optional upgrade: Side ties for a playful, adjustable fit
If your tee is oversized, you can cut slits or openings along the sides and “lace” the shirt with jersey strips made
from the leftover fabric. Jersey rolls into tidy little cords when you pull itlike magic, but with more lint.
Best for: no-sew tank tops, upcycling oversized tees, clean shapes without stitching
Related keywords: turn T-shirt into tank top, no-sew tank top, DIY sleeveless top
Way 3: The Clean-Bound Armhole (Basic Sewing, Knit Binding or Bias Tape)
If you’ve ever cut sleeves off and thought, “Why does the armhole look like it’s melting?”this method is for you.
Binding stabilizes the edge, adds a professional finish, and keeps the armholes snug against the body instead of
flaring out like tiny fabric wings.
Option A: Knit binding (great for T-shirts and stretchy fabric)
Knit binding uses a strip of stretchy fabric (often the same fabric as the shirt) to “wrap” the armhole edge. The key
is making the binding slightly shorter than the armhole so it gently pulls the edge in.
- Remove the sleeves. Cut along the sleeve seam line and save the scraps.
- Measure the armhole edge. A flexible tape measure helps.
-
Cut binding strips on the crosswise stretch. A common approach is to cut the binding
about 10% shorter than the armhole measurement (plus seam allowance). - Sew the binding into a loop (optional) or keep it as a strip for easier handling.
-
Attach binding right sides together to the armhole, gently stretching the binding to match the
armhole as you sew. - Flip binding to the inside, press, and topstitch. Use a zigzag, stretch stitch, or twin needle.
Option B: Bias tape binding (best for woven sleeveless shirts)
Bias tape (store-bought or homemade) is cut on the bias, which lets it curve smoothly around armholes. It’s a classic
finish for woven sleeveless shirts and button-ups.
- Cut or choose bias tape. Lightweight fabrics are easier around curves.
- Sew the bias tape to the armhole. Go slow; curves are where confidence goes to get humbled.
- Understitch if possible. This helps keep the binding/facing from rolling to the outside.
- Fold tape to the inside and topstitch. Pressing helps everything look crisp and intentional.
Hem like you mean it (so it doesn’t scream “homemade”)
For knit hems, you have several strong options:
- Twin needle hem: gives two parallel lines on top and a zigzag underneath for stretch.
- Coverstitch hem: the most “store-bought tee” finish if you have the machine.
- Narrow zigzag: budget-friendly stretch and durability.
Best for: clean, wearable sleeveless tops, upgraded tanks, polished armholes
LSI keywords: finish armholes, knit binding, bias tape binding, sewing sleeveless top
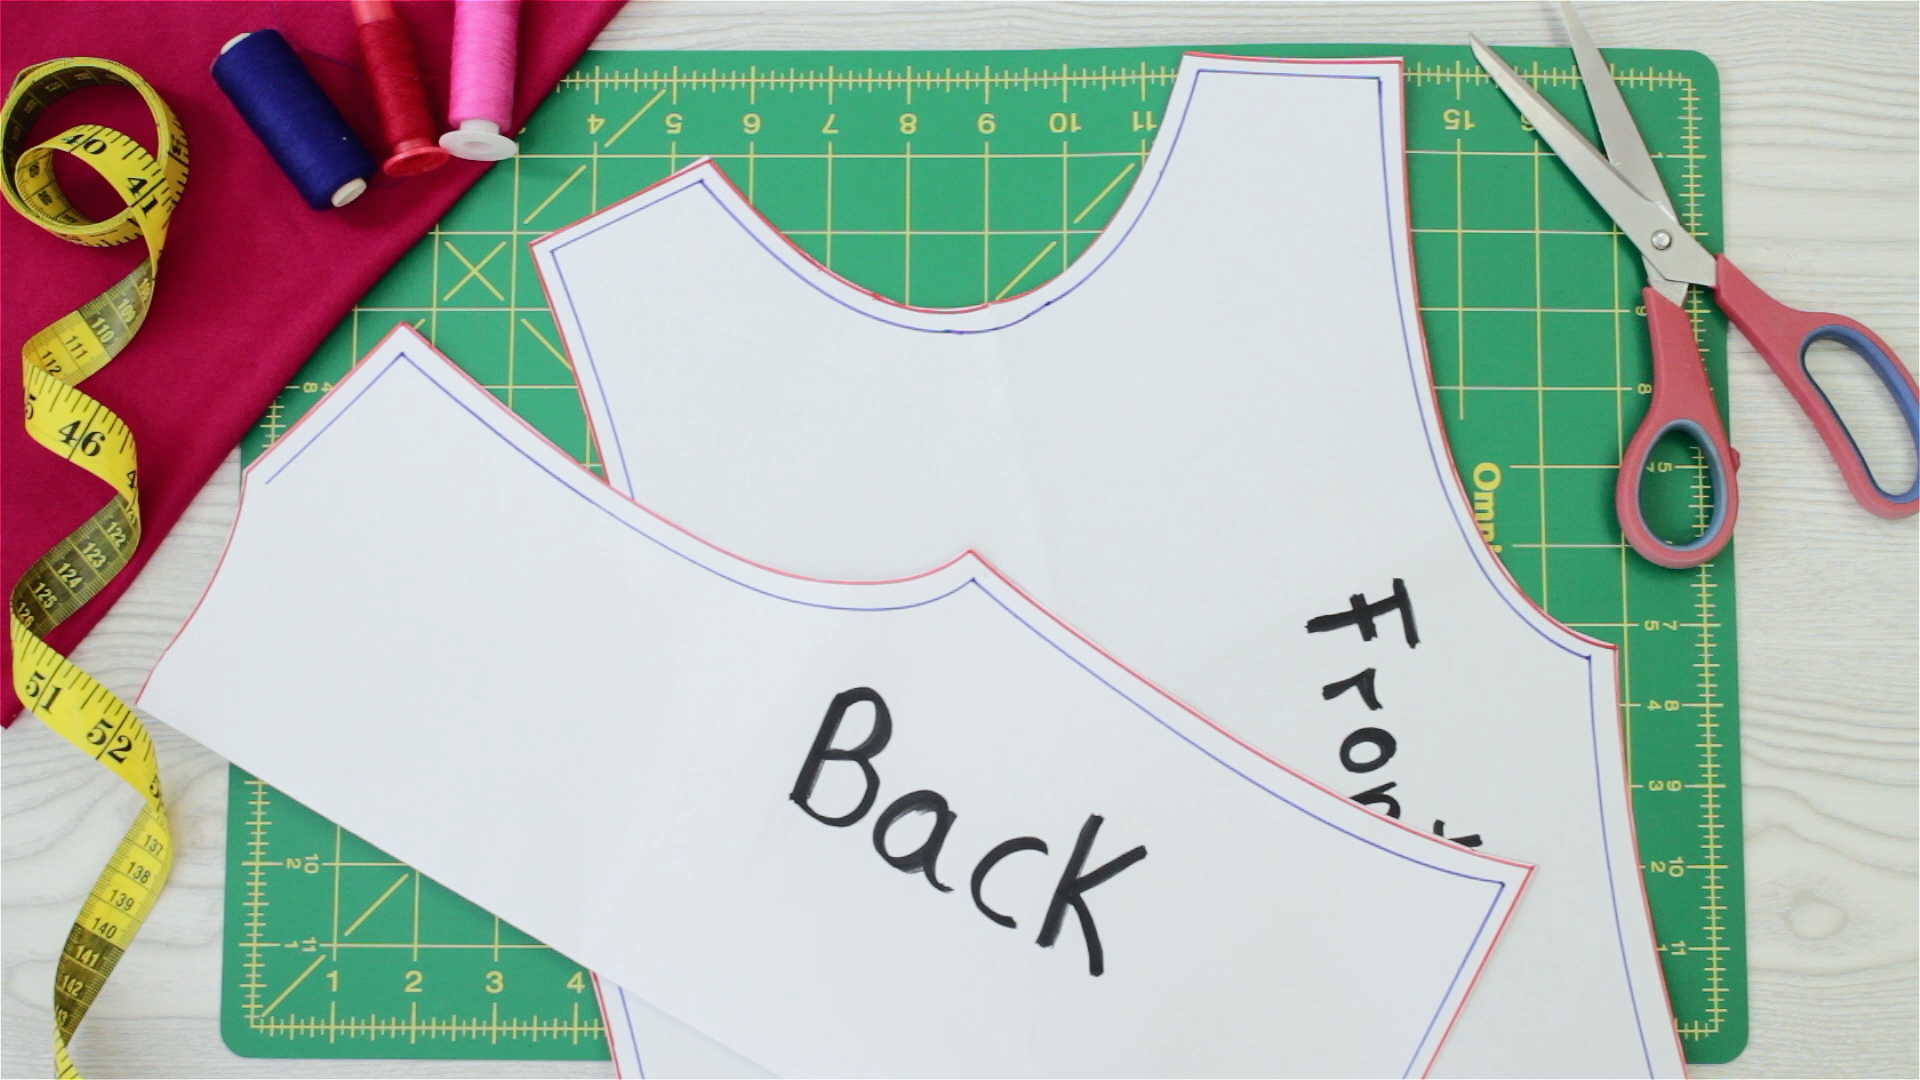
Way 4: Sew It From Scratch (Pattern-Based Sleeveless Tee)
If you want a sleeveless shirt that fits like it was made for you (because it was), start with a simple T-shirt or
tank pattern. This method takes longer, but you’ll get the best fit and the cleanest finishespecially around the
armholes, which can make or break comfort.
How to convert a T-shirt pattern to sleeveless
- Start with a basic knit tee pattern you already like.
-
Redraw the armhole slightly closer to the body. Sleeveless armholes usually need less ease than
sleeves, or you risk gaping. - Decide your finish: knit binding, self-fabric bands, or a clean turned-and-stitched edge.
Build steps (high-level, but practical)
- Sew shoulder seams. Stabilize with clear elastic or stay tape if the knit is drapey.
- Finish neckline first. Neckbands are easier before armholes are closed.
- Finish armholes. Bind or turn-and-stitch, depending on your design.
- Sew side seams. Try it on before hemmingthis is your last easy chance to adjust fit.
- Hem the bottom. Twin needle, coverstitch, or zigzag for stretch.
Fit checklist (so it’s comfy, not clingy in weird places)
- Armhole height: too low = gaping; too high = rubbing.
- Strap width: wide straps hide bra straps; narrow straps look sporty.
- Neckline depth: mark and test; “just a little lower” can escalate quickly.
Best for: custom-fit sleeveless tees, capsule wardrobe basics, sewing skill-building
Related keywords: sew a sleeveless shirt, DIY tank top pattern, sleeveless tee tutorial
Common Mistakes (and How to Avoid Them)
1) Cutting too much, too fast
The golden rule: cut small amounts and try it on often. Fabric is forgivingyour scissors are not.
2) Uneven armholes
Fold the shirt in half and compare curves before final trimming. If you’re using a template, align shoulder seams and
center lines like your finished shirt depends on it (because it does).
3) Wavy edges
Knits stretch. That’s their job. Your job is to keep them from stretching while you sew. Use a walking foot if you
have one, avoid pulling the shirt as it feeds, and consider stay tape on particularly stretchy necklines and armholes.
4) The dreaded “armhole gap”
If your sleeveless armhole sticks out, it usually needs either a slightly smaller armhole shape (pattern adjustment)
or a binding that gently pulls the edge toward the body.
Conclusion
Making a sleeveless shirt doesn’t have to be a high-drama craft moment. If you want speed, go classic cutoff. If you
want a cleaner silhouette, trace a favorite tank. If you want a polished finish that looks professionally made, bind
those armholes. And if you want the best fit possible, sew a sleeveless shirt from a pattern and tailor the armholes
to your body.
Pick the method that matches your skill level and your patience that day, then upgrade as you go. Worst case: you end
up with a “house shirt.” Best case: you just made your new summer staple.
Bonus: Real-World Experiences and Lessons People Learn Making Sleeveless Shirts (So You Don’t Have To)
People who start making sleeveless shirts usually have the same origin story: it’s hot, they own a pile of tees, and
one day they look at sleeves and think, “This seems optional.” The first attempt is often a quick cutoff, because
cutting fabric feels like the crafting equivalent of ripping off a Band-Aidfast, brave, and slightly chaotic.
And honestly, that first result is usually wearable. The common surprise is how much tiny details matter when there’s
no sleeve to hide the edge. Without a sleeve seam to “frame” the armhole, every wobble shows up like it’s trying to
get discovered on a reality TV show.
A frequent lesson: symmetry is made, not found. Many DIYers cut one armhole, flip the shirt over, and
assume the second side will magically match. It rarely does. What tends to work better is folding the shirt exactly in
half, matching shoulder seams and side seams, and trimming both sides together for the final cleanup. People also
learn that knit fabric has a personality. Some cotton jerseys roll up immediately after cutting, creating that classic
raw-edge curl (cute if you planned it). Othersespecially rayon or poly blendsstay flatter and look “cleaner” without
effort. Neither is wrong; it’s just good to know what vibe your fabric is bringing to the party.
Another common experience is the “I wanted it breezy, not scandalous” moment. Deep armholes are comfortable, but they
can expose more side than expectedespecially when you lift your arms, reach for the top shelf, or do anything that
reminds the shirt you’re a three-dimensional person. The fix people love is either keeping the side seam intact (cut
only the sleeve) or using binding to pull the armhole closer to the body. Some also add a tiny “tack” stitch at the
side seam to control how far the armhole openssmall stitch, big dignity.
When folks graduate to sewing finishes, the biggest “aha” is how binding solves multiple problems at once.
It doesn’t just look niceit stabilizes stretch, reduces gaping, and makes the shirt feel more comfortable against the
skin. People commonly report that once they try knit binding on one shirt, they start eyeing other projects like,
“What else can I bind?” (Answer: a lot.) That said, the learning curve is real: if you stretch the garment instead of
the binding while sewing, you can end up with wavy edges. The trick many sewists adopt is to mark quarters on the
armhole and binding, pin those points, and then stretch only the binding between pins as they sew.
Finally, the most relatable experience is this: once you make one sleeveless shirt you love, you will suddenly want
five more. It’s not even a fashion thingit’s a control thing. You realize you can choose the neckline height, strap
width, armhole depth, and hem length, and you don’t have to accept whatever the store decided was “in” that year.
People often build a mini rotation: one quick raw-edge cutoff for workouts, one clean-bound tank for everyday wear,
and one nicer sleeveless top with a polished finish for going out. That’s the quiet power of DIY: you stop shopping
for the perfect sleeveless shirt and start making it.