Measuring fabric for curtains sounds easy until you are standing in a fabric store, holding a calculator, wondering whether your living room window has secretly doubled in size overnight. The good news is that curtain math is not wizardry. It is mostly careful measuring, a little planning, and a healthy respect for hems, fullness, and fabric width.
Whether you are making simple rod-pocket curtains, breezy sheer panels, elegant pinch pleats, or floor-length drapes that make your room look like it finally got a design budget, the process starts with accurate measurements. This guide explains how to measure fabric for curtains in 11 clear steps, with practical examples, common mistakes, and real-world tips that help you buy the right amount of material the first time.
The main idea is simple: measure the window area, decide how full and long you want the curtains, add fabric for hems and headings, account for fabric width, and include extra yardage for pattern matching. Miss one of those details, and your curtains may end up looking less “custom home décor” and more “napkin with ambition.”
Why Accurate Curtain Fabric Measurement Matters
Curtains do more than cover a window. They frame the room, control light, soften sound, add privacy, and make a space feel finished. A panel that is too narrow can look skimpy when closed. A curtain that is too short may appear accidental. Too much fabric can look heavy, expensive, and awkward unless the style calls for drama.
Accurate curtain fabric measurement helps you avoid waste, save money, and create panels that hang beautifully. It also makes sewing easier because every cut has a purpose. When you know your finished width, finished length, fullness ratio, hem allowance, and fabric repeat, you can walk into a fabric shop or order online with confidence instead of relying on the ancient decorating method known as “guess and hope.”
Tools You Need Before Measuring
Before you begin, gather a steel tape measure, pencil, notebook, calculator, step stool, and a level if you are installing new hardware. A flexible sewing tape is helpful later, but a steel tape is better for measuring windows because it stays straight over longer spans.
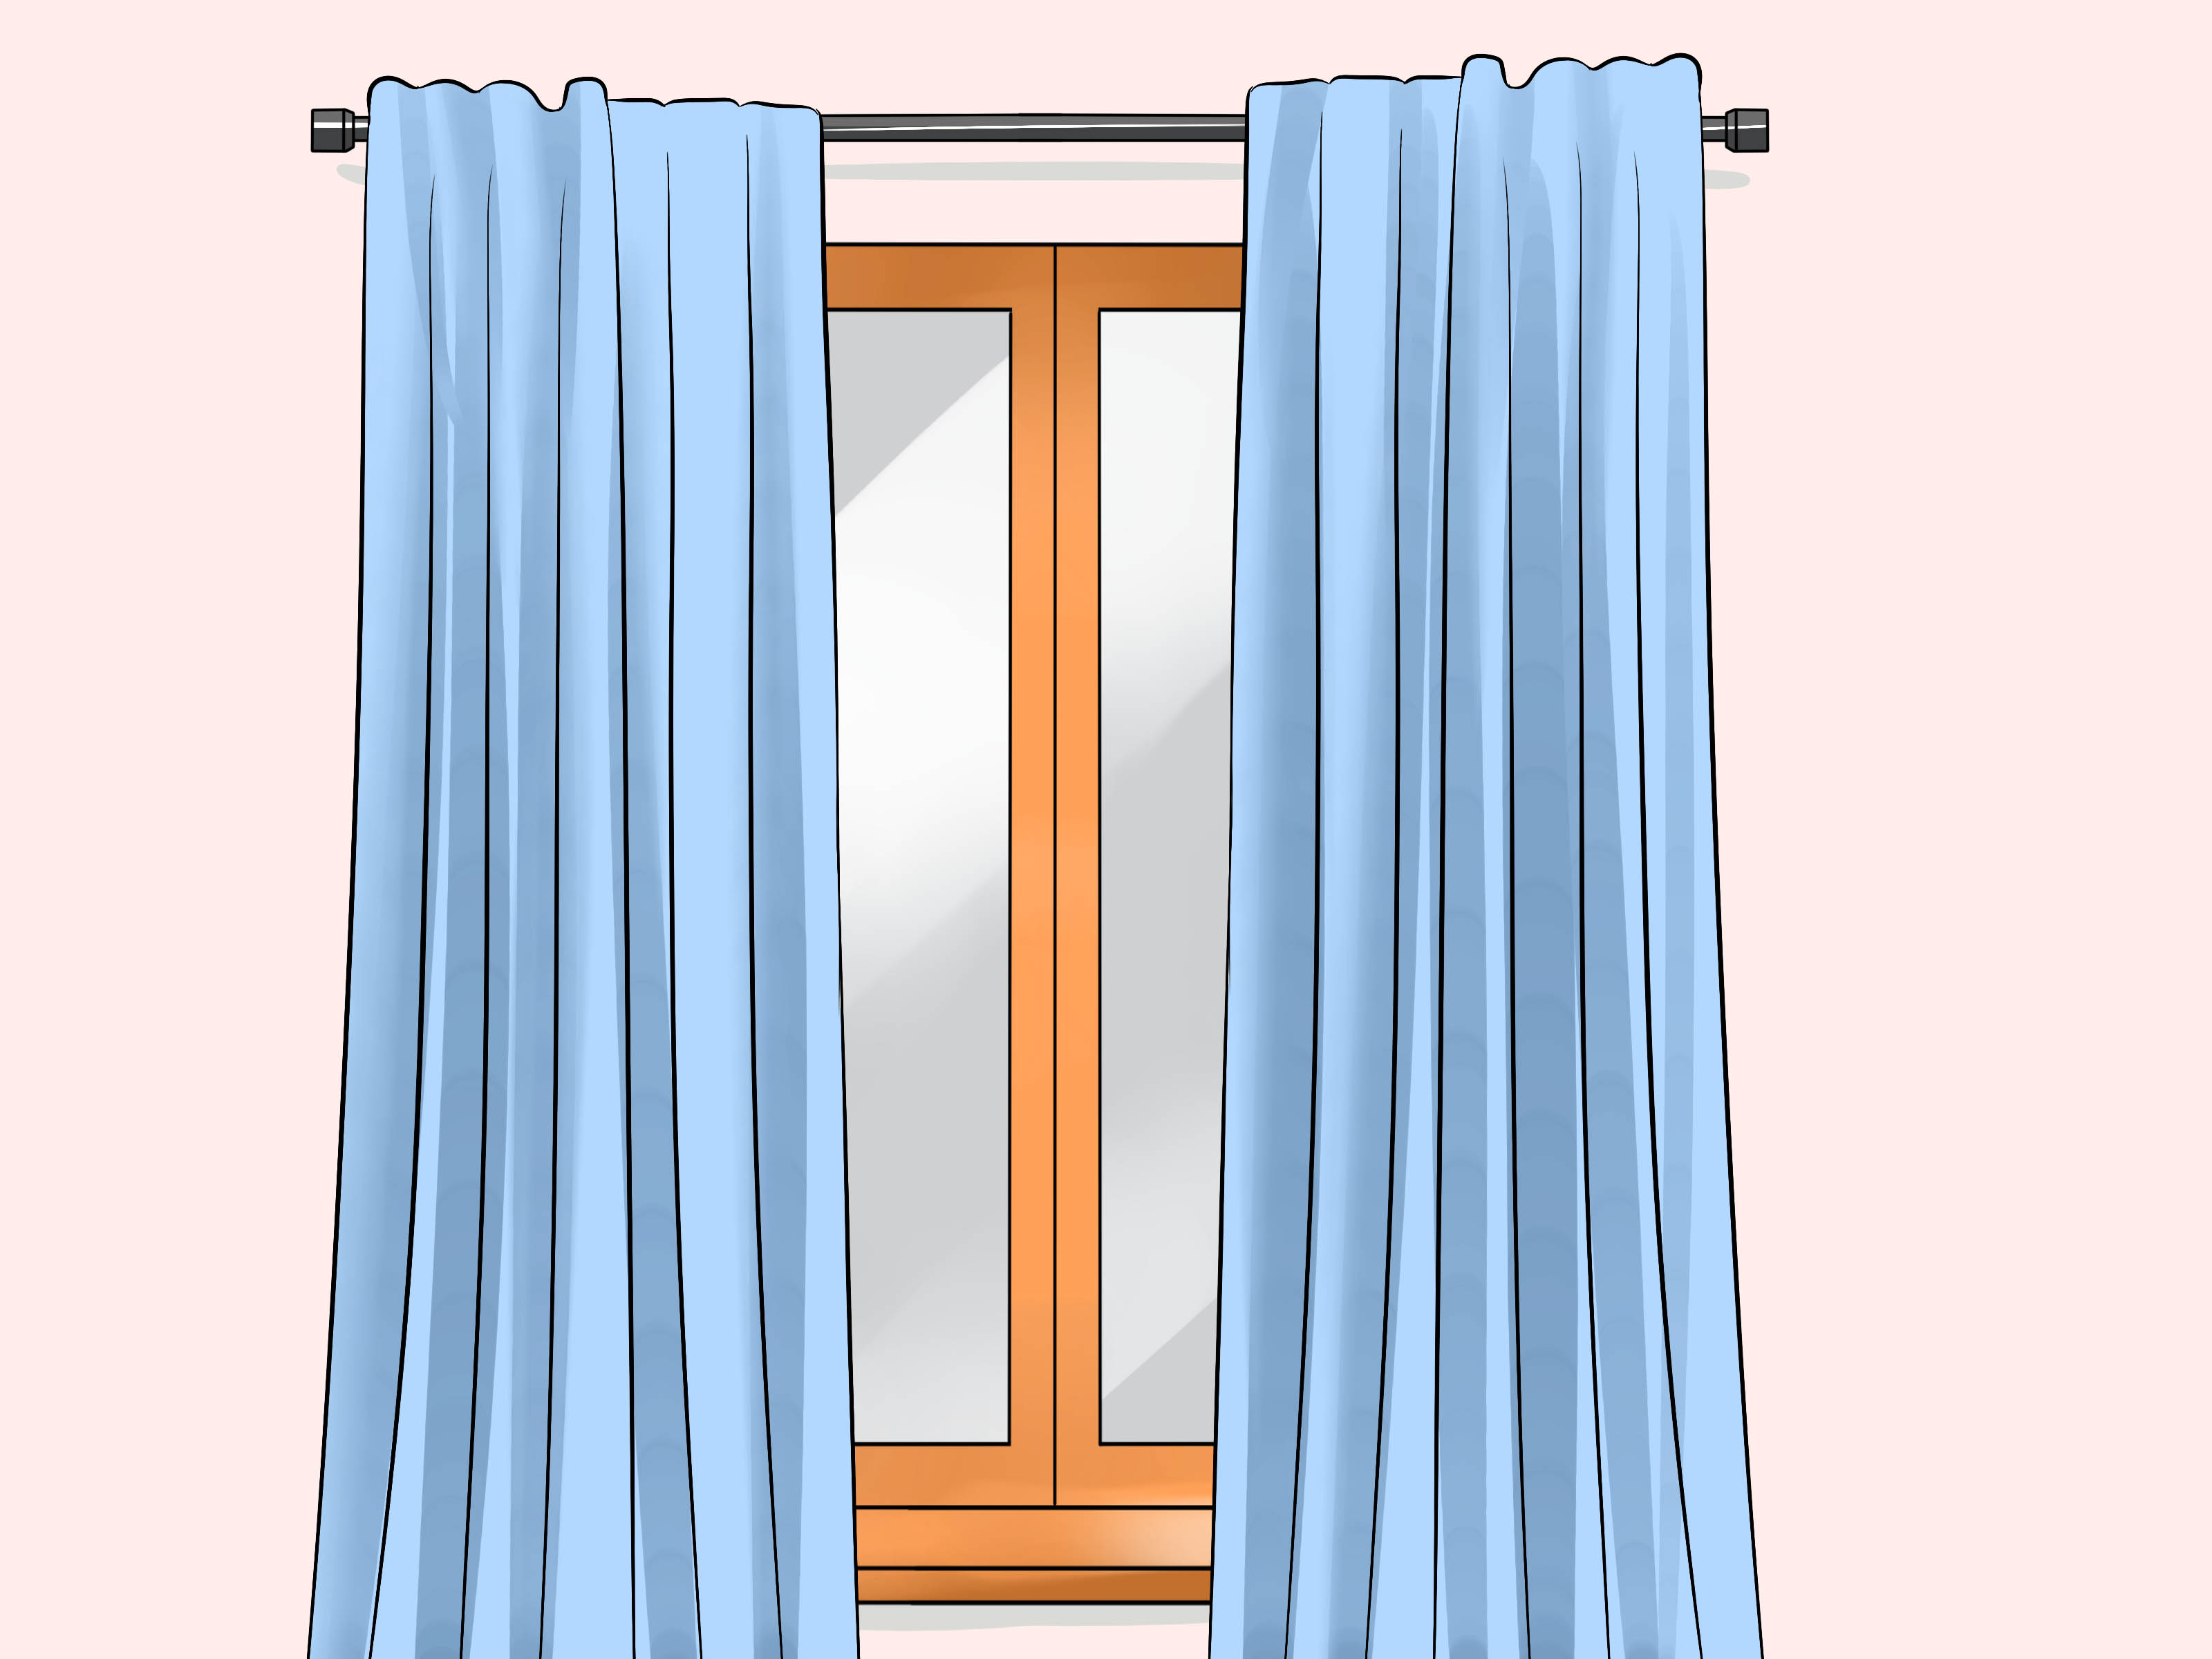
You should also decide whether your curtain rod or track is already installed. If it is not installed yet, plan its position before calculating fabric. Curtain measurements are usually based on the rod or track width, not just the glass or trim width. Hanging rods higher and wider than the window frame often makes windows look larger and allows more daylight when curtains are open.
How to Measure Fabric for Curtains: 11 Steps
Step 1: Choose the Curtain Style First
Start by deciding what type of curtain you want. The style affects how much fabric you need. Rod-pocket curtains slide directly onto the rod and usually need generous fullness. Grommet curtains create large, even waves. Tab-top curtains have a casual look. Pinch pleat and French pleat curtains need more structured fullness and often require extra fabric. Ripple fold or wave curtains use a specific track system and should be measured according to that system.
Your fabric choice also matters. Linen, cotton, velvet, polyester, and sheer fabrics all hang differently. Lightweight sheers often need more fullness to avoid looking flat. Heavy velvet may need less fullness because the fabric already has visual weight.
Step 2: Decide Where the Curtain Rod Will Go
If the curtain rod is not installed, decide its placement before measuring fabric. A common designer-friendly approach is to mount the rod several inches above the window frame and extend it beyond the frame on both sides. This creates a taller, wider look and gives the curtain panels room to stack when open.
For example, if your window frame is 48 inches wide and you extend the rod 8 inches on each side, your rod width becomes 64 inches. That 64-inch number is the one you use for most curtain fabric calculations, not the original 48-inch window width.
Step 3: Measure the Rod or Track Width
Measure from one usable end of the curtain rod to the other. Do not include decorative finials, because fabric does not hang on those. If you are using a curtain track, measure the working track length, including overlap areas if the track has them.
Write this number down as your coverage width. For example:
- Window frame width: 48 inches
- Rod extension: 8 inches left + 8 inches right
- Total rod width: 64 inches
This total width is the foundation for calculating curtain fullness.
Step 4: Choose a Fullness Ratio
Fullness is the extra fabric that creates folds, waves, and a soft drape when curtains are closed. Without fullness, curtains look like flat bedsheets hanging from a rod, which is rarely the goal unless your design theme is “temporary college apartment.”
For most curtains, multiply the rod width by 1.5 to 2.5 depending on the style and fabric. A practical guide looks like this:
- Light fullness: rod width x 1.5
- Standard fullness: rod width x 2
- Luxurious fullness: rod width x 2.5 to 3
- Sheer curtains: often 2 to 3 times the rod width
- Heavy drapes: often 1.5 to 2 times the rod width
Example: If your rod width is 64 inches and you want standard fullness, multiply 64 by 2. Your total finished curtain width should be 128 inches. If you are making two panels, each finished panel should be about 64 inches wide.
Step 5: Add Side Hem Allowance
Finished panel width is not the same as cut fabric width. You need extra fabric for side hems. A common approach is to add 2 to 4 inches per panel for side hems, depending on how deep you want the folds and how thick the fabric is.
For simple DIY curtains, adding 4 inches total to each panel width works well. That allows for a double-fold side hem of about 1 inch on each side. If your finished panel should be 64 inches wide, your cut width becomes about 68 inches.
If you are using very delicate sheers, you may use narrower hems. For heavier fabric, deeper side hems can help the curtain hang more neatly.
Step 6: Measure the Finished Curtain Length
Next, measure the curtain drop, which is the finished length from the hanging point to where you want the curtain to end. The hanging point depends on the curtain style. For rod-pocket curtains, measure from the top of the rod or from where the fabric will sit on the rod. For ring-top curtains, measure from the bottom of the ring or clip. For grommet curtains, measure from the top of the rod and account for the fabric that sits above the grommet.
Common curtain lengths include:
- Sill length: ends at the windowsill
- Apron length: ends a few inches below the sill
- Floor length: just touches or “kisses” the floor
- Breaking length: lightly bends at the floor
- Puddle length: extends onto the floor for a dramatic look
For a clean modern look, floor-length curtains that just touch or hover slightly above the floor are often best. For formal rooms, a small puddle can look elegant, though it is less practical in homes with pets, kids, robot vacuums, or humans who trip over things before coffee.
Step 7: Add Top Heading Allowance
The top heading is the part of the curtain that attaches to the rod, rings, hooks, tape, or pleating system. The allowance depends on the curtain style.
Rod-pocket curtains need enough extra fabric to form the pocket and sometimes a decorative header above it. Pleated curtains may need heading tape or buckram. Grommet curtains need space above and below the grommet opening. Tab-top curtains need separate tab pieces or extra fabric for integrated tabs.
For many simple curtains, adding 3 to 5 inches for the top heading is a good starting point. For more structured headings, follow the instructions for your specific tape, grommets, or pleating method.
Step 8: Add Bottom Hem Allowance
The bottom hem gives curtains weight and a polished finish. A deeper hem helps panels hang smoothly. Many DIY curtain projects use a bottom hem allowance of 4 to 8 inches. A common method is a double-fold hem, such as folding 4 inches and then another 4 inches for an 8-inch total allowance.
Example: If your finished curtain length is 96 inches, and you need 4 inches for the top heading plus 8 inches for the bottom hem, your cut length becomes 108 inches per panel.
Formula:
Cut length = finished curtain length + top allowance + bottom hem allowance
Step 9: Check the Fabric Width
Most decorator fabrics are sold in standard widths, often around 45 inches or 54 inches wide. Some sheers, drapery linings, and wide-width fabrics may be much wider. Fabric width determines how many fabric widths you need across each curtain panel.
Suppose each finished panel needs to be 64 inches wide, and your fabric is 54 inches wide. One width of fabric is not enough after side hems. You may need to join two widths for each panel, or choose a wider fabric. If you are making two panels, this can significantly change the total yardage.
Formula:
Number of fabric widths = required cut width ÷ usable fabric width
Always round up to the next whole number. Fabric stores do not sell emotional support half-widths.
Step 10: Account for Pattern Repeat
If your curtain fabric is solid, plain, or has a tiny allover texture, you can calculate yardage more simply. If your fabric has a large floral, stripe, plaid, geometric print, or directional pattern, you need extra fabric to match the design across panels.
Pattern repeat is the distance before a printed design starts again. It may be listed on the fabric description or bolt label. For large repeats, you may need to round each cut length up to the next full repeat so the pattern aligns across panels.
Example: Your cut length is 108 inches, and the pattern repeat is 18 inches. Divide 108 by 18, which equals 6. That works perfectly. But if your cut length is 110 inches, divide 110 by 18, which equals 6.11. Round up to 7 repeats. Your adjusted cut length becomes 126 inches.
This step can add yardage, but it prevents the dreaded “one panel starts with flowers, the other starts with half a confused bird” problem.
Step 11: Convert Total Fabric to Yards
Once you know the cut length per fabric width and the number of widths needed, calculate total fabric length.
Formula:
Total fabric length = adjusted cut length x number of fabric widths
Then convert inches to yards:
Total yards = total inches ÷ 36
Example:
- Rod width: 64 inches
- Fullness ratio: 2
- Total finished curtain width: 128 inches
- Two panels: 64 inches finished width each
- Cut width per panel with side hems: 68 inches
- Fabric width: 54 inches
- Widths needed per panel: 2
- Total widths for two panels: 4
- Finished length: 96 inches
- Top allowance: 4 inches
- Bottom hem allowance: 8 inches
- Cut length: 108 inches
- Total fabric: 108 x 4 = 432 inches
- Total yardage: 432 ÷ 36 = 12 yards
For safety, consider adding a little extra fabric, especially if you are new to sewing curtains, matching a print, or working with fabric that may shrink.
Quick Curtain Fabric Measurement Formula
For a simple two-panel curtain project, use this formula as a starting point:
Rod width x fullness ratio = total finished curtain width
Total finished curtain width ÷ number of panels = finished width per panel
Finished panel width + side hem allowance = cut width per panel
Finished length + top heading allowance + bottom hem allowance = cut length per panel
Cut width per panel ÷ fabric width = number of fabric widths needed per panel
Cut length x total number of fabric widths = total fabric in inches
Total fabric in inches ÷ 36 = total yards
Common Mistakes When Measuring Fabric for Curtains
Measuring Only the Glass
One of the biggest mistakes is measuring only the glass pane instead of the full area the curtains need to cover. Curtains usually cover the window trim and extend beyond it. Measure the rod or planned rod width for a better result.
Forgetting Fullness
A curtain panel that equals the exact window width will look flat when closed. Fullness creates the soft folds that make curtains look intentional. In most cases, aim for at least 1.5 times the rod width, and use 2 times for a fuller everyday look.
Ignoring Fabric Width
A beautiful fabric may not be wide enough for your panel design. Always check the usable fabric width before calculating yardage. If the fabric has wide selvages or a pattern that cannot be used edge to edge, treat the usable width as slightly narrower.
Skipping Pattern Matching
Pattern matching can make the difference between custom-looking curtains and panels that seem to be arguing with each other. Large prints, stripes, and plaids need extra planning and extra fabric.
Not Measuring the Floor at Several Points
Floors are not always level. Measure the curtain length at the left, center, and right side of the window. Use the measurement that gives the best finished look, especially for floor-length curtains.
Best Fabric Choices for DIY Curtains
Cotton and cotton blends are beginner-friendly because they press well and sew easily. Linen offers a relaxed, natural look but may wrinkle and shrink. Polyester blends are durable and often budget-friendly. Velvet adds drama and light control but can be heavier and harder to sew. Sheer fabrics create an airy feel but can be slippery and may require narrow hems.
If privacy or insulation matters, consider adding lining. Lining can protect decorative fabric from sun damage, improve drape, and help block light. Blackout lining is useful for bedrooms, nurseries, media rooms, and anyone who believes morning sunlight should ask permission before entering.
Practical Example: Measuring Fabric for Bedroom Curtains
Imagine a bedroom window that is 50 inches wide. You plan to mount the rod 6 inches above the frame and extend it 8 inches beyond each side. Your rod width becomes 66 inches. You want standard fullness, so you multiply 66 by 2, giving you 132 inches of total finished curtain width.
You want two panels, so each panel should finish at 66 inches wide. Add 4 inches for side hems, making each cut panel width 70 inches. Your fabric is 54 inches wide, so each panel needs two fabric widths. For two panels, that means four fabric widths total.
Your finished length from the rod to the floor is 95 inches. Add 4 inches for the top heading and 8 inches for the bottom hem. Your cut length is 107 inches. If the fabric is plain, multiply 107 inches by four widths, which equals 428 inches. Divide by 36, and you get about 11.9 yards. Round up to 12 yards, or a little more if you want insurance.
Extra Experience Notes: What Real Curtain Measuring Teaches You
After measuring curtains for different rooms, one lesson becomes obvious: windows are rarely as simple as they look. Two windows in the same room may be slightly different widths. Floors may slope a little. Trim may not be perfectly even. A curtain rod may look centered until you measure it and discover it has been living a lie. That is why the best experience-based advice is to measure everything twice and write down each number immediately.
Another practical lesson is to choose the curtain function before choosing the fabric. A fabric that looks gorgeous in a sample may not work well for the room. For example, a thin white cotton may look crisp and charming in a kitchen, but it may not provide enough privacy for a bedroom. A heavy velvet may look luxurious in a formal living room, but it can feel too dark in a small office. Measuring fabric is not only about size; it is about how the curtain will behave in real life.
Fullness is also easier to understand after seeing curtains hung in place. A 1.5-times fullness ratio can look neat and simple, especially with heavier fabric. A 2-times fullness ratio usually looks more balanced for everyday curtains. A 3-times ratio can look beautiful with sheers, but with thick fabric it may create too much bulk at the sides. If your window sits close to a corner, bookshelf, radiator, or light switch, remember to plan for stack backthe space curtains occupy when open.
Patterned fabric teaches another unforgettable lesson: always respect the repeat. Large-scale patterns can be stunning, but they require patience. Before cutting, lay the fabric out and decide where the pattern should begin on each panel. Matching the pattern across two panels makes curtains look expensive, even if the fabric was bought on sale with the kind of discount that makes you whisper, “Do they know?”
Pre-washing is another experience-based decision. If the fabric is washable and the curtains will be washed later, pre-shrinking the fabric before cutting can prevent unpleasant surprises. Nothing ruins a proud DIY moment faster than curtains that fit perfectly on Monday and turn into ankle pants after laundry day. If the fabric is dry-clean-only, avoid washing it and follow the care instructions.
Finally, add a small buffer to your yardage. Extra fabric can cover mistakes, pattern matching, shrinkage, or future repairs. It can also become matching tiebacks, pillow covers, or a small valance. Buying too little fabric is stressful because dye lots and prints may change. Buying a little extra is often the calmer choice. Curtain measuring rewards patience, and the final result is worth it: panels that fit, hang well, and make the room feel intentionally designed rather than accidentally covered.
Conclusion
Learning how to measure fabric for curtains is one of the most useful DIY home décor skills. Once you understand rod width, fullness, finished length, hem allowance, fabric width, and pattern repeat, the process becomes logical and repeatable. The key is to measure the actual coverage area, choose a fullness ratio that suits the fabric and style, add enough allowance for hems and headings, and round up when fabric width or pattern repeat requires it.
Beautiful curtains are not just about pretty fabric. They are about proportion, planning, and careful measuring. Get those right, and your curtains can make a basic window look taller, wider, softer, and more polished. In other words, your room gets a glow-up, and your tape measure gets to feel like the hero.