Leather chairs age with a little attitude. One day they look rich, polished, and expensive. The next day they have a scratch, a crack, and a weird dry patch that makes them look like they just came back from a desert road trip. The good news is that many common problems are fixable at home if you choose the right repair method for the damage.
If you are dealing with a favorite reading chair, a worn office seat, or a dining chair that has seen one too many belt buckles, this guide breaks down three practical ways to repair a leather chair. We will cover how to fix light scratches, how to handle cracks and faded areas, and how to repair tears or splits without turning your chair into a craft-project disaster. Along the way, you will also learn what not to do, because leather is stylish but unforgiving, and it remembers your mistakes.
Why Leather Chairs Get Damaged in the First Place
Before you repair leather furniture, it helps to know what caused the problem. Surface scratches usually come from pets, sharp clothing details, or everyday friction. Cracks tend to show up when leather dries out, sits in direct sunlight, or goes years without proper conditioning. Tears and splits often happen on stress points such as seat edges, arms, and seams where the leather flexes every time someone sits down.
This matters because the best leather chair repair is not the fanciest one. It is the repair that matches the damage. A tiny scuff does not need a patch. A full tear does not need wishful thinking and a dab of conditioner. Correct diagnosis saves money, time, and the emotional spiral that begins with, “I probably made it worse.”
Before You Start: Prep the Chair Like You Mean It
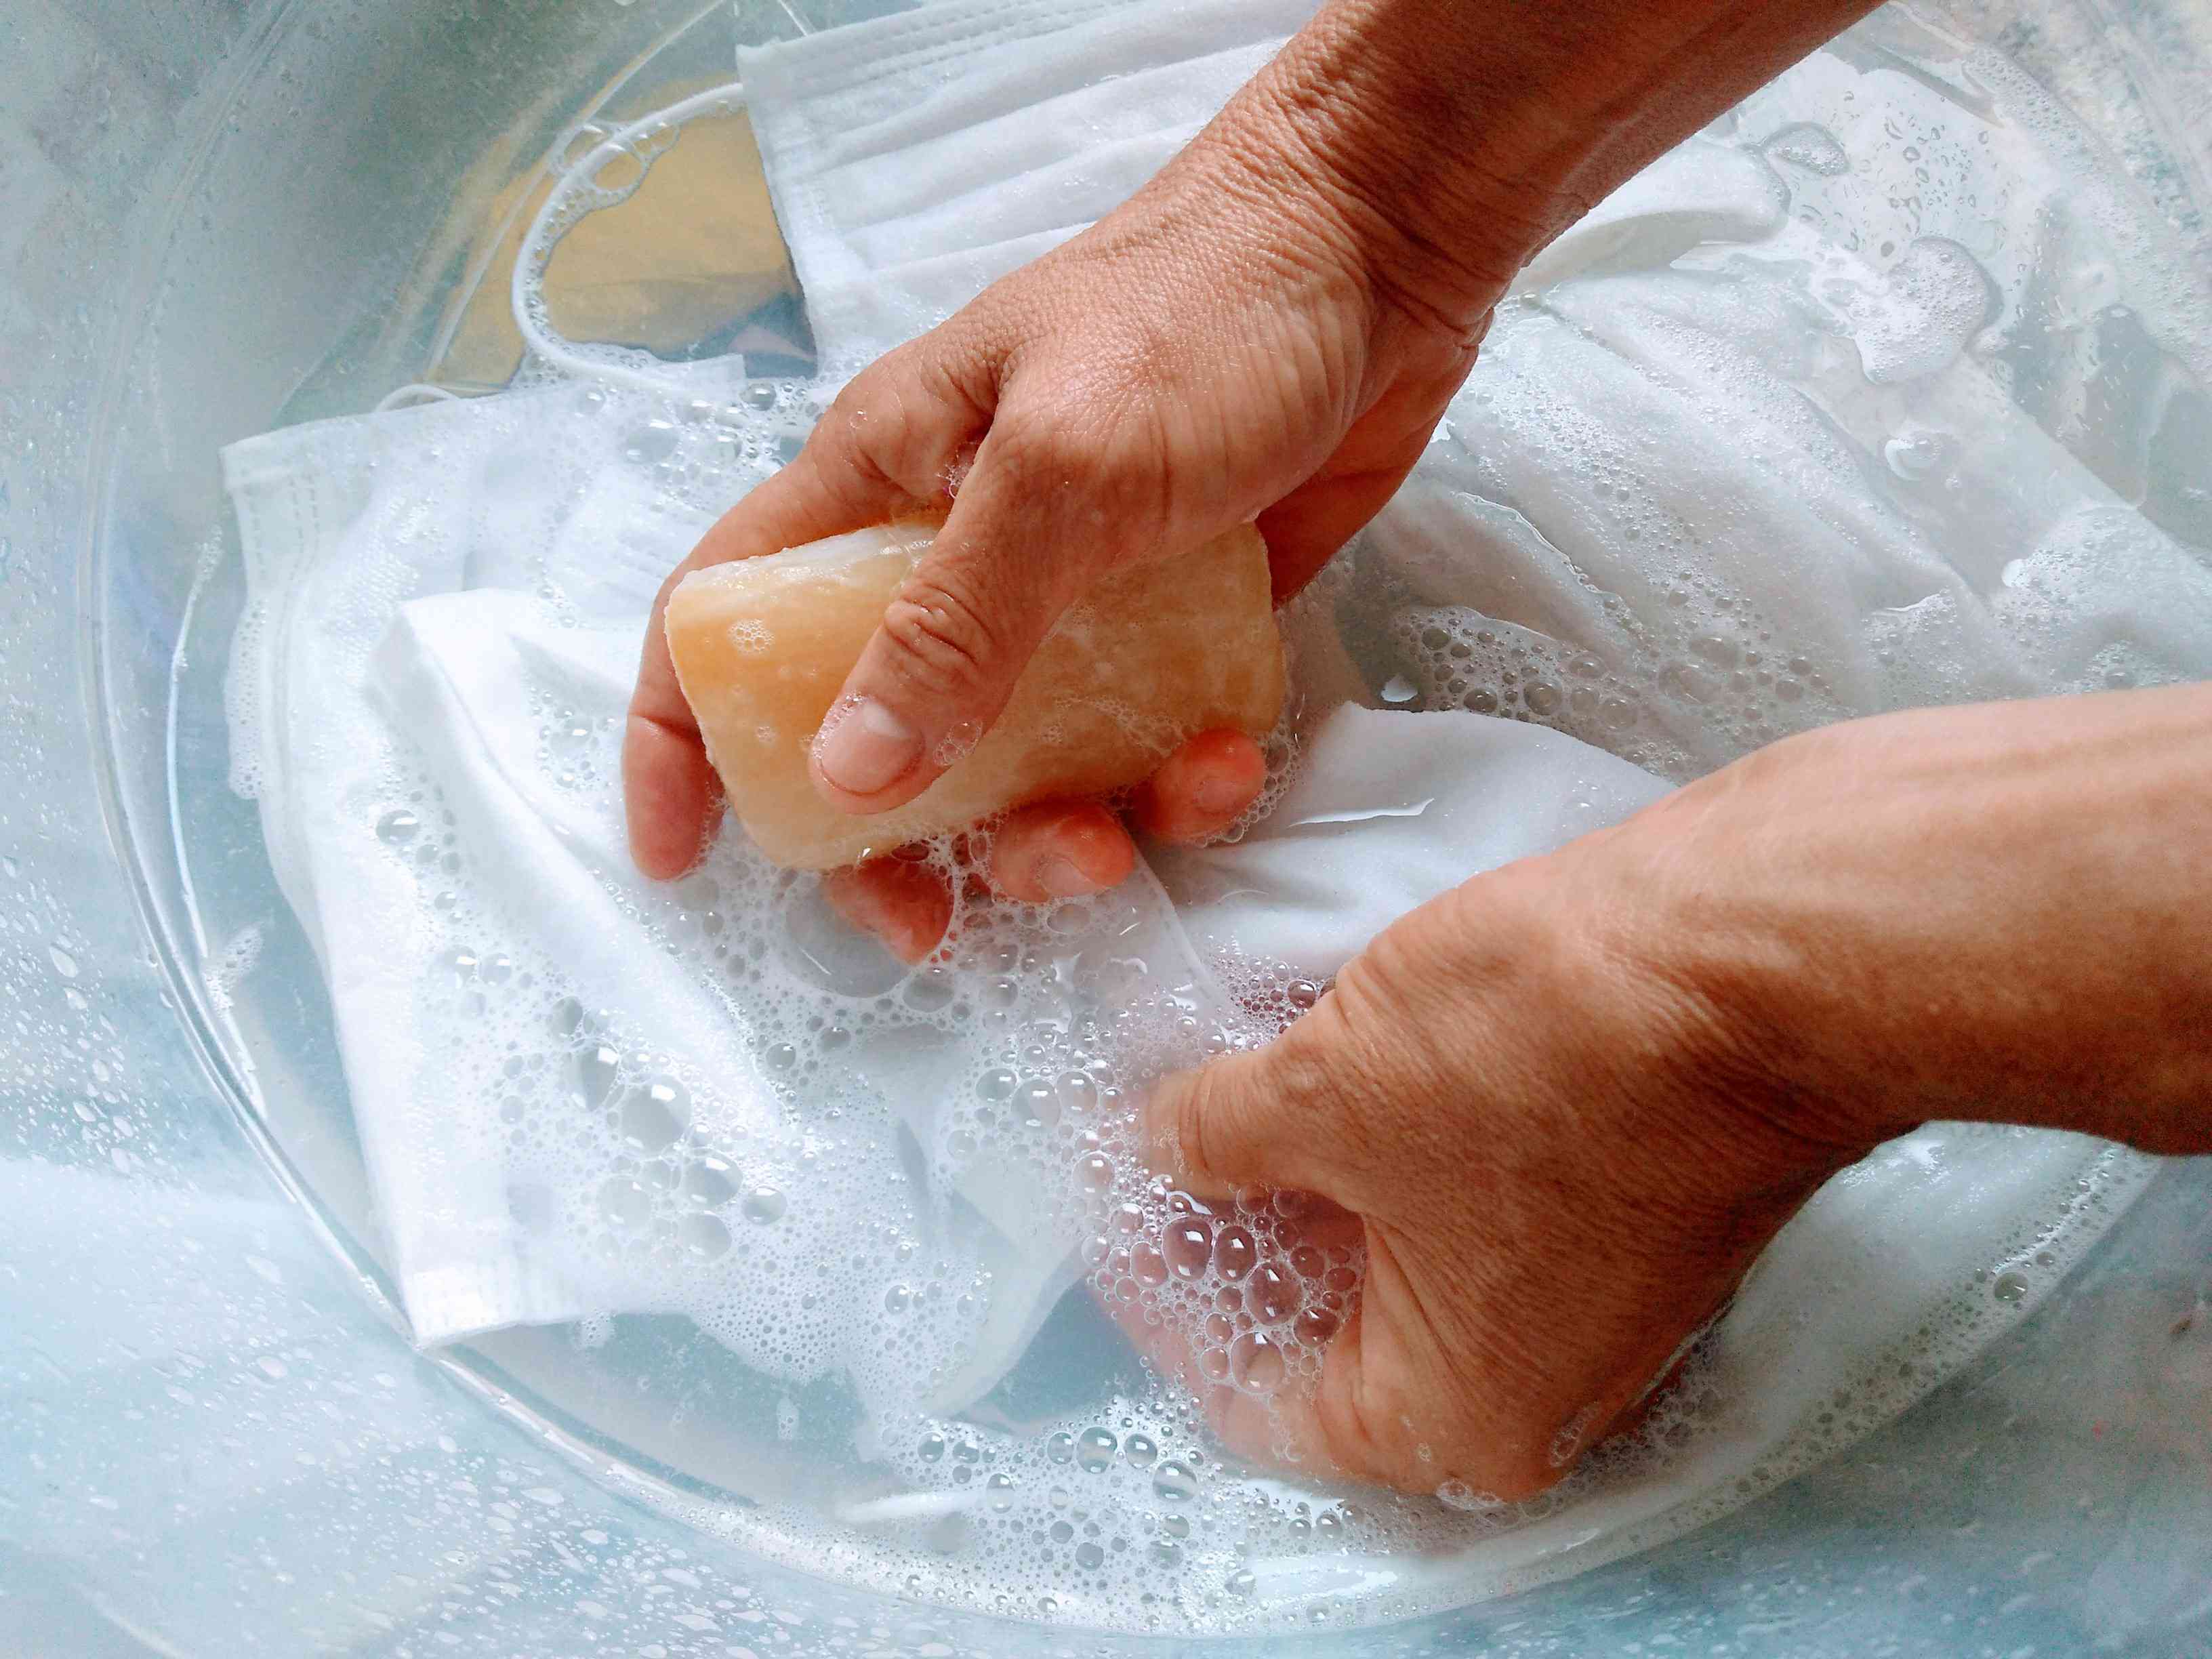
Clean first, repair second
Dust, body oils, and old polish can keep repair products from bonding properly. Start by vacuuming crumbs and grit out of seams. Then wipe the chair with a soft microfiber cloth and a leather-safe cleaner or a very mild soap solution. Never soak the leather. You want the cloth damp, not dripping like it just lost a fight with the sink.
Test every product in a hidden spot
Color can shift. Shine can change. Even “safe for leather” products can behave differently depending on whether your chair is finished leather, bonded leather, faux leather, or an older aniline leather with a softer surface. Test first under the seat or on the back edge where nobody judges.
Gather basic tools
Most repairs go more smoothly if you have a few essentials ready: microfiber cloths, leather cleaner, leather conditioner, fine sandpaper or a sanding pad, a palette knife or small spatula, leather glue or adhesive, filler for deeper damage, a sub-patch or backing fabric for tears, and a color repair product or leather dye that matches the chair.
Way 1: Repair Light Scratches and Surface Scuffs
This is the easiest repair and the one most people should try first. If the leather is scratched but not ripped, and if the damage looks more cosmetic than structural, you may be able to fix it with cleaning, conditioning, and a little patient blending.
Best for
Minor scratches, cat marks that have not torn through the material, shallow scuffs, dry-looking abrasion, and dull patches.
How to do it
After cleaning the chair, apply a small amount of leather conditioner to a clean cloth. Rub it gently into the scratch using small circular motions. This can soften the fibers, reduce the visibility of the mark, and restore a bit of color and sheen. If the scratch still shows, lightly smooth any raised fibers with very fine sandpaper, then apply a thin coat of color-matched leather cream, balm, or dye. Let it dry fully before deciding whether it needs another layer.
Why this works
Many light scratches do not remove the leather itself. They mainly disturb the finish on top. Conditioner can reduce the contrast, and a color repair product helps the damaged area blend back into the surrounding surface.
Example
Imagine a caramel leather accent chair with a few pale scratch lines on the arm from a watch buckle or an enthusiastic cat. If the leather is still intact and flexible, this first repair method often brings the chair back from “rough Monday morning” to “respectably expensive again.”
Pro tip
Use thin layers. Thick product buildup can leave a shiny blob that screams, “A repair happened here.” The goal is camouflage, not a spotlight.
Way 2: Fix Cracks, Peeling Finish, and Faded Areas
If your chair looks dry, rough, or flaky, you are probably dealing with damaged finish rather than a full tear. This is where a leather filler and color repair system can help.
Best for
Cracked leather, peeling topcoat, small gouges, rough spots, worn seat panels, and faded high-contact areas such as the front seat edge or arms.
How to do it
Clean the damaged area thoroughly and let it dry. If the surface has loose flakes or rough edges, smooth them carefully with very fine sandpaper. Next, apply a small amount of flexible leather filler to the crack or low area using a palette knife. Press it in, scrape off the excess, and let it dry. Some repairs need two or three thin applications instead of one thick one.
Once the filled area is smooth, lightly sand again if needed. Then apply a matching leather colorant, balm, or repair dye in thin coats. Feather the edges so the new color fades naturally into the old color. When the color is right, finish with a leather sealant or conditioner if the product instructions call for it.
Why this works
Cracks and peeling areas usually create tiny valleys and broken finish. Filler levels out the surface, and color brings the chair back visually. Together, they make damaged leather look cared for instead of abandoned.
Example
A black leather desk chair often wears out on the seat first. The color fades, the finish cracks, and the front edge starts looking as tired as your inbox. A careful filler-and-color repair can dramatically improve that area without reupholstering the whole chair.
Pro tip
Color matching is the make-or-break moment. If your chair has an in-between shade like warm taupe, saddle brown, or espresso with red undertones, mix and test before committing. “Close enough” can turn into “why is this chair wearing a different face?” very quickly.
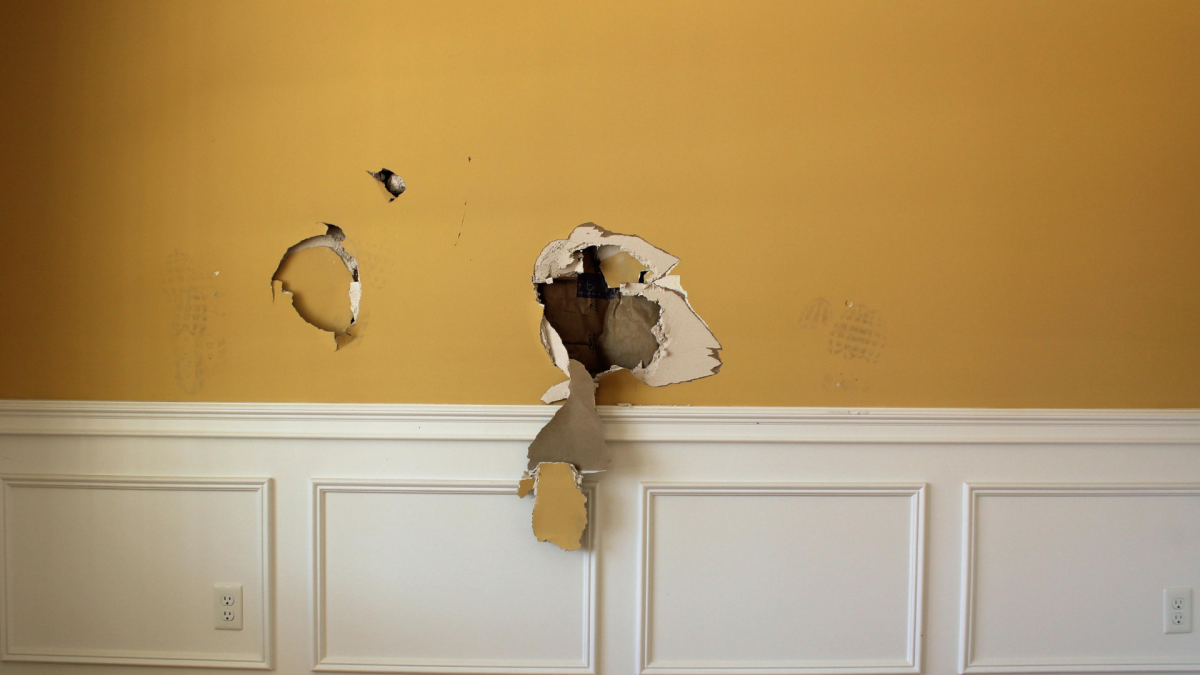
Way 3: Patch Tears, Splits, and Small Holes
Now we move into the big-league repair: actual damage that breaks through the leather. This is the method for a ripped seat, a split arm, or a puncture that has crossed from annoying to obvious.
Best for
Small tears, clean splits, punctures, and holes where the leather has opened but the surrounding material is still stable.
How to do it
Start by trimming only the loosest frayed fibers. Do not cut away healthy leather just because it offended your sense of symmetry. Slide a backing patch or sub-patch underneath the tear using tweezers. This patch gives the adhesive something to bond to and helps keep the repair from reopening.
Apply leather adhesive under the torn edges and press them down onto the backing fabric. Let the glue cure as directed. If the seam is not perfectly level, use flexible filler over the join, allow it to dry, and sand it smooth. Finish by applying color repair product in thin layers until the patch blends with the chair.
Why this works
Tears need structure first and beauty second. Glue alone often fails because the leather edges keep pulling apart with use. The backing patch supports the repair from underneath so the seat can handle normal pressure again.
Example
Say your favorite brown club chair has a one-inch tear near the front corner of the seat cushion. If you catch it early, before the rip stretches wider, a backing patch and adhesive repair can stop the damage from growing and keep the chair in service for years.
Pro tip
If the tear is large, jagged, or located on a major load-bearing seam, call a professional. DIY can handle a lot, but there is a line between repair and accidental performance art.
Common Leather Chair Repair Mistakes to Avoid
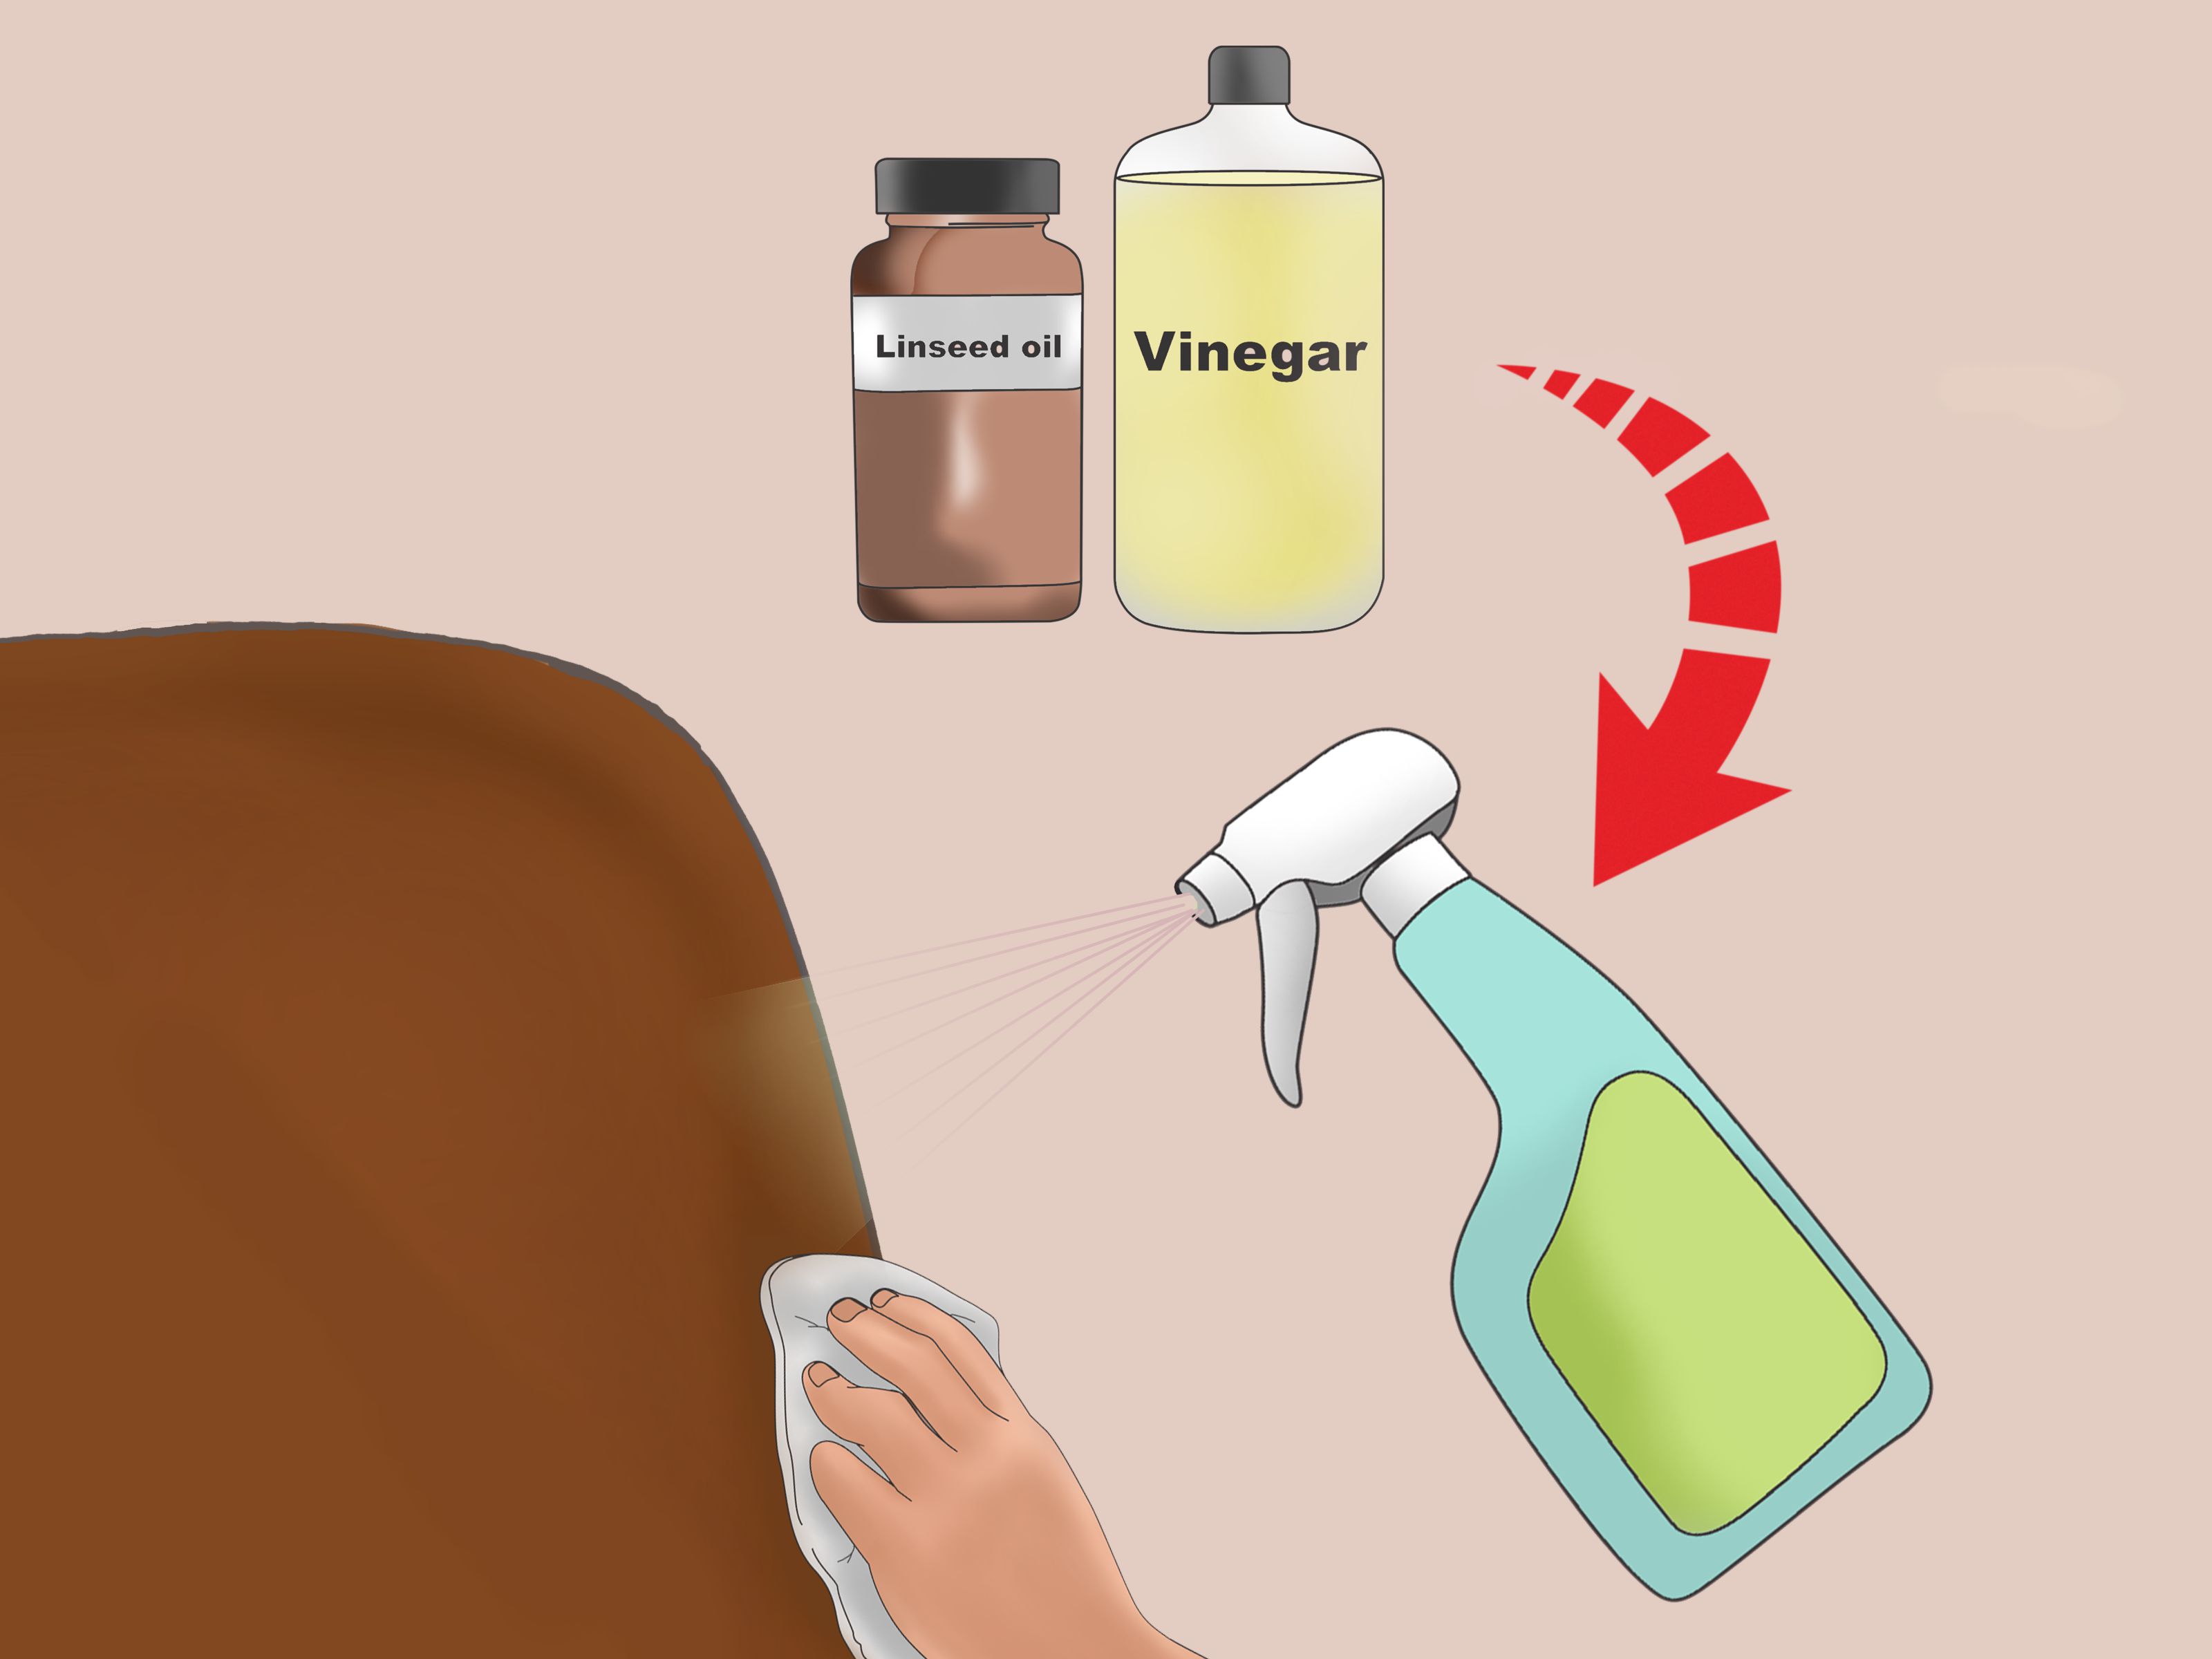
Using random household oils
Leather is not a salad. Do not reach for olive oil, coconut oil, or mayonnaise just because the internet had a chaotic moment. Products not designed for leather can darken the surface, create residue, and lead to long-term damage.
Applying too much water
Overwetting can stain leather and weaken the finish. Damp cloths are useful. Wet leather is a regret.
Skipping prep
If you apply filler, glue, or dye over dirt and body oils, the repair may peel, lift, or look uneven. Cleaning is not glamorous, but it is the backbone of a lasting result.
Rushing dry time
Leather repair rewards patience. If you pile on more product before the last layer cures, you can pull up the repair, muddy the color, or trap tackiness under the surface.
When to Repair and When to Replace
A leather chair is usually worth repairing if the frame is sturdy, the cushion still supports you, and the damage is limited to the leather surface or one area of tearing. Repair is often more affordable than reupholstery and definitely cheaper than replacing a high-quality chair.
On the other hand, if the leather is brittle all over, the seat foam is collapsing, the frame wobbles, and multiple panels are failing, you may be past the point of a tidy DIY fix. At that stage, professional restoration or replacement makes more sense.
How to Keep the Damage from Coming Back
Once you fix the chair, give it a fighting chance. Dust it regularly. Clean spills quickly. Condition the leather a few times a year or as recommended for its type. Keep it away from strong sunlight, heat vents, and dry air blasts that can pull moisture out of the material. If pets love the chair, consider a throw blanket or strategic deterrent, because claw marks are basically recurring subscriptions.
Extra Experience Notes: What Leather Chair Repair Is Really Like
One of the most common real-world experiences with repairing a leather chair is realizing that the damage almost always looks worse before it looks better. That is normal. When you clean an old chair, the faded areas stand out more clearly. When you sand a cracked spot, it can look rougher for a moment. When you apply the first coat of color, it may look slightly off. Then, somewhere around the second or third careful pass, the chair starts to come back to life. That turning point is why patience matters more than perfection.
Another common experience is discovering that different parts of the same chair age differently. The seat may be dry and cracked, while the backrest still looks great. The arms may have body-oil buildup, while the front edge has abrasion from constant sliding in and out. This is why smart repairs are localized. You do not always need to “restore the whole chair.” Sometimes the win is simply making the worst area stop drawing all the attention in the room.
People also learn quickly that color matching is part science, part eyeballing, and part standing three feet away and squinting a little. Under bright lighting, a repair may look warmer, cooler, lighter, or glossier than expected. That is why experienced DIYers test on a hidden area and build color in thin coats. The first coat is often too sheer. The second coat gets closer. By the third, the repair usually starts blending instead of announcing itself like a karaoke solo.
There is also the emotional side of the project, which is not discussed enough. Leather chairs are often sentimental pieces. They are the chair in the home office where someone built a business, the recliner a grandparent used every evening, or the reading chair that survived two moves, one puppy, and a phase where everyone thought dark denim on light leather was a good idea. Repairing the chair can feel less like maintenance and more like rescuing a piece of daily life. That makes the process more satisfying than replacing it with something flat-packed and anonymous.
At the same time, a lot of people underestimate how much better a “good” repair can be than chasing an “invisible” repair. In real homes, a leather chair does not need to look factory new to look excellent. It needs to look clean, stable, cared for, and consistent with the rest of the finish. A repaired scratch that only you can find in direct sunlight is a victory. A patched tear that no longer spreads every time someone sits down is a major win. Leather furniture is allowed to show a little life. Character is charming. Structural failure is not.
Perhaps the biggest lesson from leather chair repair is that maintenance beats heroics. The chairs that are easiest to fix are the ones that get occasional cleaning and conditioning before they dry out completely. The toughest repairs usually come from years of neglect, direct sun, and repeated stress on the same spot. In other words, the best repair story is often the boring one: you noticed the damage early, used the right method, and saved the chair before the problem became a full-blown upholstery drama. Boring, in this case, is beautiful.
Conclusion
If you want to know how to repair a leather chair, the answer depends on the type of damage. Light scratches usually respond well to cleaning, conditioning, and minor color touch-up. Cracks and peeling finish need filler and flexible color repair. Tears and holes require a backing patch, adhesive, and careful blending. Choose the right method, work in thin layers, and give each step time to dry properly.
A worn leather chair does not always need to be replaced. Sometimes it just needs the right repair strategy and a little respect. Leather may be dramatic, but it is also surprisingly resilient. Treat it well, and your chair can keep doing its job in style for years to come.