Finishing a jigsaw puzzle feels a little like climbing a mountain in socks: confusing at first, weirdly emotional in the middle, and wildly satisfying at the end. So once you have all those pieces locked into place, it makes sense to ask the next big question: now what? If you want to turn your completed puzzle into wall art, a keepsake, or a “look what I did instead of answering emails” masterpiece, laminating it is a smart move.
In practical terms, puzzle lovers often use the word laminate to mean sealing and stabilizing the puzzle so it holds together as one display-worthy piece. That can mean applying a puzzle conserver to the front, sticking adhesive sheets to the back, mounting the puzzle onto a backing board, or combining those methods for extra strength. The right approach depends on your puzzle size, your patience level, and whether you want a glossy finish, a matte finish, or a no-mess solution that does not leave your dining table looking like a craft tornado blew through.
This guide walks you through exactly how to laminate a puzzle in 10 clear steps, plus practical advice, common mistakes to avoid, and real-world experience tips to help you get a clean, durable result.
What You’ll Need
- A completed puzzle
- Wax paper, parchment paper, or another protective layer for your work surface
- Two large pieces of cardboard, foam board, or poster board for flipping the puzzle
- Puzzle glue, puzzle conserver, or peel-and-stick adhesive sheets
- A foam brush, sponge applicator, or plastic spreader if using liquid adhesive
- A ruler or tape measure
- A rolling pin, credit card, or brayer to smooth bubbles
- Optional backing board, frame, or hanging hardware
How to Laminate a Puzzle in 10 Steps
Step 1: Decide How You Want to Preserve It
Before you open a bottle of anything sticky, choose your method. There are three common options. The first is liquid puzzle glue applied to the front, which seals the image side and helps the pieces lock together. The second is peel-and-stick adhesive sheets placed on the back, which are faster and cleaner. The third is a hybrid method, where you secure the back and then frame or mount the puzzle for extra stability.
If you love a shiny, “freshly polished and ready for applause” finish, front-applied puzzle glue is a solid choice. If you want less mess and faster cleanup, adhesive sheets are easier to manage. And if you are the sentimental type who thinks this sunset landscape now deserves gallery treatment, combine preservation with proper framing.
Step 2: Make Sure the Puzzle Is Fully Finished and Flat
This sounds obvious, but it matters. Check that every piece is pressed into place and aligned properly. Run your hands gently across the surface and look for raised corners, gaps, or pieces sitting at a slight angle. If the puzzle has been built on a soft or uneven surface, press it flat before doing anything permanent.
Now is also the time to clean off lint, pet hair, dust, and mystery crumbs from a snack you definitely did not eat over the puzzle. Once you seal it, whatever is stuck there becomes part of the artwork forever. Nothing says “heirloom piece” quite like one fossilized tortilla chip fragment.
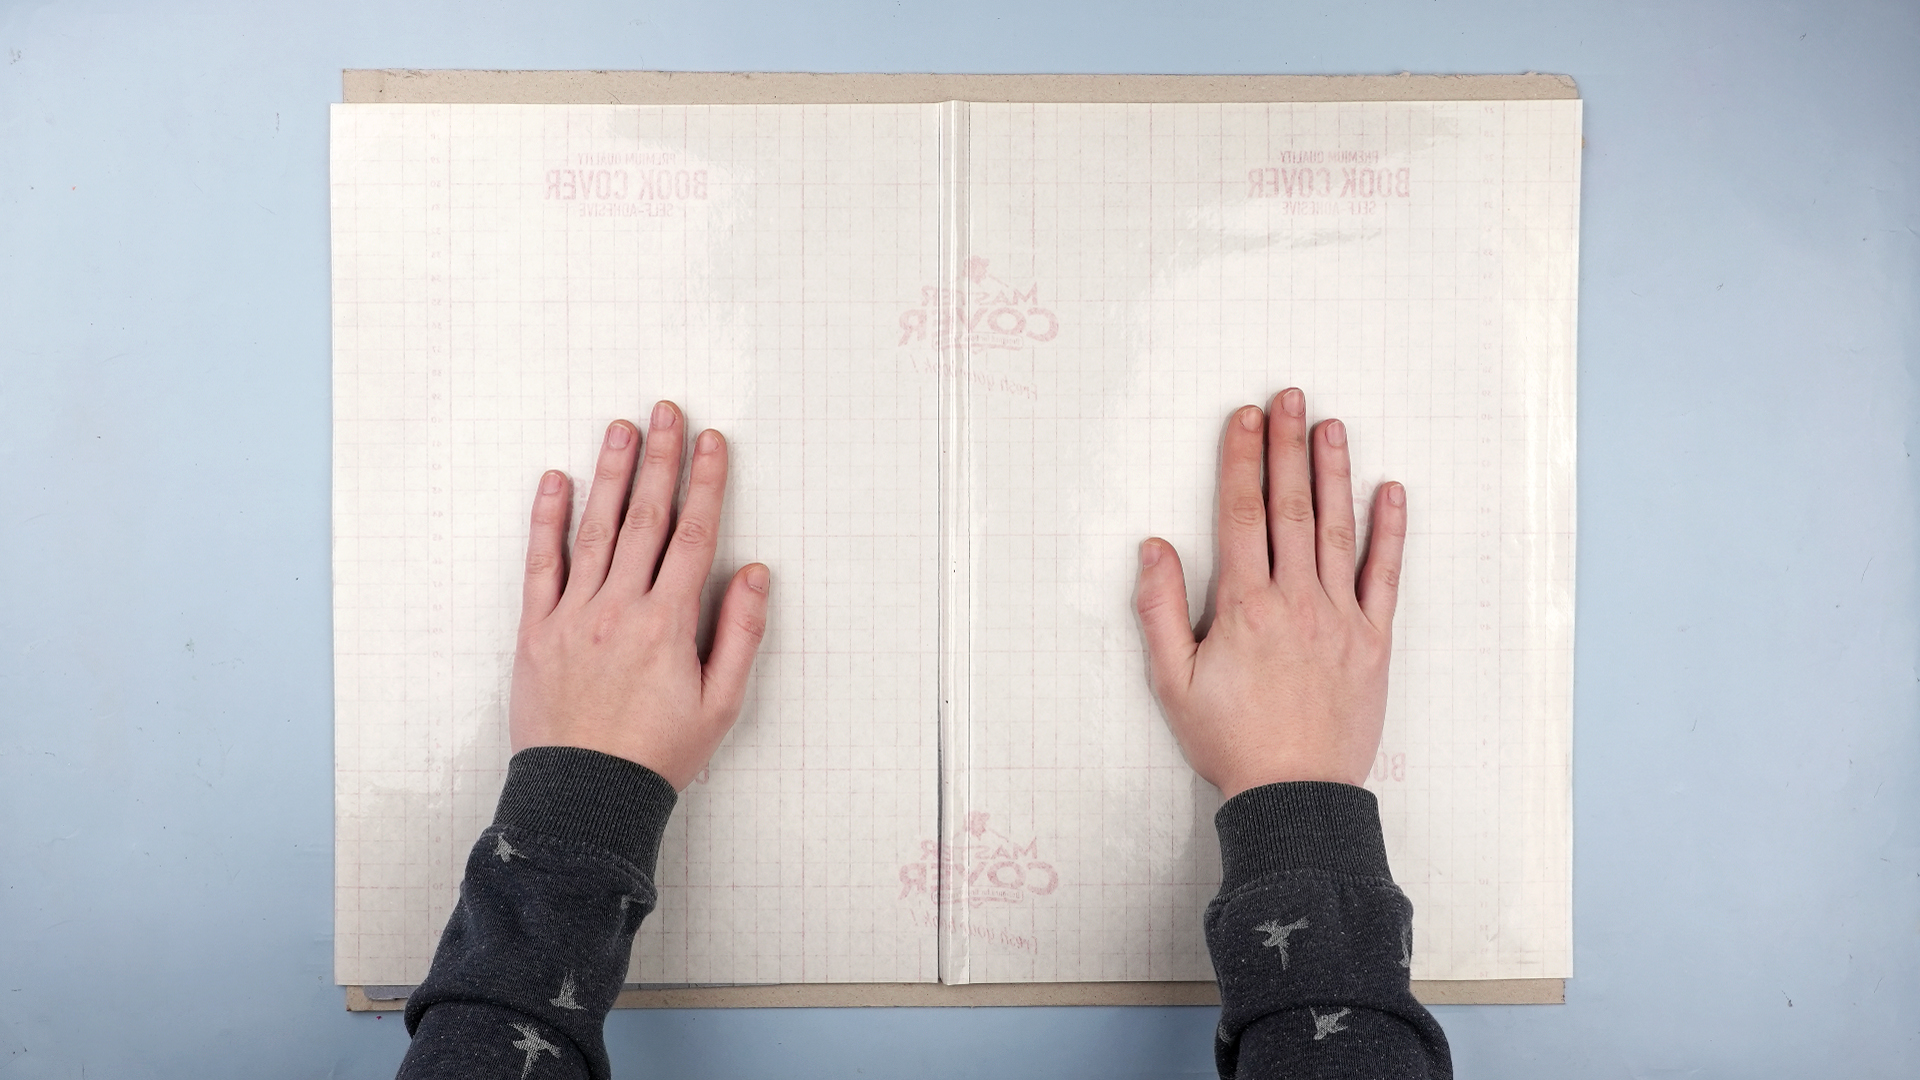
Step 3: Protect Your Work Surface
Lay wax paper, parchment paper, or another protective barrier under the puzzle. This step is not glamorous, but it is the difference between preserving your puzzle and permanently bonding it to your table like a very expensive placemat. Make sure the protective layer extends beyond all edges.
Work on a hard, flat surface with enough room to move around the puzzle. Kitchen tables, craft tables, and large desks all work well. Carpet does not. Beds do not. Your lap is ambitious, but let’s stay realistic.
Step 4: Slide a Support Board Underneath
If you assembled the puzzle on a mat or movable board, great. You are already ahead of the game. If not, carefully slide a sturdy piece of cardboard, foam board, or poster board underneath the puzzle. Go slowly and support the edges so the image does not shift.
This board becomes your transfer tool. It helps you move the puzzle safely, flip it if needed, and keep the entire piece stable while you laminate it. For larger puzzles, use two boards: one underneath and one on top when it is time to flip.
Step 5: Flip the Puzzle If You’re Using Back Adhesive
If you are using peel-and-stick sheets, clear contact paper, or another back-mounted method, sandwich the puzzle between two boards and carefully flip it over so the back faces up. Deep breath. This is the most nerve-racking moment, but it is completely manageable if you move slowly and keep the boards pressed firmly together.
Once flipped, check the back for loose pieces. If anything shifted, gently nudge it back into place from the rear. Back-side lamination is popular because it keeps the front image looking untouched while still creating a strong, display-ready bond.
Step 6: Apply the Adhesive Evenly
Now for the main event. If you are using liquid puzzle glue on the front, pour a small amount onto the surface and spread it evenly across the entire image using a sponge, foam brush, or built-in applicator. Work it into the seams so the adhesive reaches the spaces between the pieces. Do not drown the puzzle. You want coverage, not a craft swamp.
If you are using adhesive sheets on the back, peel the liner away and place the sheet carefully, smoothing it from the center outward. Overlap sections slightly if you need multiple sheets. Press firmly so the adhesive makes full contact across the back.
The key here is consistency. Thin, even coverage produces the cleanest result. Thick blobs dry slowly, leave ridges, and increase the odds of bubbles or warping. Your puzzle needs a neat coat, not icing.
Step 7: Smooth Out Bubbles and Wrinkles
After the adhesive is on, use a brayer, rolling pin, or plastic card to smooth the surface. Start in the center and work outward toward the edges. This helps push out trapped air and prevents bubbling. If you are using sheets, this step is especially important because one trapped pocket can create a weird raised area that will annoy you forever.
Check corners and edges carefully. These spots tend to lift first. Press them down firmly and make sure the adhesive reaches all the way to the outer border of the puzzle.
Step 8: Let It Dry or Cure Completely
This is where patience earns its paycheck. Some puzzle conservers dry fairly quickly, while other glue methods may need several hours or even overnight to cure fully. Follow the product instructions whenever possible and leave the puzzle flat while it dries.
Do not frame it too soon. Do not pick it up every 20 minutes “just to check.” Do not test the strength by waving it around like a victory banner. Let the adhesive set completely so the bond is strong and the finish stays smooth.
Step 9: Add a Backing Board for More Support
If you plan to hang the puzzle, a backing board can make a huge difference. Mounting the preserved puzzle onto foam board, mat board, or another rigid backing helps prevent sagging and gives the finished piece a cleaner, more professional feel. Measure carefully before attaching anything permanent.
This step is especially useful for larger puzzles, oddly shaped puzzles, and pieces that will hang in high-traffic rooms. A backing board gives your puzzle structure, which is a fancy way of saying it helps the whole thing not flop like a giant cardboard noodle.
Step 10: Frame, Hang, or Display It Properly
Once the puzzle is fully preserved, decide how to show it off. A standard poster frame may work for common sizes, while custom framing is better for unusual dimensions. If you do not want glue on the front at all, some people display puzzles by securing them between a backing board and a clear front panel or glass inside the frame.
When hanging, choose hardware rated for the weight of the finished piece. If the puzzle will live in a humid area, avoid direct moisture and intense sunlight. You preserved it to enjoy it, not to watch it slowly warp while pretending it is “rustic.”
Best Methods for Different Puzzle Goals
If You Want the Fastest Method
Use peel-and-stick adhesive sheets on the back. They are cleaner, quicker, and easier for beginners. This method is excellent if you want to preserve the puzzle without changing the look of the printed image.
If You Want a Glossy, Sealed Finish
Use a puzzle conserver or puzzle-specific liquid glue on the front. This creates a unified surface and can make colors pop. It is a good choice for decorative puzzles you want to frame and display prominently.
If You Want Maximum Stability
Use a back adhesive method and then mount the puzzle to a rigid board before framing. This combination is ideal for large puzzles and for anyone who wants extra support over time.
If You Want to Avoid Permanent Adhesive
Skip lamination altogether and frame the puzzle carefully between a backing board and a clear front surface. That way, you can preserve the image for display without permanently sealing the pieces together.
Common Mistakes to Avoid
- Using too much glue: More adhesive does not mean more security. It usually means longer drying time and a bumpier finish.
- Skipping surface protection: Unless your dream is to laminate both the puzzle and the dining table, put paper underneath.
- Flipping too aggressively: Large puzzles need support boards and a calm hand.
- Ignoring dry time: Half-dry adhesive is the sneaky villain of warped puzzles.
- Choosing the wrong frame size: Measure the finished puzzle, not the box.
- Forgetting edge coverage: If the corners are loose, the whole job feels unfinished.
Extra Experience and Real-Life Tips for Laminating a Puzzle
The biggest lesson people learn from laminating a puzzle is that the process is less about brute force and more about calm setup. The actual adhesive step usually takes only a short time. The real success comes from what you do before and after: preparing the workspace, flipping safely, smoothing carefully, and waiting long enough for the bond to cure. In other words, the dramatic part is not the glue. The dramatic part is you trying not to panic while turning over a 1,000-piece landscape of Tuscany.
Many first-timers go into this job thinking it will be either impossibly delicate or laughably easy. It is neither. It is more like frosting a cake made of cardboard geometry. If you rush, it shows. If you plan a little, it goes surprisingly well. People who get the cleanest result usually have a few habits in common: they work on a flat surface, they use light layers instead of heavy ones, and they do not improvise halfway through with random household adhesives that were originally purchased for some unrelated drawer-repair emergency.
Another useful experience-based tip is to think about the final destination before you preserve the puzzle. Is this going into a frame? Hanging with adhesive tabs? Sitting on a shelf? Mounted on foam board? Your display plan affects how much support you need. A puzzle that will live inside a sturdy frame may only need modest preservation. A puzzle that will hang without much support benefits from stronger backing. People often discover this too late, right around the moment they pick up the finished piece and feel it flex like a giant cracker.
Finish choice also matters more than beginners expect. A glossy sealer can make colors look richer and more dramatic, which is great for vibrant artwork, fantasy illustrations, and detailed scenic images. A matte finish can feel more refined and reduce glare, especially if the puzzle will hang in a bright room. Neither is universally better. It comes down to taste, lighting, and whether you want your masterpiece to whisper “classy wall art” or shout “look at these colors, baby.”
Large puzzles teach another valuable lesson: size changes everything. A small 300-piece puzzle can be flipped with very little drama. A 1,500-piece puzzle, however, suddenly turns into a piece of engineering. Bigger builds need more support, more patience, and usually an extra set of hands. Asking for help is not cheating. It is just smart puzzle physics.
Finally, people who are happiest with the result usually treat the project like preservation, not just crafting. They do not rush the final hours. They let the adhesive cure fully. They measure for the right frame. They protect the puzzle from moisture and direct sun. And when it is finally hung on the wall, the puzzle becomes more than a pastime. It becomes a memory you can actually see: a family winter project, a vacation souvenir, a quiet weekend challenge, or proof that you are capable of locating 999 tiny pieces and one outrageously specific missing shade of blue.
If that sounds a little sentimental, good. Finished puzzles earn it. You did not spend hours sorting edges, hunting sky pieces, and questioning your eyesight just to shove the result back in a box. Laminate it well, display it proudly, and let your completed puzzle enjoy its well-deserved second life.
Conclusion
If you are wondering how to laminate a puzzle successfully, the answer is simple: choose the right preservation method, work on a protected flat surface, apply the adhesive evenly, let it cure fully, and support the finished piece with proper mounting or framing. That is the whole game plan. No magic wand required. With a little patience and the right materials, your finished jigsaw can go from table hog to display-worthy décor without losing its shape, color, or charm.
Whether you prefer a glossy sealed front, a clean peel-and-stick backing, or a glue-free frame setup, the best method is the one that fits your puzzle, your space, and your patience level. Do it carefully once, and your finished puzzle can stay together for years. Which is great news, because explaining to guests why you are emotionally attached to a cardboard lighthouse is much easier when the lighthouse is already hanging on the wall.