There is a unique kind of panic that sets in when you are cornered on wave thirty, your health bar is flashing red, and the screen is practically flooded with hostile entities. Whether you are trying to survive a relentless boss rush challenges sequence or simply hoping to set a new personal high score, mastering arena survival mode demands more than just quick reflexes. It requires a deep understanding of pacing, resource management, and strategic build crafting.
Surviving the ultimate gauntlet isn’t about luck; it is about preparation and execution. In this guide, we will break down the essential tactics you need to turn the tide in your favor. From executing devastating character ability combos that clear the board to timing your melee weapon upgrades for maximum damage output, you will learn how to transition from frantic button-mashing to calculated, calm dominance under pressure. Let us dive into the core mechanics and advanced strategies that separate casual participants from true arena champions.
1. Mastering Combat Fundamentals and Arena Survival Mode Tactics

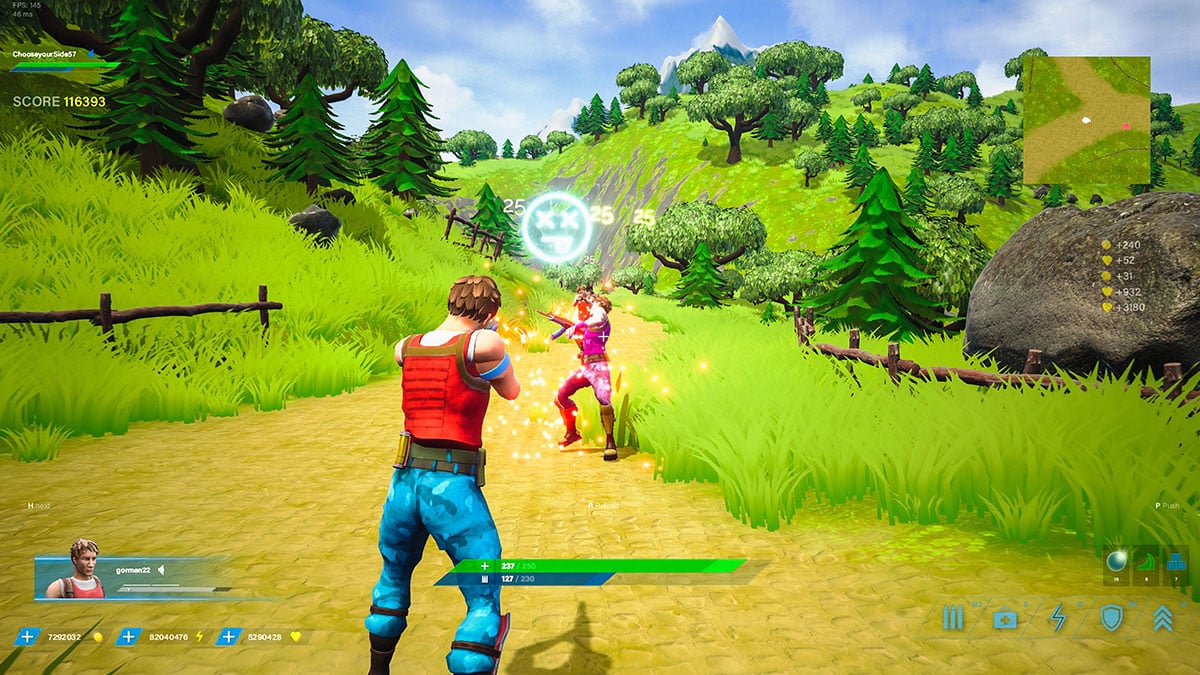
Succeeding in **Arena survival mode** requires more than just fast reflexes and high-tier gear; it demands a deep understanding of core mechanics and disciplined tactical execution. Whether you are facing relentless waves of standard combatants or preparing for intense **boss rush challenges**, mastering the foundational pillars of combat will keep you alive when the screen fills with chaos.
1.1 Understanding Core Survival Mechanics and Wave Scaling
Every survival run follows a distinct mathematical curve. As the minutes tick by, enemy health pools, movement speeds, and spawn rates scale aggressively. To outlast the pressure, you need to decode enemy spawn patterns and behavior cycles, recognizing the visual and audio cues that signal a heavy wave or elite reinforcement before they materialize on the battlefield.
Simultaneously, efficient resource management is the backbone of long-term endurance. Avoid the temptation to spam high-damage cooldowns or healing items on early, low-threat waves. Instead, stockpile ammunition, energy charges, and environment-specific pick-ups so you have a safety net when the difficulty spikes during the mid-to-late stages of the run.
1.2 Tactical Positioning and Defensive Maneuvering
In high-pressure arenas, standing still is a guaranteed ticket to defeat. Surviving late-game onslaughts—especially those featuring heavy **bullet hell avoidance** scenarios—relies heavily on spatial awareness. Start by leveraging the arena environment for natural cover, using pillars, walls, and elevation changes to break enemy line-of-sight and force melee attackers to funnel into predictable chokepoints.
When cover fails, master the art of kiting. By continuously moving in wide, looping paths, you can gather scattered mobs into a dense, manageable crowd. This groups your targets together, setting them up perfectly for area-of-effect attacks and crowd control abilities.
1.3 Essential Target Prioritization Strategies
Panic firing wastes valuable seconds and drains your resource economy. Instead, practice disciplined target prioritization by identifying and neutralizing high-priority threats first. Snipers, heavy gunners, and fast-moving flankers should always take precedence over the basic foot soldiers soaking up your peripheral vision.
Furthermore, you must actively counter support enemies and crowd-control units before they disrupt your rhythm. Healers, shield-generators, and units that apply movement-slow debuffs will quickly turn a manageable fight into an unwinnable trap if left unchecked. Eliminate these disruptors the moment they enter the arena to maintain absolute control over the flow of battle.
2. Advanced Loadouts and Arena Survival Mode Ability Synergies

2.1 Building Effective Ability Combos for Maximum Impact
Surviving deep into arena survival mode requires moving beyond basic button mashing and leaning into intentional combat orchestration. When enemy density peaks, relying on isolated attacks leaves you vulnerable to flanking maneuvers. Instead, think of your skillset as a tightly synchronized engine where every component feeds the next.
2.1.1 Chaining crowd control effects for lockdown windows
Crowd control (CC) is your absolute best friend when the battlefield turns into a chaotic mess. Start by initiating with a wide-area stun or freeze to halt advancing hordes in their tracks. Once the primary mob is immobilized, layer secondary disorient effects or gravitational pulls to clump targets tightly together, establishing a complete lockdown window.
2.1.2 Optimizing burst damage rotations against elite enemies
With regular mobs securely locked down, your focus should immediately shift toward high-threat targets. Channel your heavy area-of-effect (AoE) cooldowns and maximum single-target output right into the clustered enemies. Mastering this rhythm ensures you shred elite health bars before they can break free and retaliate.
2.1.3 Weaving defensive utility skills into offensive sequences
Aggression without a safety net guarantees a quick trip back to the main menu. The secret to flawless execution lies in weaving defensive utility skills—such as temporary shields, invulnerability frames, or evasive dashes—directly into your offensive rotations. Trigger a defensive buff right as you commit to a high-damage animation, protecting yourself from unexpected incoming projectiles.
2.2 Meta Loadout Optimization and Gear Selection
Fine-tuning your build means striking a delicate balance between raw output and staying power. As wave complexity ramps up, a hyper-focused offensive build will eventually crumble if it lacks the tools to recover from minor positioning mistakes.
2.2.1 Balancing sustain-focused perks versus pure damage output
Every gear slot and passive perk choice forces a compromise. Leaning entirely into damage accelerates early wave clears, but later stages demand life-steal, health regeneration, or cooldown reduction perks. Finding the sweet spot allows you to out-heal chip damage while maintaining enough offensive pressure to beat wave timers.
2.2.2 Modifying builds to address shifting wave difficulty modifiers
Static loadouts rarely survive a full run. Pay close attention to upcoming wave modifiers, adjusting your elemental resistances, armor piercing, or mobility enhancements accordingly. Adapting your setup on the fly keeps your character resilient against evolving threats.
2.3 Common Pitfalls and Performance Optimization
Even seasoned players hit walls when bad habits creep into their gameplay loop. Recognizing these common traps is vital for pushing your high scores further.
2.3.1 Avoiding over-aggression during high-intensity phases
The temptation to chase global leaderboards often leads players to overextend into dangerous zones of the map. Maintaining discipline and respecting enemy scaling will always outperform reckless charges.
2.3.2 Troubleshooting resource economy and cooldown mismanagement
Blowing all your energy bars or stamina meters on low-tier grunts leaves you defenseless when an ambush spawns. Track your resource pools carefully, and always keep an escape tool ready for emergencies.
2.3.3 Reaching milestone rewards through score maximization
To hit those coveted high-tier milestone rewards, you must combine flawless survival with score multipliers. Clean execution, rapid target elimination, and minimal damage taken will skyrocket your final grade. For players looking to refine their overall reaction times and finger dexterity across various gaming genres, exploring strategies like Mastering Sync Tapping: Tips for Better Rhythm Game Scores offers valuable insight into maintaining peak mechanical consistency.
Conquering the toughest waves in arena survival mode ultimately comes down to a blend of discipline, adaptability, and tactical execution. By shifting your focus from frantic button-mashing to deliberate resource management, smart crowd control, and clean spacing, you will find yourself outlasting even the most relentless enemy swarms. Remember that surviving the chaos requires patience—knowing when to pull back and heal is just as important as knowing when to unleash your ultimate offensive rotation.
Every failed run offers valuable data on spawn timings, positioning errors, and loadout inefficiencies. Take time to evaluate what went wrong during those intense late-game surges, whether it was mistimed cooldowns or getting cornered by high-priority threats. To refine your overarching tactical approach and elevate your general gameplay performance, you can explore our detailed guide on user experience analysis to better understand game mechanics and design loops. Keep experimenting with different builds, learn the rhythm of each wave, and step back into the arena with a sharper, more calculated strategy.