Few gaming moments match the intense pressure of watching a relentless swarm of enemies breach your carefully planned perimeter. In any tower defense title, mastering unit spawn management is the ultimate separator between casually surviving the early rounds and consistently locking down high-score leaderboards. Rather than merely reacting to threats as they stumble onto the board, elite tacticians treat the moment of enemy generation as the most critical tactical variable on the map. By influencing how waves roll out and leveraging precise wave control strategies, you can dictate the exact terms of engagement.
Throughout this guide, you will learn how to analyze map geometry, optimize choke points, and synergize your early-game defense layouts with unpredictable enemy wave dynamics. Whether you are struggling to contain high-speed rushers or trying to maximize resource farming efficiency right at the entry gates, these pro-level strategies will elevate your base defense execution.
1. Mastering the Fundamentals of Unit Spawn Management
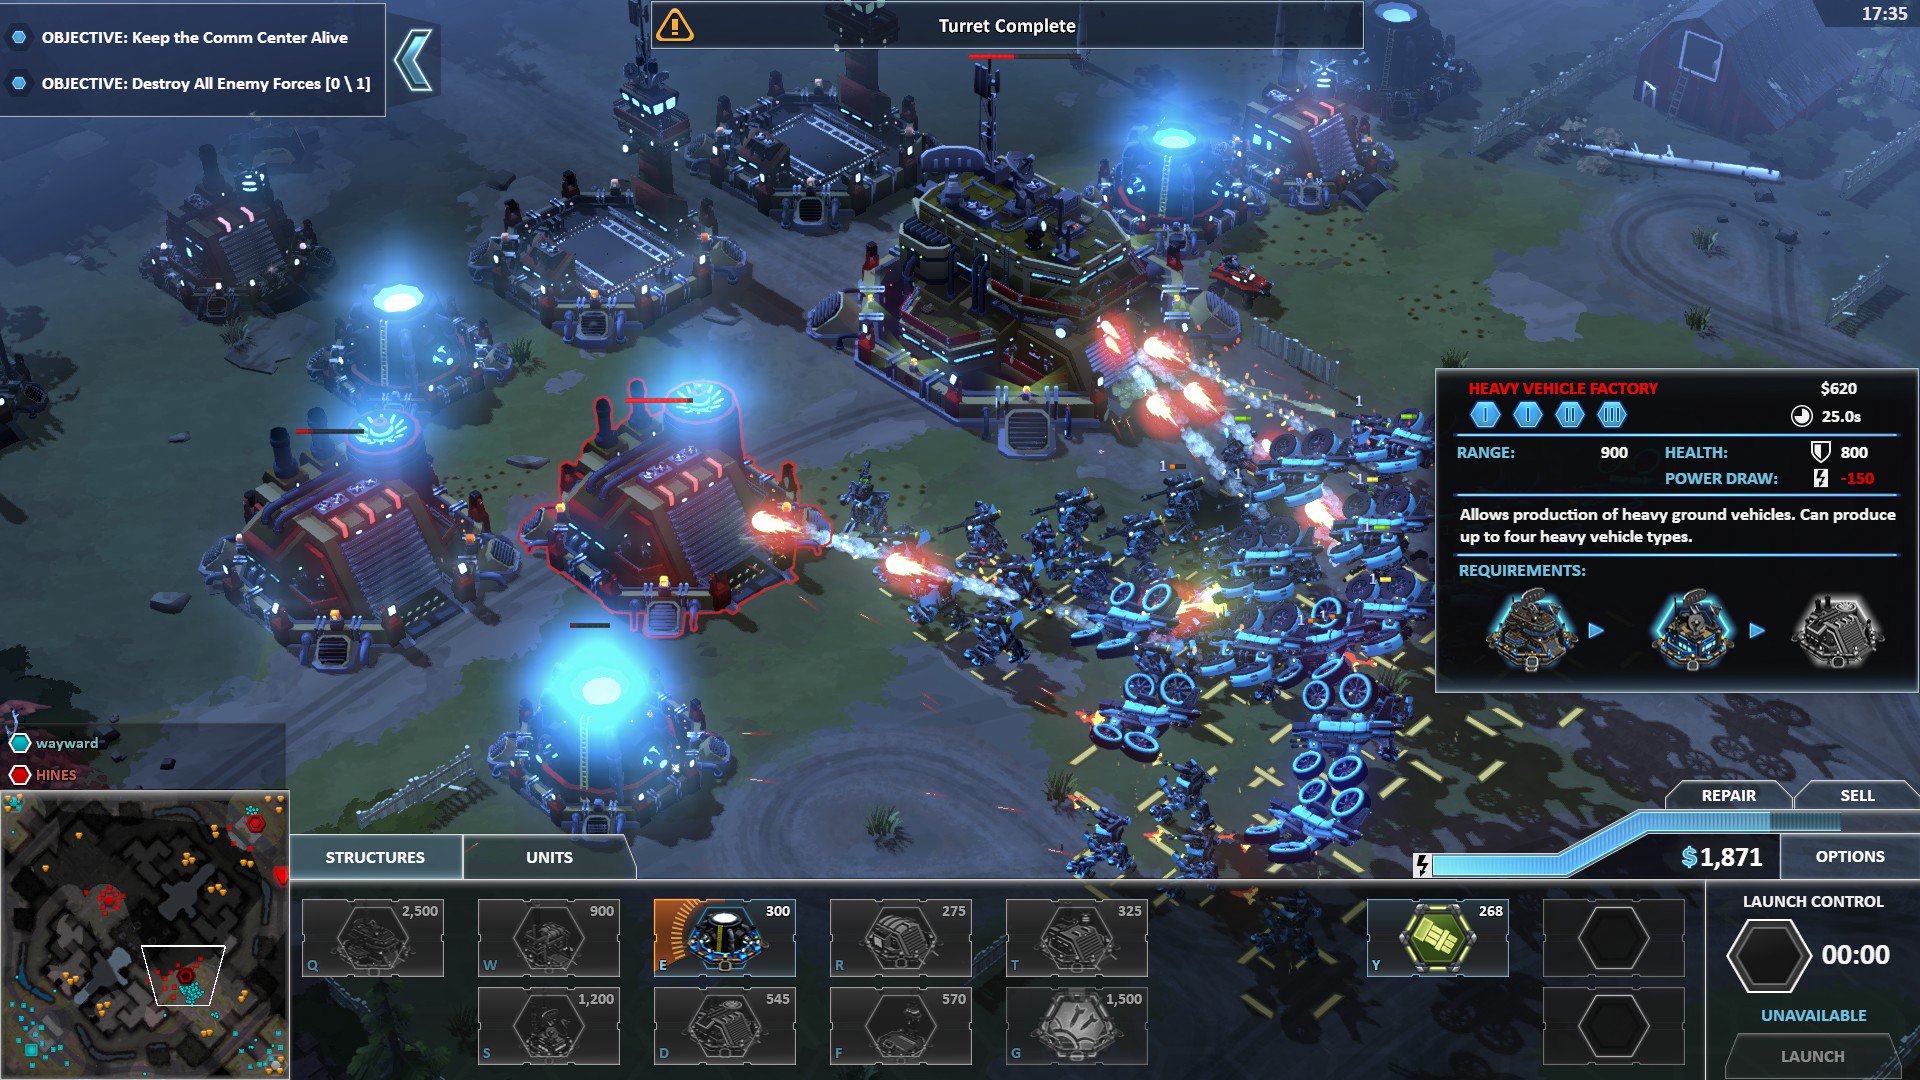
Effective tower defense relies heavily on how well you handle unit spawn management right from the start of a match. Instead of reacting frantically to incoming threats halfway down the track, mastering the source of enemy waves allows you to dictate the pace of the game. By understanding where and how adversaries enter the battlefield, you can construct an airtight defense that minimizes leaks and maximizes resource generation.
1.1 Analyzing Map Architecture and Spawn Mechanics
Every tower defense map features unique architectural quirks that dictate enemy travel. Studying these layouts gives you a massive advantage over standard routing.
1.1.1 Identifying Optimal Choke Points and Lane Geometry
Lane geometry dictates how efficiently your defensive structures can target incoming enemies. Look for natural bottlenecks where walls or obstacles compress wide enemy formations into a single file line. Establishing your primary defenses around these choke points guarantees maximum splash damage and concentrated fire, ensuring no resources are wasted on overlapping ranges.
1.1.2 Evaluating Spawn Point Proximity for Resource Optimization
The distance between a spawn point and your core base heavily influences your economy. Positioning high-yield towers closer to entry gates lets you farm cash or energy drops faster, provided your units possess the damage per second (DPS) required to survive early pressure. For a deeper dive into maximizing your financial gains, check out this guide on resource farming upgrades.
1.2 Strategic Deployment for Early-Game Dominance
Surviving the opening rounds sets the trajectory for an entire run. If your early deployment fails, your economy collapses before you can build elite structures.
1.2.1 Balancing DPS Output and Crowd Control Near Entry Points
Raw damage alone will not save you if fast-moving swarms overwhelm your cooldowns. Near entry points, you need a balanced composition of high-DPS towers paired with reliable crowd control, such as slows or stuns. This combination freezes enemies right as they leave the spawn zone, keeping them exposed to continuous attacks.
1.2.2 Calculating Cost-Effectiveness of Aggressive Spawn Camping
Spawn camping—placing your cheapest, most efficient towers directly outside enemy gates—can yield incredible early-game dividends. However, you must calculate upgrade costs carefully. If a wave introduces armored or heavy-unit variants, your cheap camping setup might crumble, forcing a costly emergency relocation.
1.3 Synchronizing Unit Placement with Enemy Wave Dynamics
Waves change unpredictably, shifting from slow, durable tanks to lightning-fast skirmishers. Your defensive layout must adapt in real-time to these fluctuations.
1.3.1 Adapting Defense Layouts Based on Enemy Movement Speeds
When dealing with mixed-speed waves, static placements often fail. Fast units outrun the crowd, bypassing the kill zone entirely if your crowd-control structures are set too far back. Implementing smart wave control strategies ensures your layout dynamically slows down fast-moving threats while still neutralizing heavy brawlers.
1.3.2 Managing Cooldowns and Energy Consumption During Peak Waves
Peak waves strain your energy reserves and push your tower cooldowns to the absolute limit. Avoid spamming abilities the moment a gate opens. Instead, stagger your heavy activation skills to match elite enemy spawns, ensuring your defenses stay online during the most critical middle-to-late wave transitions.
2. Advanced Tactics for Scaling Unit Spawn Management
2.1 Elite Composition and Wave Control Techniques
As you progress into the mid and late stages of a tower defense campaign, basic chokepoints and standard damage towers simply will not cut it. Scaling your unit spawn management requires a sophisticated mix of hybrid units and smart positioning. To keep up with increasingly difficult rounds, implementing advanced wave control strategies allows you to dictate the exact pacing at which enemies enter your firing arcs, preventing your defenses from getting overwhelmed by sheer numbers.
2.1.1 Micro-Managing Hybrid Units for Mixed-Type Enemy Waves
Mixed-type waves—where fast ground units rush alongside heavily armored tanks or shielding units—require versatile hybrid towers. Placing hybrid units right at the exit point ensures they can strip away armor while simultaneously dealing splash damage to clustered grunts.
2.1.2 Utilizing Path Manipulation to Extend Exposure Time
Extending the distance enemies travel from the moment they step onto the map is a hallmark of elite play. By designing intricate routing using blocking structures, you force enemies to linger longer under your primary damage dealers, maximizing your damage-per-second output.
2.1.3 Leveraging Hero Abilities as Supplemental Spawn Guards
Hero units possess powerful active abilities that can salvage a breached entrance. Instead of keeping heroes static, position them near high-threat spawn points to act as panic buttons when elite bosses or unexpected swarm units break through your automated defenses.
2.2 Mitigating Common Failures in Spawn Strategy
Even seasoned players fall into predictable traps when managing map entrances. Over-allocating resources too early can leave your backline dangerously underfunded when the game transitions into high-health boss encounters. Maintaining a balanced economic footprint ensures you can pivot when the meta shifts mid-match.
2.2.1 Avoiding the Over-Investment Trap in Early-Game Zones
Pumping all your gold into early spawn camps often backfires around mid-game when enemy scaling outpaces your basic towers. Keep your early setups lean, focusing just enough power on the entry points to survive while saving capital for tier-three upgrades.
2.2.2 Addressing Vulnerabilities to Flying and High-Speed Units
Ground-focused spawn traps completely crumble if you neglect aerial threat defense. Always pair your primary lane controls with dedicated anti-air batteries or fast-targeting turrets near the map entry to catch airborne units before they zip past your front lines.
2.2.3 Transitioning from Spawn-Focused Defense to Late-Game Depth
Relying solely on spawn camping is a risky gamble. As enemy armor values skyrocket, you must gradually shift your focus toward a defense-in-depth layout, creating secondary and tertiary kill boxes deeper within the map architecture.
2.3 FAQ: Optimizing Your Tower Defense Playstyle
2.3.1 Best Practices for Maximizing Income via Spawn Farming
To maximize bounty gold from enemy spawns, deploy low-damage, high-rate-of-fire towers equipped with kill-credit or economic bonus modules right at the entry point. This tags every spawning unit, ensuring you collect maximum financial return for every wave.
2.3.2 Deciding Between Frontline DPS and End-of-Track Safety
Frontline DPS is ideal for pacing and resource generation, whereas end-of-track safety acts as your final insurance policy. A balanced strategy uses front-loading to thin out hordes and back-loading to focus down heavy single-target bosses.
2.3.3 Handling High-Speed Threats That Bypass Spawn Barriers
Speed demons require hard crowd control rather than raw damage. Integrate slow-aura generators, stun traps, or freeze towers directly into your initial tower placement pathing to strip away movement buffs the second units spawn.
2.3.4 When to Prioritize Mass-Unit Swarms Versus Elite Tactical Units
Deploy mass-unit swarms or area-of-effect suppression when facing large numbers of low-health trash mobs. Reserve single-target elite tactical units for targeted elimination when heavy boss waves start dominating the spawn queue.
Mastering unit spawn management is the ultimate differentiator between scraping by on wave ten and orchestrating a flawless, impenetrable base defense. By shifting your focus from reactive firing to proactive map control, you transform chaotic enemy rushes into predictable, calculated sequences. Whether you are funneling fast-moving ground threats through tight choke points or deploying specialized anti-air coverage for sudden aerial intrusions, every placement decision impacts your overall economy and survival longevity.
Ultimately, successful tower defense comes down to balance. Blending early-game aggression with late-game depth ensures your defenses never stall out when elite hybrids or massive swarms hit the grid. Take these pro strategies back to your favorite maps, refine your lane geometry, and start experimenting with advanced crowd control tactics. To keep sharpening your defensive playbook, check out these proven wave control strategies to stay one step ahead of every incoming threat.