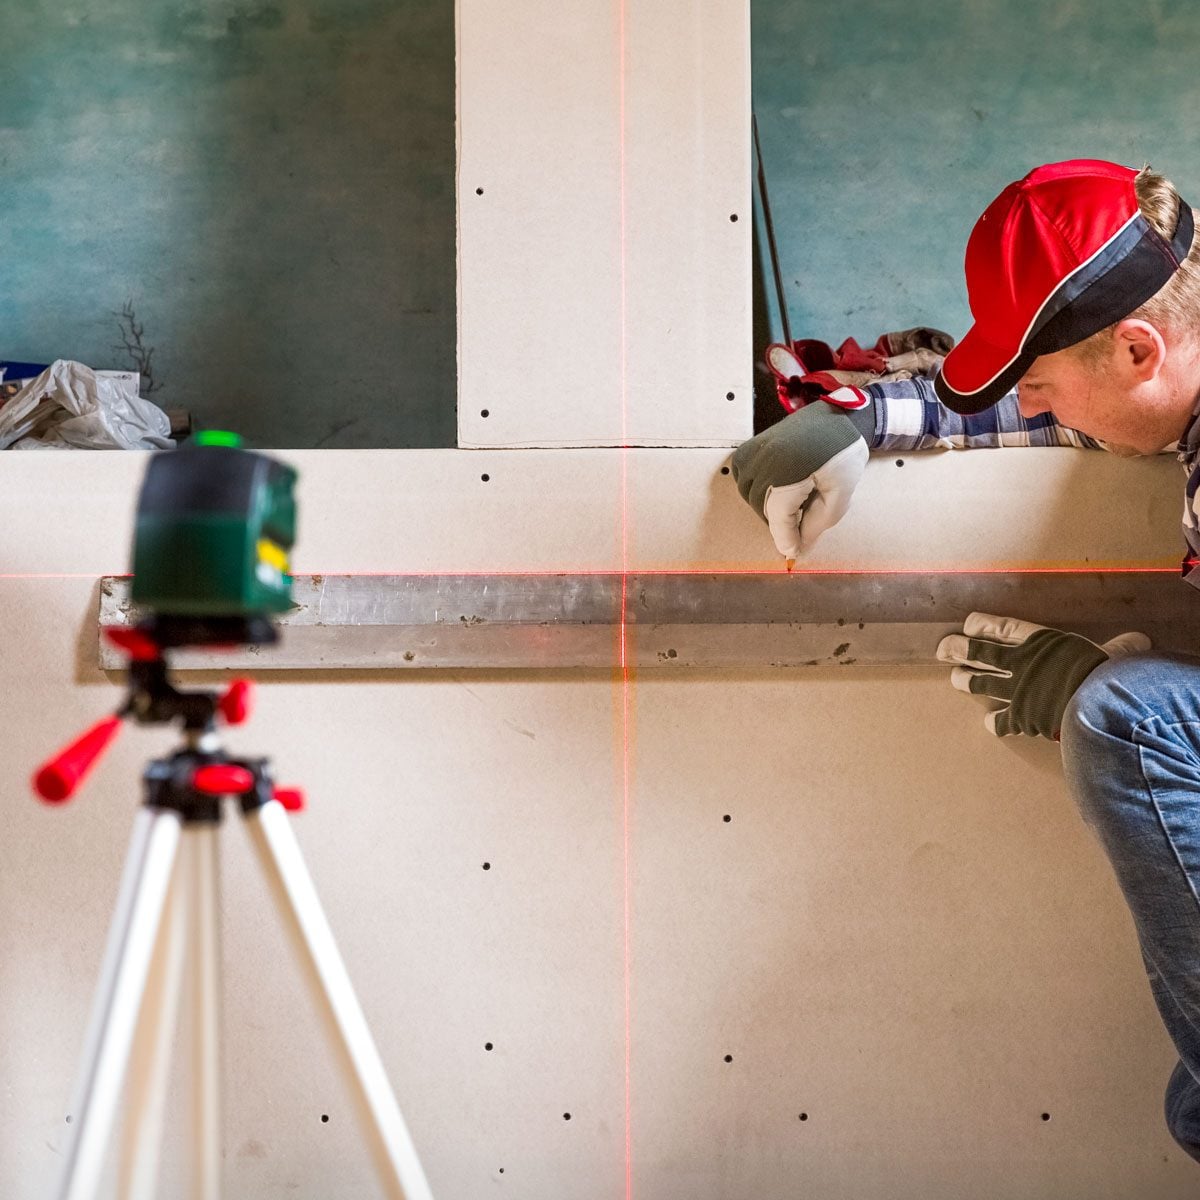
A four-foot bubble level is wonderful for shelves, door frames, and proving that the dining table really is responsible for your rolling peas. Stretch the job across a yard, foundation, deck, fence line, or large room, however, and a standard spirit level quickly runs out of real estate.
Long-distance leveling requires a reliable horizontal reference that can be transferred from one location to another. Depending on your budget, working conditions, and required accuracy, that reference may come from a taut string, a water-filled tube, a laser beam, or an optical builder’s level.
This guide explains how to use each method, how to measure elevation differences, and how to avoid the small mistakes that can turn a level deck into an accidental skateboard ramp.
What Does Level Mean Over a Long Distance?
A surface is level when it lies in a horizontal plane. That is different from being straight, flat, or intentionally sloped. A board can be perfectly straight while climbing several inches from one end to the other. Likewise, a drainage pipe should be straight but usually should not be level because water needs a controlled slope.
Over a short distance, a bubble level compares the position of an air bubble with markings on a vial. Over a long distance, you instead create a horizontal reference line and measure up or down from it.
The main challenge is not establishing level once. It is preserving that reference while moving around the project. String sag, trapped air in tubing, a bumped tripod, bright sunlight, and inconsistent measuring techniques can all create errors.
Choosing the Best Long-Distance Leveling Method
| Method | Best Use | Typical Advantage | Main Limitation |
|---|---|---|---|
| String and line level | Fences, patios, garden beds, and short deck layouts | Cheap and simple | String sag and wind reduce accuracy |
| Water level | Foundations, decks, ceilings, and work around obstacles | Works without a clear line of sight | Air bubbles and kinks cause errors |
| Line laser | Interior walls, cabinets, tile, and ceiling work | Fast visual reference | Limited outdoor visibility and range |
| Rotary laser and receiver | Grading, foundations, drainage, and large sites | Long range and one-person operation | Higher cost |
| Builder’s or optical level | Survey-style elevation work | Excellent accuracy over large areas | Usually requires two people |
Water levels are especially useful where trees, walls, corners, or equipment block a direct view between points. Rotary laser systems are generally faster on open sites, especially when used with a detector and grade rod.
Method 1: Using a String Line Level
A line level is a small spirit level designed to hang on mason’s string. It is the least expensive way to establish a level reference between stakes, posts, or walls. It works best over modest distances in calm conditions.
Tools and Materials
- Two sturdy stakes or fixed anchor points
- Mason’s line or another low-stretch string
- One line level
- Tape measure
- Pencil, marker, or marking paint
- Intermediate stakes for longer spans
Step 1: Install Stable Anchor Points
Drive a stake at each end of the area. The stakes must be rigid enough to resist bending when the line is tightened. If either stake moves, your carefully established reference becomes modern art.
Step 2: Set the Reference Height
Choose a starting elevation and mark it on the first stake. Tie the string securely at that mark. Avoid tying it to loose bark, flexible trim, or anything likely to shift while you work.
Step 3: Stretch the String Tightly
Run the line to the second stake and pull it as tight as practical. A loose string sags in the middle, making the center appear lower than the ends. For longer runs, add intermediate stakes rather than trying to stretch one heroic piece of string across the entire property.
Step 4: Attach and Read the Line Level
Hang one line level near the center of the string. Raise or lower the free end until the bubble is centered between the vial markings. Secure the string and check it again after tying the knot.
Use only one line level on the string, keep the line tight, and avoid taking critical readings in gusty wind. These practices reduce the most common sources of line-level error.
Step 5: Verify the Reading
Remove the level, turn it end for end, and place it back on the string. If the bubble gives a noticeably different result, the tool may be inaccurate. You can split the difference for rough landscaping, but replace or calibrate the level before precision work.
Step 6: Measure From the Reference Line
Once the line is level, measure vertically from it to the ground, footing, joist, or other surface. Differences in those measurements reveal changes in elevation.
For example, suppose the string is 24 inches above the ground at the first stake and 29 inches above the ground at the second. The ground at the second stake is five inches lower.
Method 2: Using a Water Level
A water level consists of clear flexible tubing partially filled with water. Because the exposed water surfaces at both ends naturally settle at the same elevation, the tool can transfer a level mark across rooms, around corners, through doorways, or past landscaping obstacles.
A properly prepared water level does not need a straight line of sight. That makes it remarkably useful for decks, suspended ceilings, foundation repairs, and remodeling projects in which walls refuse to move out of the way.
Tools and Materials
- Clear vinyl tubing long enough to reach between points
- Clean water
- A small amount of food coloring for visibility
- Clamps or tape
- Tape measure and marker
- A helper, unless using a reservoir-style setup
Step 1: Prepare the Tubing
Uncoil the tubing and allow it to relax. Kinks restrict water movement and can trap air. Fill the tube with clean water, leaving several inches of air space at both ends so the water does not spill whenever someone sneezes.
Step 2: Remove Every Air Bubble
Raise, lower, and tap the tubing until all bubbles escape. Even a small trapped bubble can interfere with the water column and produce inconsistent readings.
Adding a few drops of food coloring makes the water easier to see. Avoid creating foam, which replaces one visibility problem with several tiny bubble problems.
Step 3: Establish a Benchmark
Hold one end of the tube beside a known reference mark. Move that end vertically until the water surface aligns precisely with the mark. Keep the opening above the water and do not plug it; both ends must remain exposed to the same atmospheric pressure.
Step 4: Move the Other End
Carry the second end to the location where you need a matching elevation. Keep the tube free of kinks, loops, and pinched sections. Wait for the water to stop moving before making a mark at the water surface.
Step 5: Repeat and Close the Loop
Transfer the benchmark to every required post, wall, or footing. When finished, return to the first mark and check it again. If the final reading does not match the original benchmark, something changed during the process.
Water-Level Accuracy Tips
- Keep both tube ends open and upright.
- Wait for the water to settle completely.
- Read the same part of the curved water surface each time.
- Keep tubing away from sharp edges and hot equipment.
- Do not allow one end to drop low enough to drain the system.
- Recheck for bubbles whenever readings become inconsistent.
Method 3: Using a Laser Level Over Long Distances
Laser levels create a visible or detectable reference plane. Cross-line lasers are convenient indoors, while rotary lasers are the preferred choice for large outdoor projects. A rotary laser spins a beam rapidly, creating a horizontal plane around the instrument.
Outdoors, the beam may be difficult or impossible to see with the naked eye. A compatible laser receiver detects it and provides visual or audible guidance as the receiver is moved up or down a grade rod. Manufacturers commonly design rotary systems specifically for grading, foundation work, site layout, and long-distance alignment.
Step 1: Inspect the Equipment
Check the batteries, tripod, receiver, clamp, and grade rod. Confirm that the receiver is compatible with the laser. A receiver made for a different beam type or operating mode may sit silently while you question several life choices.
Step 2: Set Up on Stable Ground
Spread the tripod legs widely and press them firmly into the ground. Avoid loose fill, soft mud, vibrating floors, and traffic routes. Position the laser near the center of the work area when practical. A central position shortens the longest measurement and improves efficiency.
Step 3: Mount and Activate the Laser
Attach the laser securely and switch it on. Allow a self-leveling unit to complete its leveling cycle. If the tool flashes, stops rotating, or displays an out-of-level warning, adjust the tripod until the instrument is within its self-leveling range.
Some professional lasers include disturbance monitoring that warns the operator when the instrument has been bumped or moved. Do not ignore that warning; the laser may still be spinning while broadcasting the wrong elevation with great confidence.
Step 4: Establish the Benchmark
Place the grade rod on a known elevation. Slide the receiver up or down until it indicates that the beam is centered. Lock the receiver in place and record the rod reading. This becomes your benchmark reading.
Step 5: Measure Other Locations
Move the grade rod to the next location while keeping it vertical. Adjust the receiver or read the rod when the detector finds the beam.
A larger rod reading generally means the ground or object is lower because a greater vertical distance separates it from the laser plane. A smaller rod reading means the location is higher.
Example of a Laser-Level Calculation
Assume your benchmark reading is 4.20 feet. At a second location, the receiver centers at 4.65 feet. The second point is 0.45 feet, or 5.4 inches, lower than the benchmark.
If the second reading is 3.95 feet, that point is 0.25 feet, or three inches, higher than the benchmark.
Step 6: Recheck the Benchmark
At regular intervals, return the rod to the original benchmark. If the reading has changed, inspect the tripod and laser before continuing. Rechecking is particularly important after strong wind, nearby excavation, heavy equipment movement, or an enthusiastic coworker carrying lumber past the tripod.
Laser Safety
Never stare into the laser aperture or intentionally direct the beam toward people, animals, vehicles, or reflective surfaces. Keep the instrument out of children’s reach and follow the safety requirements for its labeled laser class. The FDA classifies lasers according to their potential hazard, with higher classes presenting greater risk when used improperly.
Method 4: Using a Builder’s or Optical Level
A builder’s level uses a telescope mounted on a leveled tripod. One person sights through the instrument while another holds a graduated rod. This method remains useful for foundations, excavation, drainage, and other projects requiring dependable elevation readings.
Basic Procedure
- Set the tripod on firm ground and mount the instrument.
- Use the leveling screws and bubble vial to level the instrument.
- Place the rod on a known benchmark and take a backsight reading.
- Add the backsight to the benchmark elevation to calculate the height of the instrument.
- Move the rod to the unknown point and take a foresight reading.
- Subtract the foresight from the instrument height to determine the new elevation.
Unlike a rotary laser, an optical level normally requires a clear line of sight and a second person. It is slower for repeated one-person measurements but can be highly effective when correctly set up and checked.
How To Create a Planned Slope
Many outdoor projects should not be perfectly level. Patios, drainage lines, gutters, and landscape surfaces often need a deliberate fall so water moves in the intended direction.
Convert the Slope Into a Drop
A 1% slope drops one unit for every 100 units of horizontal distance. In practical terms, it drops 1.2 inches over 10 feet.
A slope of 1/4 inch per foot drops 2.5 inches over 10 feet and five inches over 20 feet.
Apply the Drop to Your Reference
First establish a truly level line or laser plane. Then calculate the required elevation at each station. Do not intentionally tilt a basic self-leveling laser unless the manufacturer provides a dedicated slope mode. It is usually safer to keep the reference plane level and calculate the required offset from it.
Common Long-Distance Leveling Mistakes
Confusing Level With Flat
A laser can tell you that two points share the same elevation, but it does not automatically reveal every bump or hollow between them. Check intermediate points with a straightedge, rod, or additional measurements.
Using a Short Bubble Level Repeatedly
Moving a four-foot level end to end compounds small reading and placement errors. Use it to check individual components, not to transfer an elevation across an entire building site.
Ignoring String Sag
A string can appear tight while still sagging enough to affect a precision layout. Shorten the span, use intermediate stakes, and keep the line level lightweight.
Leaving Bubbles in a Water Level
Air pockets interrupt the water column and make the two ends respond unpredictably. Remove them before trusting any mark.
Moving the Laser Without Reestablishing the Benchmark
Once a laser is relocated, its beam plane is no longer guaranteed to match the previous setup. Transfer the benchmark carefully and verify overlapping points.
Holding the Grade Rod at an Angle
A tilted rod produces an artificially large reading. Keep it plumb and rock it gently toward and away from the instrument; the smallest reading generally occurs when the rod is vertical.
Skipping the Final Check
Always close the measurement loop by returning to the original benchmark. This simple habit catches tool movement, recording mistakes, and accidental changes before they become permanent construction features.
Practical Applications
Leveling Deck Posts
Use a water level or rotary laser to place matching elevation marks on every post. Measure down from those marks to locate beam notches or hardware positions.
Setting a Fence on Uneven Ground
Establish a level reference first, then decide whether the fence top should remain level, step down in sections, or follow the terrain. The reference helps you make that choice consistently rather than improvising at every post.
Grading a Yard
Use a rotary laser and grade rod to map existing high and low areas. Record readings on a simple grid, calculate the desired elevations, and mark the amount of soil to add or remove at each point.
Installing Cabinets or Wall Panels
A line or 360-degree laser provides a continuous indoor reference. Mark the high point of the floor first, then establish the cabinet baseline from that location so the finished installation remains level despite floor irregularities.
Checking Foundation or Footing Elevations
Set a benchmark outside the excavation and transfer it to forms, batter boards, or footing locations. Protect that benchmark throughout the project so later trades can work from the same elevation.
Field Experience: Lessons That Make Long-Distance Leveling Easier
The most useful lesson from real construction and DIY practice is that the fanciest tool is not automatically the best tool. A rotary laser is wonderfully fast on an open site, but a $20 length of clear tubing may outperform it inside a crowded renovation where every sight line is blocked by walls, cabinets, pipes, and the mysterious collection of objects nobody has moved since 1998.
For a small deck, water-level marks on the posts are often easier to preserve than an active laser beam. Once the marks are made, the laser or tube can be put away, and every beam location can be measured from the same permanent reference. This also prevents an accidental tripod bump from changing the work halfway through the day.
String levels are best treated as layout tools rather than precision surveying instruments. They are excellent for defining the approximate top of a garden wall, checking a short fence run, or visualizing the slope of a walkway. Trouble begins when a long string is trusted to the nearest eighth of an inch. Adding a stake in the middle often improves the result more than pulling harder on the line.
Another practical lesson is to separate the reference elevation from the finished elevation. Suppose a deck beam needs to sit 18 inches below the desired floor surface. Instead of trying to place the laser exactly at floor height, establish the beam wherever the setup is convenient. Record its relationship to a permanent benchmark, then measure the required offset at each post. Convenient setups are less likely to be disturbed and easier to verify.
On outdoor laser jobs, the receiver should be considered part of the system, not an optional accessory. Even a bright beam can disappear in sunlight long before the laser reaches its advertised detector range. Chasing a barely visible dot across the yard wastes time and encourages guesswork. A receiver provides a repeatable center indication and allows the operator to work without relying on beam visibility. Product guidance from major laser manufacturers consistently pairs long-range outdoor work with receivers, grade rods, and stable tripods.
Good recordkeeping matters more as the project grows. Label the benchmark, write down the original rod reading, and note whether each calculated point is higher or lower. Many errors occur not because the instrument was inaccurate, but because someone added when they should have subtracted. A simple sketch showing the benchmark, laser plane, and target elevations can prevent an expensive afternoon of correcting perfectly measured work placed in the wrong direction.
Temperature and changing site conditions also deserve attention. Tripod legs can settle into damp soil, tubing can be pinched by materials, and a string can loosen as knots shift. Rechecking the benchmark after lunch, after moving equipment, and before committing to concrete or permanent cuts is cheap insurance.
Finally, make critical measurements twice using slightly different procedures. Reverse a line level, return a water level to the starting mark, or rotate and check a laser according to the manufacturer’s accuracy procedure. When two independent checks agree, you can work confidently. When they disagree, stop and investigate. Lumber is replaceable; freshly poured concrete is considerably less cooperative.
Conclusion
To use a level over long distances, begin by choosing a method that matches the project. A string line level is inexpensive and effective for basic outdoor layouts. A water level transfers elevations around corners and obstacles. A line laser speeds up interior work, while a rotary laser with a receiver is the practical choice for large sites, grading, foundations, and repeated one-person measurements.
Whichever method you choose, establish a permanent benchmark, control the major sources of error, and return to the benchmark regularly. Long-distance leveling is not difficult once you have a trustworthy reference. The real skill lies in making sure that reference stays trustworthy until the final screw, post, pipe, or wheelbarrow of soil is in place.