There is a very distinct kind of panic that sets in when your screen transforms into a mesmerizing, overwhelming wall of geometric projectiles. Whether you are pushing through demanding Boss Rush challenges or trying to outlast an relentless Arena survival mode, mastering bullet hell avoidance is the ultimate divider between triumphant victory and a frustrating, early-stage game over. Success in these high-intensity scenarios rarely comes down to sheer, raw reflexes alone; it requires a deep understanding of movement fundamentals, meticulous pattern reading, and the composure to stay cool when chaos peaks.
In this guide, we are going to break down the professional strategies, muscle-memory drills, and psychological tricks you need to elevate your defensive gameplay. From refining your micro-dodging inputs to capitalizing on smart character ability combos and strategic melee weapon upgrades, you will learn how to turn impossible bullet webs into predictable, navigable pathways.
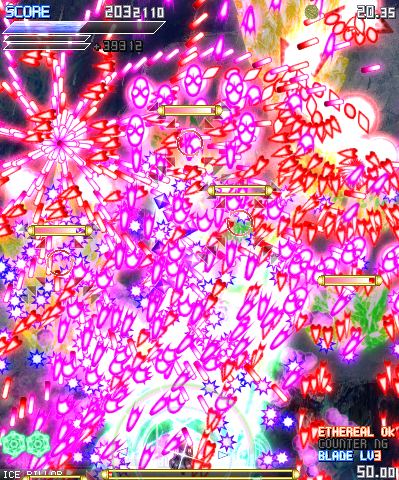
1. Mastering Bullet Hell Avoidance Mechanics and Movement Fundamentals
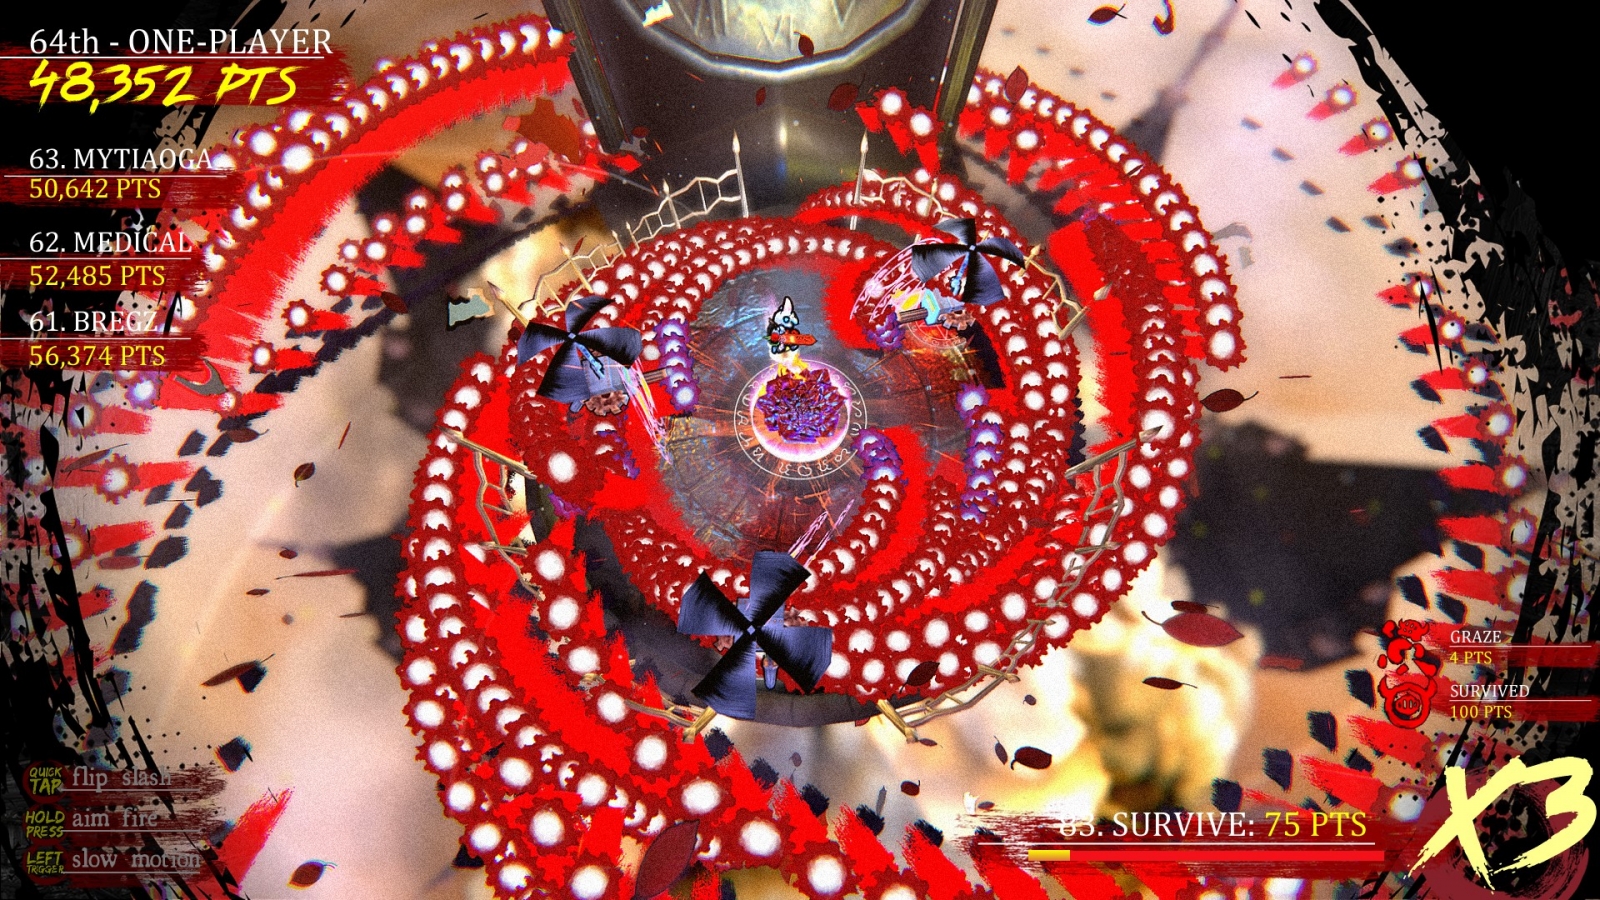
1.1 Essential Movement Techniques for Bullet Hell Avoidance
1.1.1 The Importance of Hitbox Focus over Sprite Visualization
When diving headfirst into intense bullet hell avoidance scenarios, your biggest optical enemy is often your own character sprite. Games frequently feature elaborate character designs with sprawling capes, glowing auras, or sprawling weapons that visually fill a large portion of the screen. However, your actual vulnerability—the hitbox—is almost always a microscopic pixel or focal point dead-center on your character. Training your eyes to track only this tiny sweet spot allows you to weave effortlessly through dense projectiles that look, at a glance, completely inescapable.
1.1.2 Precision Input Techniques and Tapping vs Holding
Executing smooth micro-adjustments requires absolute mastery over your controller or keyboard inputs. Holding down directional keys or thumbsticks often results in over-steering, pushing you directly into incoming crossfire. Instead, adopt a rhythmic tapping technique. Short, calculated taps grant you incremental control over your trajectory, letting you drift through narrow corridors of projectiles with pinpoint precision. This is particularly vital when tackling grueling boss rush challenges where a single misplaced millimeter spells instant doom.
1.1.3 Balancing Micro-Dodging with Long-Range Macro-Positioning
Survival is rarely just about what happens under your nose. While micro-dodging saves you from immediate, tight squeezes, long-range macro-positioning dictates whether you will get trapped in a corner three seconds later. Always keep half an eye on the broader canvas of the arena. By anchoring yourself near open space and anticipating how enemy attacks will herd you, you can manage your screen real estate and avoid dead-end scenarios.
1.2 Decoding Complex Bullet Patterns and Screen Flow
1.2.1 Reading Visual Telegraphs and Predicting Safe Zone Shifts
Bosses rarely unleash chaos without warning; they rely on subtle visual cues like color flashes, audio cues, or wind-up animations. Learning to read these visual telegraphs early gives you a vital head start. When multiple overlapping streams fill the screen, identifying these indicators helps you forecast where the safe zone will shift, turning a frantic panic-dodge into a calm, premeditated repositioning maneuver.
1.2.2 Transitioning from Reactive Reflexes to Proactive Flow Zoning
Pure reflexes will only carry you so far before high-density bullet counts overwhelm your cognitive processing limits. High-level play demands a shift toward proactive flow zoning—getting into a mental rhythm where you move in tandem with the rhythm of the boss’s attacks. By synchronizing your movements with the pulse of incoming hazards, you reduce cognitive load and find yourself effortlessly riding the waves of projectiles.
1.2.3 Distinguishing Between Fixed Scripted Patterns and Random Trajectories
Not all threats are created equal. Understanding the underlying engine logic is essential: some bullet waves follow strict, memorizable scripted patterns, while others incorporate random trajectories or targeted player tracking. Memorizing fixed sequences allows you to pre-program your muscle memory, reserving your reactive brainpower strictly for unpredictable spread shots and randomized elements.
1.3 Advanced Survival Tactics for High-Density Encounters
1.3.1 Optimizing Grazing Techniques for Meter Generation and Scoring
In many modern arcade-style shooters, letting projectiles skim dangerously close to your character without making contact—known as grazing—is a high-risk, high-reward mechanic. Effective grazing builds your special meter, fuels defensive shields, and multiplies your score. Master this by consciously hugging the outer edge of your hitbox, turning terrifying bullet clusters into valuable resource-generation opportunities during intense arena survival mode runs.
1.3.2 Strategic Corner Management and Escape Route Planning
Allowing yourself to get pinned against the boundary of the playfield is a classic rookie mistake. When managing tight spaces, always maintain an active mental blueprint of your nearest escape route. If an attack pattern forces you toward the edge, initiate a controlled retreat early rather than waiting until you are completely boxed in by converging walls of fire.
1.3.3 Maintaining Offensive Pressure While Prioritizing Defensive Positioning
The golden rule of high-stakes boss combat is that a dead boss stops shooting. While dodging requires absolute focus, letting up entirely on your damage output dramatically prolongs the phase, exposing you to exponentially more opportunities for error. Perfecting this balance means micro-adjusting your positioning just enough to keep your firing reticle locked onto the target while weaving seamlessly through the storm.
2. Strategic Execution and Mental Preparation for Boss Rush Challenges
2.1 Resource Management and Multi-Phase Boss Strategy
2.1.1 Efficient Bomb and Shield Usage Across Consecutive Encounters
When diving into demanding boss rush challenges, your inventory is your lifeline. Hoarding defensive items out of habit often leads to a quick defeat, leaving you wondering why you never triggered that screen-clearing bomb. Instead of saving every resource for the final engagement, map out your consumable usage based on the unique hazard levels of each specific opponent. Deploy shields during heavy pattern overlaps where dodging becomes practically impossible, and use bombs to clear dense bullet clusters when your escape routes completely vanish.
2.1.2 Adapting to Sudden Phase Transitions and Pattern Speed Scaling
As a boss loses health, the gameplay tempo inevitably escalates, shifting projectile speeds and narrowing safe zones. Anticipating these sudden phase shifts prevents you from getting caught off guard by unexpected laser grids or accelerated spiral patterns. Keep your eyes focused on the broader screen telemetry rather than locking onto the boss’s sprite, allowing you to react smoothly as background environments shift and projectile density triples.
2.1.3 Conserving Health and Resources for Final Boss Stages
Reaching the climax of an endurance run with a depleted health bar spells certain doom, no matter how clean your early-game movement was. Balance your aggression carefully during mid-tier encounters, prioritizing survival and damage mitigation over quick clears if it means preserving precious life buffers. For deeper insights into managing high-pressure encounters and optimizing your loadout, check out our guide on Mastering Boss Rush Challenges: Strategies & Ability Combos.
2.2 Developing Cognitive Resilience and Effective Training Routines
2.2.1 Overcoming Panic Response and Tunnel Vision in High-Pressure Moments
Adrenaline spikes often trigger tunnel vision, causing players to hyper-focus on their character sprite and completely miss incoming threats from the periphery. Combating this involuntary panic response requires conscious breathing and deliberate relaxation of your hands during intense bullet clusters. Cultivating calm detachment lets you process complex grid patterns naturally without letting fear dictate your evasive maneuvers.
2.2.2 Structured Practice Methods Using Save States and Training Modes
Raw repetition without reflection rarely yields improvement in twitch-heavy arcade titles. Utilize built-in practice suites, chapter select features, or emulator save states to isolate troublesome boss phases. Grinds specific bottleneck patterns repeatedly until muscle memory takes over, transforming unpredictable hazards into routine muscle responses.
2.2.3 Managing Physical Fatigue and Maintaining Focus During Extended Runs
Mental exhaustion heavily degrades reaction times and micro-dodging precision during lengthy gaming sessions. Take deliberate short breaks between major endurance attempts to reset your posture, stretch your wrists, and clear your visual fatigue. High-level execution demands sharp cognitive focus, which is impossible to maintain when physical strain sets in.
2.3 Addressing Common Player Inquiries
2.3.1 Clarifying the Technical Differences Between Bullet Hell and Bullet Heaven Genres
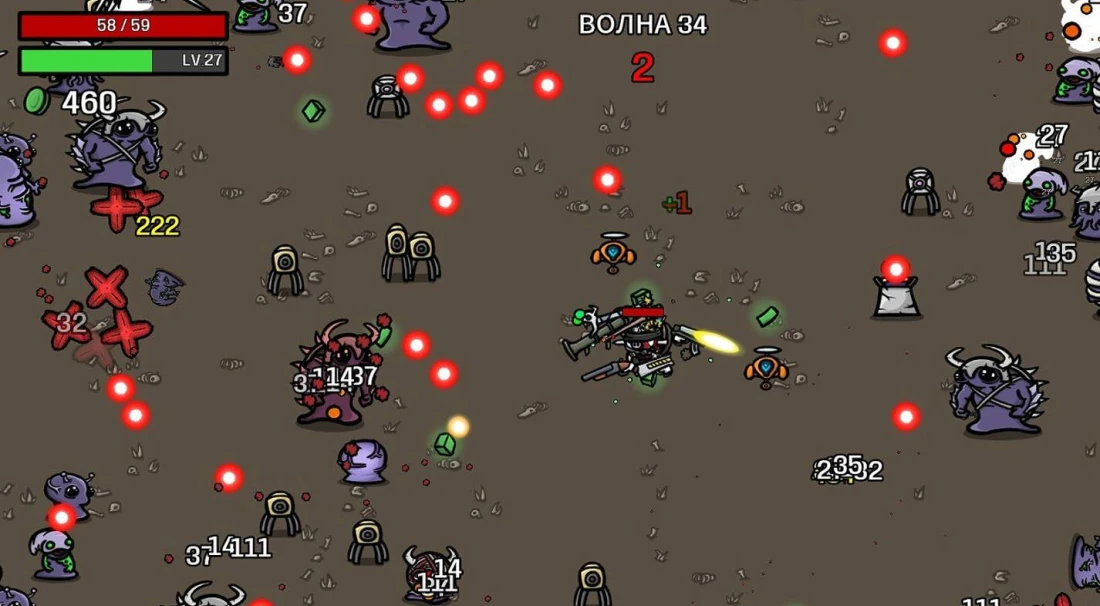
While both genres test your spatial awareness, traditional bullet hell titles focus heavily on intricate dodge patterns and precise boss choreography within confined spaces. Conversely, bullet heaven games emphasize long-term character scaling, automated attacks, and managing overwhelming numbers of weaker enemy hordes on expansive maps.
2.3.2 Troubleshooting Hitbox Visibility in Visually Cluttered Environments
Modern visual effects can easily obscure your character’s exact vulnerability point during chaotic screen states. Adjust your display settings to increase particle clarity or enable dedicated custom reticles and center-point markers if the game supports them. Always rely on the game’s designated core pixel rather than outer armor graphics.
2.3.3 Prioritizing Damage Output Versus Evasion During High-Chaos Sequences
Greedily chasing extra damage windows while dodging erratic projectiles is a surefire recipe for an early death. When the screen fills with complex overlapping hazards, shift your primary mindset entirely to survival. Once the pattern opens up into a predictable rhythm, you can safely weave your attacks back into the rotation without sacrificing defensive positioning.
Conquering the gauntlet of high-intensity bullet hell avoidance demands more than just quick twitch reflexes. Whether you are stepping into relentless arena survival mode or trying to shave seconds off your personal best, true mastery comes down to disciplined spatial awareness, smart resource conservation, and keeping a cool head under pressure. By focusing on your character hitbox rather than the visual clutter, reading complex visual telegraphs, and methodically pacing your defensive options across multi-phase fights, you transform chaotic screens into manageable pathways.
Remember that consistency is built through structured repetition, learning from failed runs, and knowing precisely when to trade a fraction of your evasive freedom to keep up steady damage output. Keep these core principles close the next time you queue up for grueling Boss rush challenges, stay patient, trust your muscle memory, and enjoy the journey from overwhelmed novice to bullet-weaving veteran.