Achieving the ideal balance between high frame rates and breathtaking visual fidelity often feels like chasing a moving target. Every time a new AAA title launches, players are met with demanding hardware requirements that can quickly turn a smooth gaming experience into a frustrating slideshow. Mastering graphic settings optimization is the most effective way to reclaim your frame rate, eliminate stuttering, and ensure your rig is punching above its weight class without requiring an immediate, costly hardware upgrade.
Whether you are trying to squeeze extra performance out of a budget gaming laptop or fine-tuning a high-end desktop, knowing which visual knobs to turn makes all the difference. Beyond raw graphical tweaks, true optimization also involves dialing in your physical environment, from configuring responsive controller mapping guides to streamlining your interface. In this guide, we will break down system architecture bottlenecks, explore the hierarchy of in-game settings, and walk you through a systematic workflow to help you achieve the ultimate balance of performance and visual clarity.
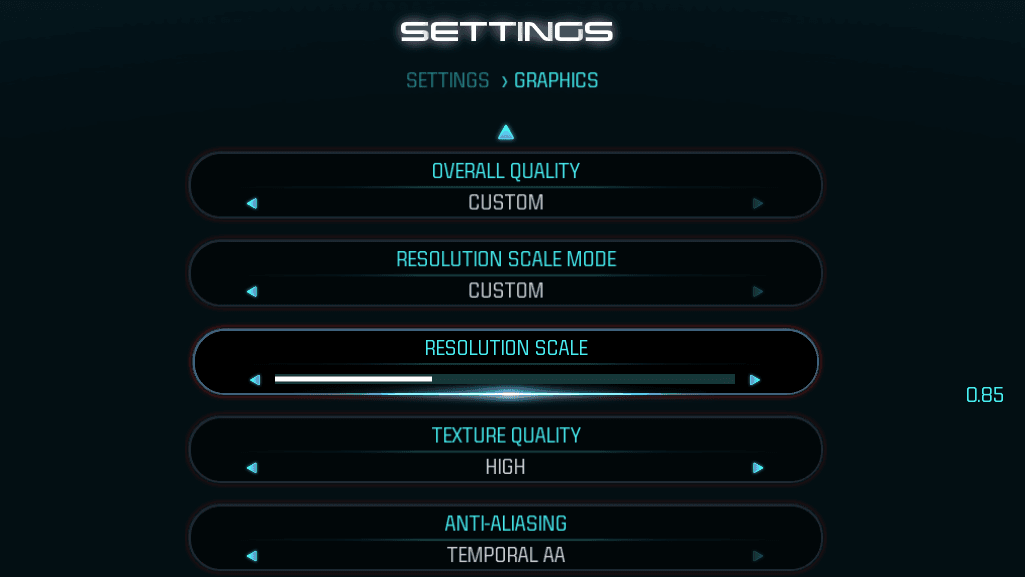
Mastering Graphic Settings Optimization for Maximum Performance and Visual Clarity
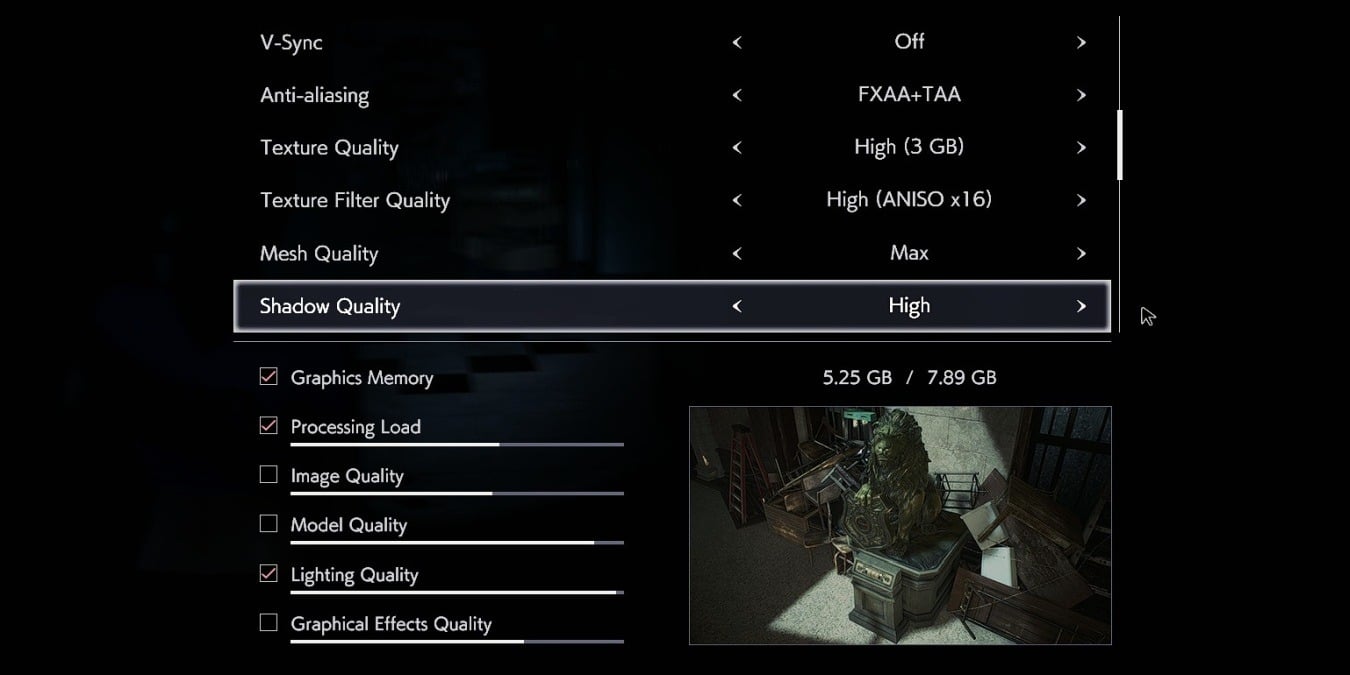
Understanding System Architecture and Hardware Bottlenecks
Achieving a seamless gaming experience requires a firm grasp of how your PC components interact under heavy graphical loads. Effective graphic settings optimization begins with identifying whether your hardware is bound by the central processing unit or the graphics processing unit. When your frame rates drop despite lowering visual fidelities, your system architecture may be hitting a wall that requires targeted adjustments rather than a blanket reduction in quality presets.
Diagnosing CPU Versus GPU Limitations During Gameplay
To pinpoint performance restrictions, monitor your hardware utilization metrics in real time using overlay tools. If your GPU usage sits consistently below ninety-five percent while your CPU cores max out, you are experiencing a CPU bottleneck, often triggered by complex physics simulations, high character counts, or dense crowd densities. Conversely, if your graphics card is pinned at maximum capacity while your processor coasts, the rendering workload is strictly GPU-bound, demanding changes to resolution scales and post-processing filters.
The Role of VRAM Capacity in Preventing Stutter and Texture Pop-in
Video RAM acts as the dedicated workspace for your graphics card, holding active assets like textures, geometry buffers, and shadow maps. When modern titles exceed your available VRAM capacity, the system resorts to swapping data with regular system memory via the PCIe bus, resulting in severe frame time spikes and distracting texture pop-in. Setting high-resolution asset packs down to medium can dramatically stabilize your framerates without sacrificing overall visual immersion.
Impact of Native Resolution and Monitor Refresh Rates on Visual Processing
Your display’s native resolution dictates the sheer volume of pixels your graphics card must calculate during every single frame cycle. Stepping down from native resolutions can unburden your hardware, though modern scaling techniques often yield better results than raw pixel reduction. Aligning your target frame rates with your monitor refresh rates ensures that every rendered image displays smoothly, minimizing screen tearing without introducing unnecessary input latency.
The Hierarchy of Graphic Settings and Their Impact
Not all graphical options demand equal resources from your machine. Understanding the resource hierarchy allows you to reclaim valuable performance overhead while keeping the game looking sharp. For players who also want to refine their physical input precision alongside visual tweaks, exploring controller mapping guides can help ensure your physical interface responds just as efficiently as your hardware output.
Identifying Performance Killers Including Volumetric Lighting and Shadow Quality
Certain modern rendering features consume disproportionate amounts of computational power for minimal returns in visual fidelity. Volumetric lighting, ray-traced global illumination, and ultra-high shadow map resolutions routinely rank as the heaviest performance killers in modern game engines. Reducing shadow quality from ultra to high or medium often yields a massive performance boost while remaining visually indistinguishable during fast-paced gameplay.
Balancing Ambient Occlusion and Screen Space Reflections for Depth
Ambient occlusion adds subtle contact shadows where objects meet, enhancing visual depth and preventing scenes from looking flat. While advanced ambient occlusion techniques can drain resources, lower-cost implementations provide nearly identical visual benefits. Similarly, balancing screen space reflections allows you to maintain wet-surface and water gleams without forcing your graphics processor to calculate ray-traced bounces across every reflective surface.
Maximizing Visual Fidelity with Texture Filtering and LOD Presets
Texture filtering, particularly anisotropic filtering, sharpens textures viewed at oblique angles and carries a nearly negligible performance cost on modern hardware. Maximizing this setting while dialing back level of detail presets can give you the best of both worlds: crisp surfaces close to the camera and manageable geometry loads in the distance.
A Systematic Workflow for Manual Optimization
Randomly toggling settings rarely yields a balanced configuration. Instead, approach your graphical tuning with a structured, repeatable methodology to isolate what truly matters for your specific rig.
Establishing Reliable Baselines Through Integrated Game Benchmarks
Begin your tuning journey by running the game’s built-in benchmark tool using the default high or ultra preset. Record your average frames per second, one-percent lows, and hardware temperatures. This establishes a reliable quantitative baseline that lets you measure the direct impact of every subsequent adjustment you make.
Methodically Transitioning from Ultra Presets to Customized Configurations
Rather than starting from scratch, apply an optimized preset if available, or drop the overall preset down one tier from your baseline. From this stable foundation, you can selectively re-enable favored aesthetic features one by one, watching your benchmark metrics to ensure performance remains locked to your target refresh rate.
The Art of Individual Setting Isolation for Precise Tuning
When you encounter micro-stutters or sudden frame drops, change only a single setting at a time before testing the result in an active gameplay scenario. Isolating variables in this manner prevents false conclusions, ensuring your final customized configuration maximizes visual splendor while respecting your hardware limits.
2. Advanced Graphic Settings Optimization and Modern Rendering Technologies
2.1 Leveraging Upscaling and Frame Generation
2.1.1 Selecting Between DLSS, FSR, and XeSS Based on Hardware Architecture
Executing a successful graphic settings optimization routine requires mastering modern temporal upscaling algorithms. NVIDIA Deep Learning Super Sampling (DLSS) relies on dedicated Tensor cores, making it the premier choice for RTX card owners seeking maximum frame rates with minimal visual degradation. Conversely, AMD FidelityFX Super Resolution (FSR) and Intel Xe Super Sampling (XeSS) are hardware-agnostic, running effectively across a wider array of legacy and competing GPUs, though XeSS benefits immensely from Intel Arc XMX engines.
2.1.2 Evaluating the Trade-offs of Frame Generation and Input Latency
While frame generation technologies double output metrics by inserting AI-calculated intermediate frames, they inherently introduce a slight penalty to input responsiveness. Competitive players should weigh fluid motion against peripheral latency, often pairing these advanced rendering features with hardware-level reflex mitigations to maintain precise aiming control during fast-paced encounters.
2.1.3 Implementing Sharpening Filters for Crisp Images at Lower Render Resolutions
Rendering a game at a lower internal resolution (such as Quality or Balanced upscaler presets) can occasionally yield a slightly soft image texture. Integrating native upscaler sharpening sliders or third-party contrast adaptive sharpening filters helps restore high-frequency detail edges, ensuring UI text and distant environmental assets remain exceptionally crisp.
2.2 Advanced Post-Processing and Display Calibration
2.2.1 Mitigating Visual Noise Through Anti-Aliasing Selection
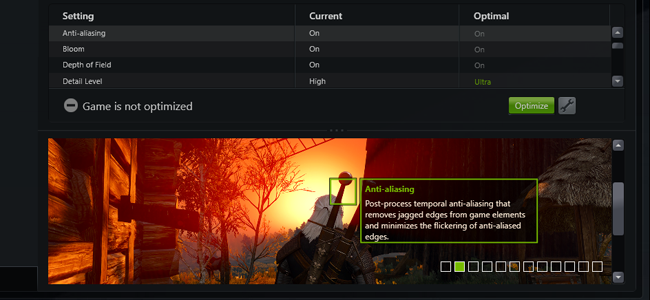
Aliasing introduces distracting jagged edges along geometric lines. Selecting modern temporal anti-aliasing solutions helps smooth out pixel shimmer in motion, though heavy implementations can smear fine details. Finding the sweet spot prevents both shimmering distractions and unwanted blurriness.
2.2.2 Managing Cinematic Effects Like Motion Blur and Depth of Field
Cinematic post-processing features are designed to mimic camera optics, but they frequently obscure enemy silhouettes and reduce visual clarity. Disabling camera motion blur, lens flare, and aggressive depth of field yields a sharper, more responsive field of view, which aligns closely with goals found in our UI layout personalization reference guide.
2.2.3 Optimizing Refresh Rates and G-Sync or FreeSync Compatibility
Hardware synchronization technologies eliminate screen tearing and minimize stutter by matching your monitor’s refresh rate directly to your GPU output. Ensuring variable refresh rate solutions are properly enabled alongside your frame rate limiters guarantees buttery-smooth motion consistency.
2.3 Troubleshooting and Frequently Asked Questions
2.3.1 Explaining Why Graphics Settings Optimization Does Not Always Improve Framerate
If lowering visual fidelity yields no performance gains, your system is likely facing a severe CPU bottleneck rather than a GPU limitation. Shifting workloads away from geometry-heavy parameters requires adjusting simulation-heavy metrics instead.
2.3.2 Defining Minimum VRAM Requirements for Modern AAA Titles
Modern game engines stream massive uncompressed asset libraries directly into video memory. Falling short of recommended VRAM allocations triggers massive stutter spikes as the system swaps data across slower system RAM.
2.3.3 Assessing the Benefits of Upscaling on High-End Graphics Hardware
Even flagship graphics cards benefit from intelligent scaling when driving ultra-high-definition displays at maximum ray-tracing configurations, providing a crucial performance safety net for demanding visual workloads.
2.3.4 Identifying the Signs of CPU Versus GPU Bottlenecking
Monitoring real-time hardware telemetry reveals your primary limitation: if your graphics processor usage hovers significantly below maximum capacity while frame rates lag, your processor is holding back overall system performance.
Mastering graphic settings optimization is ultimately about finding the ideal balance between raw hardware capability and visual fidelity. By diagnosing your system bottlenecks, methodically tuning individual rendering features, and leveraging modern upscaling technologies, you can transform an unstable, stuttering game into a fluid, immersive experience. Remember that achieving peak performance extends well beyond the graphics menu; ensuring your hardware runs cool and keeping your physical environment comfortable through solutions like UI layout personalization helps reduce distractions and supports sustained focus during long gaming sessions.
Take the time to experiment with your configuration benchmarks, isolate resource-heavy performance killers, and tailor your setup to your specific display hardware. With a systematic and patient approach to optimization, you will unlock smoother frame rates, eliminate frustrating stuttering, and get the absolute most out of your gaming PC or console setup.