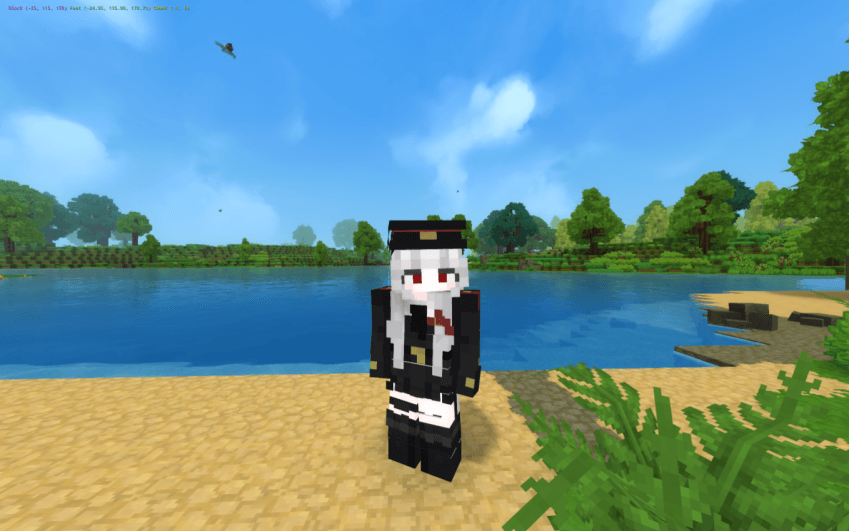
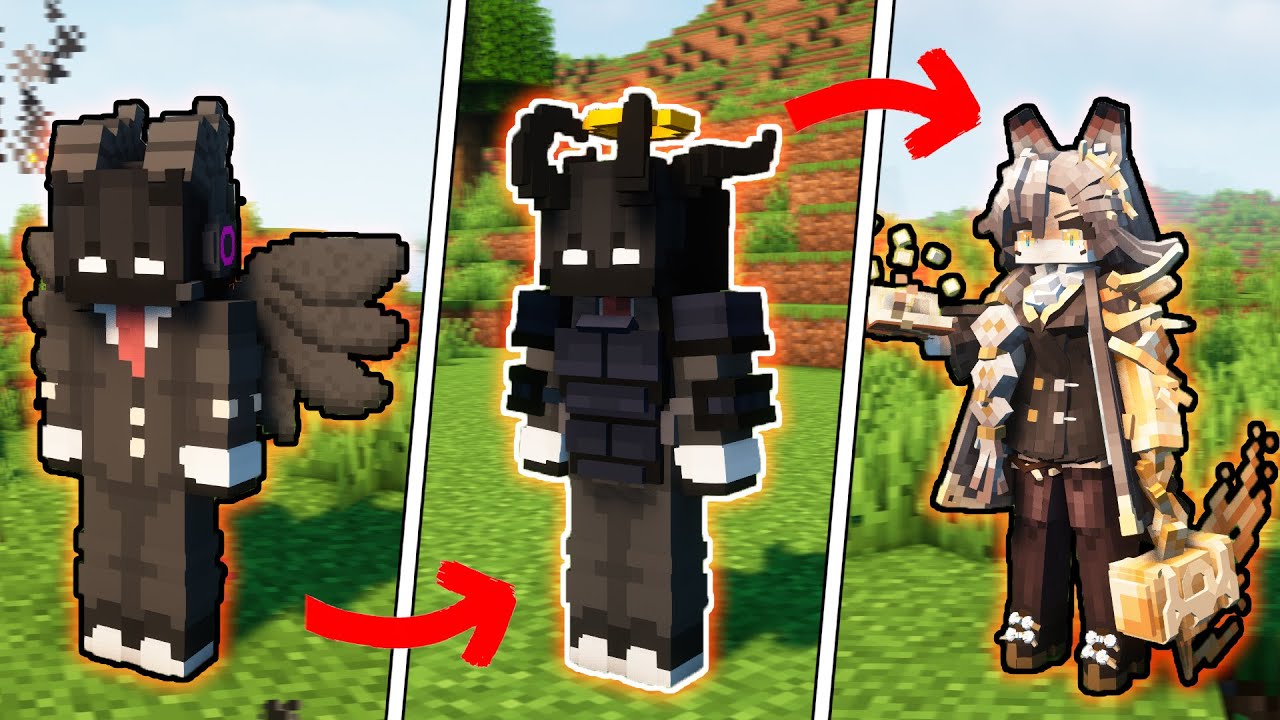
Video games offer incredible virtual worlds, but default character models rarely match your personal aesthetic vision. This is where character skin modding transforms standard gameplay into a deeply personalized experience. Whether you want to overhaul a favorite hero’s wardrobe, introduce vibrant custom avatar animations, or completely redesign an in-game avatar from scratch, modifying game textures breathes new life into your favorite titles.
Diving into the world of game mods can feel overwhelming at first, especially when you encounter unfamiliar file formats and specialized software. However, mastering the process gives you total creative control over how your virtual persona interacts with digital environments. In this guide, you will learn the essential mechanics behind texturing, how to safely configure your files using a reliable Character Creator environment, and the best practices for troubleshooting your custom designs without breaking your game.
1. Getting Started with Character Skin Modding and Essential Preparations
1.1 Understanding the Mechanics of Character Skin Modding
1.1.1 Defining Modding vs In-Game Customization
When diving into the world of digital aesthetics, it helps to understand the clear line between standard vanilla customization and character skin modding. Built-in character creators give you sliders, preset faces, and locked-in color palettes provided by developers. Modding, however, bypasses these built-in barriers. By injecting custom digital assets directly into the game directory, you can completely overhaul textures, shapes, and materials far beyond what the developers originally intended.
1.1.2 Hardware and Software Requirements
Before you begin modifying game files, your workstation needs adequate processing power. Editing high-resolution texture maps requires a dedicated graphics card with ample VRAM and at least 16GB of system RAM to prevent crashes during rendering. On the software side, you will need specialized image editing suites, 3D viewport tools, and format-specific plugins tailored to the specific game engine you plan to tweak.
1.1.3 Understanding Texture Maps and Game Engine Files
At its core, a skin mod is a collection of 2D images wrapped around a 3D wireframe mesh. Game engines rely on specific texture maps—such as diffuse maps for basic color, normal maps for surface depth, and specular maps for shininess—to render realistic avatars. Knowing how these maps correspond to the game engine files ensures that your custom textures wrap seamlessly around custom avatar animations without visual tearing.
1.2 Establishing a Safe Modding Environment
1.2.1 Creating Backups of Original Game Files
Modding always carries a slight risk of breaking game stability. Before replacing any core assets, make a secure backup copy of your original game files. If a newly installed skin corrupts your game data or causes persistent crashes, having an untouched backup folder allows you to restore your game to a pristine state instantly.
1.2.2 Setting Up a Dedicated Modding Folder
Organization is the backbone of successful digital modification. Keep your workspace clean by setting up a dedicated modding directory separate from your main game installation. Group your working files into subfolders for raw textures, converted files, and final packaged builds. This workflow prevents accidental overwrites and keeps your asset pipeline streamlined.
1.3 Essential Tools for Creating Custom Skins
1.3.1 Image Editing Software for Texture Creation
To paint or alter character textures, you will need robust image editing software capable of handling multi-layered files and alpha channels. Industry-standard tools like Adobe Photoshop, or powerful free alternatives like GIMP and Krita, allow you to manipulate skin tones, add tattoos, or design intricate clothing patterns with pixel-level precision.
1.3.2 3D Model Viewers and Material Editors
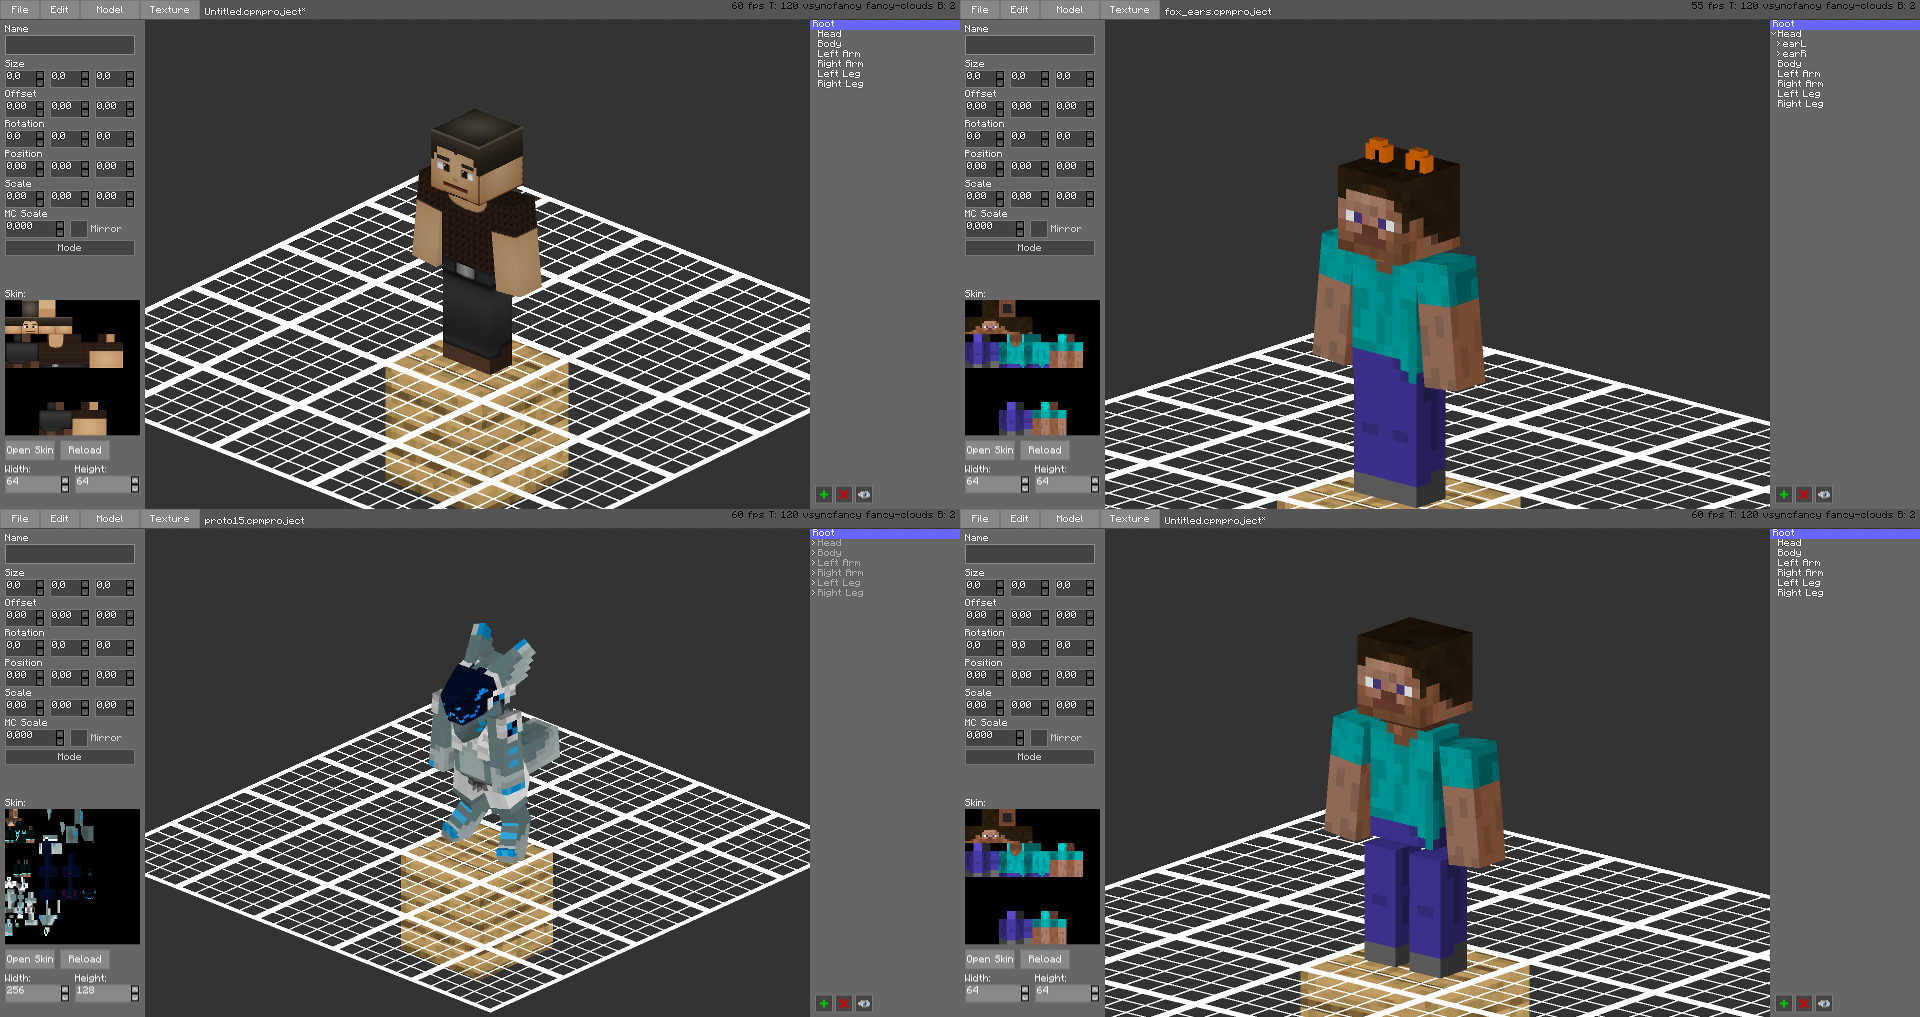
Editing a flat 2D texture rarely looks right without previewing it in a 3D space. Utilizing dedicated model viewers lets you inspect your work from every angle. These programs help you verify how lighting interacts with your material shaders before you deploy the files into the live game environment.
1.3.3 Utilizing Mod Managers for Safe Deployment
Managing files manually inside complex game directories often leads to missing assets and frustrating troubleshooting sessions. Utilizing reliable game mods management software automates the installation process. Mod managers safely deploy your custom skins, track file conflicts, and let you enable or disable modifications on the fly without altering your base directory.
2. Advanced Techniques and Best Practices for Professional Character Skin Modding

2.1 Step-by-Step Texture Modification and Enhancement
2.1.1 Exporting and Editing Diffuse and Normal Maps
Diving into professional character skin modding requires moving past basic color swaps and learning how game engines interpret 2D art assets. When you unpack your target game files, you will typically encounter a set of texture maps associated with the default character model. The diffuse map dictates the baseline color and albedo, while the normal map fakes surface depth, bumps, and pores without adding extra polygon geometry. Export these files into an image editing suite like Photoshop or GIMP, ensuring you preserve the correct alpha channels. When painting details onto a diffuse layer, always work on non-destructive adjustment layers so you can easily tweak contrast or hue later.
2.1.2 Adjusting Skin Tones and Adding Detailed Aesthetics
Achieving realistic or stylized skin tones requires a careful balance of subsurface scattering simulation and color balancing. Human skin is translucent, meaning light penetrates the surface and picks up warm undertones from blood vessels underneath. To make your custom avatar look alive rather than plastic, introduce subtle red and yellow gradients around the cheeks, knuckles, and joints on your diffuse map. Layering micro-details, such as freckles, scars, or stubble on separate opacity layers, gives you granular control over the final look without ruining your foundational skin texture.
2.1.3 Implementing Physically Based Rendering for Realism
Modern games rely on Physically Based Rendering (PBR) to dictate how light reacts to a surface, meaning your diffuse map is only part of the equation. To make your textures pop, you must configure roughness, metallic, and ambient occlusion maps alongside your normal maps. A skin roughness map is particularly crucial because oily areas like the forehead or nose reflect light differently than matte areas like cheeks. Calibrating these maps ensures your avatar looks convincingly wet in rain, sweaty after combat, or naturally dry under indoor lighting.
2.2 Refining Your Mod for Stability and Public Release
2.2.1 Troubleshooting Texture Seams and Distortion
Nothing breaks immersion faster than a glaring black line or stretched pixel running down your avatar’s arm or face. Texture seams happen when the UV unwrapping of the 3D model does not line up seamlessly with the edges of your image file. To fix this, use a 3D painting tool to project your brush strokes directly onto the mesh, which eliminates guesswork. Always test your mod across various dynamic lighting conditions and close-up camera angles to catch subtle stretching before you share your files with the community.
2.2.2 Managing Mod Compatibility and File Conflicts
As your modding library grows, you will inevitably run into conflicts where two different downloads try to overwrite the exact same file paths. When working on complex projects, structure your mod folders logically and use advanced mod managers to establish correct load orders. If your custom skin relies on unique skeletal weights or custom avatar animations, verify that your skeleton overrides do not crash the base game or cause unintended animation clipping during gameplay.
2.3 Navigating Community Standards and Ethical Modding
2.3.1 Respecting Intellectual Property and Terms of Service
Before publishing any piece of digital art, you must respect the intellectual property rights of the original developers and fellow modders. Never rip proprietary assets from commercial games to use in a totally different title without explicit permission, as this violates terms of service and can get your hosting account banned. If you are building upon someone else’s open-source base work or texture resource, always review their specific licensing terms and provide proper attribution in your project description.
2.3.2 Hosting Your Mods on Nexus Mods and Steam Workshop
Choosing the right platform for your creations helps build an active user base and streamlines feedback. Platforms like Nexus Mods and the Steam Workshop offer reliable download tracking, built-in update systems, and direct community interaction through comment sections. When uploading your files, categorize them accurately so that players searching for specific categories like a robust Character Creator expansion can find your work easily among thousands of other game mods.
2.3.3 Writing Documentation and Installation Instructions
A brilliant mod is practically useless if players cannot figure out how to install it correctly. Write a clear, concise readme file or description page detailing prerequisite mods, manual installation paths, or mod manager load order rules. Including troubleshooting steps for common graphical glitches or missing texture errors will drastically reduce support tickets and ensure a smooth experience for everyone downloading your custom creations.
Mastering character skin modding transforms how you interact with your favorite virtual worlds, turning standard avatars into personalized masterpieces. Whether you are adjusting diffuse and normal maps, ironing out stubborn texture seams, or sharing your creations on platforms like Nexus Mods, patience and precision remain your best tools. Building unique digital aesthetics requires a solid understanding of game engine files, proper file management, and respect for community guidelines.
As you dive deeper into creating and managing your custom assets, remember that testing and iteration are vital to maintaining a stable game environment. Backing up original assets and utilizing dedicated mod managers will save you countless hours of troubleshooting. Ready to elevate your virtual presence even further? Explore our guide on what your persona would be to draw fresh inspiration for your next big design project.